Crocheting a Cozy Stripe Blanket: A Complete Step-by-Step Guide
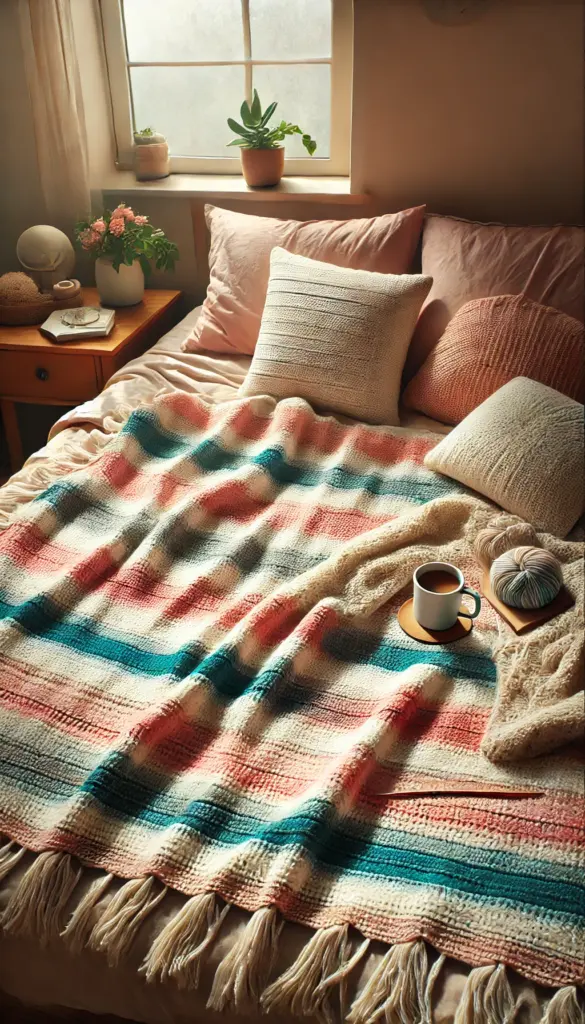
A Cozy Stripe Blanket is an easy yet satisfying crochet project that results in a warm and colorful addition to your home. Perfect for snuggling up on the couch or as a beautiful decorative piece, a striped crochet blanket can be made in any combination of colors and stitches. It’s the perfect project for beginners and experienced crocheters alike!
Let’s dive into the process, including choosing materials, a step-by-step pattern, tips for finishing, and customizations to make your blanket unique.
Materials:
Before you begin, gather everything you need for your cozy stripe blanket.
-
Yarn: Choose a soft, medium-weight yarn. Worsted weight yarn (weight category 4) is ideal for blankets because it’s warm and easy to work with. You will need around 1000-1500 yards of yarn, depending on the size of your blanket. Choose different colors for the stripes, or even one color for the entire project.
Popular yarn choices include:
- Acrylic: Affordable, easy to care for, and available in a variety of colors.
- Cotton: Breathable and perfect for warmer climates.
- Wool Blend: Soft and warm, though a bit pricier.
- Superwash Wool: Washable wool for easy maintenance.
-
Crochet Hook: Typically, you’ll use an H/8 (5mm) crochet hook, though this may vary depending on your yarn choice. Always check the yarn label for the recommended hook size.
-
Scissors: To cut your yarn when you finish each color change.
-
Yarn Needle: For weaving in loose ends when you change colors or finish the project.
Step 1: Foundation Chain
To start your cozy stripe blanket, you need to create the foundation chain, which will determine the width of your blanket.
- Determine Blanket Size: The number of chains you need depends on how wide you want your blanket to be. A typical lap-sized blanket would be around 120-150 chains, but you can adjust this to your desired width.
- Baby Blanket: About 80-100 chains.
- Lap Blanket: 120-150 chains.
- Throw Blanket: 160-180 chains.
- Full-Sized Blanket: Around 200-250 chains.
- King-Sized Blanket: 250+ chains.
- Create the Chain: Begin by creating a chain of the desired length. Make sure your foundation chain is not too tight; this will help you maintain a smooth edge and prevent the blanket from curling.
Tip: To ensure a neat edge, try not to crochet too tightly in your foundation chain, as this can cause your stitches to be too tight for the rest of the project.
Step 2: First Row
Once you’ve made your foundation chain, it’s time to start working on the first row of stitches.
-
Double Crochet (DC): For a soft and slightly open fabric, use double crochet stitches. To begin, skip the first 3 chains (they count as your first double crochet) and work a double crochet (DC) into the 4th chain from your hook.
- How to Double Crochet:
- Yarn over (YO) and insert your hook into the 4th chain from the hook.
- Yarn over again and pull up a loop, so you have 3 loops on your hook.
- Yarn over and pull through the first two loops, leaving you with 2 loops on your hook.
- Yarn over again and pull through the remaining 2 loops.
- How to Double Crochet:
-
Continue working double crochet (DC) stitches across the entire row until you reach the last chain.
-
End the Row: Once you reach the last chain, turn your work and chain 3 (this counts as your first double crochet for the next row).
Step 3: Adding Stripes (Changing Colors)
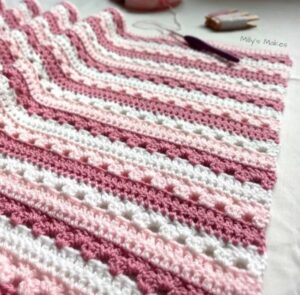
The beauty of a cozy stripe blanket is in the color changes! You can use bold, contrasting colors or soft, complementary tones to create the stripes. Here’s how to change colors:
-
Work to the Last Stitch: As you approach the last stitch of your row, leave the last yarn-over incomplete.
-
Switch Colors: Before pulling the yarn through the last two loops of the final double crochet stitch, yarn over with the new color and complete the stitch.
-
Continue with the New Color: For the next row, start your double crochet with the new color. Repeat the process for as many rows as you’d like to have the stripe of the new color.
- Changing Colors Smoothly: To minimize gaps, don’t pull the new yarn too tightly. Leave a small amount of slack, and always crochet over the old color at the beginning of each new row to avoid loose ends.
Step 4: Continue Crocheting Rows of Stripes
-
After changing to a new color, continue with your double crochet (DC) stitches across each row, following the same method as you did for the first row.
-
Stripe Length: Decide how many rows you’d like each color to last. The number of rows per stripe is totally up to you! For example:
- 3-5 rows per color is common for a medium-width stripe.
- You could also make one-row stripes for a vibrant, bold look or wider stripes with 6-8 rows for a more subtle effect.
-
Tip: For a clean edge and uniformity, try to keep your stitch tension consistent throughout the project. This will ensure the stripes are straight and even.
Step 5: Creating the Border (Optional)
Once you’ve reached the desired length of your cozy stripe blanket, you can add a border to give it a neat, finished appearance. A simple border can elevate the look of your blanket and help keep the edges from curling.
-
Simple Single Crochet Border:
- Work one row of single crochet (SC) around the entire blanket, making sure to place 3 SC stitches in each corner to create smooth curves.
-
Decorative Border: If you want something fancier, you can add a shell stitch, picot stitch, or even a scalloped edge.
- To create a scalloped border:
- Work a row of single crochet around the blanket.
- Then, add a row of scallops: Work 5 double crochets (DC) into the same stitch, skip 2 stitches, and repeat around.
- To create a scalloped border:
-
Finish the Border: Once you’ve completed the border, finish off and cut the yarn.
Step 6: Weaving in the Ends
After finishing your cozy stripe blanket, you’ll need to weave in the loose ends where you changed colors. Use a yarn needle to carefully weave the yarn tails into the blanket. Be sure to weave in at least 3-4 inches of each end to secure them.
- Tip: Take care to weave in each end through the stitches in a way that doesn’t show. If you’re worried about ends coming loose, you can knot them gently before weaving them in.
Customizations and Variations
The beauty of a cozy stripe blanket is that it’s customizable. Here are some ideas to make your blanket unique:
- Color Combinations: Mix and match your favorite colors. Bold, contrasting colors make for a lively and vibrant blanket, while soft pastels create a calm and serene look.
- Ombre Stripes: Use varying shades of a single color for an ombre effect. Gradually transition from light to dark or vice versa for a stunning gradient blanket.
- Add Texture: Mix in different stitch patterns between the stripes. For example, you can alternate between rows of double crochet and half-double crochet for added texture.
- Size Adjustments: You can easily adjust the size of your blanket by increasing or decreasing the number of foundation chains, rows, or stripes. Want a throw blanket? Go for a larger foundation chain. Need a baby blanket? Just shorten the foundation chain.

Conclusion:
Crocheting a Cozy Stripe Blanket is a fun, rewarding project that can be customized to fit any style or size. Whether you choose bold, contrasting colors or soft neutrals, this blanket is sure to be both beautiful and cozy. Enjoy the process, and don’t forget to add your personal touch by playing with color combinations, stripe widths, and texture patterns.
Happy crocheting, and may your blanket bring you warmth and comfort for years to come!


