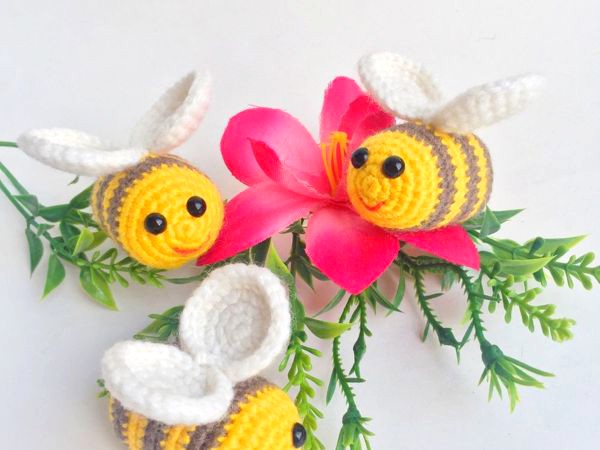
Crocheting an amigurumi bee is a fun and rewarding project, perfect for beginners and experienced crafters alike. This little bee is small, adorable, and works up quickly, making it a great gift, decoration, or even a keychain. Below is a detailed, step-by-step pattern to guide you through the process.
Materials Needed
Before starting, gather the following materials:
✔ Yarn – Yellow, black, and white (medium-weight, such as cotton or acrylic)
✔ Crochet hook – 3.0mm or 3.5mm (adjust based on yarn thickness)
✔ Safety eyes – 6mm or embroidery thread for facial features
✔ Stuffing – Polyester fiberfill or any soft filling material
✔ Tapestry needle – For sewing the parts together
✔ Scissors – To trim excess yarn
✔ Stitch marker – Optional but helpful for keeping track of rounds
Crochet Stitches & Abbreviations (US Terms)
These basic stitches will be used in the pattern:
- MR – Magic ring
- SC – Single crochet
- INC – Increase (2 SC in one stitch)
- DEC – Decrease (SC two stitches together)
- SL ST – Slip stitch
- CH – Chain
- FO – Fasten off
Note: The bee is crocheted in continuous rounds. Use a stitch marker to mark the beginning of each round if needed.
Pattern Instructions
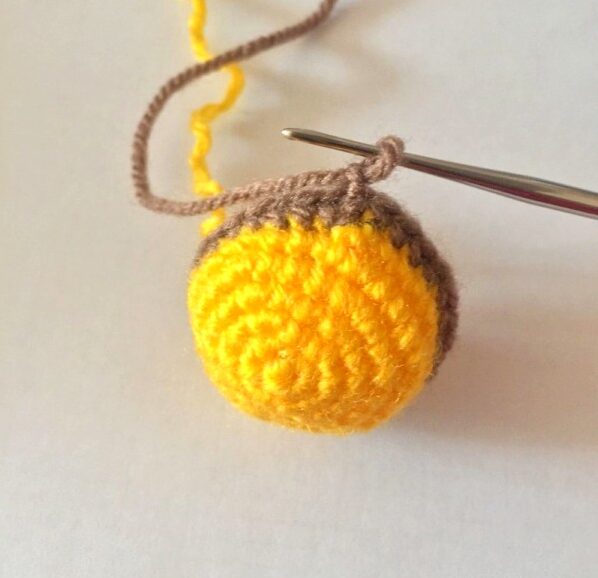
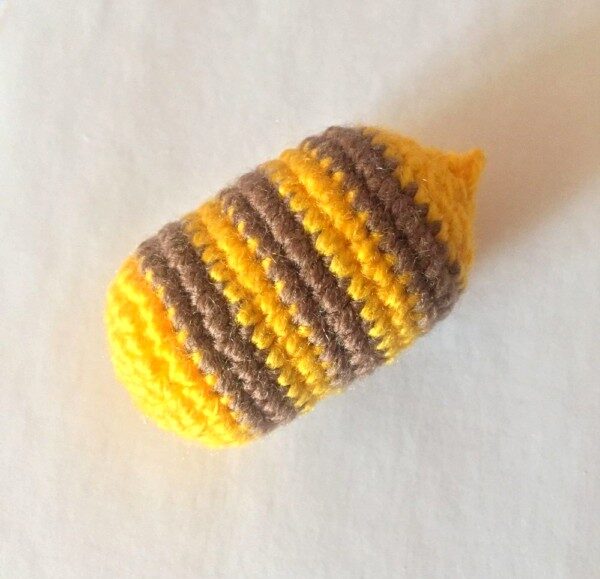
Step 1: Crochet the Body (Yellow & Black Stripes)
The body is worked in rounds, starting from the front (face) and moving toward the back.
- With yellow yarn, make a magic ring (MR), then 6 SC into the ring (6)
- INC in each stitch (12)
- (SC, INC) around (18)
- (2 SC, INC) around (24)
- (3 SC, INC) around (30)
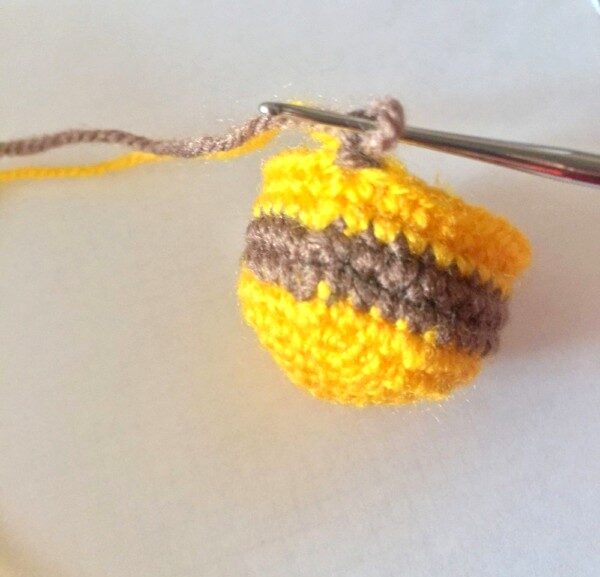
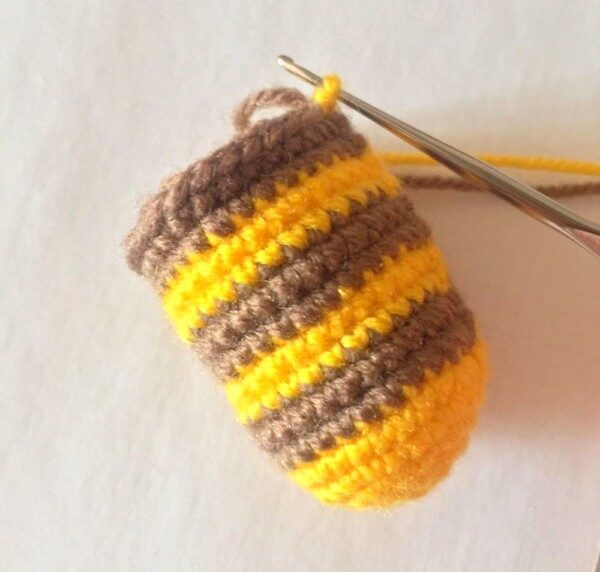
6-8. SC around (30) [3 rounds] - Change to black yarn, SC around (30)
10-11. Change to yellow yarn, SC around (30) [2 rounds]
12-13. Change to black yarn, SC around (30) [2 rounds]
14-15. Change to yellow yarn, SC around (30) [2 rounds] - (3 SC, DEC) around (24)
- (2 SC, DEC) around (18) – Begin stuffing firmly with fiberfill.
- (SC, DEC) around (12)
- DEC around (6) – Finish stuffing the bee’s body completely.
Fasten off and weave the yarn tail through the remaining stitches to close the hole neatly.
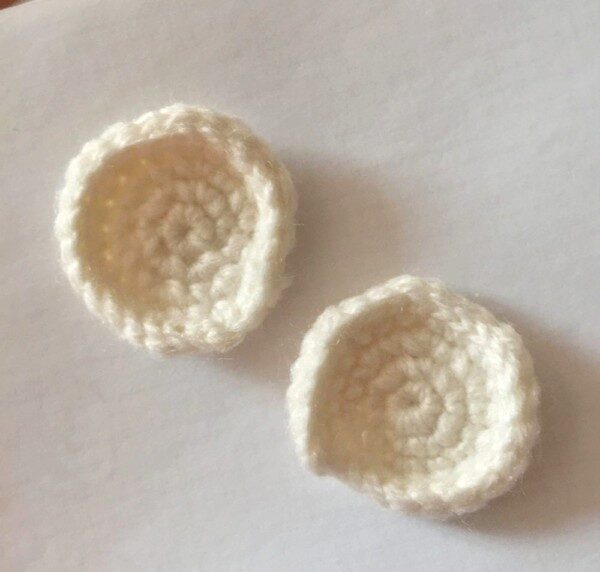
Step 2: Crochet the Wings (Make 2, White Yarn)
The wings are made separately and attached to the bee’s body later.
- With white yarn, make a magic ring (MR), 6 SC into the ring (6)
- INC in each stitch (12)
- (SC, INC) around (18)
4-5. SC around (18) [2 rounds] - (SC, DEC) around (12)
Fasten off, leaving a long yarn tail for sewing. Flatten the wings slightly to create a natural shape before attaching.
Step 3: Make the Antennae (Make 2, Black Yarn)
These tiny antennae add extra charm to your bee.
- Chain 5, then SL ST back through the chain.
- Fasten off, leaving a tail for sewing.
Once made, set them aside for final assembly.
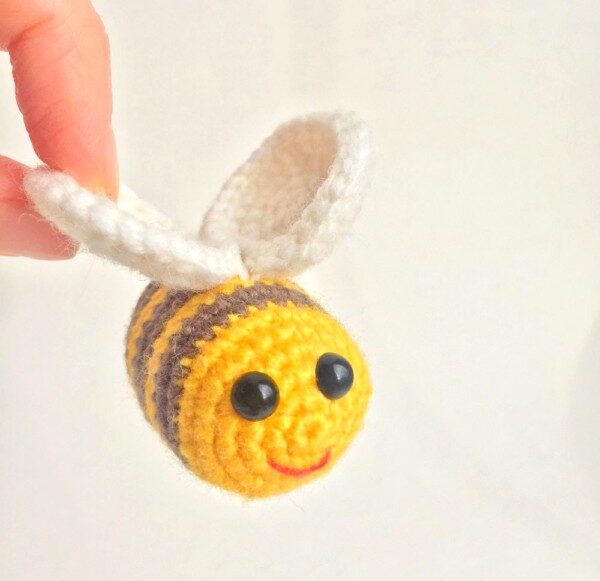
Step 4: Create the Face Details
The face of the bee gives it personality, so take your time placing the features correctly.
- Attach safety eyes between rounds 6 and 7, about 3-4 stitches apart.
- If using embroidery thread, stitch small black eyes instead.
- Use black embroidery thread to sew a small, curved smile just below the eyes.
- Optionally, add tiny blush marks with pink thread or a light dab of fabric paint.
Assembly Instructions
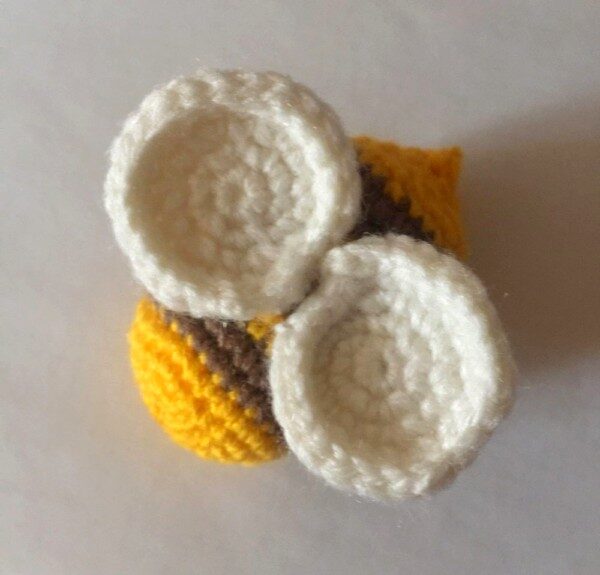
Step 5: Attach the Wings
- Position the wings symmetrically on the bee’s back, slightly towards the head.
- Sew each wing securely to the body using a tapestry needle and the long yarn tails.
- Ensure they are evenly spaced so the bee looks balanced.
Step 6: Attach the Antennae
- Place the antennae on top of the bee’s head, above the eyes.
- Sew them securely using the black yarn tails.
- Trim any excess yarn and weave in loose ends.

Optional Additions
- Keychain Version: Sew a small loop of yarn at the top of the head to attach a keyring.
- Blush Details: Lightly brush pink powder (such as blush or chalk) onto the cheeks for a soft effect.
- Mini Stripes: Add thin embroidery stitches across the black sections for extra texture.
Video Tutorial:
This tutorial provides clear instructions and visuals, making it easier to follow along and create your adorable crochet bee. If you have any specific questions or need further assistance with any part of the process, feel free to ask! Youtube channel: Hooked by Robin
Final Thoughts
Your adorable amigurumi crochet bee is now complete! 🐝 This little creature makes a fantastic handmade gift or cute decorative piece. You can experiment with different yarn textures, make a whole swarm of bees, or even modify the pattern to create a queen bee with a tiny crown!
If you need any adjustments or have any questions, let me know. Happy crocheting! 🧶✨