Box Stitch: A Comprehensive Guide
The Box Stitch is a classic and versatile pattern widely used in both crochet and knitting. It creates a textured, square-like effect that makes it perfect for various projects, from blankets and scarves to dishcloths and home décor. This stitch is simple yet elegant, making it an excellent choice for beginners and experienced crafters alike.
Whether you prefer the delicate, openwork look of crochet or the firm, structured feel of knitting, the box stitch adapts beautifully to different materials and styles. In this guide, we will cover both the crochet and knitting versions, with detailed instructions, variations, and tips to ensure success in your projects.

Crochet Box Stitch Pattern
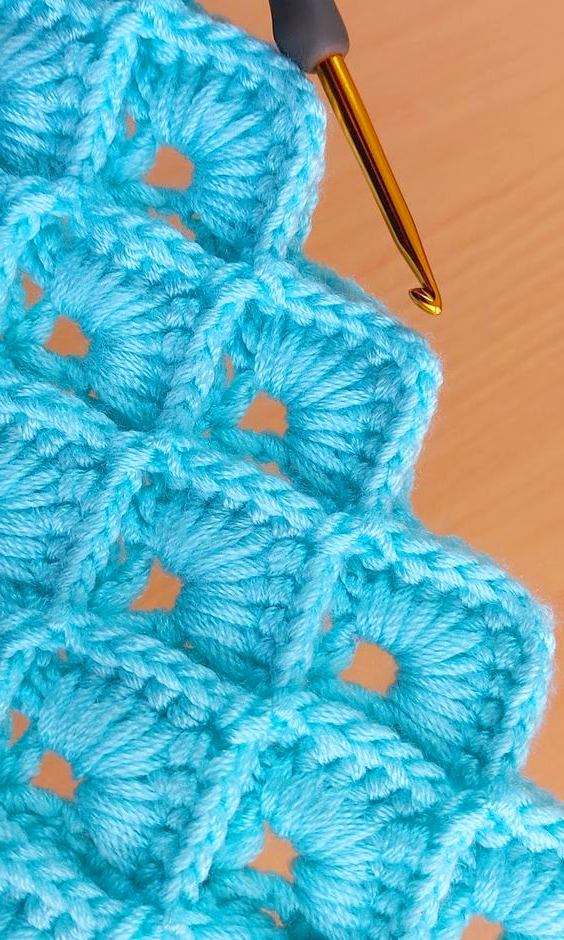
The crochet version of the box stitch is often used for blankets, baby shawls, and lightweight garments. It consists of clusters of double crochets and chain spaces, forming a pattern that resembles small boxes or squares. This stitch creates a slightly airy texture, making it ideal for breathable fabrics.
Materials Needed:
- Yarn of your choice (cotton for dishcloths, acrylic for blankets, wool for warm garments)
- A crochet hook suitable for your yarn weight
- Scissors
- Tapestry needle (for weaving in loose ends)
Basic Crochet Instructions:
Step 1: Creating the Foundation Chain
Begin by making a foundation chain that is a multiple of 4 + 3 extra chains. This ensures the stitch pattern works evenly across the row.
Step 2: First Row
- Work 1 double crochet (dc) into the fourth chain from the hook.
- Make 1 more dc into the next chain.
- Chain 2, then skip 2 chains, and work 2 dc in the next two chains.
- Repeat this sequence (2 dc, ch 2, skip 2) until the end of the row.
Step 3: Second Row and Beyond
- Chain 3 (counts as the first dc of the next row).
- Work 2 dc in the chain-2 space from the previous row.
- Chain 2, then work 2 dc in the next chain-2 space.
- Repeat across the row and continue following this pattern for as many rows as desired.
Crochet Variations of the Box Stitch
- Solid Box Stitch: Instead of chaining 2 between double crochet clusters, work a single crochet (sc) to close the gap and create a denser fabric.
- Colorful Box Stitch: Change yarn colors every few rows to create a striped or gradient effect.
- Edging and Borders: Add a simple scalloped edge or a Picot border for a more decorative finish.
Knitted Box Stitch Pattern
The knitted box stitch is a textured pattern that creates a checkerboard-like effect. It is an excellent choice for blankets, sweaters, scarves, and cushion covers, as it provides a structured and elegant look. Unlike the crochet version, which has a lace-like effect, the knitted version is denser and more structured, making it a great option for warm fabrics.
Materials Needed:
- Yarn (wool, acrylic, or cotton, depending on your project)
- A pair of knitting needles suitable for your yarn weight
- Scissors
- Tapestry needle
Basic Knitting Instructions:
Step 1: Casting On
Begin by casting on a multiple of 4 stitches to maintain the box-like pattern.
Step 2: Working the First Four Rows
- Row 1: Knit 2, Purl 2 across the row.
- Row 2: Repeat Row 1.
- Row 3: Purl 2, Knit 2 across the row.
- Row 4: Repeat Row 3.
Step 3: Repeating the Pattern
Repeat Rows 1–4 to continue the box stitch pattern. The alternating knit and purl stitches create a subtle yet striking texture.
Knitting Variations of the Box Stitch
- Small Box Stitch: For a finer texture, try a K1, P1 variation instead of a 2×2 pattern.
- Large Box Stitch: Extend the knit and purl blocks to K4, and P4 for a bigger checkerboard effect.
- Ribbed Box Stitch: Alternate box stitch sections with rows of ribbing for added stretch and elasticity.
Comparison: Crochet vs. Knitting Box Stitch
| Feature | Crochet Box Stitch | Knitted Box Stitch |
|---|---|---|
| Texture | Open and lacy | Dense and structured |
| Best For | Lightweight items (shawls, baby blankets) | Warm fabrics (sweaters, thick blankets) |
| Skill Level | Easy (good for beginners) | Slightly more advanced due to knit-purl combinations |
| Variations | Lacy or solid versions | Small or large boxes, ribbed variations |
| Time Needed | Fast to complete | It takes longer but provides a firmer fabric |
Both variations offer unique advantages, and the best choice depends on the intended project and personal preference.
Tips for a Perfect Box Stitch
For Crochet:
✔ Maintain Consistent Tension: Loose stitches will make the pattern look uneven, while tight stitches may curl the fabric.
✔ Use Stitch Markers: Marking the chain-2 spaces can help ensure the pattern stays even.
✔ Block Your Work: Lightly steam or wet-block your finished piece to set the stitches in place.
For Knitting:
✔ Count Your Stitches: Since the pattern alternates between knit and purl sections, missing a stitch can disrupt the pattern.
✔ Use a Row Counter: Keeping track of which row you’re on helps maintain consistency.
✔ Choose the Right Yarn: A smooth yarn will highlight the texture better than a fuzzy or highly textured yarn.
Mastering the Box Stitch – A Visual Guide
For those who absorb knowledge best through visual demonstrations, we have meticulously crafted a comprehensive video tutorial. This immersive guide will walk you through the intricate artistry of the box stitch, allowing you to master this exquisite technique with ease. YouTube Channel: Free crochet patterns
Final Thoughts
The Box Stitch is a timeless and adaptable stitch that works well in both crochet and knitting. Whether you prefer the open, airy texture of crochet or the structured, cushioned effect of knitting, this stitch offers a visually appealing and practical design for various projects.
For beginners, starting with small projects like dishcloths or scarves is a great way to practice the stitch before moving on to larger pieces like blankets. Advanced crafters can experiment with color changes, different yarn textures, and unique stitch variations to add a personalised touch to their creations.
Would you like a step-by-step tutorial with pictures or videos for easier learning? Let me know how I can help!