Introduction
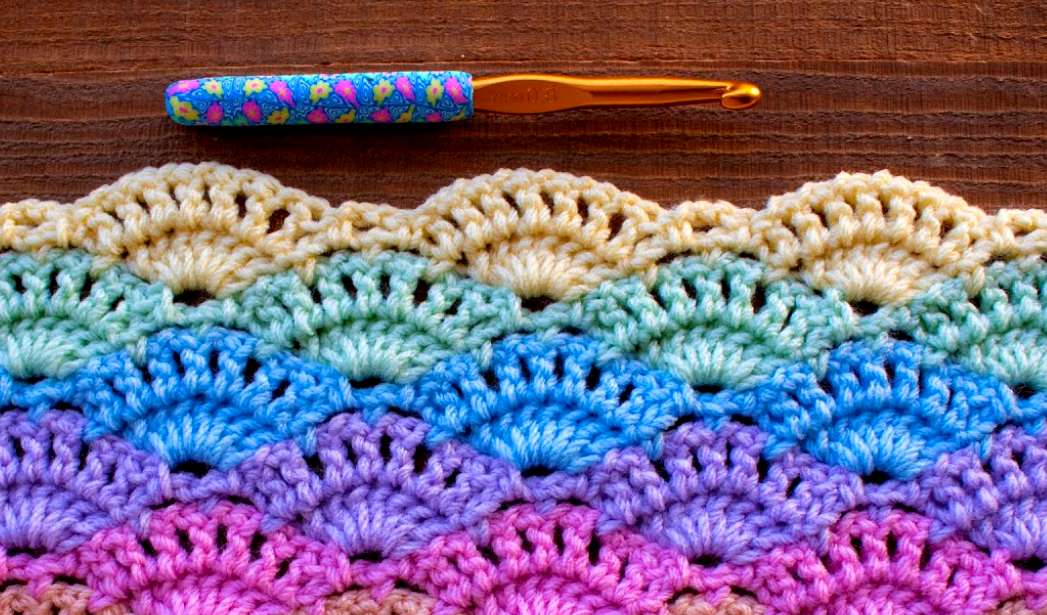
The shell stitch is a timeless crochet technique that creates a beautiful, lacy, and slightly textured pattern. This pattern is perfect for blankets, afghans, and throws, making it ideal for gifts, home decor, or personal use.
The shell stitch is known for its elegant design, and it works up quickly, making it an enjoyable project for crocheters of all levels. Whether you want a baby blanket, a cozy throw, or a full-sized afghan, this pattern is highly adaptable.
Finished Sizes (Customizable)
- Baby Blanket: Approx. 30″ x 36″
- Throw Blanket: Approx. 50″ x 60″
- Twin Bed Blanket: Approx. 66″ x 90″
- Full/Queen Blanket: Approx. 90″ x 90″
You can adjust the size by increasing or decreasing the starting chain (explained later).
Materials Needed
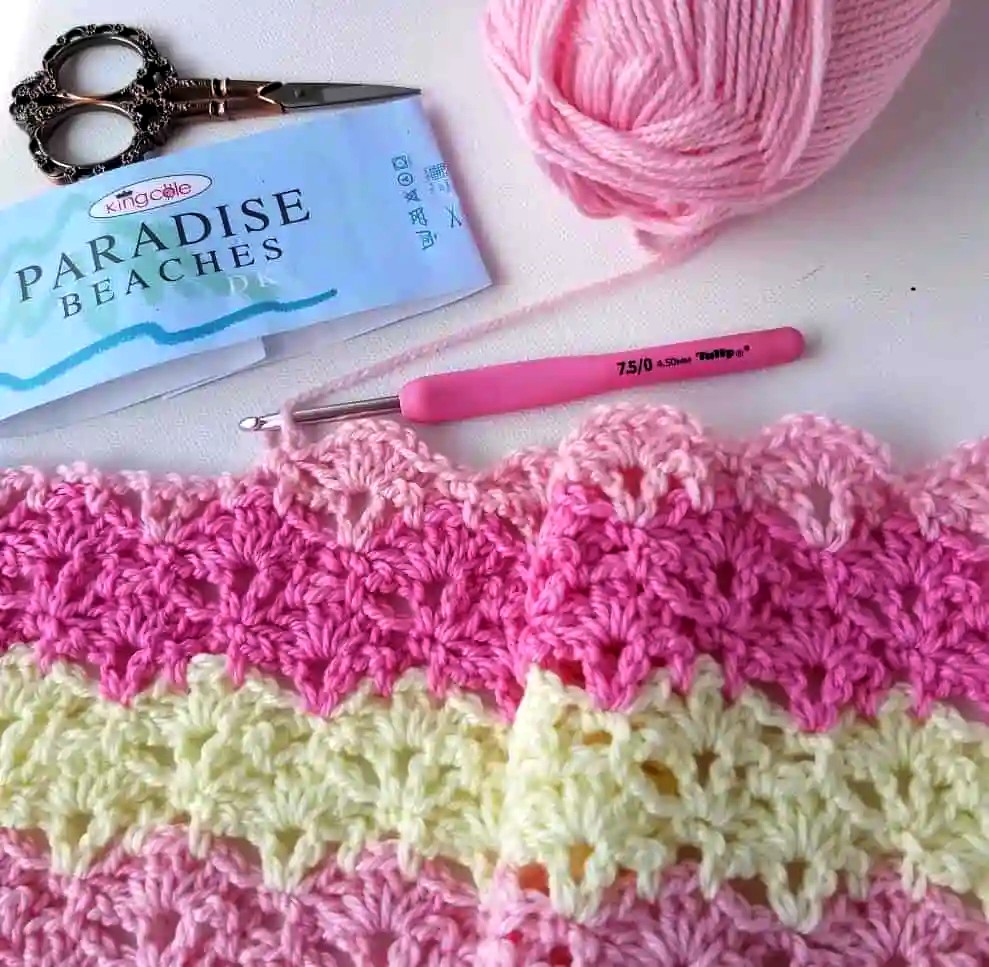
Yarn Selection
The type of yarn you choose will determine the weight, warmth, and drape of your blanket. Here are some recommended yarns:
- Acrylic Yarn: Red Heart Soft, Caron Simply Soft – durable and machine washable.
- Cotton Yarn: Lily Sugar’n Cream – breathable and lightweight, great for summer blankets.
- Wool Blend: Lion Brand Wool-Ease – warm and soft, ideal for winter.
- Chunky Yarn: Bernat Blanket Yarn – makes a thick, ultra-soft blanket.
Other Supplies
- Crochet Hook: Size 5.0mm to 6.5mm (depending on yarn weight).
- Scissors
- Tapestry Needle (for weaving in ends).
- Measuring Tape (to check dimensions).
Stitch Abbreviations (US Terms)
- ch = chain
- sc = single crochet
- dc = double crochet
- st(s) = stitch(es)
- sk = skip
- shell = 5 dc in the same stitch
Pattern Instructions
Step 1: Foundation Row
- Start with a multiple of 6 + 2 chains.
- Example: Ch 62 for a baby blanket, Ch 122 for a throw.
Step 2: Row 1 (Base Row)
- Sc in the second chain from the hook.
- Sk 2 ch, 5 dc in the next ch (shell), sk 2 ch, sc in the next ch.
- Repeat * across the row.
- Turn your work.
At the end of Row 1, your work will have alternating sc and shell stitches, creating the base for the blanket.
Step 3: Row 2
- Ch 3 (counts as the first dc), 2 dc in the first sc.
- Sc in the middle (3rd) dc of the shell from the previous row, shell (5 dc) in the next sc.
- Repeat * across.
- End with 3 dc in the last sc.
- Turn.
This row ensures the shells are stacked properly for a consistent pattern.
Step 4: Row 3 & Beyond
- Ch 1, sc in the first dc.
- Shell in the next sc, sc in the center DC of the next shell.
- Repeat * across the row.
- Turn and repeat Rows 2 & 3 until the blanket reaches the desired size.
🔹 Tip: Measure your work periodically to ensure the correct dimensions.
Customization Options
Adjusting the Size
- Width: Increase or decrease the number of starting chains (always a multiple of 6 + 2).
- Length: Continue repeating Rows 2 & 3 until you reach the desired length.
Changing Colors
- To create stripes, change yarn colors at the beginning of a new row.
- Weave in ends neatly using a tapestry needle.
Using Different Yarns
- A lighter yarn (DK, #3) creates a delicate and soft baby blanket.
- A chunky yarn (bulky, #5) makes the blanket thicker and cozier.
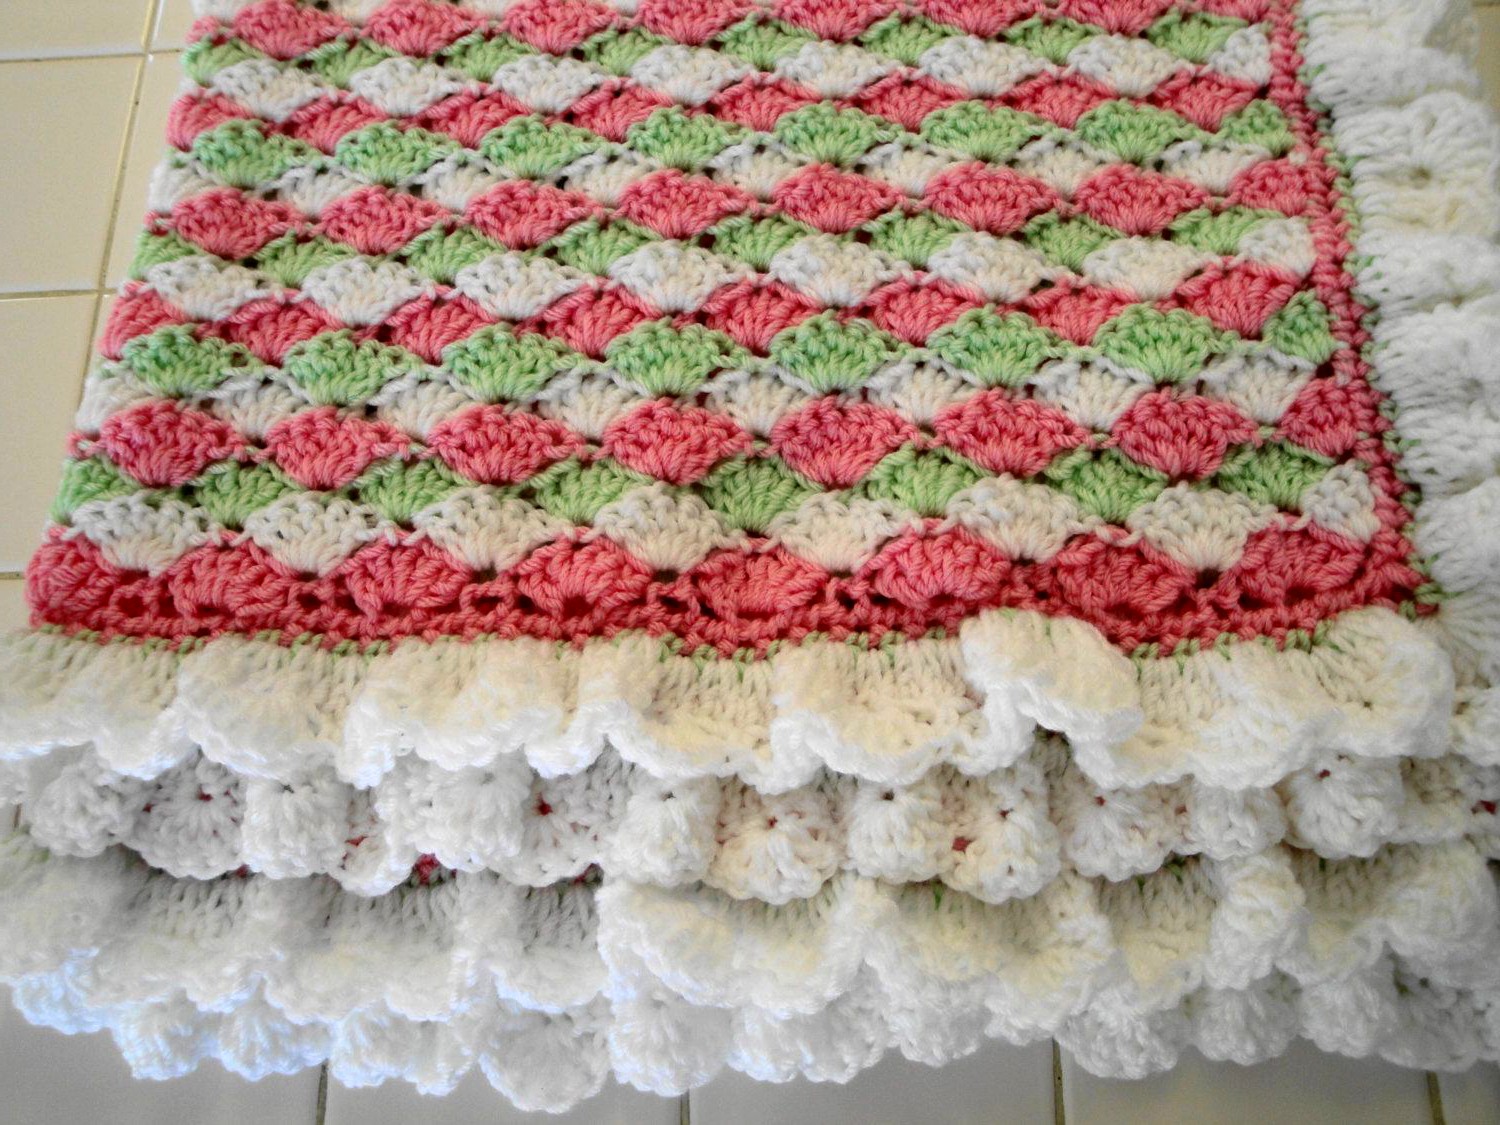
Optional Shell Border (Finishing Touches)
For a matching shell stitch border, follow these steps:
-
Round 1 (Base Round):
- Work sc around the blanket, placing 3 sc in each corner to keep edges flat.
- Join with a slip stitch.
-
Round 2 (Shell Border):
- Ch 1, sc in the same St.
- Sk 2 sts, work 5 dc in the next st, sk 2 sts, sc in the next st.
- Repeat * all around the blanket.
- Slip stitch to join.
-
Fasten Off & Weave in Ends:
- Secure all loose ends using a tapestry needle.
Troubleshooting & Common Mistakes
🔹 Edges Not Straight?
- Ensure you’re not skipping or adding extra stitches in the middle of a row.
🔹 Too Loose or Too Tight?
- If your stitches seem too tight, go up a hook size.
- If they seem too loose, go down a hook size.
🔹 Uneven Stitch Count?
- Count your stitches at the end of each row to ensure consistency.
Frequently Asked Questions
Q: Can I make this blanket with bulky yarn?
Yes! If using bulky yarn, adjust your hook size to 8mm or 9mm and chain fewer stitches to compensate for the added thickness.
Q: How do I make the blanket softer?
- Use a softer yarn like baby yarn or a wool blend.
- Wash and block your blanket to relax the stitches.
Q: Can I use this stitch for scarves or shawls?
Absolutely! The shell stitch works well for scarves, shawls, and even dishcloths. Just adjust the width and length accordingly.
Final Thoughts & Tips
- Blocking: If your edges curl slightly, lightly block the blanket using steam or water spray.
- Washing Instructions: Follow yarn label recommendations (most acrylics are machine-washable, while wool may require hand-washing).
- Gift Idea: This blanket makes a perfect handmade gift for baby showers, birthdays, or housewarming gifts.
Video Tutorial:
1. Easy Beginner’s Shell Baby Blanket by Bonnie Barker: This tutorial is perfect for beginners, offering a step-by-step guide to creating a beautiful shell stitch baby blanket.
2. Shell Stitch Tutorial by Bella Coco: Bella Coco provides a clear and concise tutorial on the shell stitch, which can be applied to various crochet projects, including blankets.
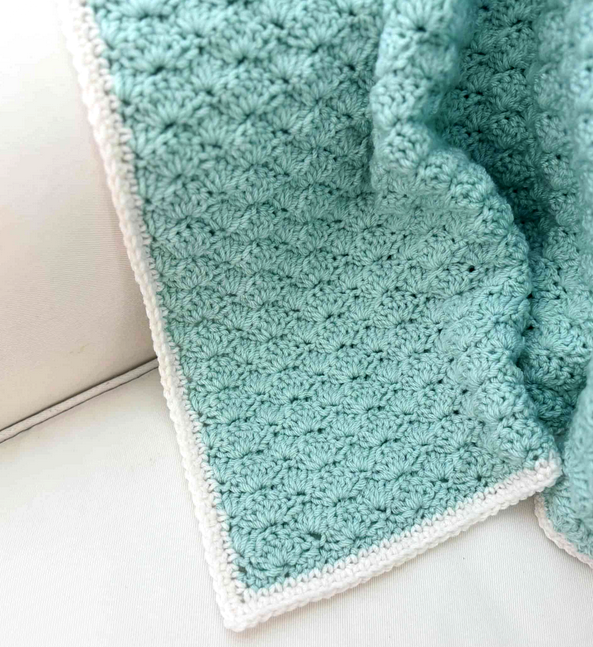
3. How to Crochet a Beautiful Shells Blanket in One Color: This video demonstrates how to create a stunning shell stitch blanket using a single color, resulting in an elegant and cohesive design.
4. Crochet Shell Stitch Baby Blanket in the Round: If you’re interested in creating a round shell stitch baby blanket, this tutorial offers detailed instructions to guide you through the process.
5. How to Crochet the Shell Stitch: This tutorial focuses specifically on the shell stitch, teaching you how to incorporate it into your crochet projects effectively.
You Did It! 🎉
Now you have a beautiful crochet shell stitch blanket!