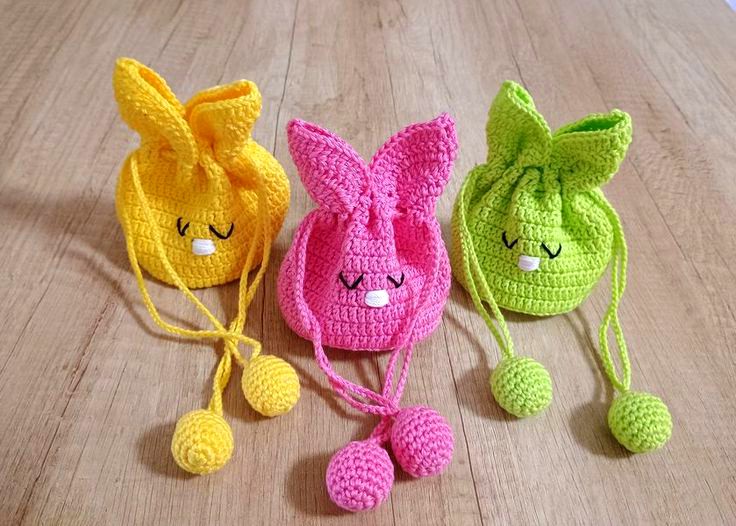
With this detailed crochet pattern, you can create a charming and functional bunny bag. Whether you need a cute Easter bag, a fun accessory for kids, or just love bunny-themed crafts, this project is perfect for all crochet enthusiasts!
Materials Needed:
To make a beautiful bunny bag, you will need the following materials:
Yarn:
- Main Color: Worsted weight yarn in white or any bunny color of your choice.
- Contrast Color: Pink yarn for the inner ears and nose.
- Black Yarn: For embroidery (eyes, whiskers, or facial features).
Crochet Hook:
- 4mm or 5mm crochet hook (adjust according to your yarn weight).
Additional Supplies:
- Yarn needle (for sewing pieces together)
- Scissors
- Stitch marker (optional, but useful for working in rounds)
- Safety eyes (or use black yarn for embroidery if preferred)
- A small pom-pom for the tail (or you can crochet one)
Crochet Stitches & Abbreviations (US Terms):
- ch – Chain
- sc – Single Crochet
- inc – Increase (2 sc in one stitch)
- dec – Decrease (sc two stitches together)
- sl st – Slip Stitch
- hdc – Half Double Crochet (optional for texture variation)
- dc – Double Crochet (used in optional handle variation)
Step-by-Step Instructions
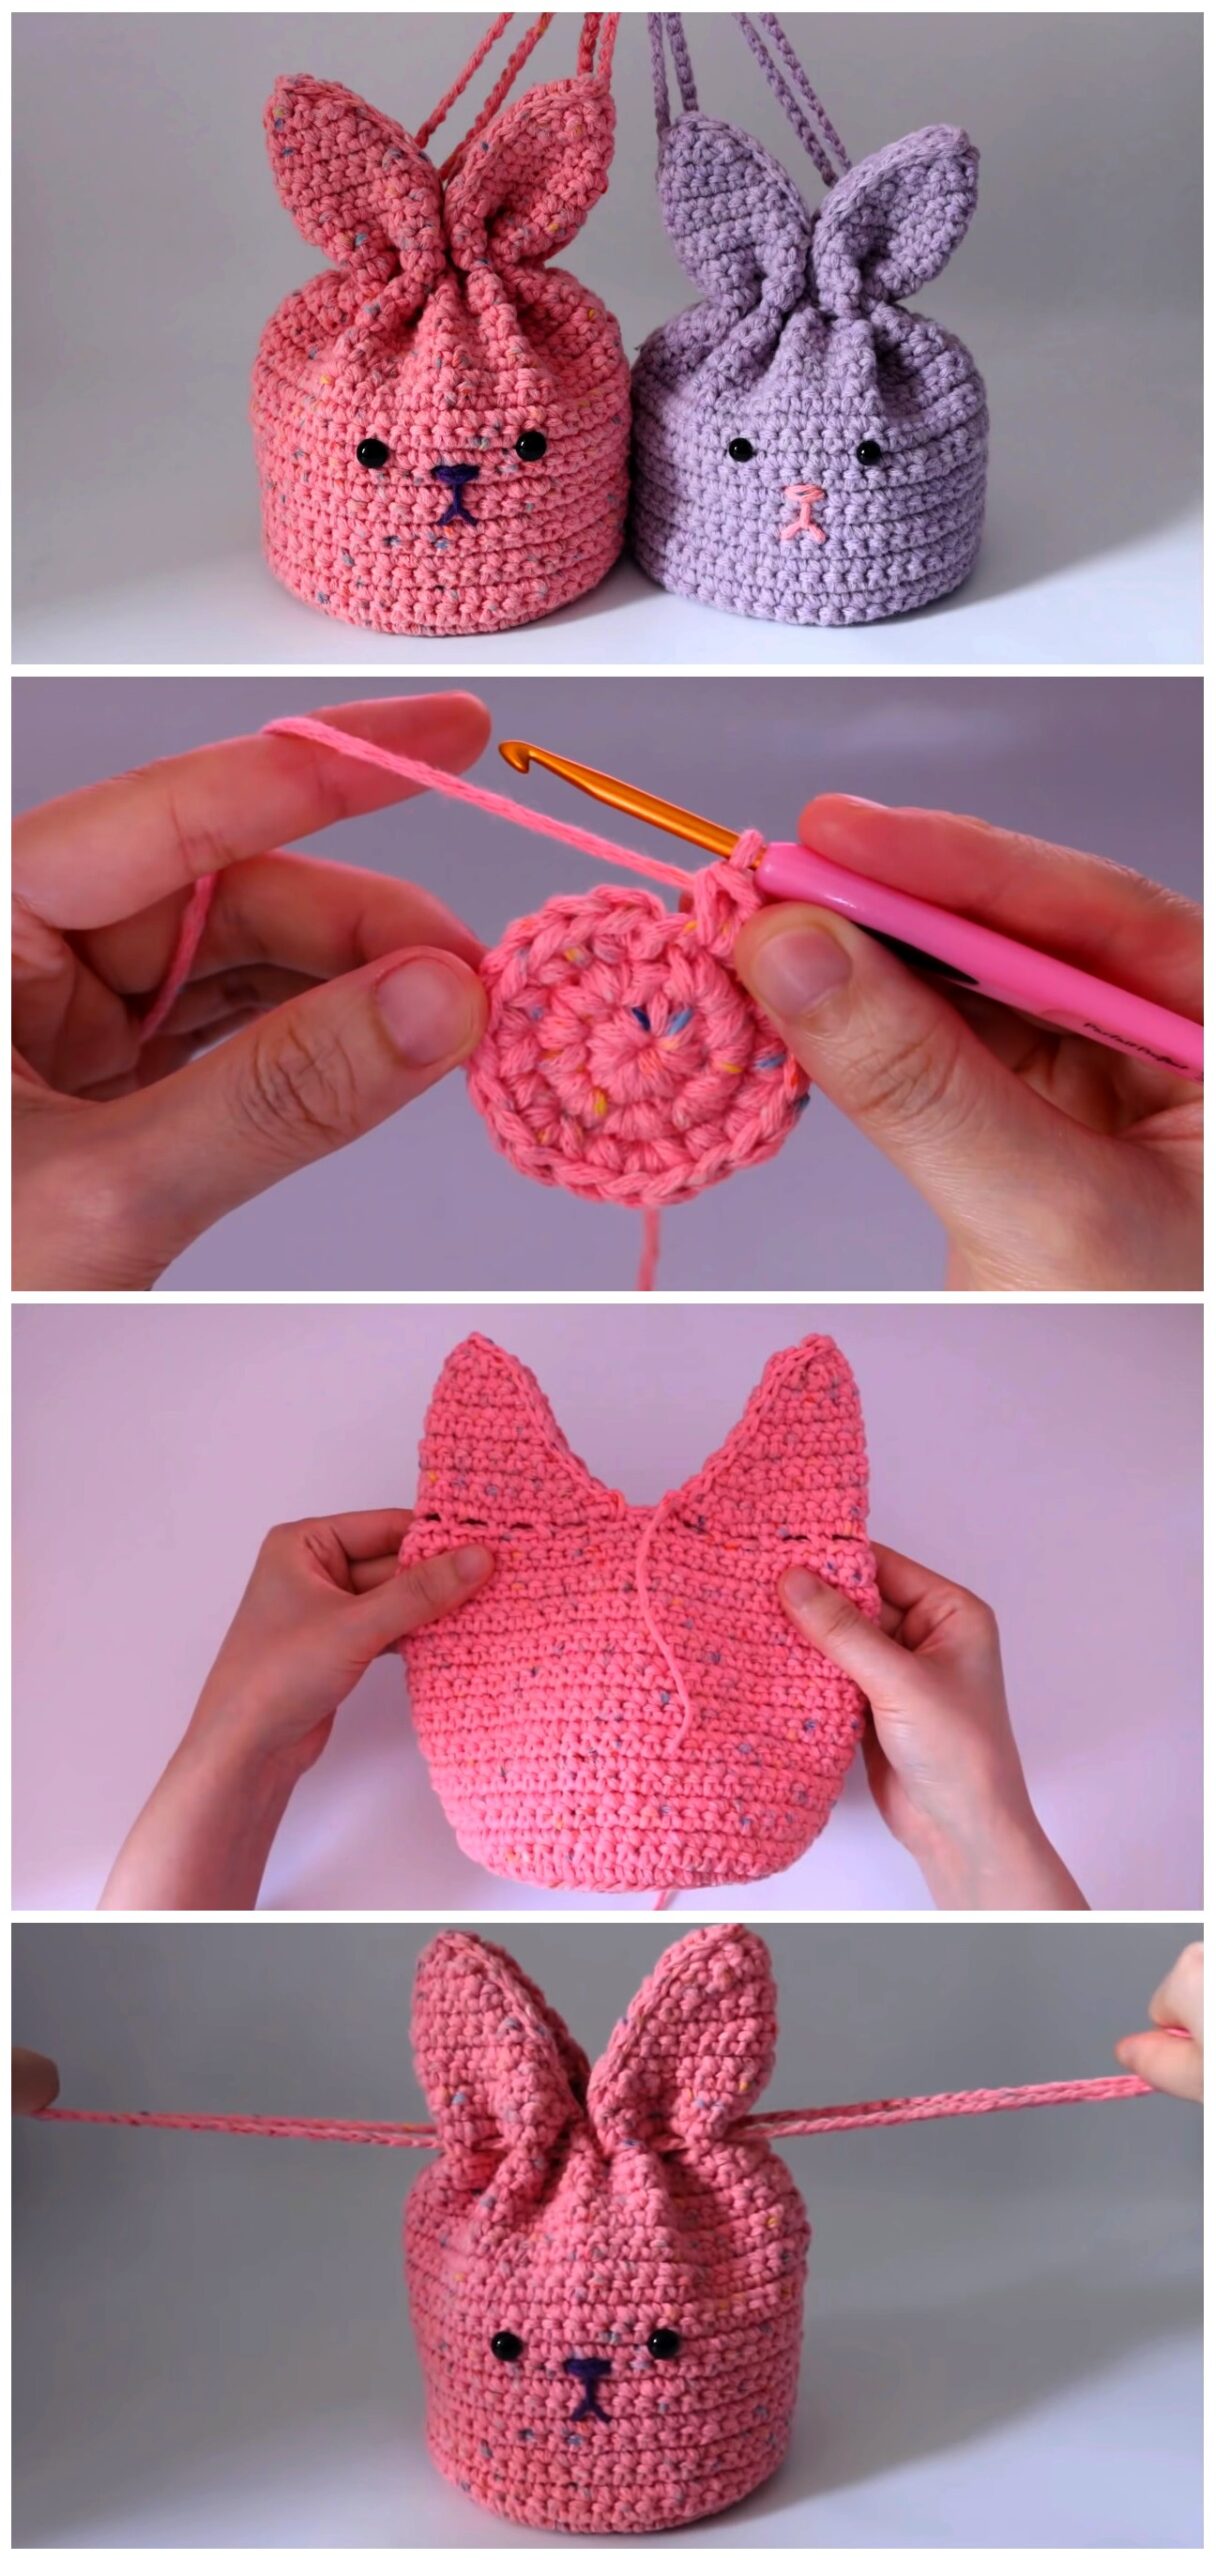
Step 1: Create the Bag Base (Oval Shape)
The bag starts with an oval base, which provides a sturdy bottom.
- Ch 21 (or adjust for a wider bag).
- Round 1: Sc in 2nd ch from hook, sc in the next 18 stitches, and work 3 sc in the last ch to turn. Continue working on the other side of the foundation chain, sc in the next 18 stitches, 2 sc in the last stitch. (Total 42 stitches)
- Round 2: Inc in first stitch, sc in next 18, inc in next 3 stitches, sc in next 18, inc in last 2 stitches. (48 sts)
- Round 3: Sc in each stitch around. (48 sts)
- Continue this pattern until your base reaches the desired size (around 6-8 inches in length).
Step 2: Build the Bag Body
Once the base is ready, we work without increasing to create the height of the bag.
- Round 1: Sc in back loops only (this helps create a clean base edge). (48 sts)
- Rounds 2-15: Sc around in continuous rounds (or as many rounds as needed for your desired height).
- If you want a taller bag, continue adding more rounds.
💡 Tip: Use a stitch marker at the start of each round to keep track!
Step 3: Make the Bunny Ears (Make 2)
The bunny’s signature ears add charm to the bag!
- Ch 10, sc in 2nd ch from hook, sc across. (9 sts)
- Row 2: Ch 1, turn, sc in each stitch across.
- Rows 3-8: Continue in sc, decreasing at each side every other row until the top forms a point.
- Fasten off and leave a long tail for sewing.
Optional: Use pink yarn to crochet a smaller ear shape for the inner ear and sew it onto the larger ear for extra detail.
Step 4: Attach the Bunny Ears
- Position the ears symmetrically on top of the bag.
- Sew them securely using the long yarn tail.
- Make sure they stand up properly or have a slight curve for a cute floppy look!
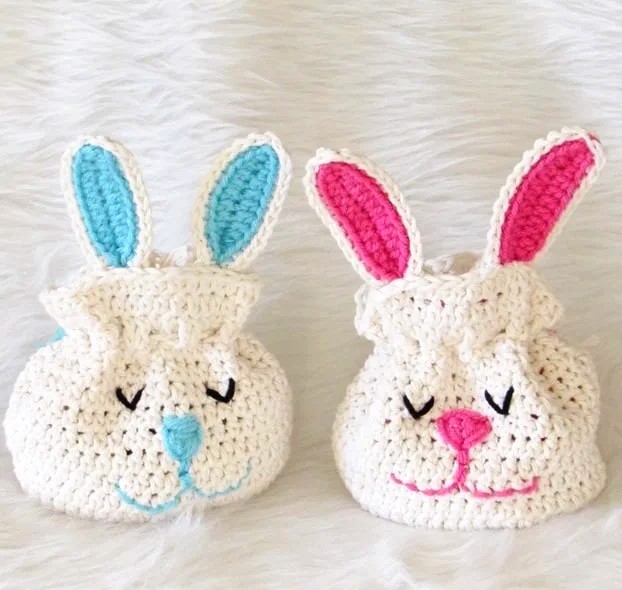
Step 5: Crochet or Embroider the Bunny Face
Now, let’s bring the bunny to life!
Eyes:
- Option 1: Attach safety eyes approximately 2 inches apart.
- Option 2: Embroider closed “sleepy” eyes using black yarn.
Nose & Mouth:
- Use pink yarn to sew an upside-down triangle nose.
- Embroider a small “Y” shape for the mouth.
Whiskers (Optional):
- Embroider a few short whiskers on each side of the face using black yarn.
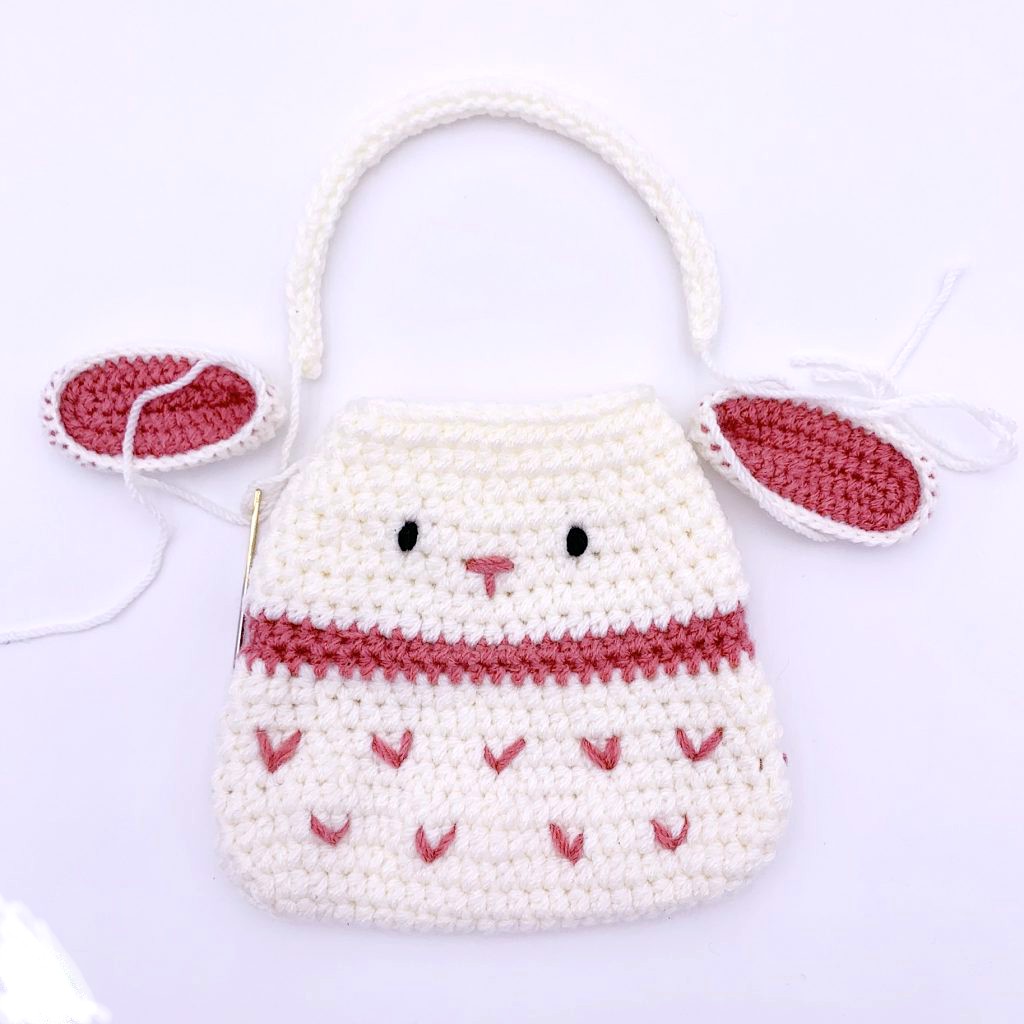
Step 6: Make the Bag Handles
You can customize the handles based on your style preference!
Basic Handle (Single Crochet Strap):
- Ch 60 (or adjust length).
- Sc in each ch across.
- Attach both ends securely to the bag.
Thicker Handle (Half Double Crochet Strap):
- Ch 60, hdc in 2nd ch from hook, hdc across.
- Attach the strap securely.
Alternative: Braided Handle
- Make three long chains, braid them together, and attach them for a stylish look.
Step 7: Add the Bunny Tail (Pom-Pom or Crochet)
No bunny is complete without a fluffy tail!
- Option 1: Attach a small white pom-pom to the back.
- Option 2: Crochet a small circle using white yarn:
- Magic ring, 6 sc inside the ring.
- Inc in each stitch (12).
- Sc around for 2-3 rounds.
- Fasten off and sew to the back.
Final Touches & Customization
- Lining the Bag (Optional): Sew a fabric lining inside for extra durability.
- Decorations: Add bows, flowers, or beads for extra charm.
- Size Adjustments: Increase base stitches for a larger bag, and decrease for a mini purse.
VIDEO TUTORIAL:
Darling, if you find yourself absorbing knowledge best through visuals, fret not! I have not one, but a delightful duo of video tutorials curated just for you. They are effortlessly comprehensible, and I have the utmost confidence that you will execute this flawlessly. Indulge in them below! 🎥✨
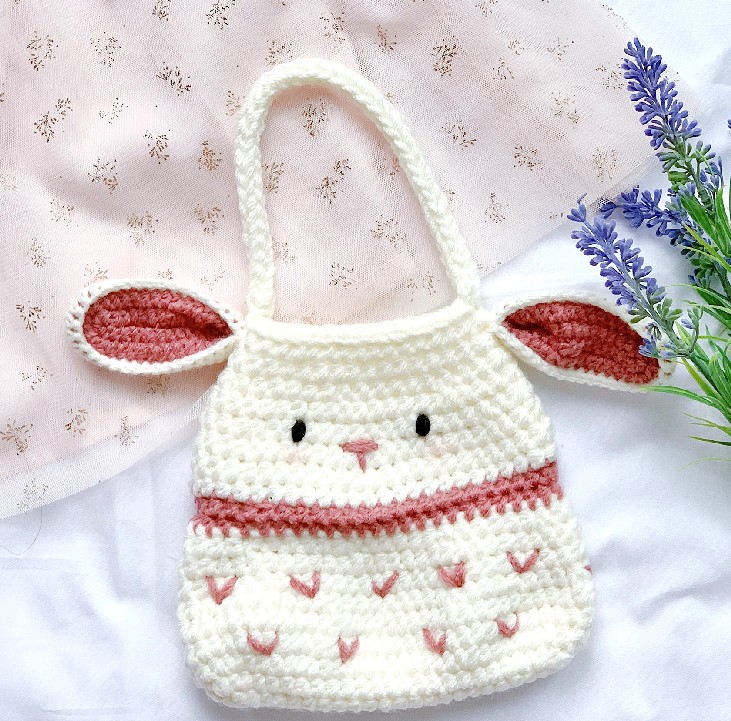
🎉 Your Crochet Bunny Bag is Complete! 🎉
Now you have a super cute, handmade Bunny Bag! 🐰💕 Perfect for:
✅ Easter baskets
✅ Storing small items
✅ Gifting to loved ones
✅ Carrying small accessories