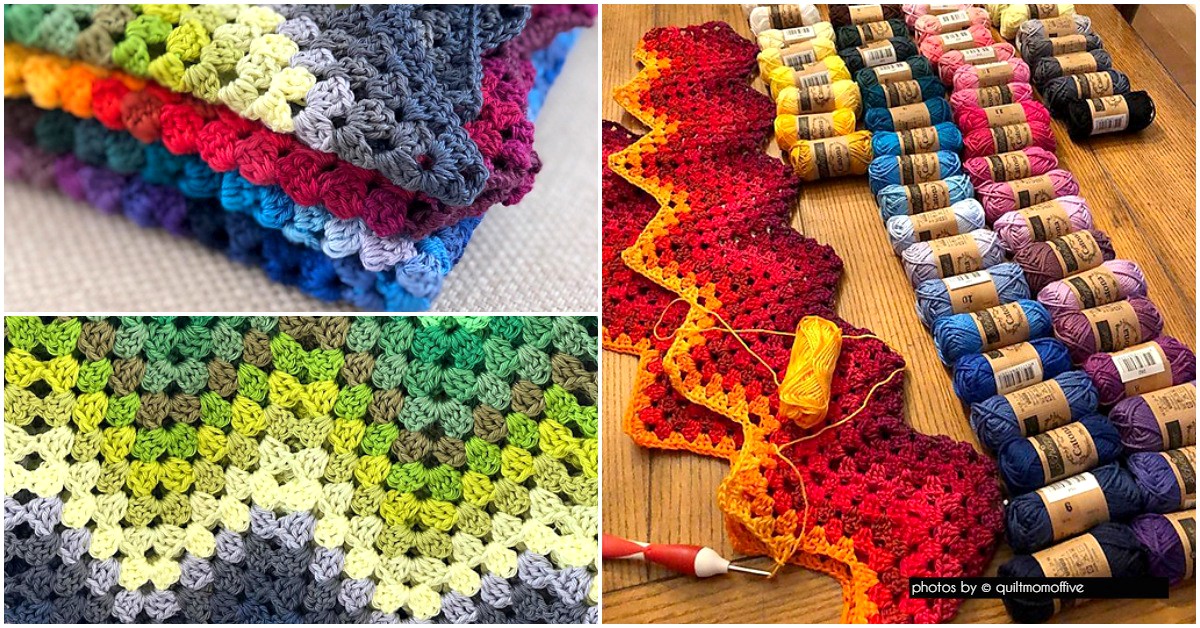
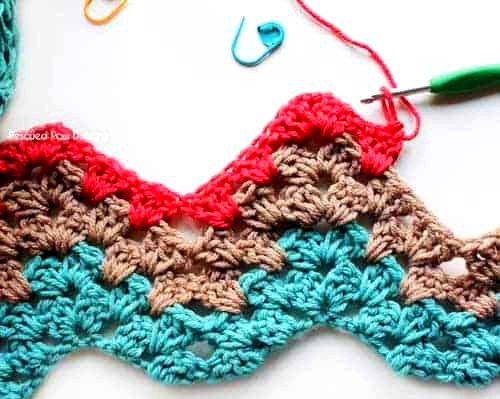
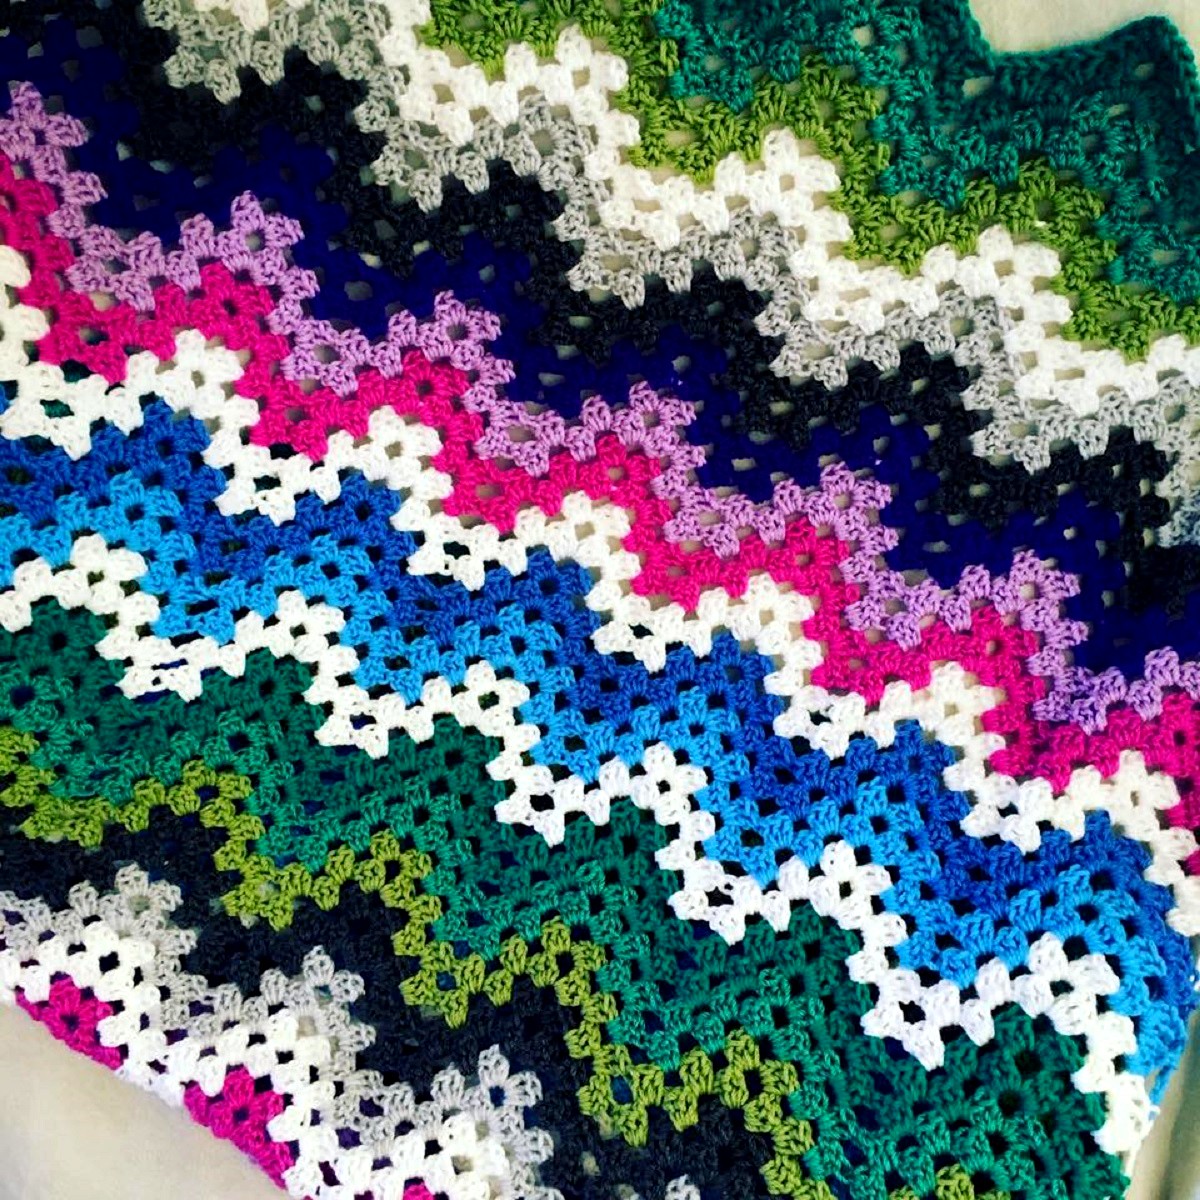
A Granny Ripple Blanket is a beautiful and cozy crochet project that combines the classic Granny stitch with a ripple or chevron pattern. This design creates a wavy, textured effect, making it perfect for throws, baby blankets, or large afghans. The best part? It’s a repetitive and relaxing project, great for beginners and experienced crocheters alike.
Materials Needed
Before you begin, gather the following materials:
Yarn Choices
You can use any weight of yarn, but worsted weight (Category 4) or DK weight (Category 3) works best. Choose soft, washable yarn if making a baby blanket, or opt for warm wool blends for a cozy throw. Some great options include:
- Acrylic yarn (e.g., Red Heart Super Saver, Caron Simply Soft) – Affordable and easy to care for.
- Cotton yarn (e.g., Bernat Handicrafter, Lily Sugar’n Cream) – Great for summer blankets.
- Wool blends (e.g., Lion Brand Wool-Ease, Patons Classic Wool) – Warm and durable.
Other Supplies
- Crochet hook (Size H/5.0mm or I/5.5mm for worsted weight yarn; adjust as needed for other weights).
- Scissors for trimming yarn.
- Tapestry needle for weaving in ends.
- Stitch markers (optional, but helpful for marking increases and decreases).
Understanding the Granny Ripple Pattern
The granny ripple combines two classic crochet elements:
- The Granny Stitch – Clusters of 3 double crochets (DC) worked into the same space.
- The Ripple Effect – Created by adding extra stitches at the peaks and skipping stitches in the valleys.
Basic Structure
- Peaks (increases): Two granny clusters in the same space form the high points.
- Valleys (decreases): Skipping stitches or working two together to create dips.
This gives the blanket a lovely wave-like pattern that looks intricate but is easy to master!
Step-by-Step Pattern Instructions
Step 1: Foundation Chain
To start, make a chain in multiples of 18 + 3 extra chains for turning.
- Example sizes:
- Baby blanket: 93 chains (5 ripples)
- Throw: 147 chains (8 ripples)
- Large afghan: 183 chains (10 ripples)
Step 2: First Row (Base Row)
- Work 3 double crochets (dc) in the 3rd chain from the hook (counts as a granny cluster).
- Skip 2 chains, and work another granny cluster (3 DC in the next chain).
- Repeat across the row following this pattern:
- At peak points: Work 2 granny clusters in one stitch (to create the ripple’s high point).
- At valleys: Skip 2 stitches (to form the dips in the ripple).
- At the end, turn in your work.
Step 3: Second Row and Beyond
- Chain 3 (counts as first dc), turn.
- Work granny clusters in the spaces between previous clusters.
- Maintain the ripple pattern:
- At peaks: Work 2 granny clusters in one space.
- At valleys: Skip 2 stitches (or work a dc decrease if preferred).
- Continue this pattern until you reach the end of the row.
- Repeat this row until your blanket reaches the desired size.
Color Variations and Striping Ideas
The Granny Ripple Blanket looks stunning in different color combinations. Here are some ideas:
1. Classic Stripes
Change colors every 2-4 rows for a striped look. This works well with rainbow themes or soft pastels for a baby blanket.
2. Ombre Gradient
Use different shades of the same color (e.g., light blue to dark blue) for a beautiful fading effect.
3. Random Color Changes
For a scrappy look, switch colors randomly using leftover yarn.
4. Solid Color Elegance
A single color creates a timeless and elegant design, especially in neutral tones like cream, gray, or navy.
Finishing Touches
1. Border (Optional)
To give your blanket a neat and polished edge:
- Work a single crochet (sc) border around the blanket for a clean finish.
- For a decorative touch, add a picot or scalloped edge.
2. Weaving in Ends
Use a tapestry needle to weave in any loose ends securely.
3. Blocking (Optional)
To even out the ripples and enhance the stitch definition, lightly block the blanket by spraying it with water and pinning it into shape.
Access The Free Pattern: Granny Ripple Blanket
Tips for Success
✅ Use stitch markers at the peaks and valleys to keep track of increases and decreases.
✅ Count your stitches every few rows to avoid mistakes.
✅ Choose a smooth yarn (not too fuzzy) so the granny clusters stand out.
✅ Practice on a small swatch before starting a full-sized blanket.
Video Tutorial:
Certainly! To help you create a Granny Ripple Blanket, here’s a highly recommended video tutorial that guides you through the process: By Channel All Crafts Channel
This tutorial provides clear, step-by-step instructions, making it ideal for both beginners and experienced crocheters. Happy crocheting! 😊
Final Thoughts
The Granny Ripple Blanket is a fun and relaxing project that produces a beautiful, textured blanket. Whether you make it for yourself, a loved one, or as a thoughtful handmade gift, this pattern will surely be cherished for years to come.


