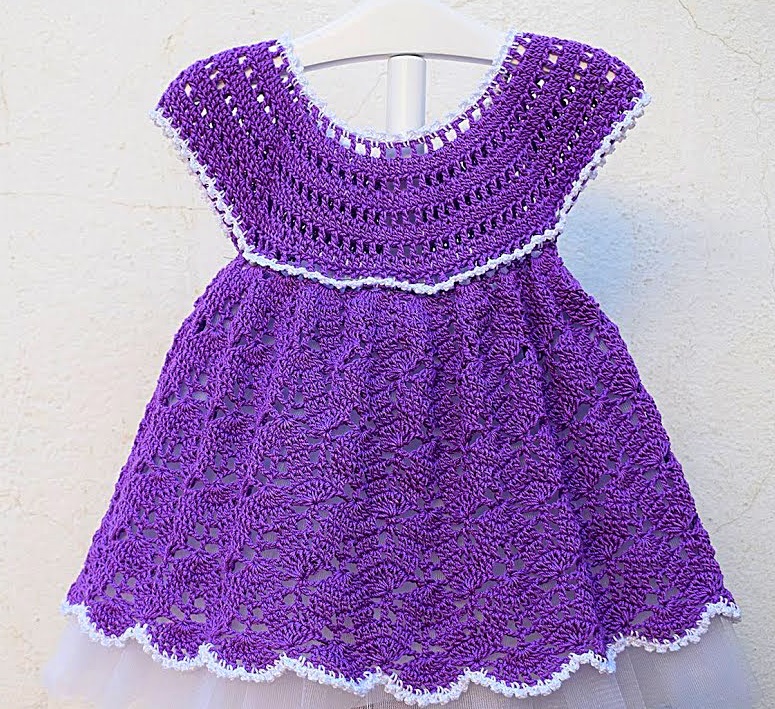
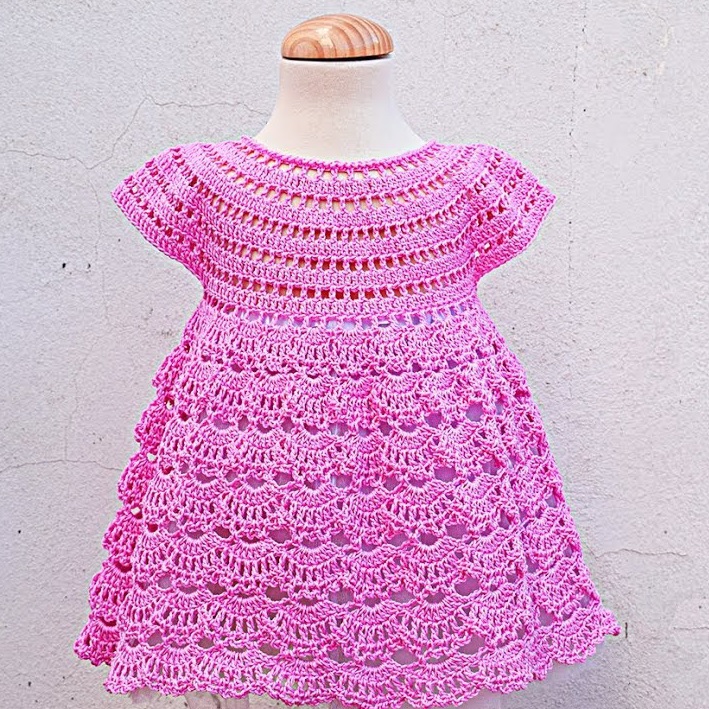
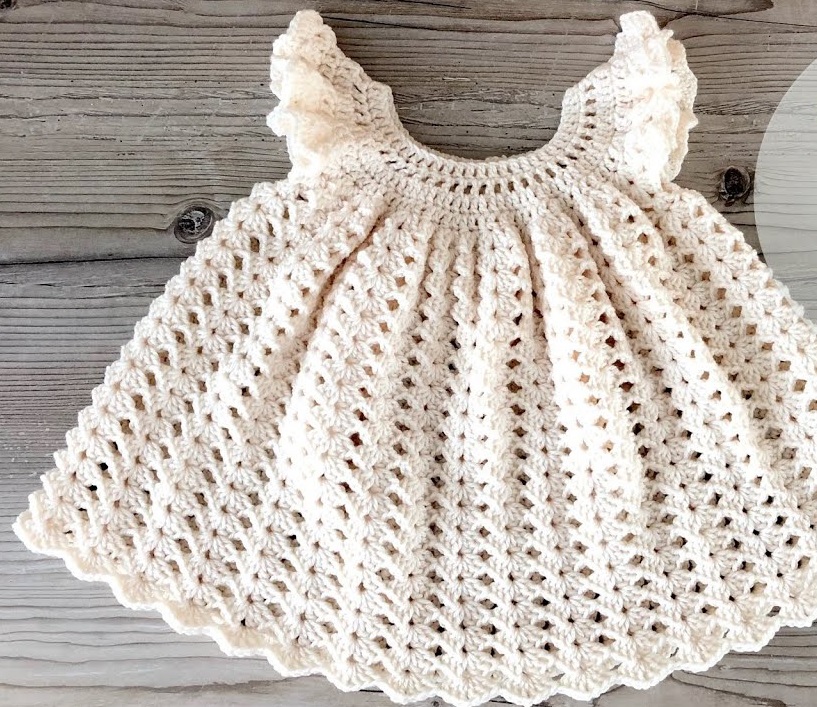
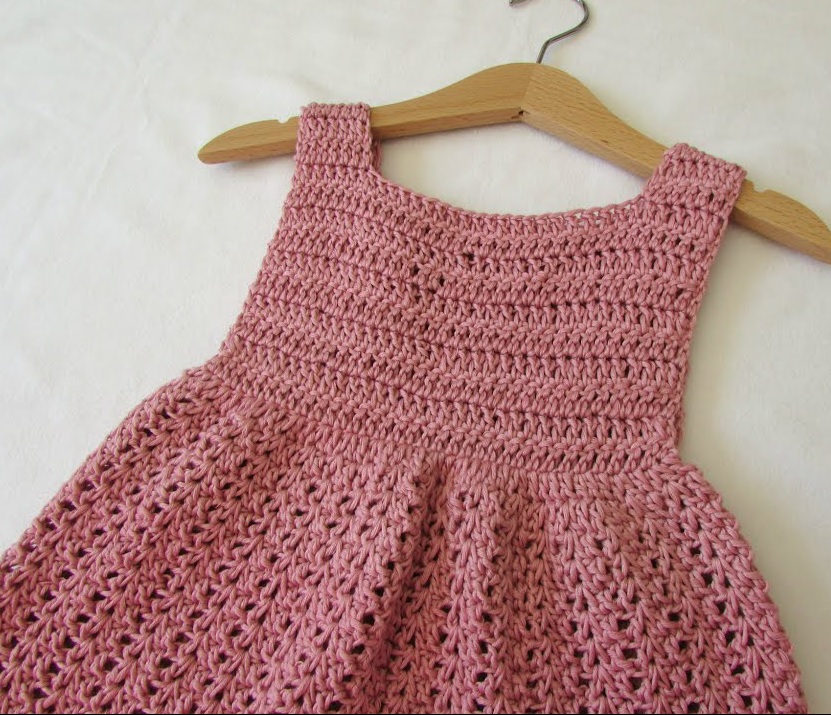
This crochet dress is designed for toddlers or young girls and is simple to make. The design features a fitted bodice, a full skirt, and optional decorative elements. The pattern is easy to follow and can be adjusted to fit different sizes.
Materials Needed:
- Yarn: Soft cotton or acrylic yarn (DK or worsted weight)
- Hook: Crochet hook 4mm – 5mm (depending on yarn weight)
- Tapestry Needle: For weaving in ends
- Stitch Markers: To keep track of rounds
- Scissors
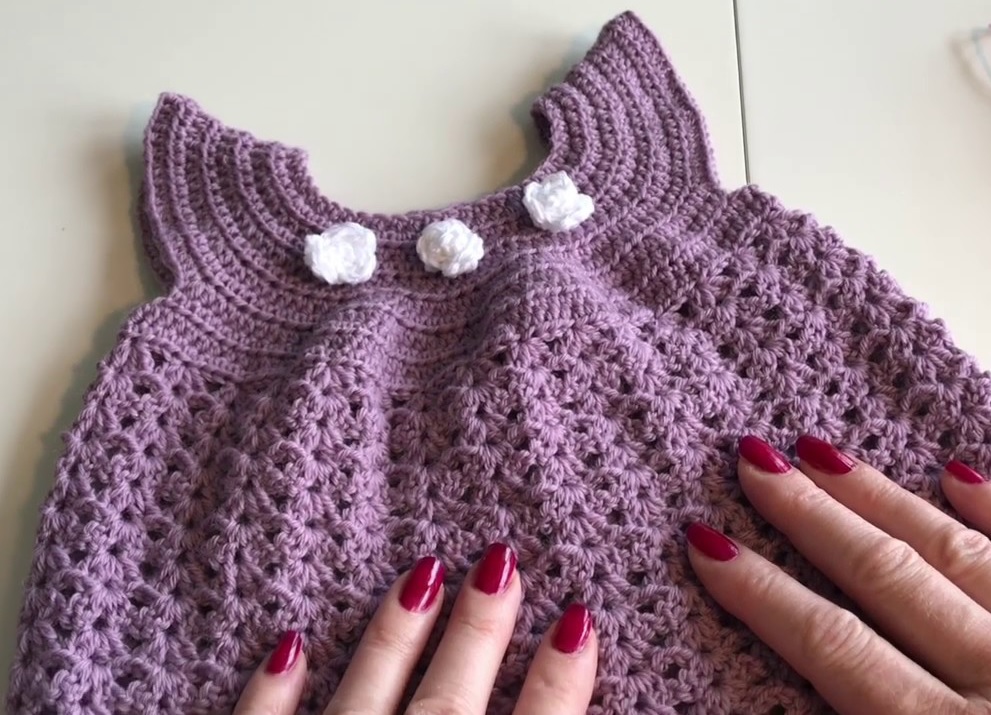
- Buttons, Ribbons, or Lace (Optional) for decoration
Abbreviations (US Terms):
- ch – Chain
- sl st – Slip Stitch
- sc – Single Crochet
- hdc – Half Double Crochet
- dc – Double Crochet
- tr – Treble Crochet
- st(s) – Stitch(es)
- inc – Increase (2 stitches in 1 stitch)
- dec – Decrease (crochet 2 stitches together)
Instructions:
Step 1: Creating the Bodice (Top Part)
-
Foundation Chain:
- For a toddler size (1-2 years): Ch 60.
- For 3-4 years: Ch 70.
- For 5-6 years: Ch 80.
- Adjust for larger sizes by increasing in multiples of 10.
-
Join to form a ring: Sl St into the first ch, making sure it is not twisted.
-
Round 1: Ch 2 (counts as first dc), dc in each ch around. Join with Sl St.
-
Rounds 2-8: Ch 2, dc in each stitch around. Join with Sl St.
- This forms the bodice section.
- You can adjust the length by adding or reducing rounds.

Step 2: Creating Armholes & Separating for the Skirt
-
Dividing for armholes:
- Fold the bodice flat and place stitch markers at four equal points to form the front, back, and armholes.
- Example: If you have 60 stitches, mark them at 15, 30, 45, and 60.
-
Round 9 (Armholes):
- Ch 2, dc in each stitch until the first marker,
- Skip stitches between the first and second marker (creating the armhole),
- DC in each stitch across the back section,
- Skip stitches between the third and fourth marker,
- Continue DC across the front section, join with SL St.
Step 3: Expanding the Skirt
-
Round 10: Ch 2, (dc in next st, 2 dc in next st) repeat around. Join.
- This increases the skirt’s width and gives it a fuller look.
-
Rounds 11-40: Ch 2, dc in each stitch around.
- Continue for as many rounds as you want until the skirt reaches the desired length.
- For longer dresses, add more rounds.
Step 4: Adding Decorative Edging
-
Option 1 – Simple Shell Border:
- (Skip 1 stitch, 5 dc in next stitch, skip 1 stitch, sl st in next stitch) repeat around.
-
Option 2 – Lacy Edge:
- (sc in next stitch, ch 3, skip 1 stitch, sc in next stitch) repeat around.
Step 5: Finishing Touches
- Weave in all loose ends with a tapestry needle.
- Optional Embellishments:
- Sew buttons on the top for a cute touch.
- Add a ribbon or bow at the waist.
- Attach a lace trim at the bottom.
Customization Ideas
- Straps Instead of a Bodice: Instead of working in the round, make two long straps and attach them to the front and back.
- Striped Design: Change yarn colors every few rows to create a striped pattern.
- Flare or Ruffles: Use treble crochet stitches in the lower rounds to create a flared effect.
Size Adjustments
- For larger sizes, start with more chains and increase the bodice length.
- For a longer dress, simply add more rounds to the skirt.
Final Thoughts
This easy crochet dress is comfortable, lightweight, and perfect for any season! You can make it in cotton for summer or use thicker yarn for a cozy winter dress. 🎀
Video Tutorial:
Certainly! To assist you in crocheting an easy girl’s dress, here’s a highly recommended video tutorial that guides you step-by-step through the process:
“HOW TO Crochet a Girl Dress – EASY AND FAST”
This tutorial is designed for beginners and provides clear instructions on creating a beautiful crochet dress. The video is divided into two parts:
- Part 1: Introduces the materials needed and begins the dress-making process.
- Part 2: Completes the dress and offers finishing tips.
Happy crocheting! If you have any more questions or need further assistance, feel free to ask. 😊