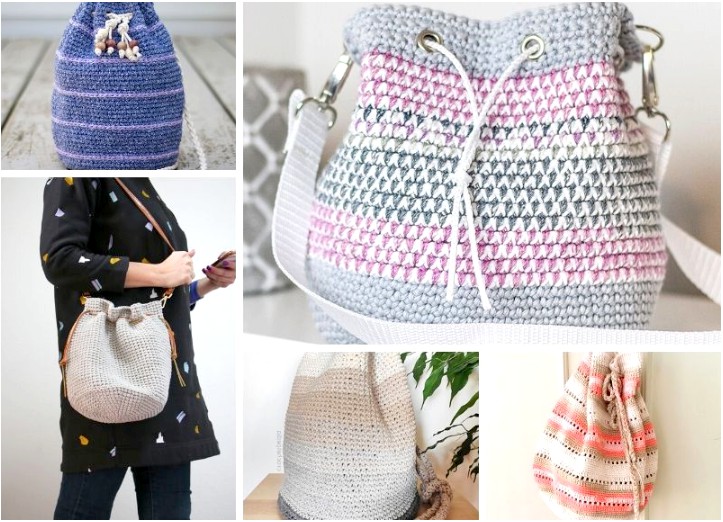
This simple crochet drawstring bag is perfect for carrying small items, gifting, or just storing things in a stylish way. It works up quickly and gives you a chance to practice basic stitches and shaping. You can make it in one color or use stripes or variegated yarn for extra flair!
✨ Skill Level
Beginner – If you know how to chain, single crochet, and double crochet, you can make this!
📋 Materials Needed
-
Yarn: Worsted weight yarn (Category 4). You’ll need about 100 grams or roughly 120–150 yards.
-
Cotton yarn works great for a sturdier bag.
-
Acrylic yarn can be used for a softer, stretchier finish.
-
-
Crochet Hook: Size 5.0 mm (H/8), or size needed to achieve a fabric that’s not too loose.
-
Other Supplies:
-
Scissors
-
Yarn needle (for weaving in ends)
-
Stitch marker (optional, to mark the beginning of rounds)
-
Measuring tape (optional)
-
📏 Finished Measurements
-
Width: Approximately 6 inches (15 cm)
-
Height: Approximately 8 inches (20 cm)
You can easily adjust the size by increasing or decreasing the foundation chain and number of rounds.
🧵 Abbreviations and Stitches Used (US Crochet Terms)
-
ch = chain
-
sc = single crochet
-
dc = double crochet
-
sl st = slip stitch
-
st(s) = stitch(es)
-
rnd = round
🪡 Instructions
We’ll start at the bottom of the bag and work in continuous rounds, forming an oval base and building up the sides of the bag. The drawstring will be threaded through an eyelet near the top.
🎒 Bag Body
Foundation:
Start by chaining 21 (or more if you want a wider bag).
Round 1:
-
Sc into the second chain from the hook.
-
Continue to sc across each chain stitch. You’ll have 20 sc when you reach the end of the row.
-
Do not turn your work. Instead, rotate it so you can work into the back side of the foundation chain.
-
Sc in each of the 20 stitches along the other side.
-
You now have a total of 40 sc (20 on each side of the chain).
-
Join with a sl st to the first sc to complete the round.
📝 This creates a rounded, oval base that we will now work upward from.
Rounds 2–5:
-
Ch 1.
-
Sc in each stitch around (you should have 40 stitches in each round).
-
Join with a sl st to the first sc at the end of each round.
📝 These rounds begin building the sides of the bag. The fabric should start to curve upward.
Round 6 – Eyelet Row (for drawstring):
-
Ch 2 (counts as first dc).
-
DC in each stitch around (40 DC total).
-
Join with a sl st to the top of the beginning ch-2.
📝 This row creates the small gaps where the drawstring will be woven through.
Rounds 7–20 (or to desired height):
-
Ch 1.
-
Sc in each stitch around (40 sc).
-
Join with a sl st to the first sc at the end of each round.
📝 You can make your bag taller or shorter by adjusting how many of these rounds you work.
Finishing the Body:
-
After your final round, fasten off the yarn and cut, leaving a 6″ tail.
-
Use a yarn needle to weave in the loose ends on the inside of the bag.

🎗️ Making the Drawstring
You have a few simple options:
Option 1: Basic Chain Cord
-
Chain 80 to 100, depending on how long you want your drawstring.
-
Fasten off and trim ends evenly.
Option 2: Braided Cord
-
Cut 3 long strands of yarn (each about 3 feet long).
-
Tie a knot at one end and braid them together.
-
Knot the other end when finished.
Option 3: I-Cord (Crochet Version)
-
Using a smaller hook, ch 3.
-
Insert hook into second chain from hook, pull up a loop.
-
Insert hook into third chain, pull up a loop (3 loops on hook).
-
Slide two loops off the hook (carefully), hold them with your fingers.
-
Yarn over and pull through the remaining loop.
-
Insert hook back into one of the loops you set aside, yarn over, and pull through.
-
Repeat for the other loop.
-
Repeat this process until the cord is as long as you want.
-
Fasten off and weave in ends.
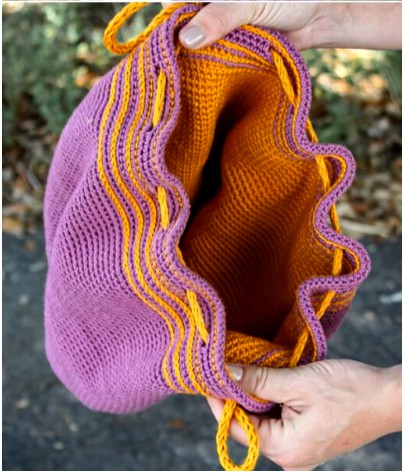
🧵 Adding the Drawstring
-
Take your finished cord and weave it through every 2 or 3 stitches of the eyelet round (Round 6).
-
Go over and under as you work your way around.
-
Once both ends come out on the same side, pull them evenly and tie in a bow or knot.
-
You can add beads, tassels, or charms to the ends if you like.
🎀 Optional Customizations
-
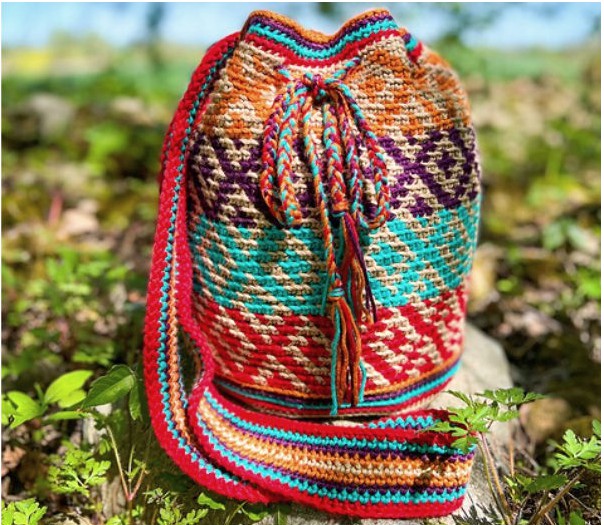
Color changes: Try using stripes or a contrasting color for the eyelet round.
-
Embellishments: Add a crocheted flower, appliqué, or embroidery.
-
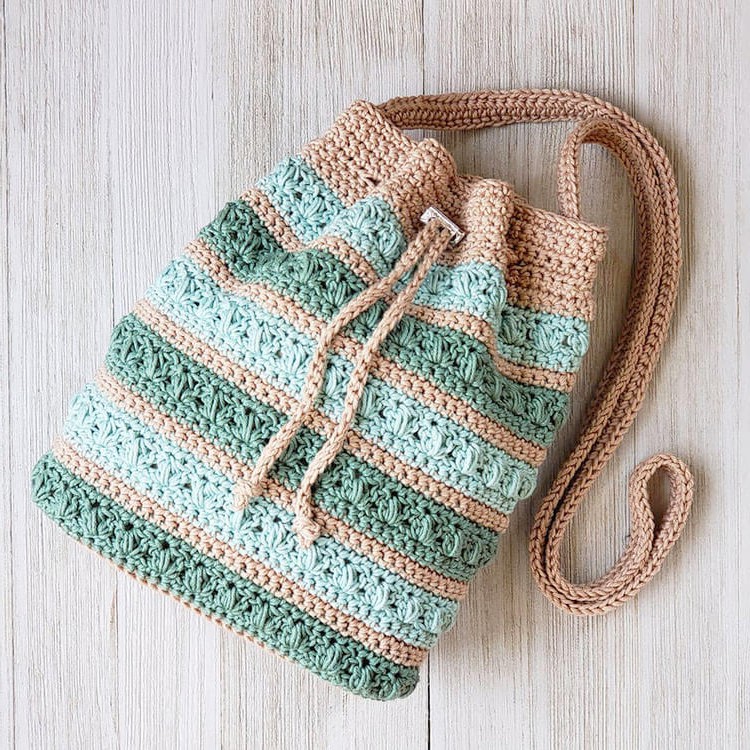
Strap: Make a longer drawstring and wear the bag as a mini purse or crossbody pouch.
-
Lining: If you want extra durability, you can sew a small fabric lining and hand-stitch it to the inside.
✅ Care Instructions
If you used cotton yarn, you can machine wash and dry on low. If you used acrylic yarn, hand washing is gentler, or wash on delicate and lay flat to dry.
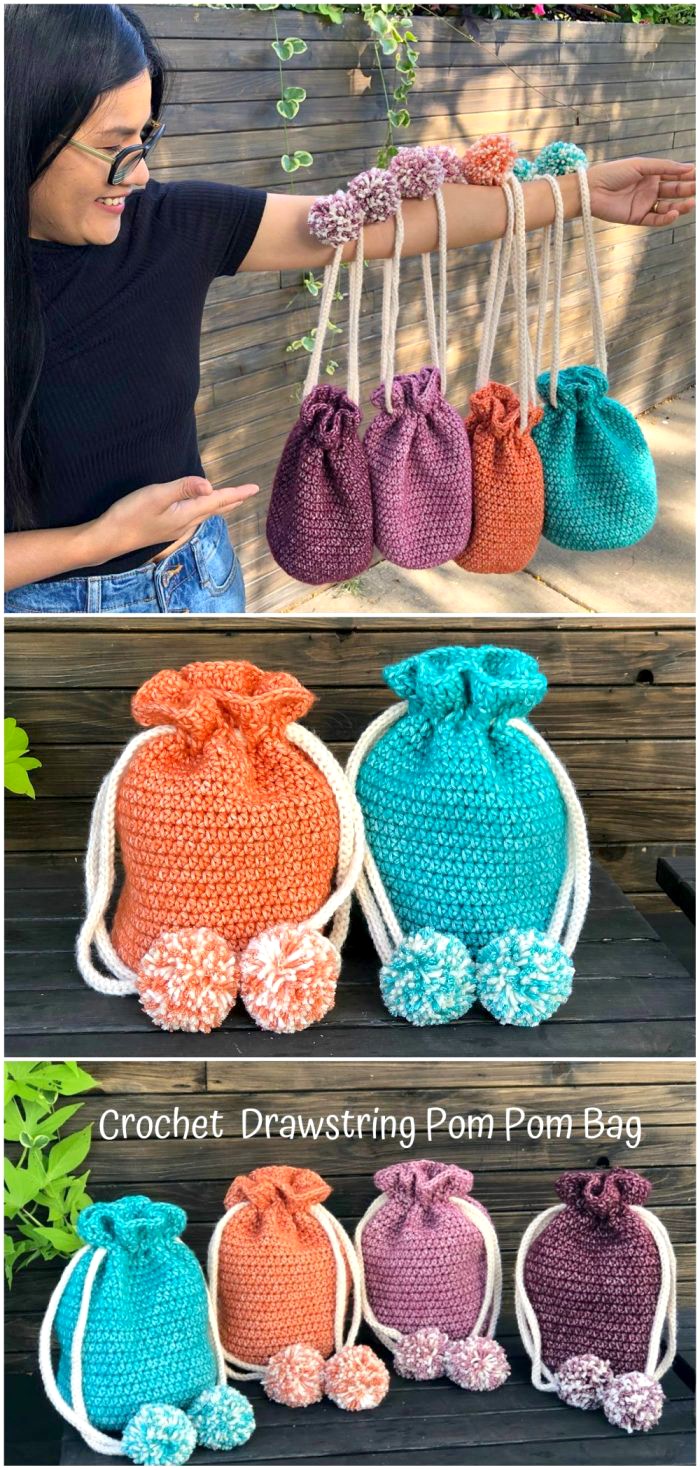
🧺 That’s it! You’ve Made a Crochet Drawstring Bag!
This small and stylish project is a great gift idea, stash-buster, or craft market favorite. Once you get the hang of it, you can try making it in different sizes or adding pockets and handles.