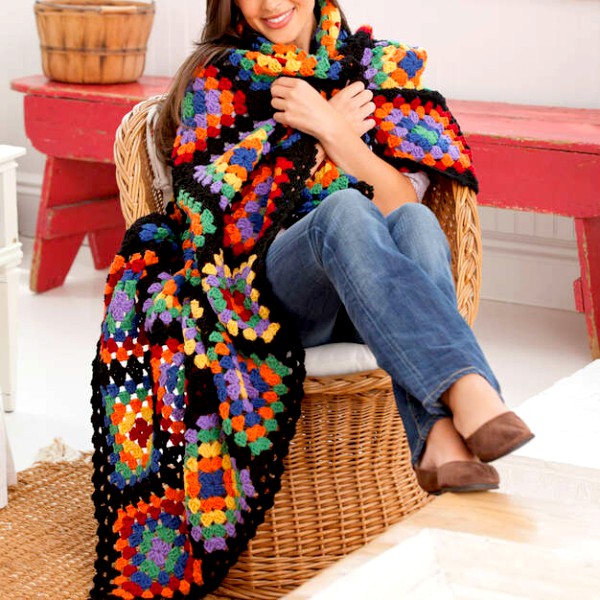
Crafting a Traditional Granny Throw
A granny throw is a classic crochet project that combines simplicity with versatility. Whether you’re new to crochet or an experienced crafter, this timeless design offers a cozy and stylish addition to any space. The granny throw is made up of granny squares, which can be arranged in a variety of ways to create stunning patterns and color combinations.
In this guide, you’ll learn how to:
✔️ Select the right materials
✔️ Crochet a classic granny square
✔️ Assemble the squares into a throw
✔️ Add a decorative border
✔️ Finish your throw neatly
 Materials Needed
Before you start, gather the following supplies:
Yarn
-
Worsted weight yarn (medium-weight, category 4) – This is a great choice for beginners because it’s easy to work with and provides a cozy feel.
-
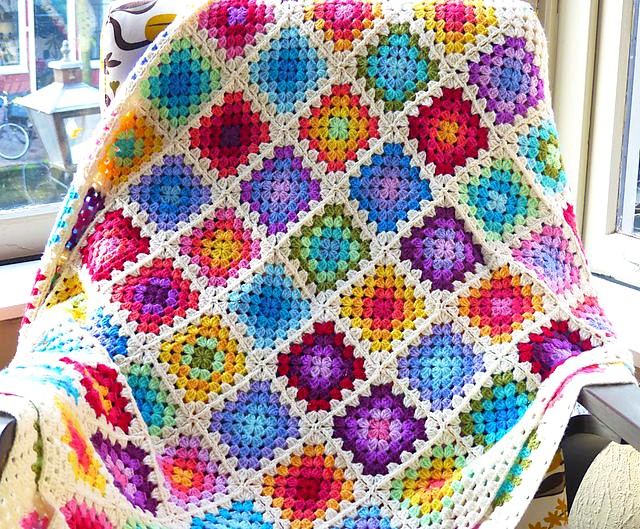
Choose multiple colors for a vibrant patchwork effect or stick to a single color for a more elegant, classic look.
Crochet Hook
-
A size H/5.0mm crochet hook is commonly used for worsted-weight yarn.
-
Adjust the hook size based on your yarn’s recommendations for the best results.
Other Tools
-
Scissors – To cut yarn cleanly.
-
Tapestry needle – For weaving in loose ends.
-
Stitch markers (optional) – To mark important stitches.
Step 1: Plan Your Throw
Before you begin crocheting, decide on the size and layout of your throw.
Standard Sizes for Granny Throws:
-
Lap Blanket: 36″ x 48″ (approx. 48 squares)
-
Small Throw: 50″ x 60″ (approx. 80 squares)
-
Large Throw: 60″ x 80″ (approx. 120 squares)
💡 Tip: Create a rough sketch or lay out a few sample squares to visualize your design before committing to a final layout.

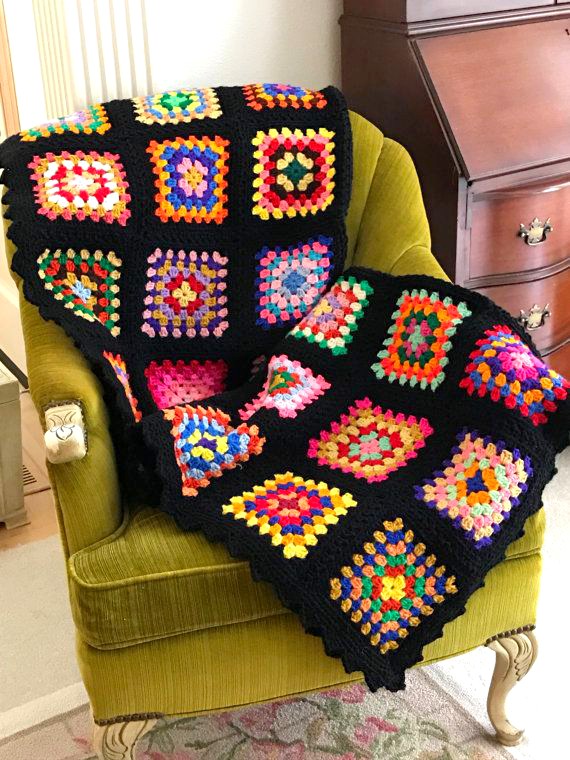
Step 2: Crocheting a Basic Granny Square
The classic granny square is made up of clusters of double crochets arranged in a square shape.
Instructions for a Basic Granny Square
Round 1: Starting the Square
-
Make a slip knot and chain 4.
-
Insert your hook into the first chain and slip stitch to form a ring.
-
Chain 3 (counts as first double crochet), then work 2 double crochets into the ring.
-
Chain 2 (this forms the corner).
-
Work 3 double crochets into the ring, chain 2 – repeat 3 more times.
-
Slip stitch into the top of the initial chain 3 to close the round.
At this point, your work should have four clusters of three double crochets, separated by chain-2 spaces at the corners.
Round 2: Expanding the Square
-
Slip stitch into the next chain-2 space.
-
Chain 3 (counts as the first double crochet), then work 2 more double crochets into the same chain-2 space.
-
Chain 2 (to form the new corner), then work 3 double crochets into the same space.
-
Move to the next chain-2 space and repeat: 3 double crochets, chain 2, 3 double crochets.
-
Continue around the square and join with a slip stitch to finish the round.
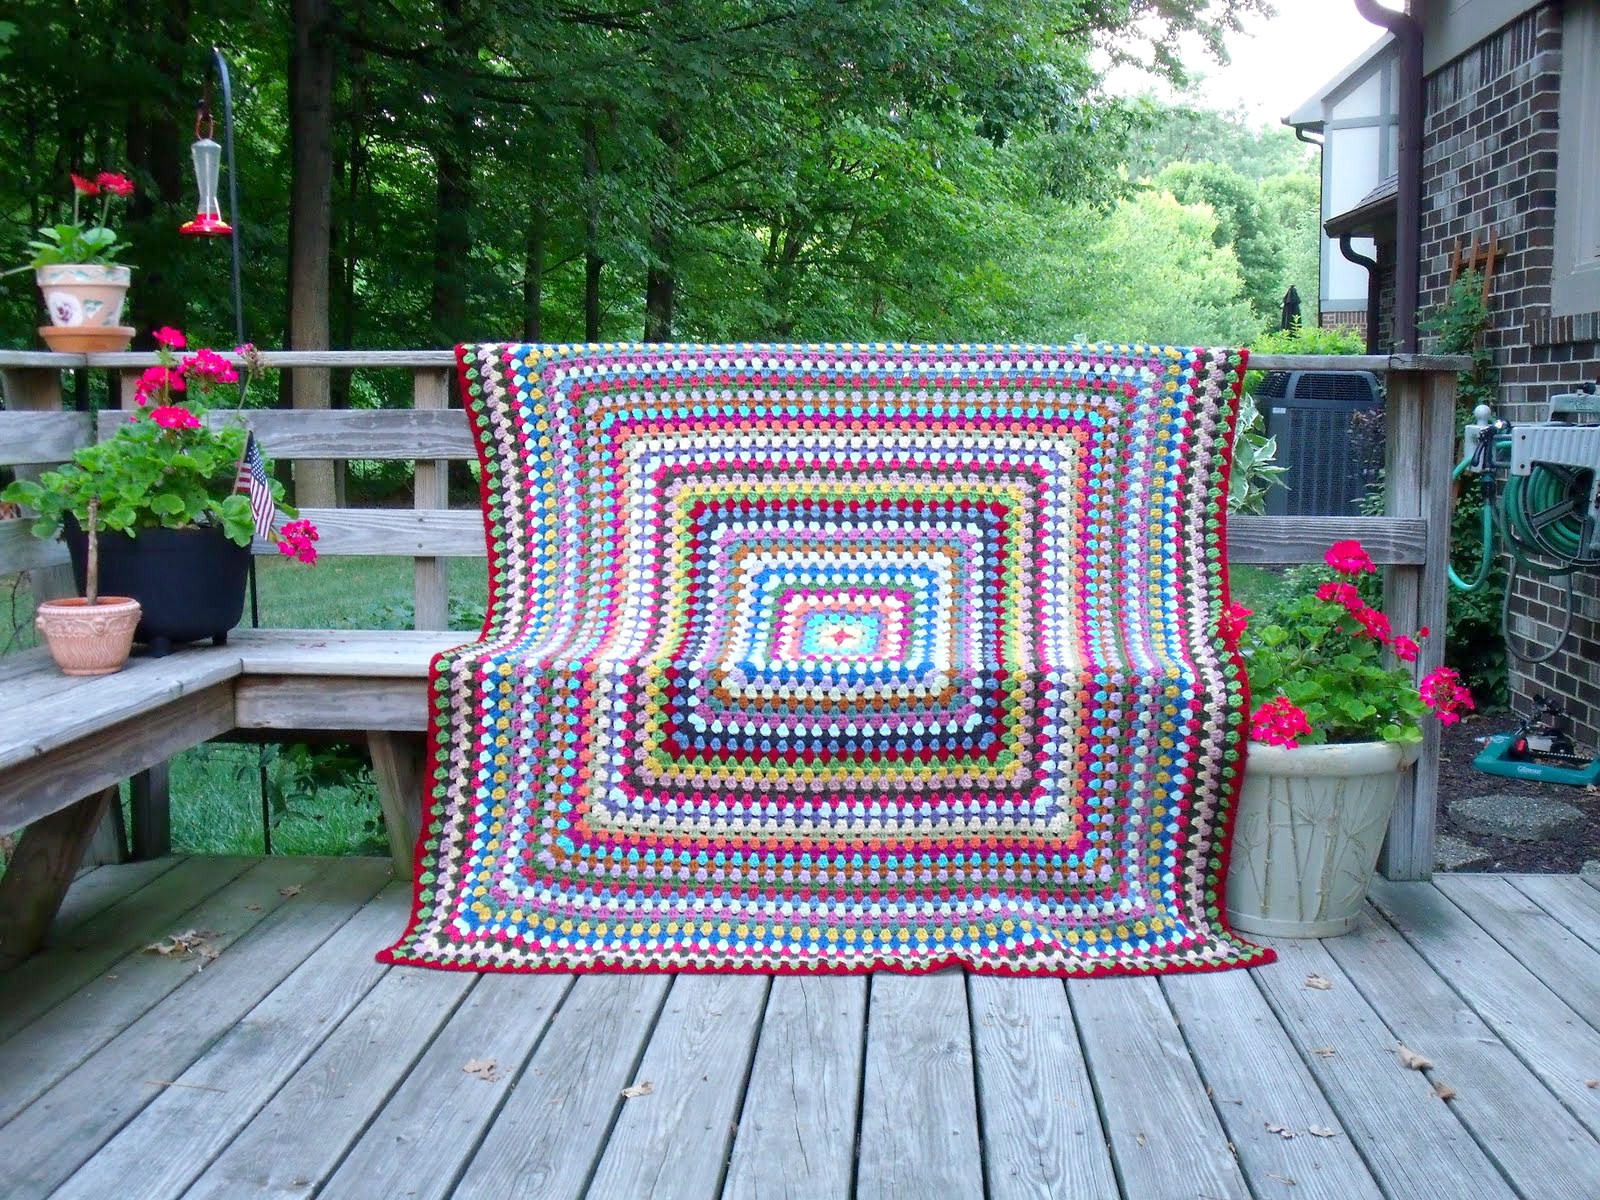
Round 3 and Beyond: Growing the Square
-
For each additional round, continue working 3 double crochets into each chain-2 space, chaining 2 at each corner.
-
As your square grows, you’ll have side spaces between corner clusters. In these, simply work 3 double crochets (no chain 2 needed) to keep the edges smooth.
💡 Tip: Change colors every few rounds for a vibrant, multi-colored look.
Step 3: Making Multiple Squares
Now that you’ve mastered the granny square, repeat the process to create enough squares for your throw.
💡 Tips for Keeping Consistency:
-
Use the same tension throughout to ensure all squares are the same size.
-
Weave in ends as you go to avoid dealing with too many loose threads at the end.
-
Block your squares (optional) by pinning them to shape and lightly steaming them with an iron or spritzing them with water.
Step 4: Joining the Squares
Once you’ve completed all your squares, it’s time to join them together.
Methods for Joining Granny Squares
1. Slip Stitch Method (Neat & Secure)
-
Place two squares wrong sides together.
-
Insert the hook through both layers and slip stitch through the back loops only.
-
Continue joining squares in rows, then join the rows together.
2. Whipstitch Method (Smooth & Invisible)
-
Thread a tapestry needle with yarn and sew squares together using a whipstitch.
-
Keep stitches loose to avoid puckering.
3. Join-as-You-Go (Seamless Look)
-
Instead of sewing, connect squares while working the final round of each by slip stitching into the adjacent square.
Choose the method that best suits your aesthetic preference.
Step 5: Adding a Border
A border ties the whole thing together and gives it a finished look.
Simple Border Options:
-
Single Crochet Border: Work a round of single crochets around the entire throw for a clean finish.
-
Shell Stitch Border: Crochet 5 double crochets in one stitch, skip a few stitches, and repeat to create a scalloped edge.
-
Picot Border: Create small chain loops for a delicate, decorative edge.
Step 6: Weaving in Ends
Use a tapestry needle to weave in any remaining yarn tails. Secure the ends by threading them through several stitches before trimming.
Step 7: Blocking the Throw (Optional)
To give your granny a professional finish, block it:
-
Lay the throw flat on a blocking board or towel.
-
Pin the edges to the correct shape.
-
Lightly mist with water and allow it to dry completely.
Final Thoughts
Congratulations! 🎉 You’ve completed a Traditional Granny Throw that is both beautiful and functional.
Ways to Use Your Granny Throw:
✔️ Drape it over a couch for a cozy touch.
✔️ Gift it to a loved one as a handmade treasure.
✔️ Use it as a bedspread for warmth and color.