Crochet bags are a versatile and stylish accessory made using various crochet techniques and stitch patterns. One of the best ways to follow and design crochet bags is through stitch diagrams—visual symbols that represent each crochet stitch and its placement. This guide walks you through how to read these diagrams and gives you several long-form crochet bag patterns, complete with the stitch diagram structure explained in words.
🔸 Understanding Crochet Stitch Diagrams
What Is a Stitch Diagram?
A stitch diagram is a visual crochet pattern using standardized symbols to represent different crochet stitches. These symbols are arranged to show exactly where to place each stitch. Stitch diagrams can be used instead of written instructions or alongside them.
Reading a Diagram
-
In the round: Start from the center and work outward in spirals or rounds.
-
In rows: Start from the bottom and work upward, alternating directions for each row.
-
Symbols are placed exactly where each stitch goes, helping you visualize the construction of the piece.
Basic Crochet Stitch Symbols
| Symbol | Stitch Name | Abbreviation | Description |
|---|---|---|---|
| ● | Chain stitch | ch | Used to begin rows, create space |
| + or x | Single crochet | sc | Dense, short stitch |
| T | Half double crochet | hdc | Taller than sc, shorter than dc |
| Double crochet | dc | ||
| 𝑇̶ | Treble crochet | tr | Tall stitch, often for lace |
| ∩ | Slip stitch | sl st | Used to join or move stitches |
| ⊙ | Magic ring | – | Starting loop for working in the round |
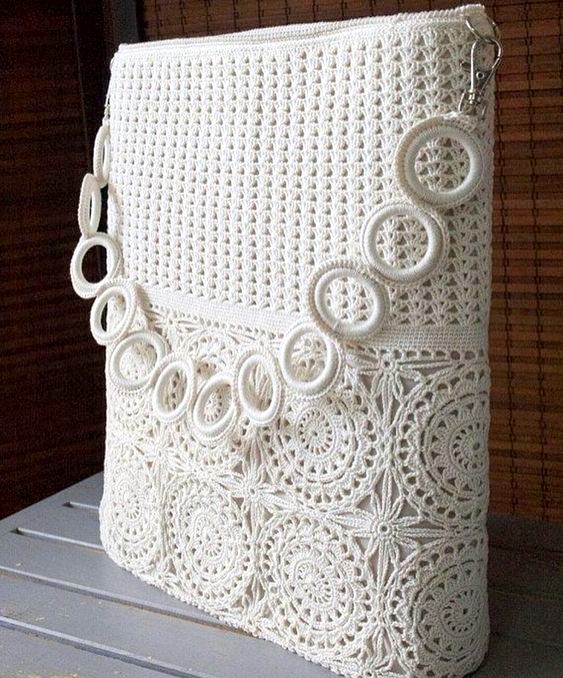
👜 Pattern 1: Classic Granny Square Tote Bag
Style:
Vintage, square motifs, boho look.
Construction:
It is made by creating multiple granny squares, sewing them together into a rectangular or L-shaped fabric, and folding and joining them to form a bag.
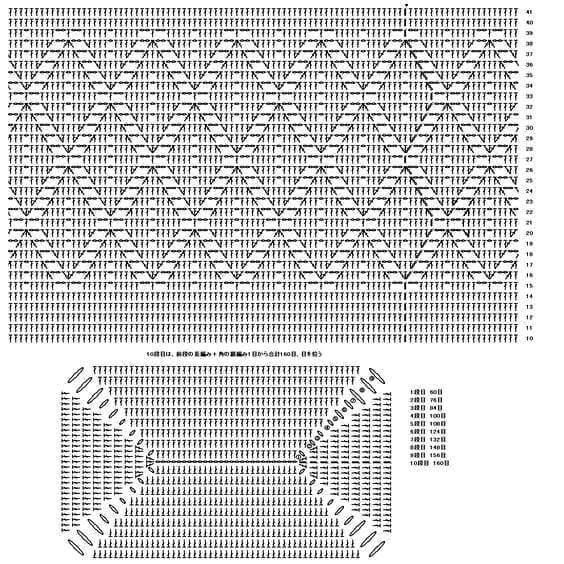
Stitch Diagram (Granny Square in Rounds):
Assembly:
-
Create 13 squares.
-
Arrange in a 3×3 or L-shape layout.
-
Seam together with slip stitch or whip stitch.
-
Fold and sew edges.
-
Add a strap and optional lining.
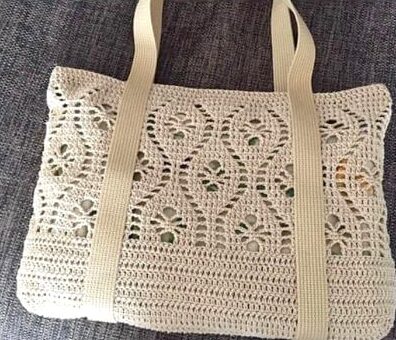
👜 Pattern 2: Shell Stitch Shoulder Bag
Style:
Elegant, lacy texture with waves.
Construction:
Worked in rows with a repeating shell pattern. Folded and seamed to create a pouch.
Shell Stitch Diagram (Worked in Rows):
Assembly:
-
Work a rectangle tall enough to fold in half.
-
Seam the sides.
-
Add a zipper or button.
-
Optional: Add a strap or chain.
👜 Pattern 3: Mosaic Crochet Backpack
Style:
Modern geometric designs using two-color mosaic crochet.
Construction:
Front and back panels worked separately using a mosaic chart.
Mosaic Overlay Stitch (Explained):
Use a mosaic chart for designs like diamonds, stripes, or waves.
Assembly:
-
Work two panels in mosaic stitch.
-
Add sides and bottom.
-
Attach the straps and casing for the drawstring.
-
Line the inside if desired.
👜 Pattern 4: Star Stitch Mini Bag
Style:
Structured texture with a dense, stylish look.
Construction:
Worked in rows using the star stitch. Folded in half and sewn.
Star Stitch (Explained Diagrammatically):
Repeat rows for height.
Assembly:
-
Fold the rectangle in half.
-
Seam sides.
-
Add a button flap and a short handle.
👜 Pattern 5: Net Market Bag with Filet Mesh
Style:
Stretchy, open mesh – perfect for groceries or summer use.
Construction:
Worked in the round from the base up with increasing mesh rows.
Filet Mesh Stitch Diagram:
Finish:
-
Add a band of single crochet or ribbing at the top.
-
Crochet thick handles or add rope handles.
🧵 Tips for Crochet Bag Making
-
For durability, strong yarns like cotton, raffia, jute, macrame cord, or t-shirt yarn.
-
Always block panels before assembling to even out shapes.
-
Add linings to reinforce the structure and prevent stretching.
-
Reinforce straps with a sturdy stitch pattern or sew them onto the lining.
Videos Tutorials:
Certainly! Here are some YouTube video tutorials that provide step-by-step instructions for creating crochet bags, complete with stitch diagrams and patterns:
🧺 1. Easy Crochet Bag for Beginners
This tutorial guides you through making a simple mesh tote bag using the granny stitch. It’s perfect for beginners and includes clear instructions.
👜 2. Simple Crochet Tote Bag Tutorial
Learn how to create a stylish and adjustable tote bag. This video provides a straightforward pattern that’s easy to follow.
🌟 3. Crochet Star Tote Bag Tutorial | Free Grid Chart Pattern
This tutorial demonstrates how to crochet a star-patterned tote bag using the tapestry method. It includes a free grid chart pattern for reference.
🎒 4. Drawstring Crochet Bag Tutorial – Star Stitch
Explore the star stitch technique to create a drawstring crochet bag. This video offers a full tutorial along with a free crochet pattern.
🧵 5. Pocket Purse Crochet Tutorial with Charts
This tutorial provides a seamless pattern for a pocket purse, complete with charts to guide you through the process.
Feel free to explore these tutorials to find the crochet bag pattern that best suits your style and skill level. If you need more specific patterns or assistance, don’t hesitate to ask!