Skill Level: Intermediate
Sizes Available: Small, Medium, Large, XL, XXL)
Gauge: 14 hdc x 10 rows = 4″ x 4″
Hook Size: 5.0 mm (H-8)
Yarn Weight: Worsted (Medium/Category 4)
Suggested Yarn:
-
Red (Main color): approx. 800–1200 yds
-
White (Trim): approx. 150–250 yds
-
Black (Belt): approx. 100 yds
-
Yellow/Gold (Buckle): approx. 50 yds
Tools Needed:
-
5.0 mm crochet hook
-
Yarn needle
-
Scissors
-
Stitch markers
-
Measuring tape
🧶 Abbreviations (US Terms):
-
ch – chain
-
sc – single crochet
-
hdc – half double crochet
-
dc – double crochet
-
sl st – slip stitch
-
st(s) – stitch(es)
-
inc – increase (2 hdc in same stitch)
-
Dec – decrease (hdc 2 stitches together)
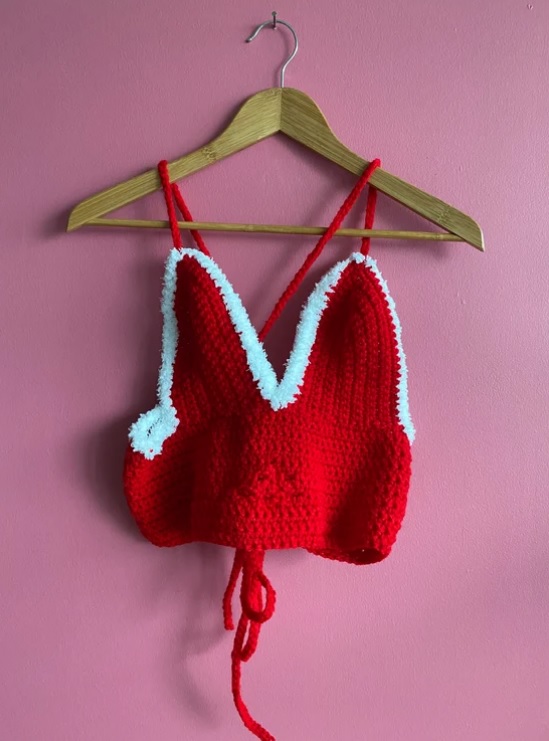
🔹 Construction Notes:
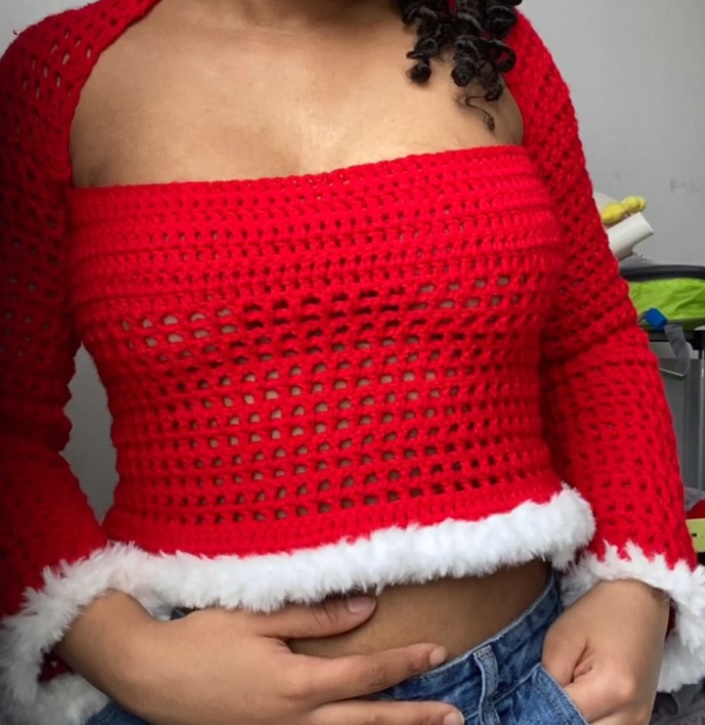
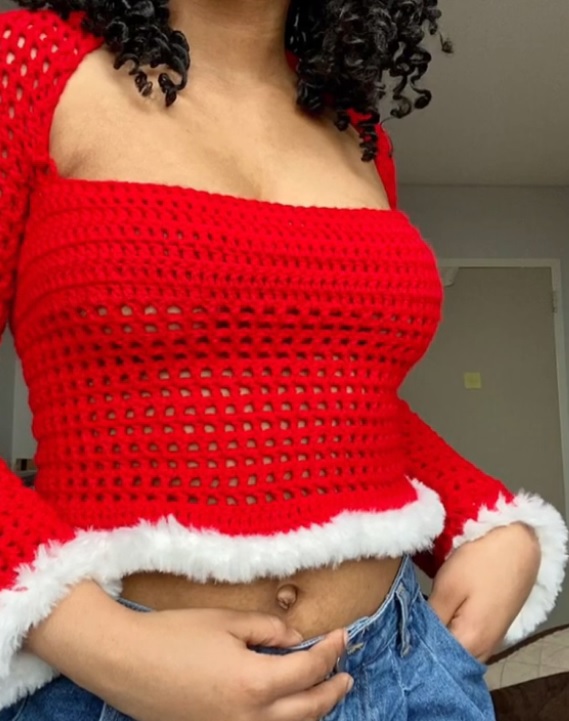
This top is worked in the round from the bottom up, then separated at the underarms for the front and back panels. Sleeves are crocheted separately and sewn on. All trims and decorative details are added last.
🪡 INSTRUCTIONS
✅ Bottom Body (Red Yarn):
-
Foundation Chain:
Ch 140 (150, 160, 170, 180), or any even number that fits around your bust snugly but comfortably. Join with sl st, being careful not to twist the chain. -
Rounds 1–5:
Ch 1, hdc in each st around, join with sl st. Repeat for 5 rounds. -
Rounds 6–25:
Continue hdc rounds to build the body length. Adjust the number of rows before the belt area, depending on your desired length.
✅ Belt Section (Black Yarn):
-
Rounds 26–29:
Switch to black yarn. Ch 1, hdc in each stitch around. Repeat for 4 rounds.
✅ Upper Body (Red Yarn):
-
Rounds 30–38:
Switch back to red yarn. Continue hdc in each st around for 8–10 rounds or until you reach the desired armhole height.
✅ Armhole Shaping (Front & Back Panels):
-
Front Panel:
-
From the current round, mark half the stitches for the front.
-
Row 1: Hdc across front half only, turn.
-
Row 2–6: Hdc across, decreasing 1 st each side to shape armholes.
-
-
Back Panel:
Repeat the same steps as the front panel on the remaining half. -
Join Shoulders:
Align and sew (or sl st) the front and back shoulder seams together, leaving space for the neck.

✅ Sleeves (Make 2 – Start from Shoulder Down):
-
Join Red Yarn at the armhole opening.
-
Round 1–25:
Ch 1, work hdc around armhole, adjusting stitch count to make it even (~40–50 sts depending on size). Work evenly in rounds, decreasing slightly every 5–6 rows for shaping. -
Optional Bell Sleeve:
Add 4–6 extra stitches toward the cuff for a Santa-style flare.
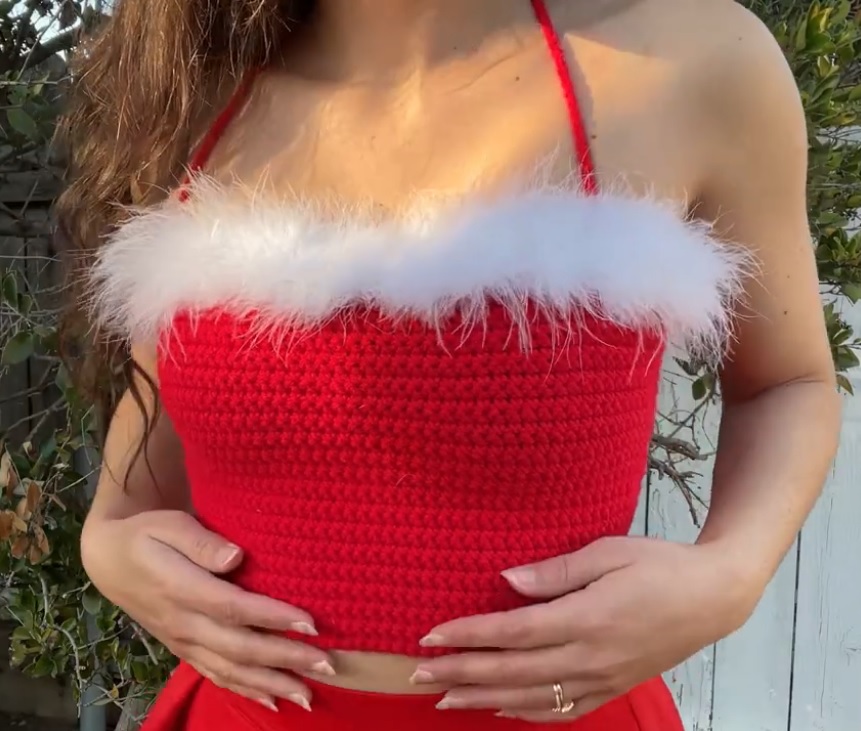
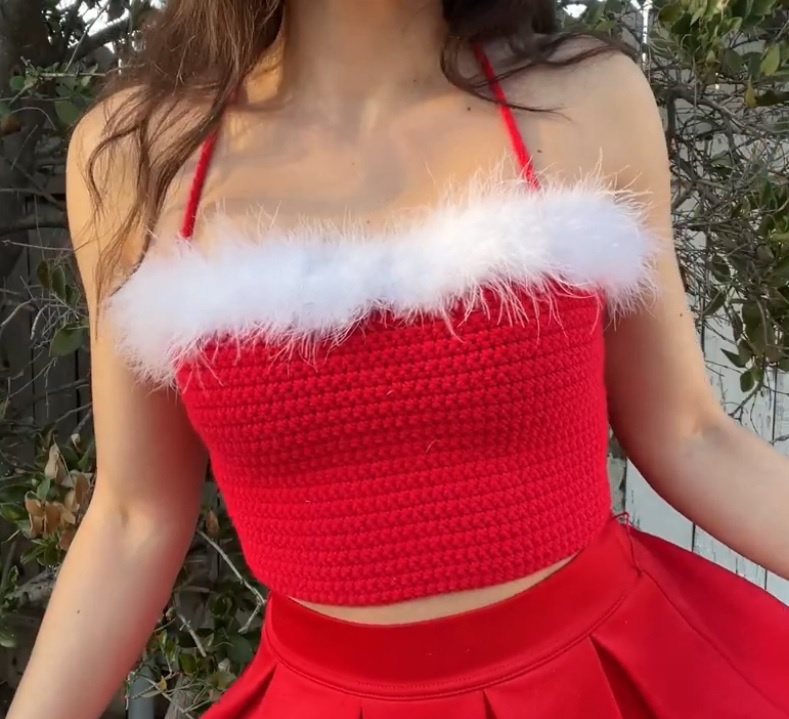
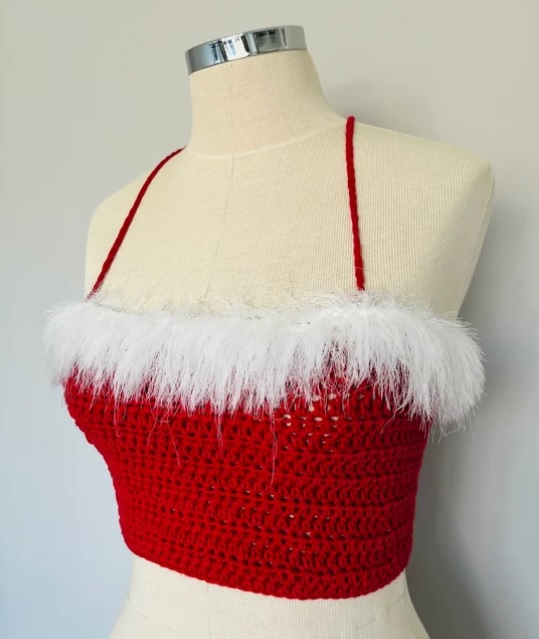
✅ White Trim (Cuffs, Hem, Neckline):
Switch to white yarn for fur-like trim.
-
Bottom Hem Trim:
Work 2 rounds of sc around the bottom of the top. If desired, use boucle or faux fur yarn for texture. -
Cuff Trim:
Ch 1, sc around each sleeve cuff for 2–3 rounds. -
Neckline Trim:
Work sc evenly around the neck opening, 2–3 rounds.
🟡 Belt Buckle (Yellow or Gold Yarn):
Optional but adds charm!
-
Make a Rectangle:
-
Ch 10
-
Row 1–3: sc in each ch, ch 1, turn
-
Work sc around edges to form a clean rectangle.
-
-
Attach:
Sew centered onto the black belt section in the front.
🧵 Finishing:
-
Weave in all ends using a yarn needle.
-
Steam block gently to shape the garment.
-
Add decorative buttons down the front center if desired (white or gold).
-
Optional: Line inside with fleece fabric for warmth and comfort.
🧼 Care Instructions:
-
Hand wash recommended, especially with textured yarns.
-
Lay flat to dry to maintain shape.
-
Store folded to avoid stretching.
Video Tutorials:
Certainly! Here are some YouTube video tutorials to help you crochet a Christmas Santa Top:
-
Easy Christmas Crochet Top Tutorial
This beginner-friendly tutorial demonstrates how to crochet an easy Christmas-inspired top.
Watch here:
-
HOW TO CROCHET – Santa Crop Top (Part 1)
This video guides you through crocheting a Santa-themed crop top, perfect for festive occasions.
Watch here:
-
CHRISTMAS CROCHET TOP
This tutorial provides instructions for creating a crochet Christmas top, including materials needed and step-by-step guidance.
Watch here:
-
Crochet Easy Christmas Sweater
Learn how to crochet an easy Christmas sweater with this tutorial, featuring a festive design suitable for the holiday season.
Watch here:
Feel free to choose the tutorial that best matches your skill level and desired style. If you need further assistance or specific patterns, let me know!