🍼 Overview
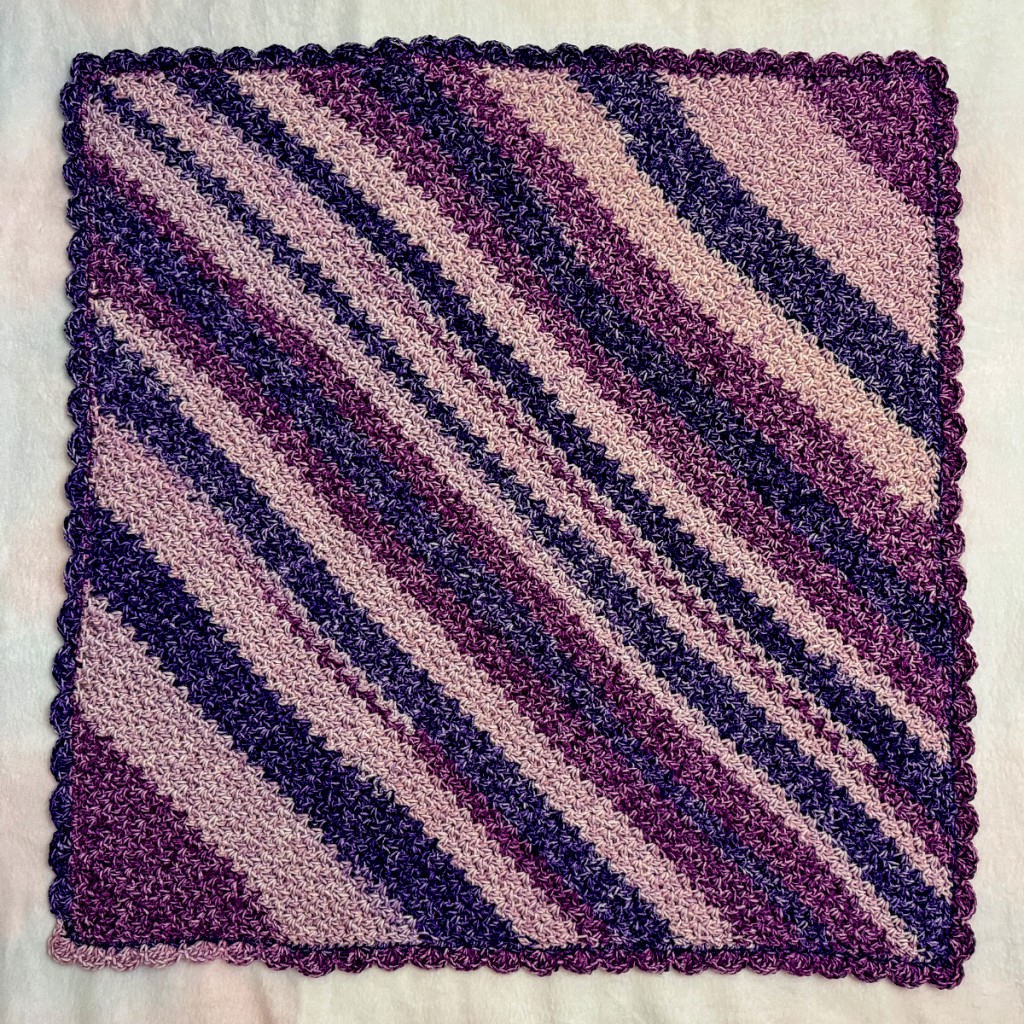
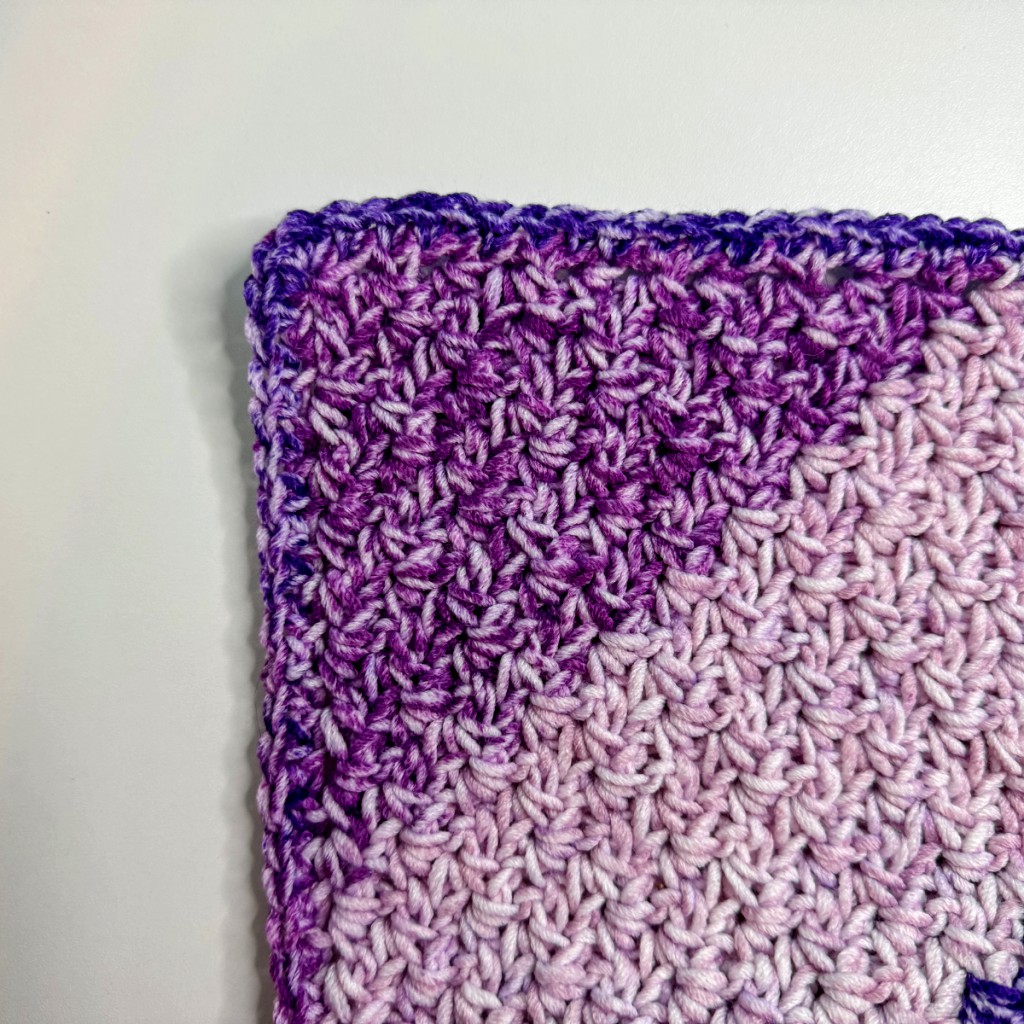
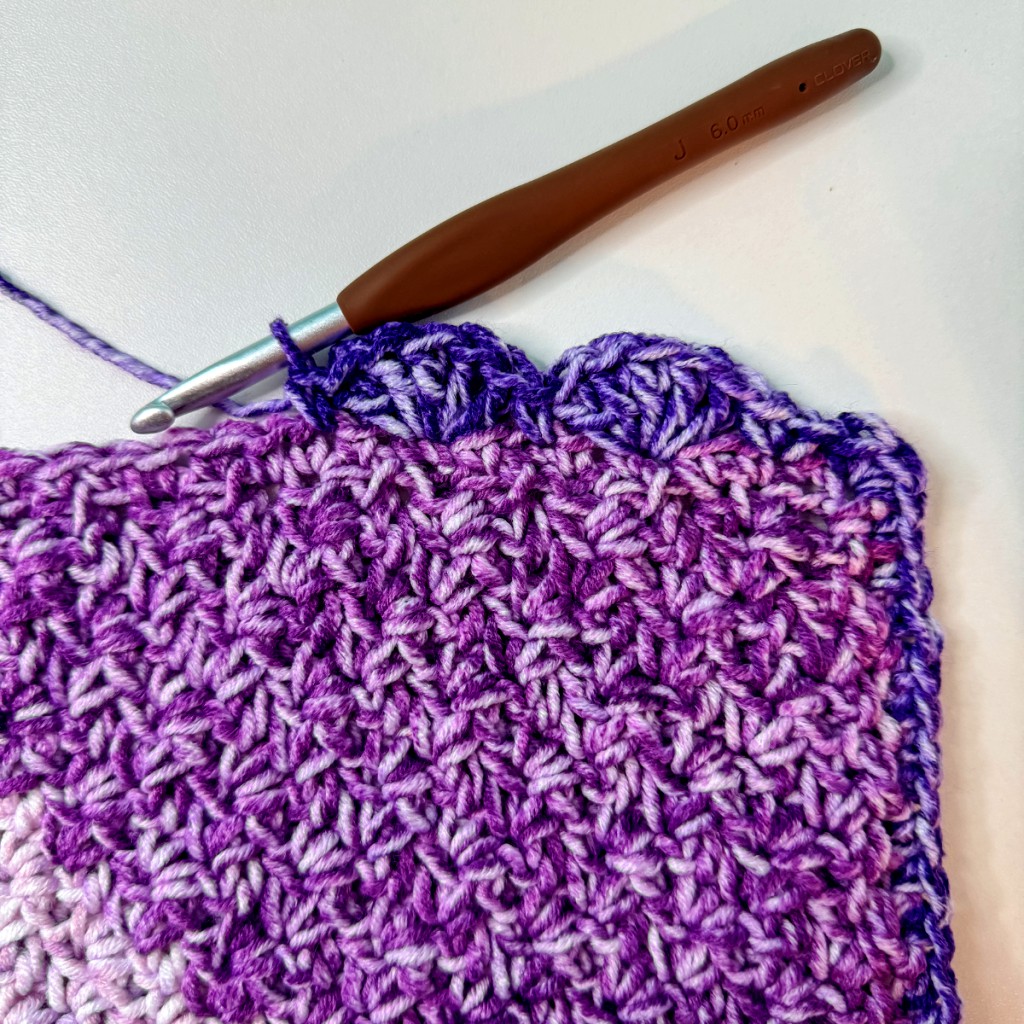
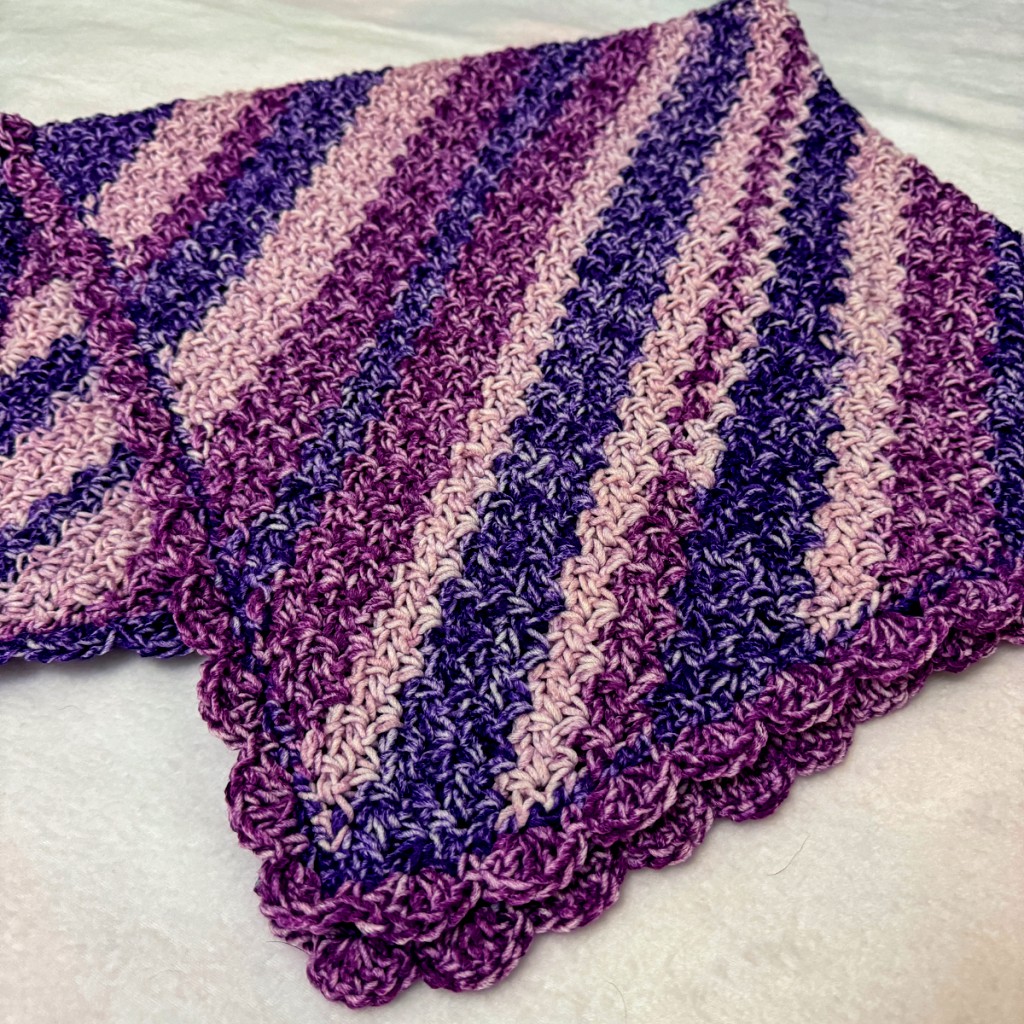
The C2C Wattle Stitch Baby Blanket is a cozy, textured baby blanket worked diagonally from one corner to the opposite corner. This pattern combines easy construction with beautiful results using the elegant yet simple wattle stitch. The wattle stitch creates a plush texture while remaining light and flexible—perfect for wrapping up a little one or using as a tummy-time mat.
📋 Pattern Details
-
Skill Level: Easy / Advanced Beginner
-
Finished Size: Approximately 30 x 30 inches (can be adjusted larger or smaller)
-
Yarn: Worsted weight yarn (Category 4); approx. 800–900 yards
-
Hook Size: 5.5 mm (I-9) crochet hook
-
Gauge: Not essential for this pattern
-
Other Materials: Yarn needle for weaving in ends, scissors, measuring tape (optional)
✨ Stitches & Abbreviations (US Terms)
| Abbreviation | Meaning |
|---|---|
| ch | chain |
| sc | single crochet |
| dc | double crochet |
| sl st | slip stitch |
| st(s) | stitch(es) |
| sp | space |
| wattle st | (sc, ch 1, dc) all in the same sp |
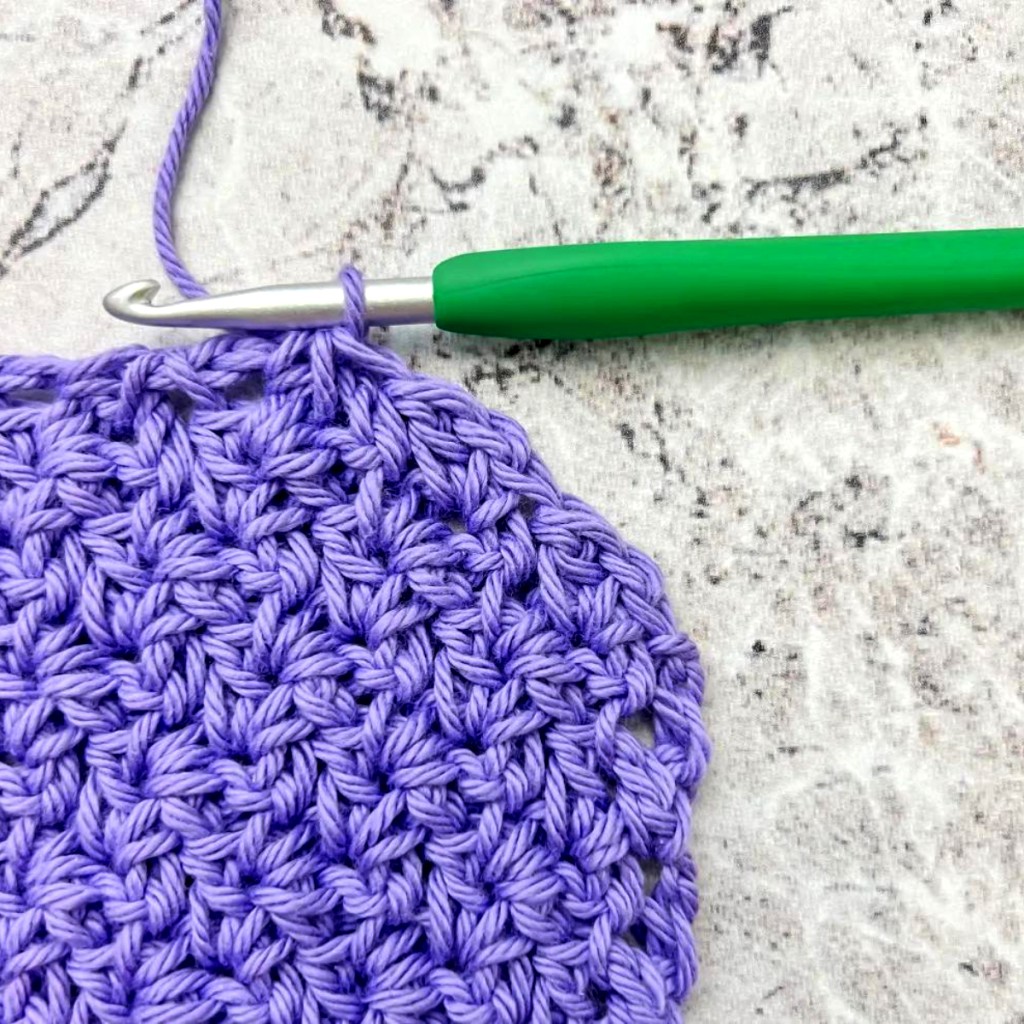
Wattle Stitch Explained: In this pattern, a wattle stitch consists of a single crochet, a chain 1, and a double crochet, all made into the same stitch or space.
🧭 Construction Method: Corner to Corner (C2C)
This baby blanket is worked diagonally—from one corner to the opposite corner. You’ll begin by increasing one stitch per row until the blanket reaches the desired width, then decrease each row to complete the square. It’s rhythmic and repetitive, making it perfect for meditative crocheting or crochet sessions while watching your favorite show.
🔁 Pattern Instructions
🔼 Increase Phase (Rows that grow the blanket)
You’ll begin by making one wattle stitch per row, increasing the number of wattle stitches by one in each subsequent row.
Row 1:
-
Ch 4.
-
Sc in 2nd ch from hook.
-
Ch 1.
-
DC in the same ch.
-
Turn. (You now have 1 wattle stitch.)
Row 2:
-
Ch 3 (counts as turning ch and sets height).
-
In the ch-1 space from the previous row’s wattle st, work (sc, ch 1, dc).
-
Turn. (Still 1 Wattle St.)
Row 3:
-
Ch 3.
-
In each ch-1 space across, work (sc, ch 1, dc).
-
Turn. (Now 2 wattle sts.)
Row 4 and onward:
-
Ch 3.
-
Work (sc, ch 1, dc) in every ch-1 space from the previous row.
-
Turn.
Repeat this process—working a wattle stitch in each ch-1 space—until your blanket reaches your desired width. For a standard baby blanket, aim for about 30 inches wide, which should be approximately 35–40 rows, depending on your tension and yarn weight.
💡 Pro Tip: Measure the blanket diagonally from the starting corner to the working edge. When this diagonal equals your desired side length, it’s time to begin decreasing.
🔽 Decrease Phase (Shrinking back down)
Once your blanket reaches its widest point, you’ll start reducing the number of wattle stitches by one on each row.
Decrease Row 1:
-
Ch 1.
-
Sl st in the top of the first sc, in the ch-1 space, and in the dc (this gets you past the first wattle stitch).
-
Ch 3.
-
Work (sc, ch 1, dc) in the next ch-1 space.
-
Continue working wattle sts in every ch-1 space across until only one remains unworked at the end.
-
Do not place a wattle stitch in the final ch-1 space. Turn.
Repeat this process for every row:
-
Sl st to “skip” the first wattle st.
-
Continue placing (sc, ch 1, dc) into each ch-1 space until one fewer wattle stitch is made each time.
-
Turn.
Repeat these decreased rows until you’re left with just one final wattle stitch.
🧵 Final Row
When only one wattle stitch remains:
-
Ch 1.
-
Sl st to reach the ch-1 space.
-
Ch 1.
-
Sc in that ch-1 space.
-
Fasten off and weave in all ends using a yarn needle.
🖼 Optional Border (Simple and Clean)
While the blanket has a nice finished edge from the wattle stitch structure, adding a simple border can give it a polished look and help it hold shape.
Basic Single Crochet Border:
Round 1:
-
Attach yarn to any corner with a sl st.
-
Ch 1.
-
Sc evenly around all sides of the blanket.
-
Place 3 sc in each corner to keep edges flat.
-
Join with sl st to first sc.
Round 2 (Optional):
-
Ch 1.
-
Work a round of reverse single crochet (crab stitch) for a subtle rope-like texture.
-
Sl st to join, fasten off, and weave in ends.
🎨 Customization Ideas
-
Size: Easily adjustable. Just increase more rows for a larger blanket before beginning the decrease.
-
Color Options: Use ombré yarn, stripes, or a solid color. Self-striping yarns work beautifully with this stitch.
-
Texture: Try using cotton yarn for a lighter feel or a brushed acrylic for extra softness.
📌 Final Thoughts
The C2C Wattle Stitch Baby Blanket is an ideal project for beginners looking to explore corner-to-corner construction while enjoying the texture of a new stitch. The pattern is repetitive but never boring, and the result is a beautifully draping, cozy blanket that any baby will love.
You can pair this blanket with a matching wattle stitch baby hat, booties, or even a soft lovey made with the same technique.
Videos Tutorials:
Certainly! To assist you in crocheting the Easy C2C Wattle Stitch Baby Blanket, here are some comprehensive video tutorials that guide you through the process step-by-step:
Easy C2C Wattle Stitch Baby Blanket Crochet Pattern
This tutorial by Okie Girl Bling ‘N’ Things offers a detailed walkthrough of creating a baby blanket using the C2C Wattle Stitch. It’s beginner-friendly and includes tips on yarn choices and finishing touches.
C2C Wattle Stitch Blanket Tutorial
This tutorial demonstrates how to crochet the C2C Wattle Stitch, making it ideal for blankets, face cloths, and pot holders. The video is easy to follow and perfect for those new to this stitch.
C2C Wattle Stitch Tutorial
This beginner-friendly tutorial covers the basics of the C2C Wattle Stitch, making it easy to learn and apply to various crochet projects.
Feel free to choose the tutorial that best suits your learning style. Happy crocheting!
