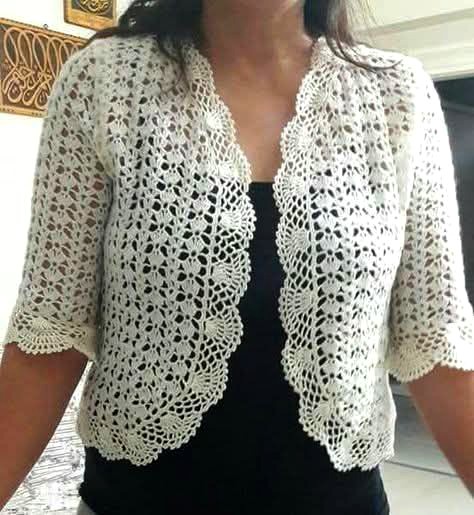
Inspired by user-provided image
Skill Level: Intermediate to Advanced
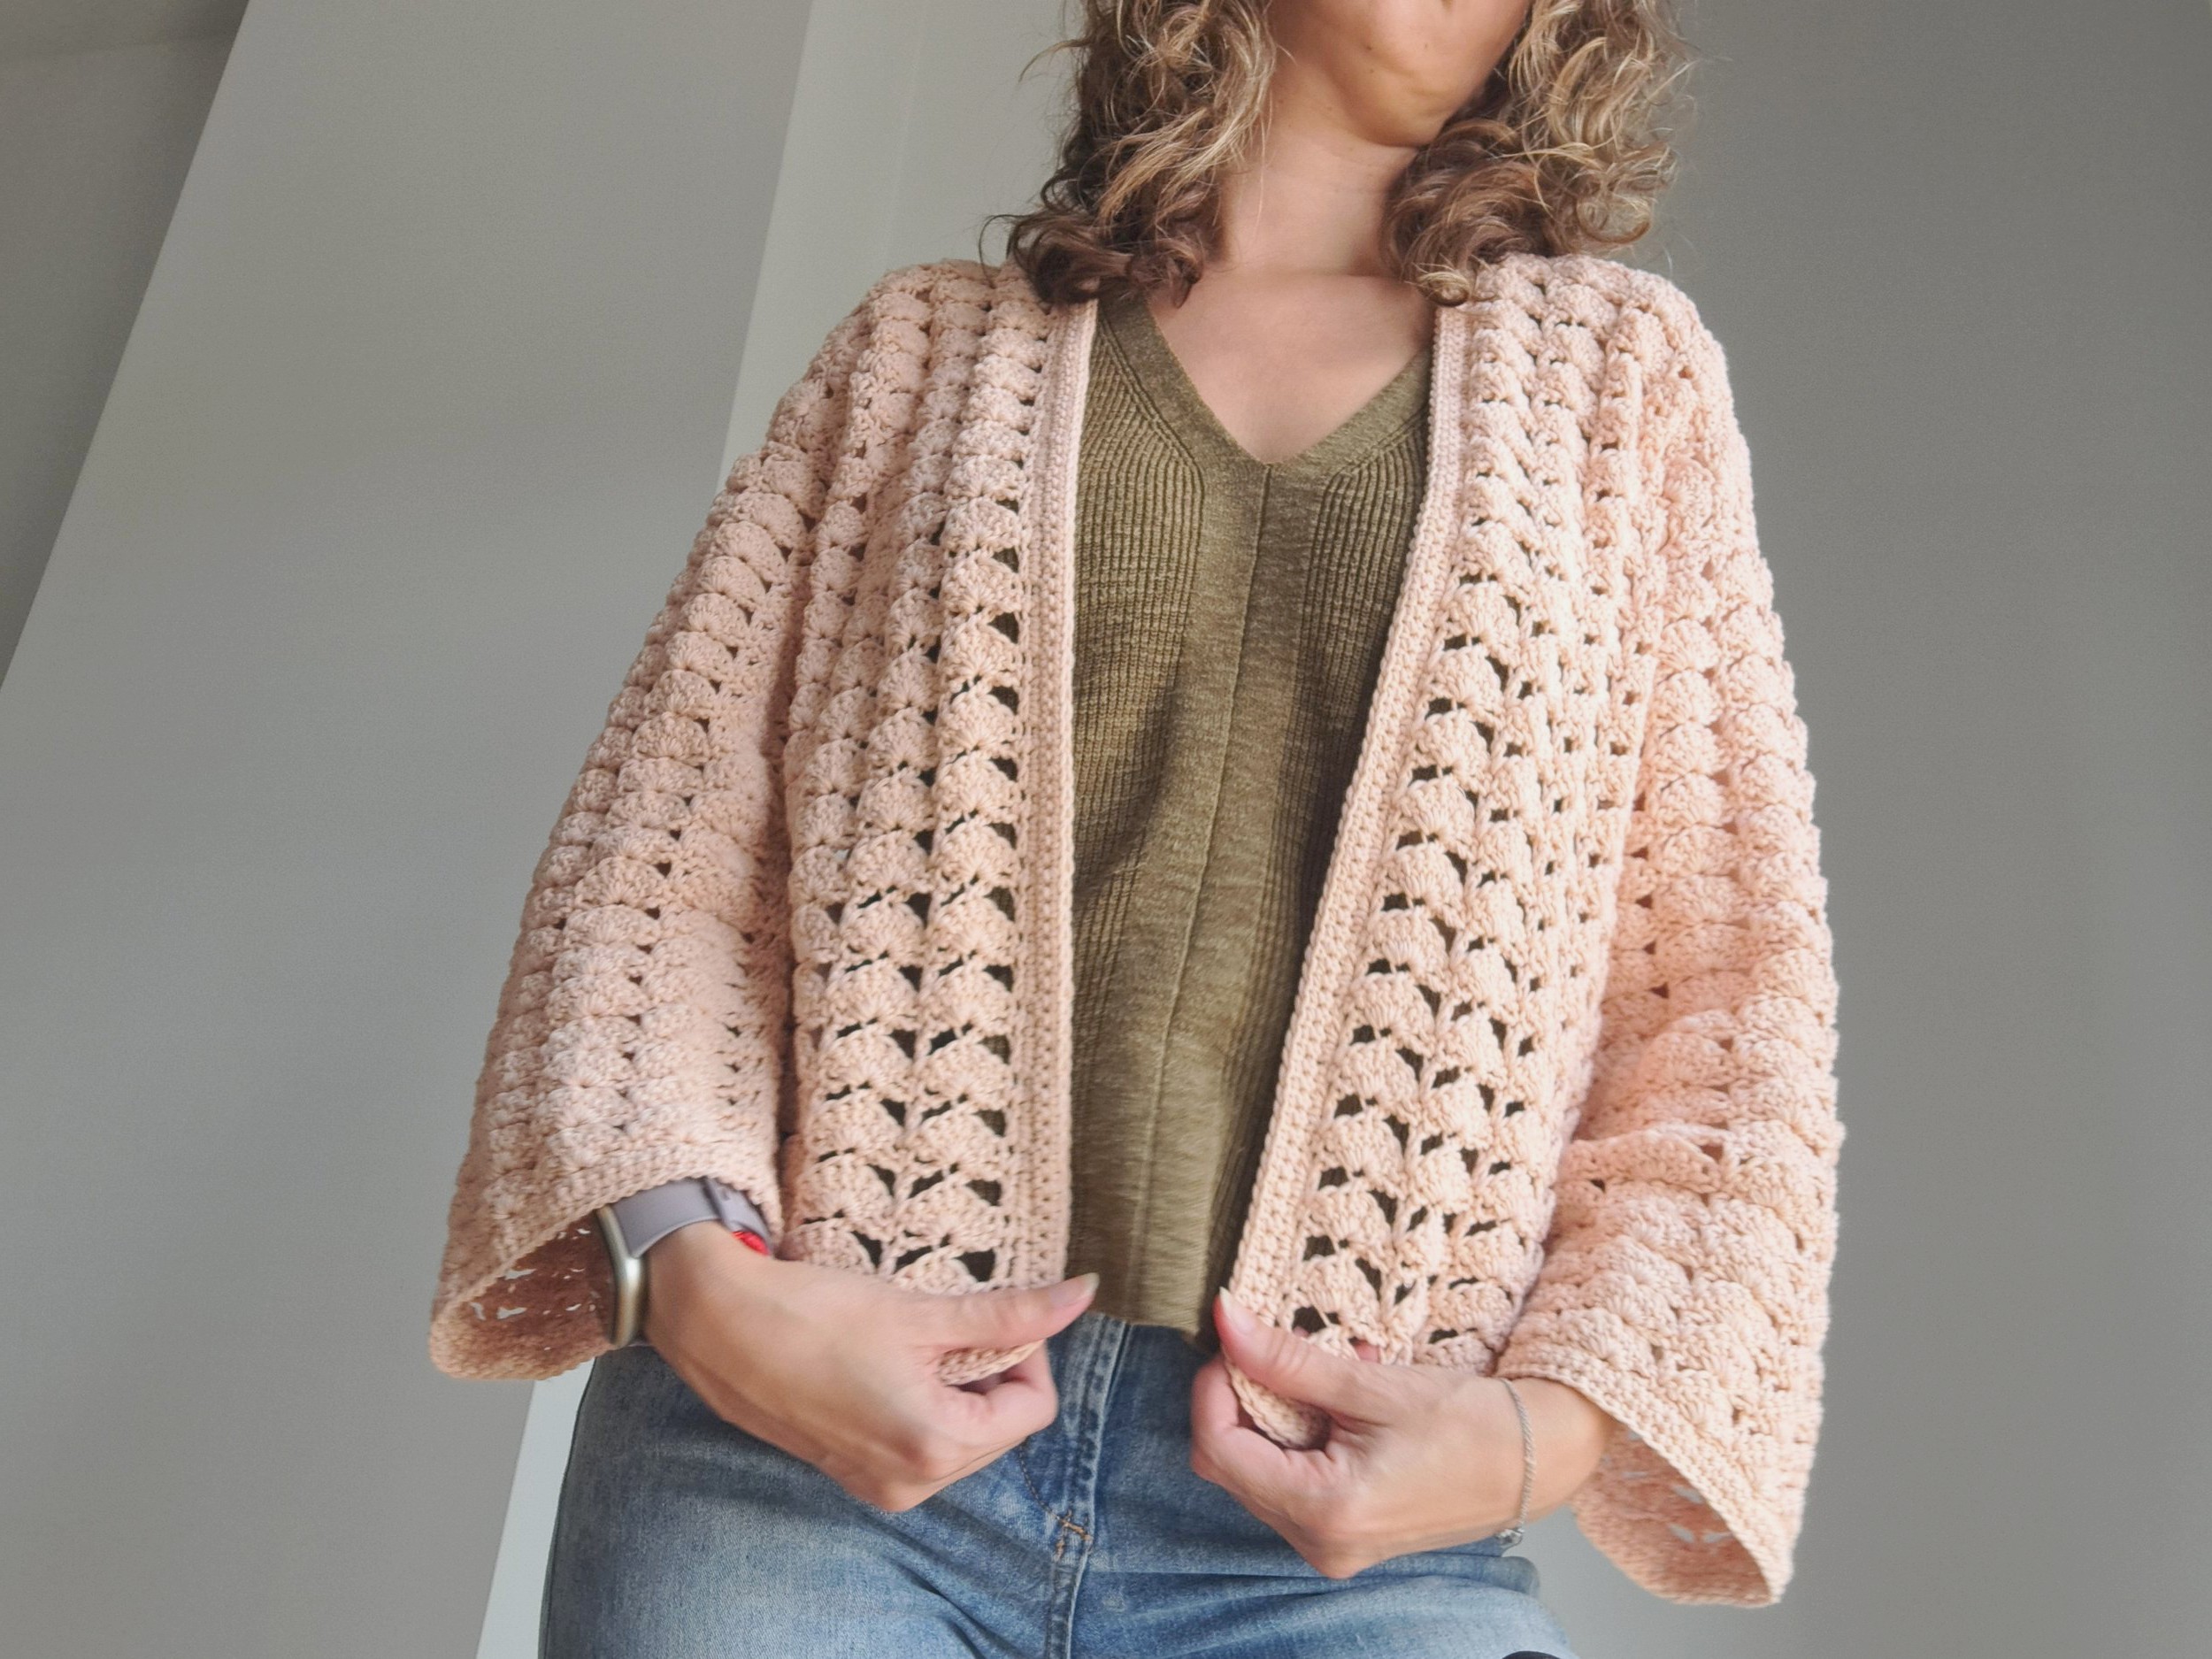
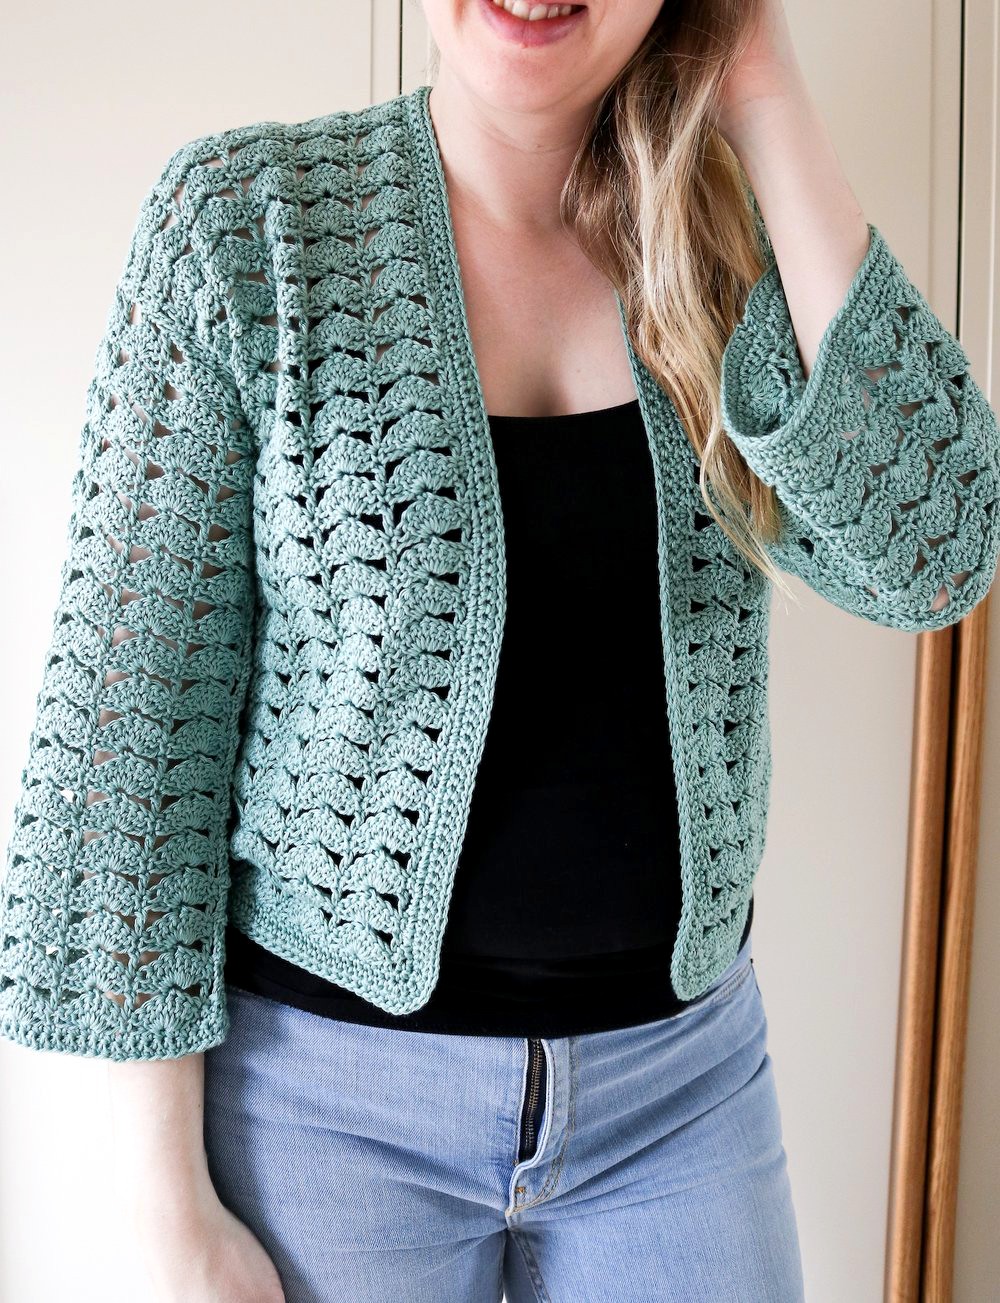
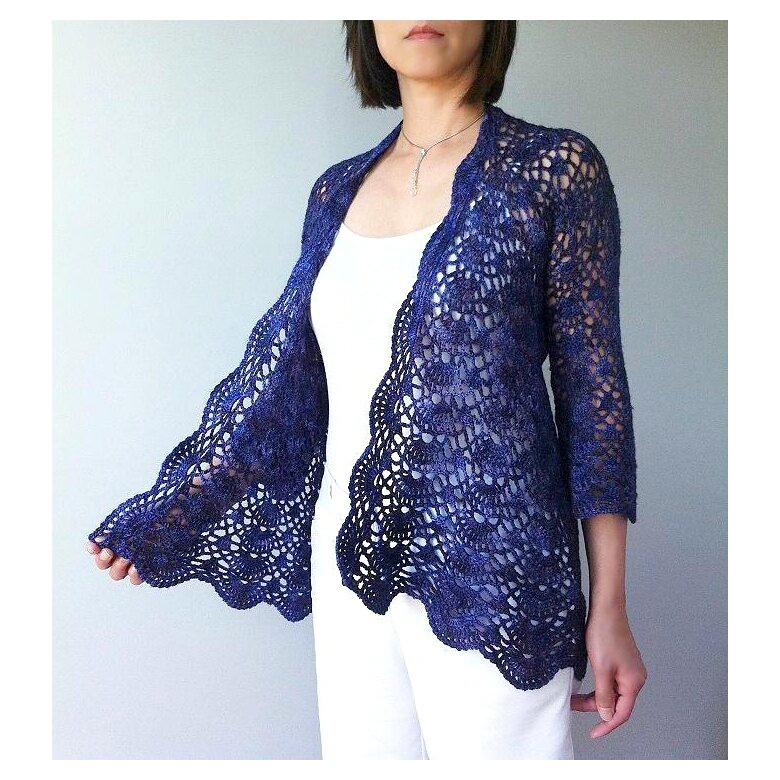
Style: Lightweight summer cardigan with scalloped trim
Construction: Modular – worked in panels and seamed
Materials Needed:
-
Yarn: Cotton crochet thread size 10 or sport-weight cotton/acrylic blend (approx. 800–1000 yards depending on size)
-
Hook: 2.5 mm (or size needed for gauge)
-
Notions: Yarn needle, scissors, stitch markers
-
Gauge (for shell pattern): 2 shell repeats x 6 rows = 4” x 4” (after blocking)
Stitch Abbreviations (US Terminology):
-
ch – chain
-
sc – single crochet
-
dc – double crochet
-
sl st – slip stitch
-
sp – space
-
rep – repeat
-
shell – (2 dc, ch 1, 2 dc) in same stitch or space
-
v-stitch – (dc, ch 1, dc) in same stitch
🧵 Shell Stitch Pattern:
(Multiple of 6 + 1)
Row 1:
Ch a multiple of 6 + 1. Sc in 2nd ch from hook, skip 2 ch, shell in next ch, skip 2 ch, sc in next ch. Rep from * to end. Turn.
Row 2:
Ch 3 (counts as dc), shell in ch-1 sp of each shell, sc in each sc across. End with a dc in the last st. Turn.
Repeat Row 2 for the pattern.
Step-by-Step Instructions
🧶 Back Panel:
-
Foundation:
Ch 85 (to fit medium bust; adjust in multiples of 6 + 1 for other sizes). Approx. 21” wide. -
Work Shell Stitch Pattern:
Begin Row 1 of shell pattern and continue to repeat the pattern until the back panel measures approximately 18–20 inches in height from shoulder to hem (or desired length). -
Shaping Shoulders (optional):
If desired, on the final 2 rows, you can decrease 1 shell on each side for shoulder tapering by skipping the first and last shell. -
Fasten off and block flat.
🧶 Front Panels (Make 2):
-
Foundation:
Ch 43 (half of back panel + 1 shell extra for overlap). You can ch more if you want the front to close or overlap more. -
Work Shell Pattern:
Repeat shell stitch pattern until length matches the back panel. -
Shape Neckline (Optional):
On the neckline edge (inner side), after approx. 10 inches in length, start decreasing 1 shell every 4th row to taper the edge slightly. -
Fasten off and block.

🧶 Sleeves (Make 2):
-
Foundation:
Ch 61 for elbow-length sleeves (approx. 15″ around). Add more chains for a looser or longer sleeve. -
Work Shell Pattern:
Work shell stitch in rows until sleeve measures about 8–10 inches (or desired length). -
Optional Shaping:
Taper by decreasing 1 shell on each side every 3 rows to make a snugger fit at the elbow. -
Fasten off and block.
🪡 Assembly:
-
Shoulders:
With right sides facing, seam the front panels to the back panel at the shoulders using whip stitch or mattress stitch. -
Attach Sleeves:
Mark the center of the sleeve and align it with the shoulder seam. Sew the sleeve to the armhole edge evenly. -
Side Seams and Underarms:
Fold garment at shoulders and seam sides and sleeve underarms, matching pattern lines as much as possible. -
Weave in all ends.
🌸 Scalloped Edging (Front, Neckline, and Hem):
This gives the beautiful decorative edging you see in the image.
-
Attach yarn to the bottom edge of the right front.
-
Row 1 (Foundation edging):
Sc evenly around the entire front edge, neckline, and hemline. Place extra stitches around corners for a smooth curve. -
Row 2 (Scallop edging):
Sc in next st, skip 1, 5 dc in next st (scallop), skip 1, sc in next st, repeat around. Adjust as needed around corners. -
Fasten off and weave in ends.
💧 Blocking:
-
Lay the cardigan flat on a blocking board or towel.
-
Use pins to shape the scalloped edges evenly.
-
Steam lightly or wet block depending on your yarn.
📏 Sizing Tips:
-
For Larger sizes, add more chains in the foundation rows (increments of 6) and work additional rows in length.
-
For Smaller sizes, subtract chains in multiples of 6 and shorten the length accordingly.
-
Always check the gauge and customize for the best fit.
💡 Customization Ideas:
-
Add buttons or ties to the front for closure.
-
Use gradient or ombré yarn for a modern look.
-
Add longer sleeves for a full-sleeved version.