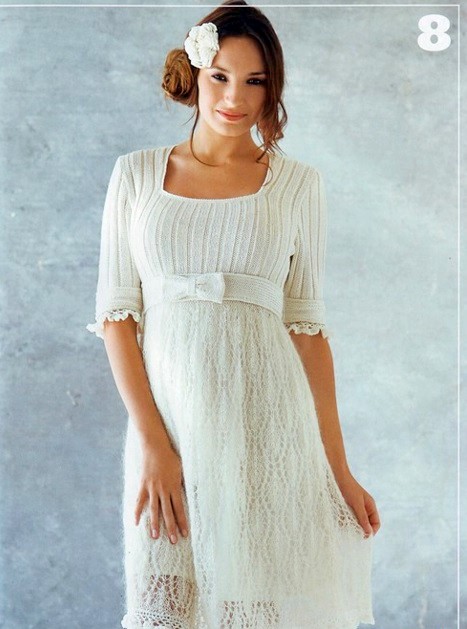
If you’re looking for a classic, elegant crochet project that’s both fun to make and stylish to wear, look no further than this beautiful white crochet dress. Whether you’re crocheting for yourself or making a gift for someone special, this dress is perfect for any occasion. It’s timeless and versatile, making it ideal for spring, summer, or even fall when layered with a cardigan. And the best part? The pattern is completely free!
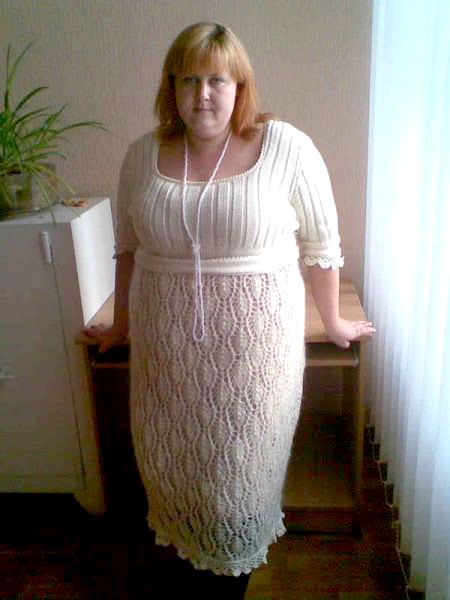
In this pattern, we’ll guide you through creating the perfect crochet white dress from start to finish. The dress features a simple yet elegant design with a fitted bodice and a full, flowing skirt. It’s a project you’ll enjoy making, and it’s easy enough for beginners to follow along!
Materials You’ll Need:
- Yarn: Use soft cotton yarn for a lightweight, breathable dress. Approximately 200-250 grams will be needed, depending on your size.
- Crochet Hook: Size H-8 (5mm), or choose a hook that suits your yarn weight.
- Stitch Markers: These are optional but helpful to mark important points like the beginning of a round.
- Buttons: Optional, for decoration or fastening.
- Yarn Needle: For weaving in ends.
- Scissors.
If you’d like a different yarn, you can use acrylic or a blend. Just make sure to match the yarn weight to the recommended size for the pattern.
Abbreviations:
- ch = chain
- sc = single crochet
- dc = double crochet
- sl st = slip stitch
- st = stitch
- inc = increase (2 stitches in one stitch)
Pattern Instructions:
Step 1: Creating the Bodice
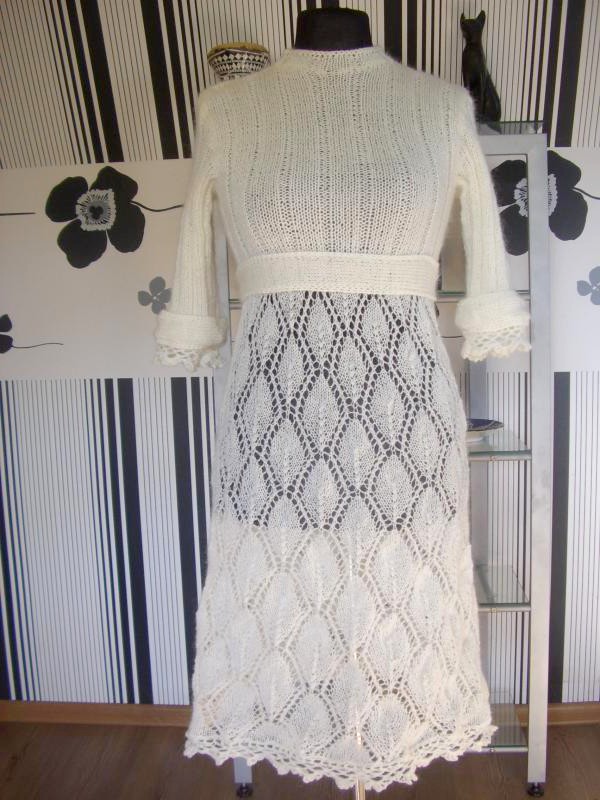
The bodice of this dress is worked in rows and then joined to form a tube. We’ll start by working the top portion and then move down to the skirt.
-
Foundation Chain: Start by chaining 50 (or adjust based on your chest measurement). The chain length will determine how wide the bodice will be, so you can make it longer or shorter to fit your desired size.
-
Row 1: In the 3rd chain from the hook, work a double crochet (dc). Work a dc in each remaining chain across. At the end of the row, turn in your work.
-
Row 2: Ch 2 (this counts as the first dc of the row). Work a dc in each stitch across the row. Turn.
-
Repeat Row 2 until the bodice reaches the desired height, usually around 6-8 rows, depending on how long you want the top portion to be.
Step 2: Creating the Skirt
The skirt is designed to be flowy and full. You can adjust the length of the skirt to suit your style, whether you want a shorter, knee-length skirt or a longer, more formal gown.
-
Foundation Chain: Start by chaining 100 (or adjust depending on how full you want the skirt to be). The length of the chain will determine how wide the skirt will be, so feel free to add or subtract stitches as needed.
-
Row 1: In the 4th chain from the hook, work a double crochet (dc). Continue to work DC in each chain across. Turn your work.
-
Row 2: Ch 2 (counts as the first dc), then work a dc in each stitch across. Turn your work.
-
Repeat Row 2 until the skirt reaches your desired length. Typically, 20-30 rows will give a nice flowy effect. You can make it shorter for a casual look or longer for a more formal, dressy feel.
Step 3: Joining the Bodice and Skirt
Once you’ve finished the bodice and the skirt, it’s time to join them together to form the full dress.
- Attaching the Skirt to the Bodice: Align the top edge of the skirt with the bottom edge of the bodice. Using a slip stitch or whip stitch, sew the two pieces together. Ensure they are securely joined, but don’t worry about making the seam invisible, as it can add a cute, textured detail.
Step 4: Creating the Armholes (Optional)
If you’d like the dress to have sleeves or armholes, you can easily add them.
-
For Armholes: After joining the bodice and the skirt, decide where you want your armholes to be (usually around the top edge of the bodice). Simply chain a few stitches (about 8-10 depending on the size) and connect them with a slip stitch. You can add a few rows of sc or DC to create a small edging around the armholes for a finished look.
-
For Sleeves: If you want sleeves, simply work a few rounds of DC around the armhole until they reach the desired length. You can make short, cap sleeves, or long sleeves—it’s completely up to you!
Step 5: Adding Finishing Touches
Once the main structure of the dress is complete, it’s time to add any finishing touches that will make it truly yours.
-
Button Closures (Optional): If you’d like a button closure at the back of the dress, sew a small button onto one side of the bodice and create a small loop or buttonhole on the other side. This adds a charming and functional detail to your dress.
-
Edging (Optional): You can add decorative edging around the bottom of the skirt, the armholes, and even around the neckline. A simple shell stitch or picot stitch will give the dress a beautiful finishing touch.
-
Embellishments (Optional): You can also add decorative elements like small crochet flowers, lace, or beads to give the dress more personality. A little embellishment can make the dress even more special!
Conclusion:
This white crochet dress is a timeless piece that can be made for any occasion. Whether you’re looking for a casual dress for summer or a more formal, elegant piece for a special event, this pattern offers versatility and beauty. The best part is that the pattern is completely free, so you can create a stunning piece without breaking the bank.
Remember, crochet is all about creativity, so feel free to experiment with colors, stitches, and embellishments to make this dress uniquely yours. Enjoy the process of creating this gorgeous white crochet dress, and we hope you love wearing it as much as we enjoyed designing it!