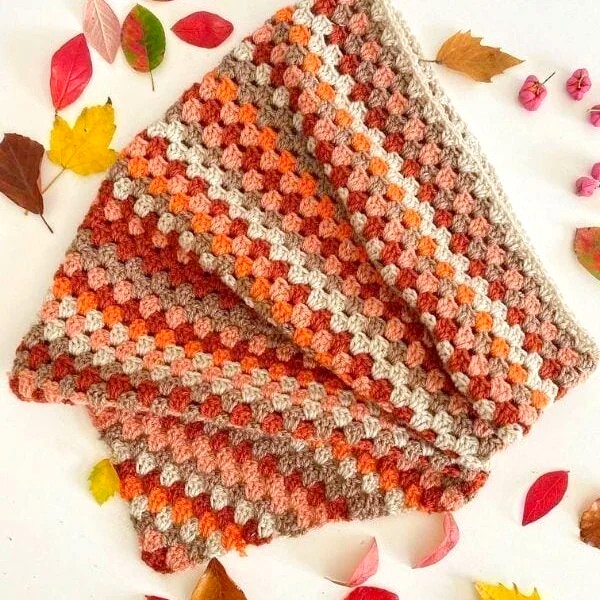
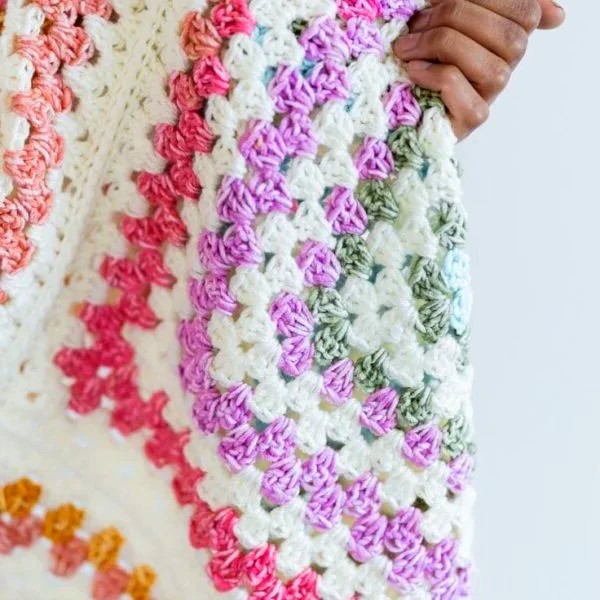
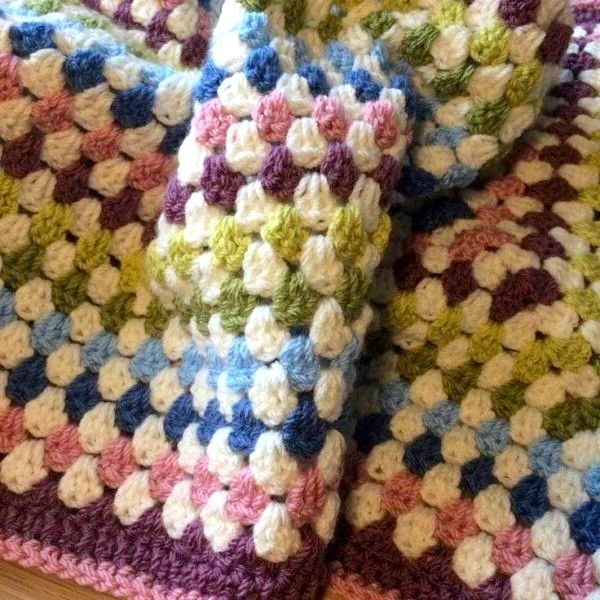
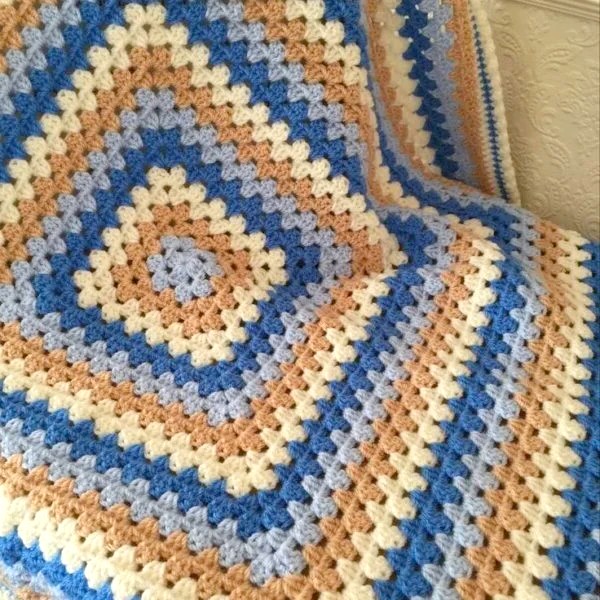
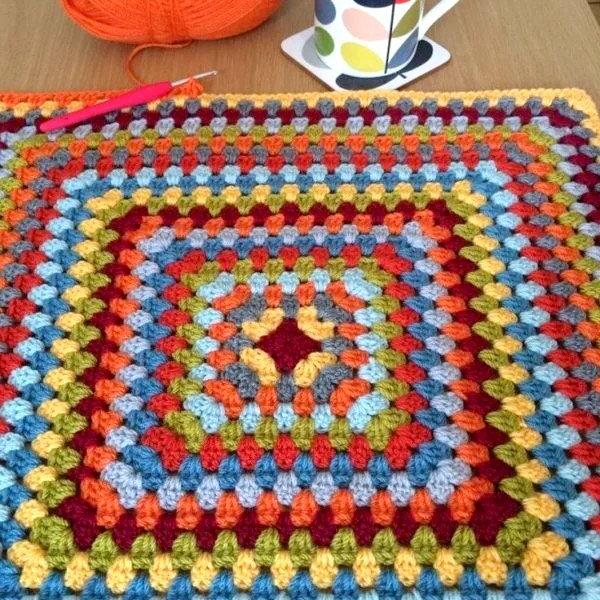
A granny square blanket is one of the most iconic crochet projects. It’s versatile, beginner-friendly, and endlessly customizable. You can create a traditional patchwork blanket, a modern color-blocked throw, or even a giant single granny square blanket. This guide covers everything you need to make a beautiful, cozy blanket.
What You’ll Learn in This Guide
✔️ How to crochet a classic granny square
✔️ How to join granny squares
✔️ Different border styles
✔️ Tips for making a perfectly even blanket
✔️ Customization ideas and color combinations
Materials Needed
1. Yarn Selection
Granny squares can be made with almost any yarn weight, but the most common choices are:
- Worsted Weight (Medium #4) – Most popular for blankets
- Bulky Yarn (#5-6) – Great for extra warmth and faster projects
- Cotton Yarn – Ideal for lightweight, summer blankets
Recommended Yarn Types:
- Acrylic – Affordable, durable, machine-washable
- Wool – Warm and cozy, but requires special care
- Cotton or Bamboo – Soft, breathable, perfect for warm weather
2. Crochet Hook Size
Use a hook size that matches your yarn label’s recommendation:
- Worsted weight yarn: 5mm (H-8) to 6mm (J-10)
- Bulky yarn: 6mm (J-10) to 8mm (L-11)
3. Other Supplies
- Scissors – For cutting yarn
- Tapestry Needle – For weaving in loose ends
- Measuring Tape – To check square sizes
- Stitch Markers – Helps keep track of rounds
How to Make a Classic Granny Square
Step 1: Start the Square
There are two common ways to begin a granny square:
- Magic Ring (preferred method):
- Make a loop, insert a hook, and pull up a loop. Work stitches into the ring.
- Chain Method:
- Chain 4, slip stitch into the first chain to form a loop.
Step 2: Round 1 – Foundation Round
- Ch 3 (counts as first DC).
- 2 DC into the ring, ch 2.
- (3 DC, ch 2) repeat 3 more times.
- Slip stitch to the top of the first ch 3 to close the round.
Now you have a small square with four corners made of chain-2 spaces.
Step 3: Round 2 – Expanding the Square
- Slip stitch into the first corner space.
- Ch 3 (counts as first DC), 2 DC, ch 2, 3 DC (all in the same space).
- (3 DC, ch 2, 3 DC) in each corner space around.
- Slip stitch to the top of the first ch 3 to join.
Step 4: Round 3 and Beyond – Growing the Square
- Slip stitch to the nearest corner space.
- In each corner space: (3 DC, ch 2, 3 DC)
- In each side space: 3 DC (no chain space in between)
- Repeat around, slip stitch to join.
Continue adding rounds until your square reaches the desired size.
Choosing Your Blanket Size
Here are common granny square blanket sizes:
| Blanket Type | Dimensions (inches) | Approx. Squares (6” each) |
|---|---|---|
| Baby Blanket | 36″ x 36″ | 6 x 6 (36 squares) |
| Throw Blanket | 50″ x 60″ | 8 x 10 (80 squares) |
| Twin Bed | 66″ x 90″ | 11 x 15 (165 squares) |
| Queen Bed | 90″ x 90″ | 15 x 15 (225 squares) |
| King Bed | 108″ x 108″ | 18 x 18 (324 squares) |
- Alternatively, you can make one giant granny square instead of multiple squares.
How to Join Granny Squares
Once you’ve made all your squares, it’s time to join them together.
1. Slip Stitch Join (Seamless Look)
- Place two squares wrong sides together.
- Insert hook into both loops of a stitch on both squares.
- Slip stitch across.
- This creates a flat, nearly invisible join.
2. Single Crochet Join (Textured Join)
- Place squares wrong sides together.
- SC through both loops of each stitch.
- This creates a visible, slightly raised seam.
3. Whip Stitch Join (Invisible Seam)
- Place squares right sides together.
- Use a tapestry needle to sew through the back loops only.
- Keep tension even for a seamless join.
4. Join-As-You-Go (No Sewing!)
- Instead of making all squares first, attach them as you crochet the last round.
- Slip stitch into adjacent squares as you work the final row.
- This is fast and seamless!
Adding a Border
To give your blanket a polished look, add a border.
Simple Single Crochet Border
- SC evenly around, placing 3 SC in each corner.
- Great for a clean finish.
Granny Stitch Border
- Continue using 3 DC clusters around.
- Matches the granny square aesthetic.
Picot Edge (Decorative Border)
- SC, ch 3, sl st into first chain, SC in next stitch (repeat).
- Creates small bumpy picots along the edge.
Shell Stitch Border (Elegant Look)
- (5 DC in one stitch, skip 2 stitches, SC in next stitch) repeat around.
- Creates a beautiful scalloped edge.
Customization Ideas
Color Variations
- Classic Solid Squares – Each square is a different color.
- Ombre Gradient – Use light to dark shades.
- Rainbow Colors – Bright and fun!
- Scrap Yarn – Perfect for using leftover yarn.
Textured Granny Squares
- Puff Stitches – Add extra dimension.
- Bobble Stitches – Create a raised, bumpy texture.
- Front-Post DC – Adds depth and structure.
Giant Granny Square Blanket
Instead of multiple squares, keep going to create one big granny square as your entire blanket!
Finishing Touches & Care
Blocking Your Blanket
- Helps squares stay flat and uniform.
- Wet the blanket, pin it to shape, and let dry.
Washing Instructions
- Acrylic Yarn – Machine wash cold, tumble dry low.
- Wool Yarn – Hand wash, lay flat to dry.
Final Thoughts
A granny square blanket is a timeless, rewarding project that lets you explore colors, textures, and techniques. Whether you want a traditional patchwork quilt or a modern single-color throw, this pattern will help you create a beautiful, handmade treasure!
Video Tutorial:
If you prefer learning through visual demonstrations, I have a fantastic recommendation for you. This in-depth tutorial is specially designed for those who grasp concepts more easily through videos rather than written instructions. It’s brought to you by the Create and Crochet with Patricia Fentie channel, ensuring a clear and engaging learning experience. You can find the video tutorial here.
The Granny Square Blanket pattern remains an enduring marvel in the realm of crochet, enchanting artisans across generations. Its ageless allure, interwoven with remarkable versatility and a deeply sentimental essence, solidifies its status as an everlasting cornerstone of the craft. Whether you are a seasoned needleworker seeking a gratifying endeavor or a novice eager to embark on a fulfilling creative passage, grasp your crochet hook, handpick a palette of yarn that speaks to your soul, and immerse yourself in the rich, nostalgic tapestry of Granny Square Blankets.


