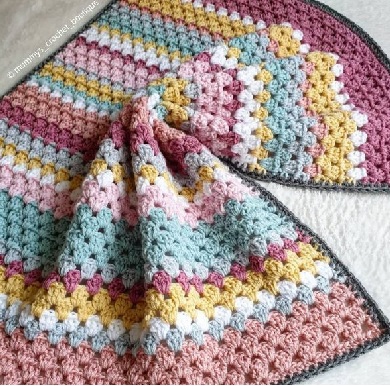
The Granny Stripe Blanket is a classic crochet design that is easy to customize with different yarn colors, making it an ideal project for beginners and experienced crocheters alike. This blanket is worked in rows instead of traditional squares, giving it a unique striped appearance while still using the beloved granny stitch.
Materials Needed
Before you begin, gather the following supplies:
- Yarn: Any weight of yarn will work, but worsted weight (4) or DK weight (3) are most commonly used. You can choose solid colors or a variegated yarn for an interesting effect.
- Crochet Hook: Choose a hook size that complements your yarn. Common choices:
- Worsted weight: 5.0mm (H) or 5.5mm (I)
- DK weight: 4.0mm (G)
- Scissors for cutting yarn
- Tapestry needle for weaving in ends
Gauge & Blanket Sizing
Gauge isn’t crucial for this pattern, but here’s an estimate:
- A 4” x 4” (10cm x 10cm) swatch might have around 4 clusters of 3 double crochets (DC) across and 4 rows using worsted-weight yarn and a 5.5mm hook.
- Adjust your hook size if you want a tighter or looser stitch.
Common Blanket Sizes:
| Blanket Type | Width (inches) | Length (inches) |
|---|---|---|
| Baby Blanket | 30” – 36” | 30” – 40” |
| Throw Blanket | 50” – 60” | 60” – 70” |
| Twin Bed | 66” | 90” |
| Queen Bed | 90” | 100” |
| King Bed | 108” | 100” |
For a custom size, simply adjust the starting chain length.
Pattern Instructions
Step 1: Foundation Chain
Start by making a chain in multiples of 3 + 2 extra chains for turning.
Example: For a baby blanket, you might chain 99 + 2 = 101 chains.
Step 2: First Row (Foundation Row)
- Double crochet (DC) into the 4th chain from the hook.
- Continue working 1 DC into each chain across.
- Turn your work.
This forms the base for the granny clusters.
Step 3: Starting the Granny Stripe Pattern
- Ch 3 (counts as first DC).
- Skip the next 2 stitches, then place 3 DCs into the next stitch (this is your first granny cluster).
- Skip 2 stitches, 3 DCs in the next stitch—repeat this pattern across the row.
- When you reach the last stitch, place 1 DC in the final stitch.
- Turn your work.
Step 4: Continuing the Granny Stripe
- Ch 3 (counts as first DC).
- Work 3 DCs into the space between clusters from the previous row.
- Continue making 3-DC clusters in each gap across the row.
- At the end of the row, place 1 DC in the top of the turning chain from the previous row.
- Turn and repeat this pattern.
Changing Colors (Optional, But Beautiful!)
For a striped effect:
- Change colors every 2 rows for a classic look.
- When switching colors, cut the yarn, leaving a 4-6 inch tail.
- Join a new color with a slip stitch at the beginning of the next row.
- Weave in the ends as you go to avoid extra finishing work later.
Border Options (Optional Finishing Touches)
Adding a border makes your blanket look more polished. Here are a few ideas:
Simple Single Crochet Border:
- Work 1 row of single crochet (SC) around the entire blanket, placing 3 SCs in each corner to keep it flat.
Granny Border:
- Continue the granny stitch pattern around the edges.
Picot or Shell Border:
- Adds a decorative touch by making small loops or shell shapes around the edges.
Helpful Tips for Success
✔ Keep your tension even—if your blanket starts to curl, loosen your tension or go up a hook size.
✔ Use stitch markers to mark the first and last stitch of each row to keep the edges straight.
✔ Weave in ends as you go if you’re using multiple colors to avoid a tedious finishing process.
✔ Blocking can help smooth and shape the blanket, especially if using natural fibers.
Variations & Ideas
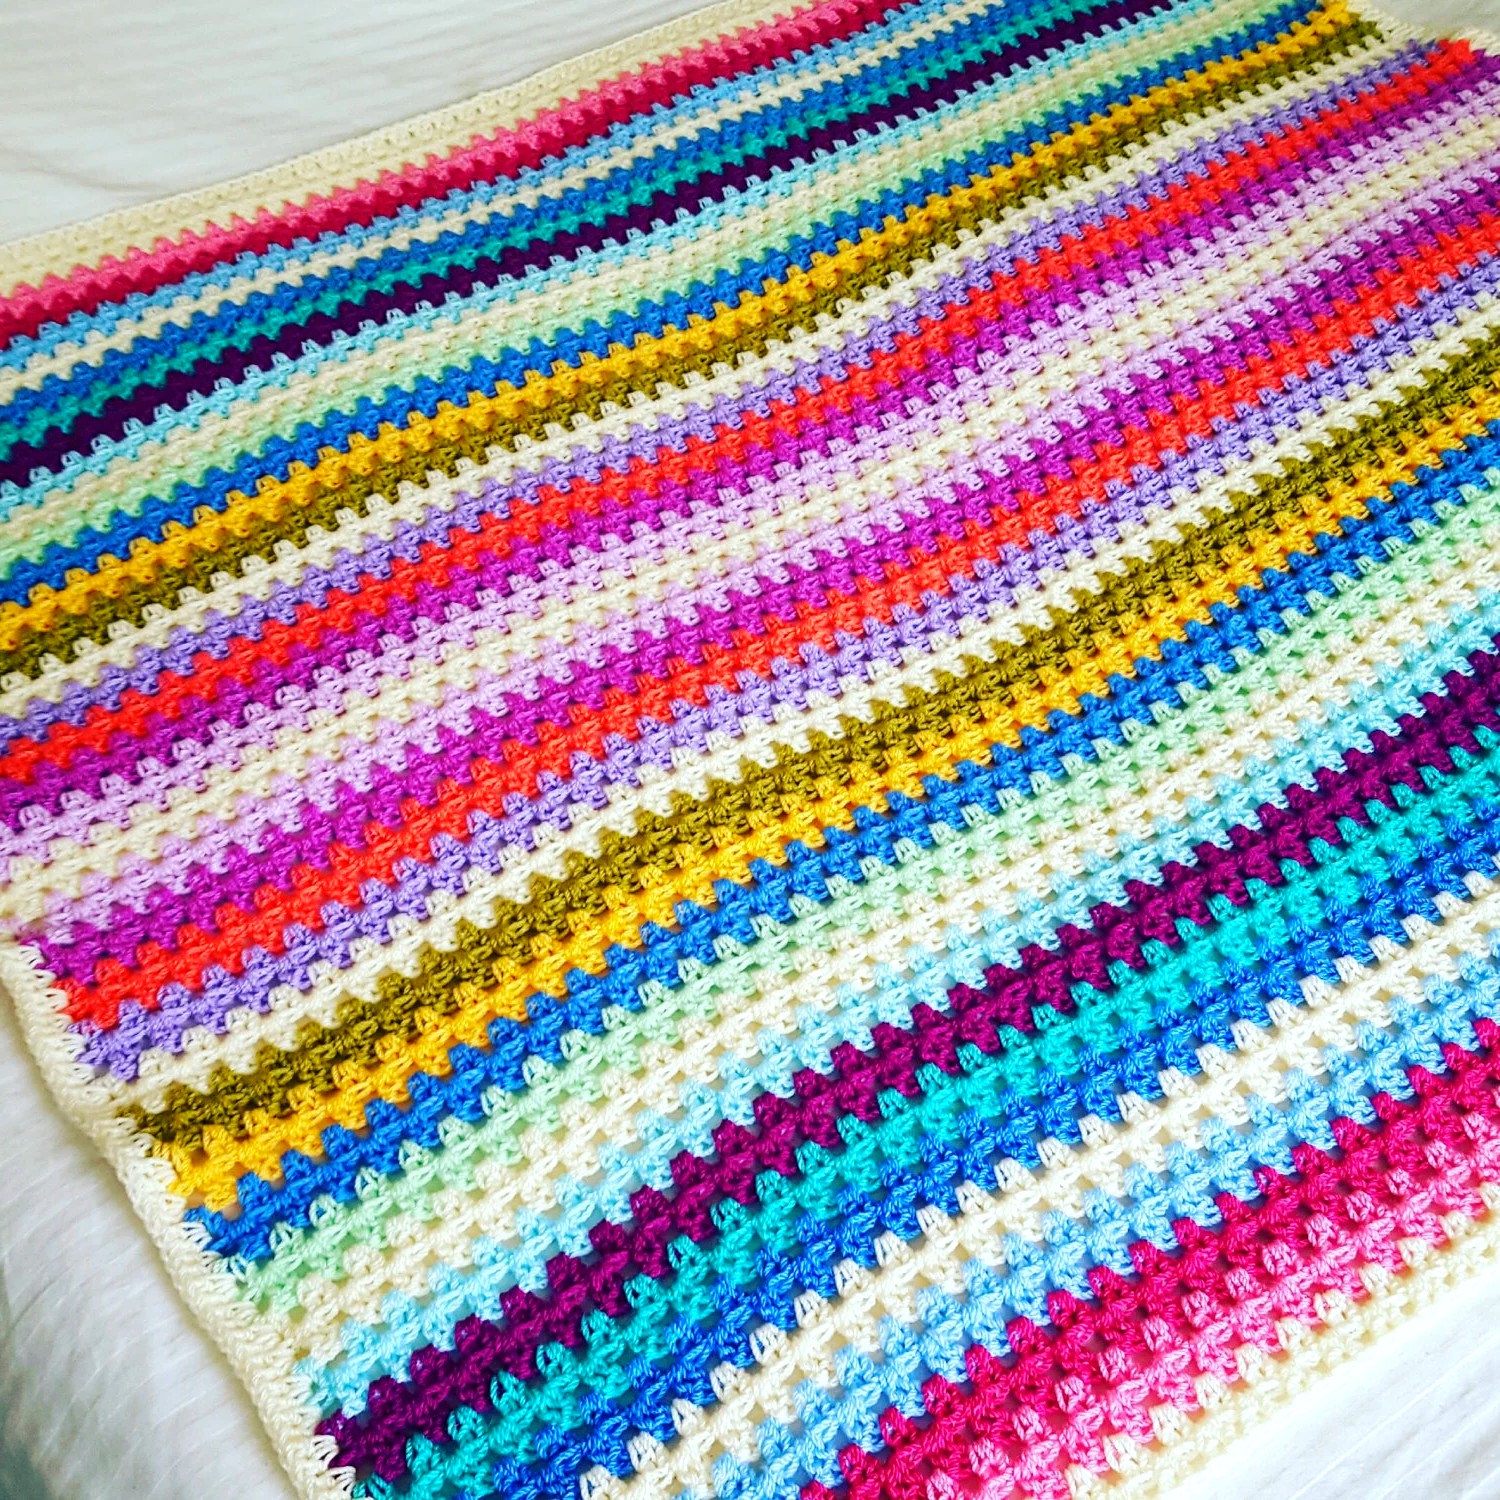
- Rainbow Granny Stripe Blanket – Use 7 colors (one for each row) to create a rainbow effect.
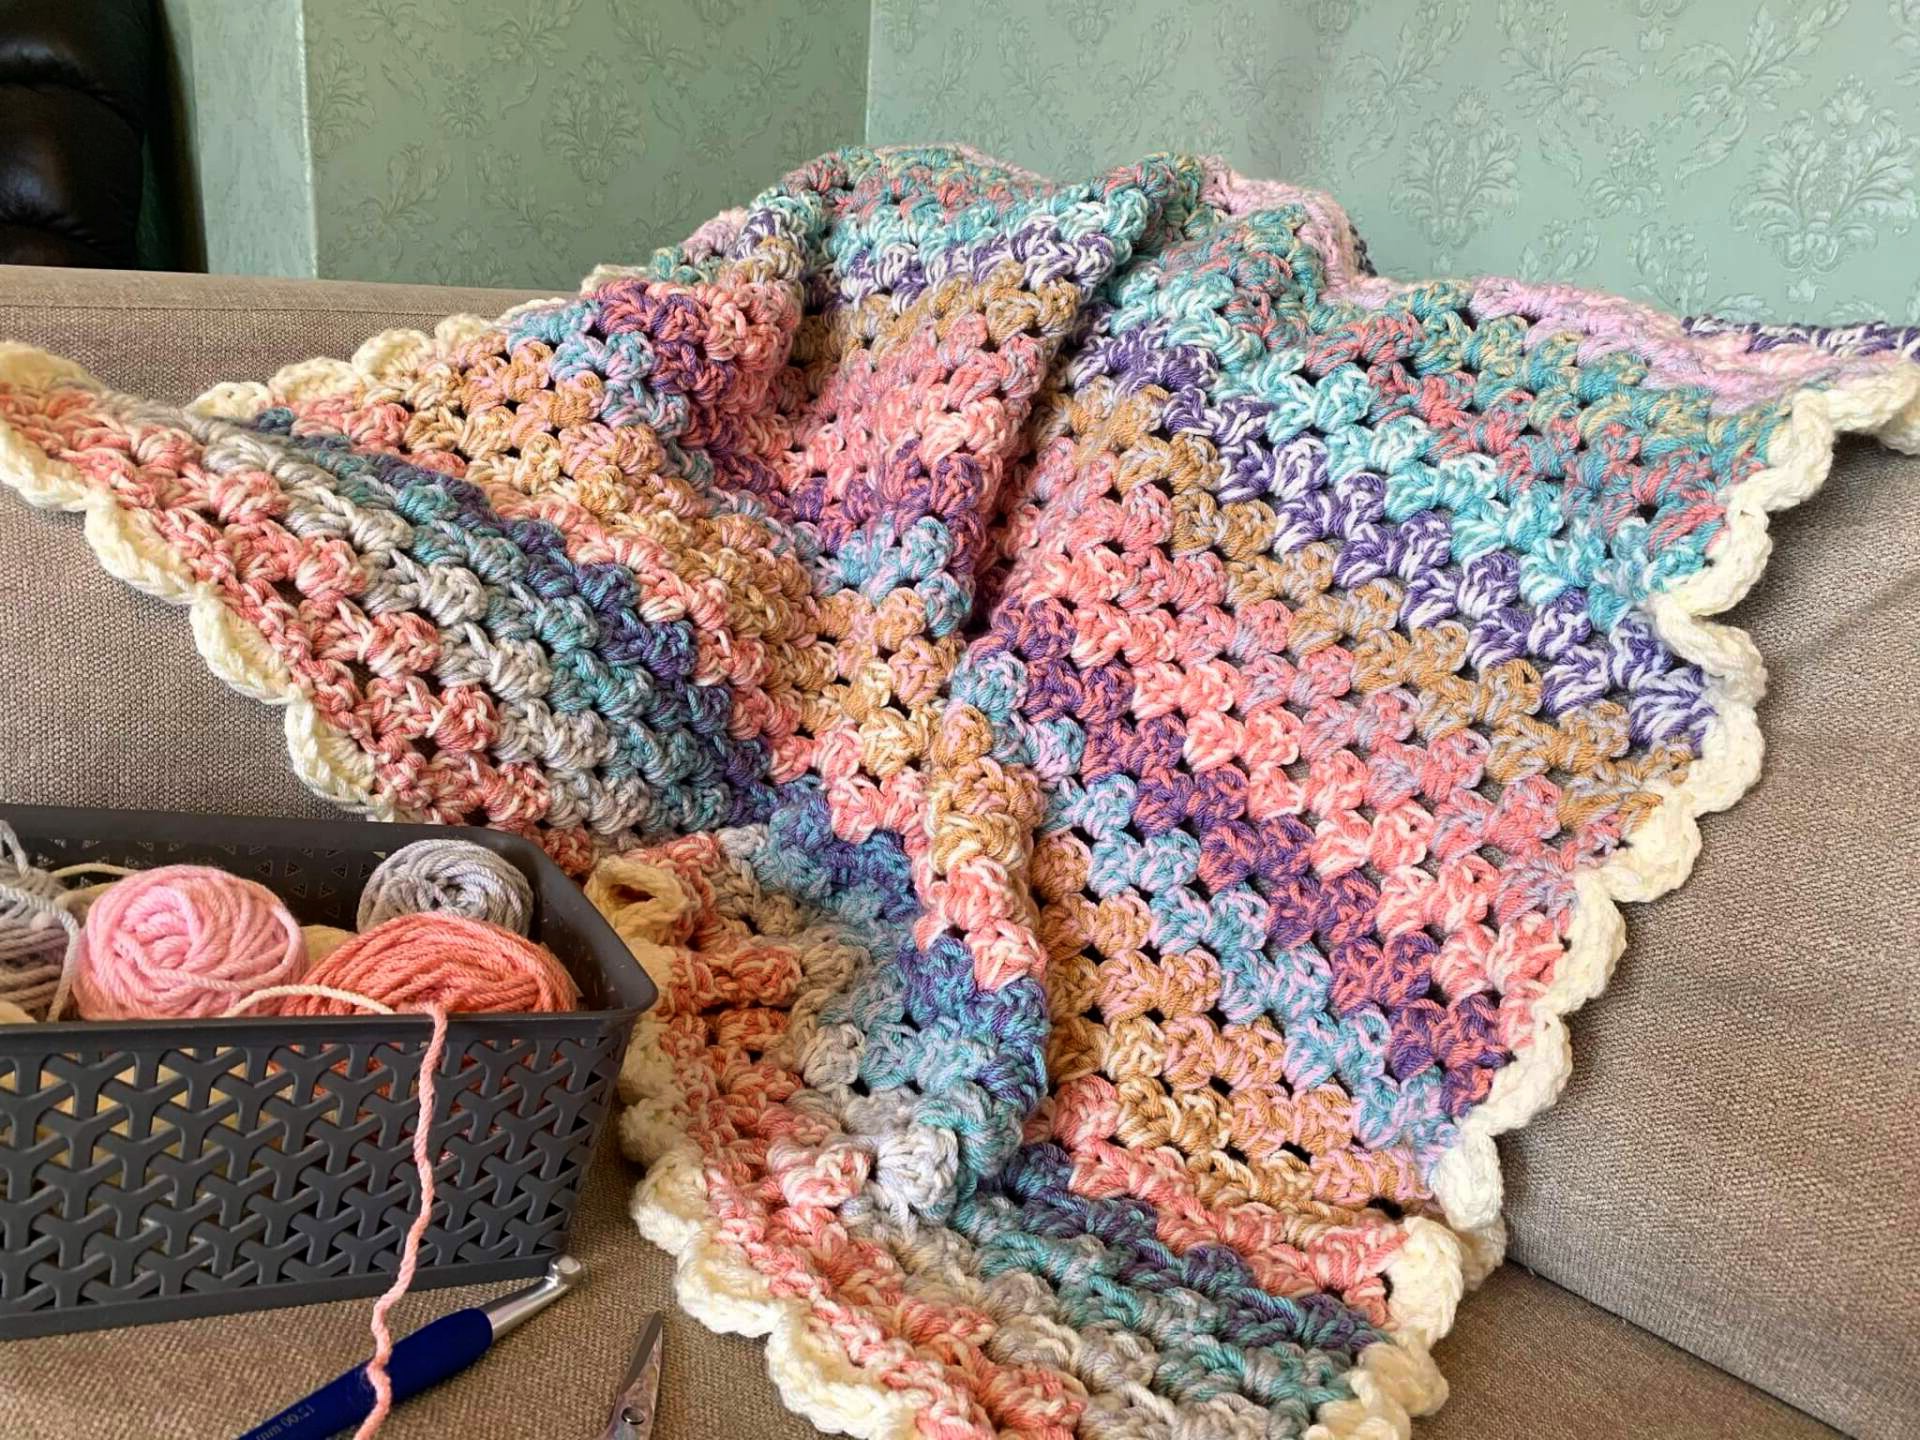
- Ombre Granny Stripe Blanket – Use different shades of the same color for a beautiful fade.
- Chunky Yarn Version – Use bulky yarn and a larger hook (8mm – 10mm) for a super cozy blanket.
- Scrap Yarn Blanket – Use leftover yarn from other projects to create a random stripe pattern.
Frequently Asked Questions
How long does it take to crochet a granny stripe blanket?
- A small baby blanket can take a few days, while a large throw might take a couple of weeks, depending on your speed.
How do I keep the edges straight?
- Always place 1 DC in the turning chain at the end of each row.
What if my blanket is curling?
- Loosen your tension or use a larger hook size.
Can I use self-striping yarn?
- Yes! Self-striping or gradient yarns create a striped effect without needing to change colors manually.
Final Thoughts
The Granny Stripe Blanket is a timeless, relaxing crochet project that is easy to customize. Whether you make it monochrome, rainbow, or ombre, it’s sure to be a cherished piece.
VIDEO TUTORIAL:
For those who revel in the art of visual learning, we ensure an instructional video is always at your disposal. This approach not only caters to varied learning preferences but also elevates comprehension to an enriched level of clarity and precision.
Thus, esteemed reader, we earnestly encourage you to immerse yourself in the tutorial, which serves as an illuminating guide, dispelling any uncertainties you may harbor regarding the intricacies of the pattern. The following video tutorial hails from the distinguished “Play Hooky with Me” channel—dive in and unravel the craft with unparalleled ease.
This tutorial should provide you with a comprehensive understanding of the granny stripe pattern. Happy crocheting! 😊