Handy Crochet Basket – Free Pattern & Detailed Guide
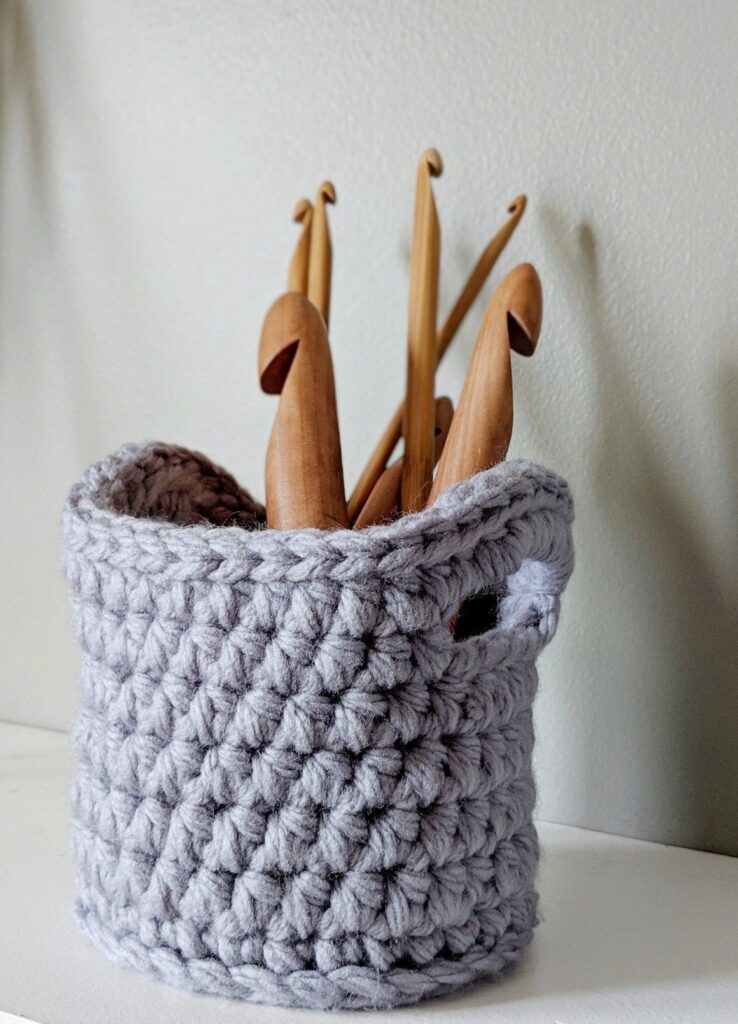
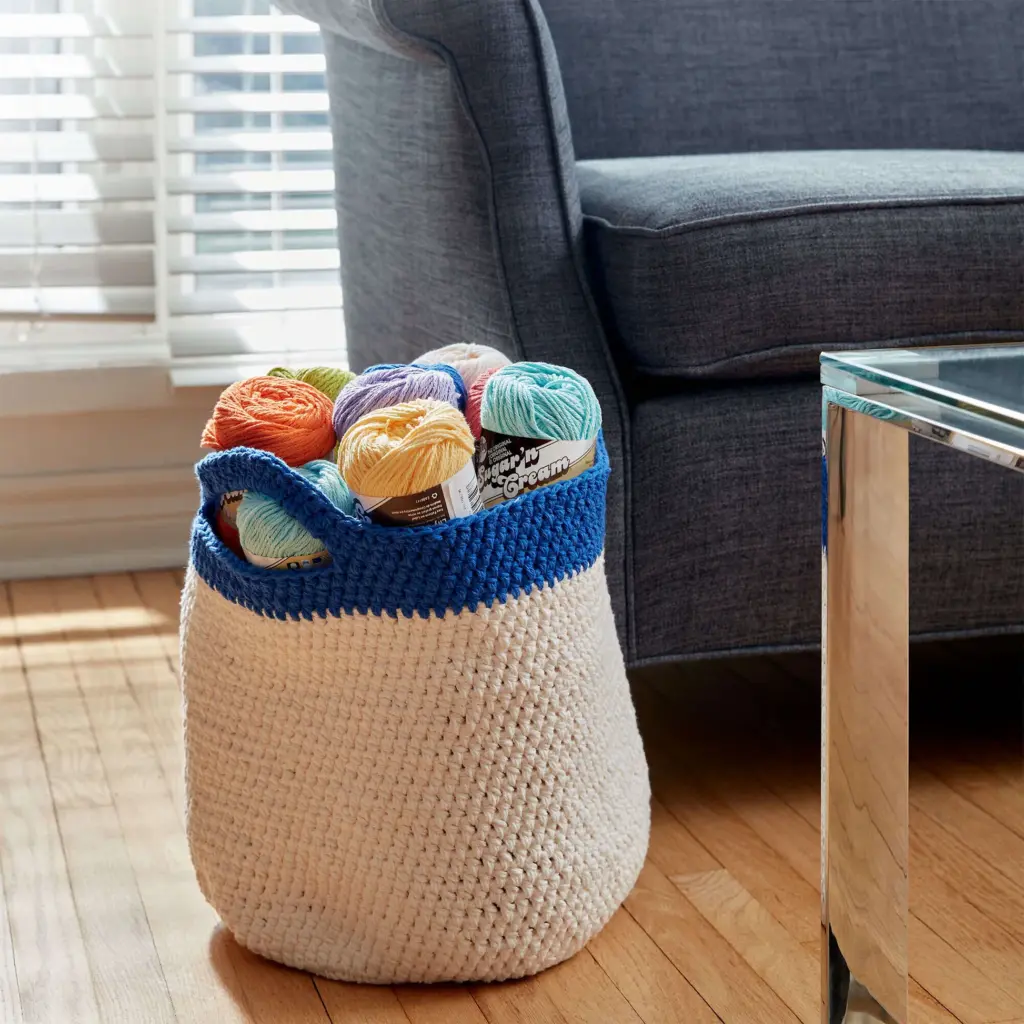
Creating a crochet basket is a fantastic way to blend creativity with functionality. This handy crochet basket is perfect for storing small household items, crafting supplies, or even as a decorative piece. The pattern is beginner-friendly, yet it allows room for customization, making it an excellent project for crocheters of all skill levels.
This guide provides detailed step-by-step instructions to help you create a sturdy, beautifully shaped crochet basket using simple techniques.
Materials Needed
Before you begin, gather the following supplies:
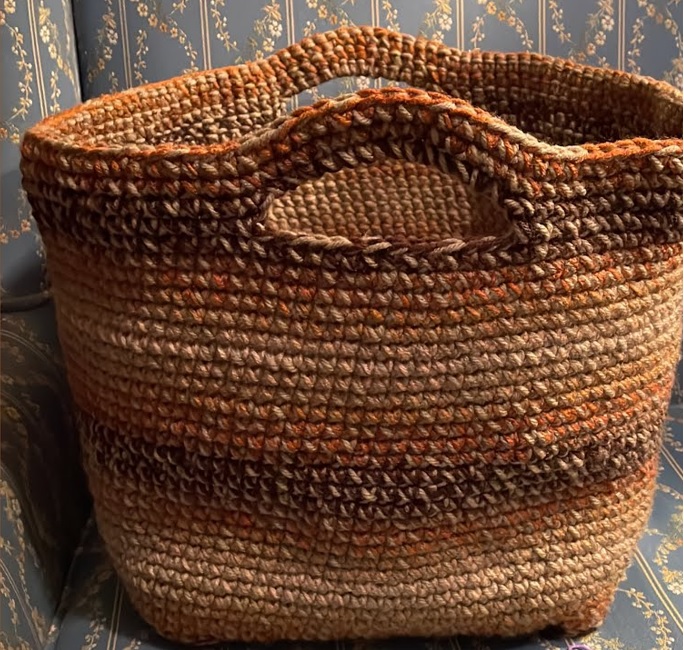
- Yarn: Choose a sturdy yarn, preferably cotton or a bulky-weight yarn. Cotton provides a firm texture, while bulky yarn makes the basket more structured. If you want extra durability, use two strands of yarn held together.
- Crochet Hook: A hook size that matches your yarn weight. Typically, a 5mm–7mm hook is suitable for a firm, well-shaped basket.
- Scissors: For trimming yarn ends.
- Tapestry Needle: Essential for weaving loose ends neatly.
- Stitch Marker: Useful when working in continuous rounds.
Pattern Instructions
This pattern is worked in the round, starting from the base and working upwards to form the basket walls.
Step 1: Crochet the Base (Worked in a Spiral)
The base is created using single crochet increases in continuous rounds to achieve the desired size.
- Start with a Magic Ring: This creates a tight and seamless beginning. Alternatively, you can chain 3 and join with a slip stitch to form a ring.
- Round 1: Chain 1 (does not count as a stitch), work 8 single crochets (sc) into the ring. Pull the ring tight. (8 stitches in total).
- Round 2: Work 2 sc into each stitch around. (16 stitches)
- Round 3: (1 sc in the next stitch, 2 sc in the next stitch) Repeat around. (24 stitches)
- Round 4: (1 sc in next 2 stitches, 2 sc in next stitch) Repeat around. (32 stitches)
- Round 5: (1 sc in next 3 stitches, 2 sc in next stitch) Repeat around. (40 stitches)
Continue increasing in this pattern until the base reaches the desired width. For a small basket, 5–6 rounds may be sufficient, while a larger basket may need 8–10 rounds.
To calculate the final size:
- A 6-inch (15 cm) base works well for a small basket.
- An 8–10 inch (20–25 cm) base is great for medium-sized storage.
- For a large basket, continue increasing until the base reaches about 12 inches (30 cm).
Step 2: Forming the Basket Walls
Once the base is complete, it’s time to shape the sides.
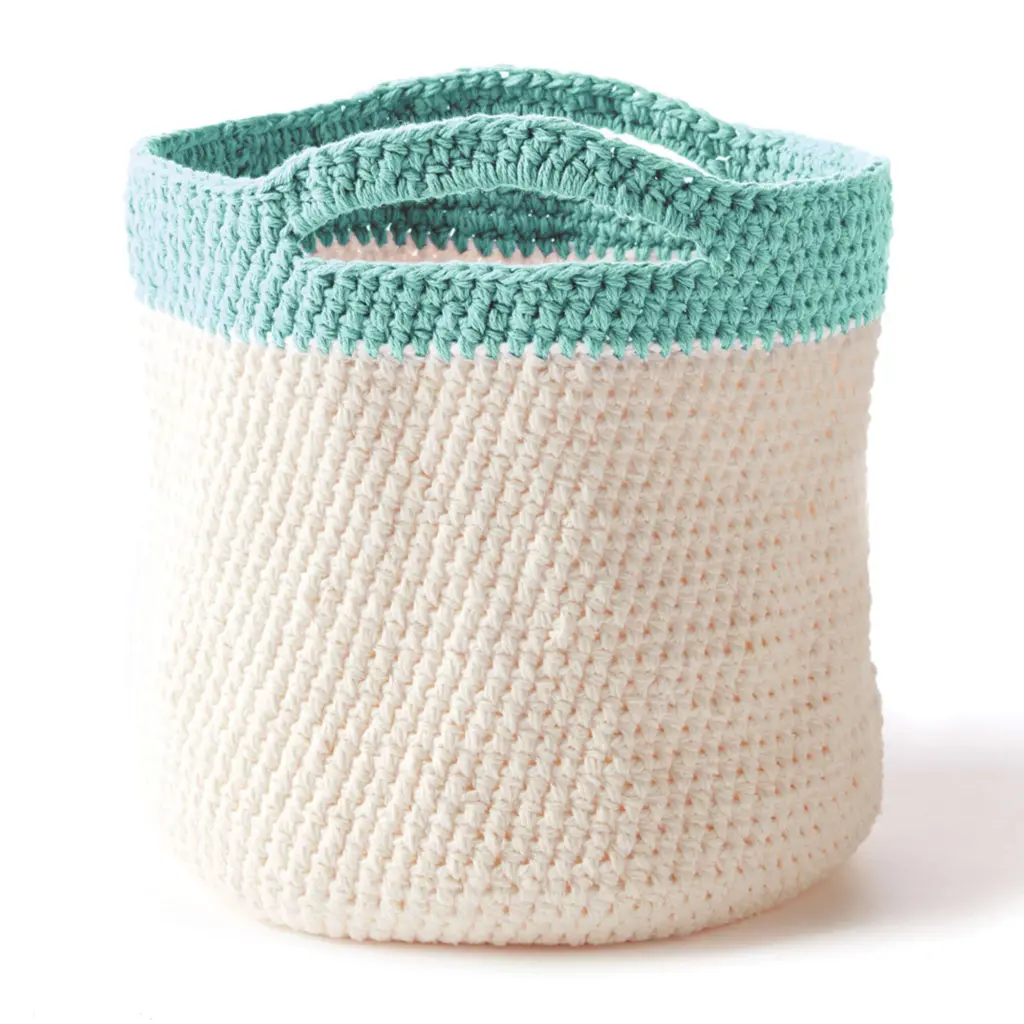
- Next Round: Work 1 sc in the back loop only (BLO) in each stitch around. This technique creates a sharp edge, making the walls stand upright. (Do not increase stitches in this round.)
- Following Rounds: Work 1 sc in each stitch around without increasing. Continue until the basket reaches your desired height. A good height for a small basket is 4–6 inches (10–15 cm), while larger baskets can be 10–12 inches (25–30 cm).
Tips for a Firmer Structure:
- Use a tighter tension to help the basket hold its shape.
- Consider using two strands of yarn for extra thickness.
- If the basket feels too floppy, insert a piece of cardboard or plastic canvas at the base before finishing.
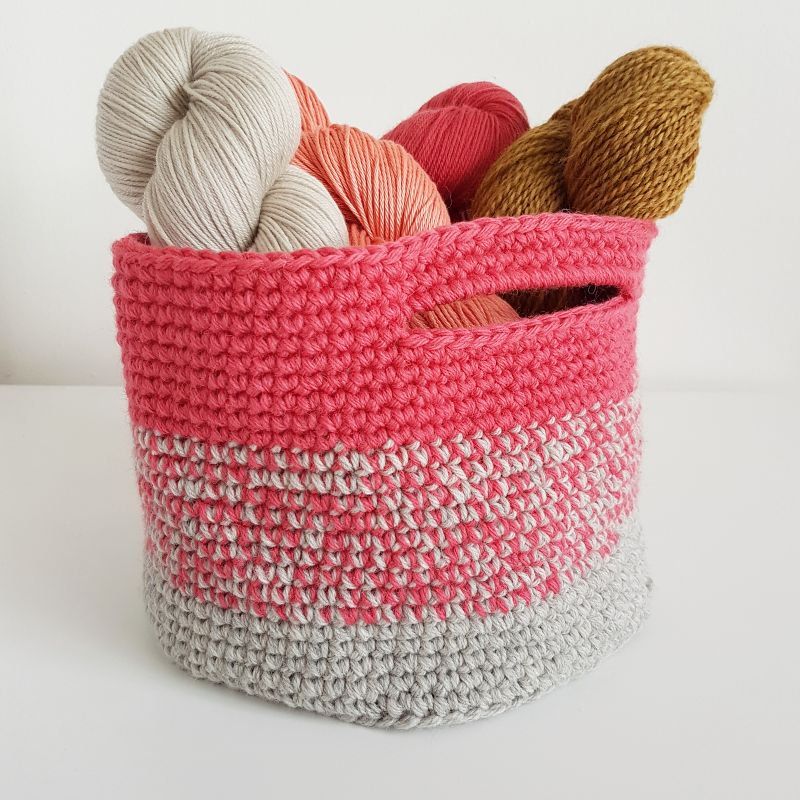
Step 3: Adding Handles (Optional)
For a functional basket, adding handles makes it easier to carry.
- Identify Handle Positions: Place stitch markers where the handles should begin.
- Creating Handles: When reaching the marked points, chain 5–8 stitches (depending on the handle size), skip the same number of stitches and continue single crocheting around.
- Reinforce Handles: On the next round, single crochet into each chain space to form a strong, durable handle.
If you prefer sturdy side handles, crochet small rectangular patches separately and sew them onto the basket.
Finishing Touches
- Final Round: When your basket reaches the desired height, finish with a slip stitch round for a neat edge.
- Weave in Ends: Use a tapestry needle to neatly weave in loose yarn ends.
- Shaping the Basket: If needed, lightly dampen the basket and shape it by hand. Let it air dry to hold the shape.
For extra structure, consider stiffening the basket using a fabric stiffener or a diluted glue-water mixture.
Customisation Ideas
One of the best things about crochet baskets is the ability to personalize them! Here are some ideas:
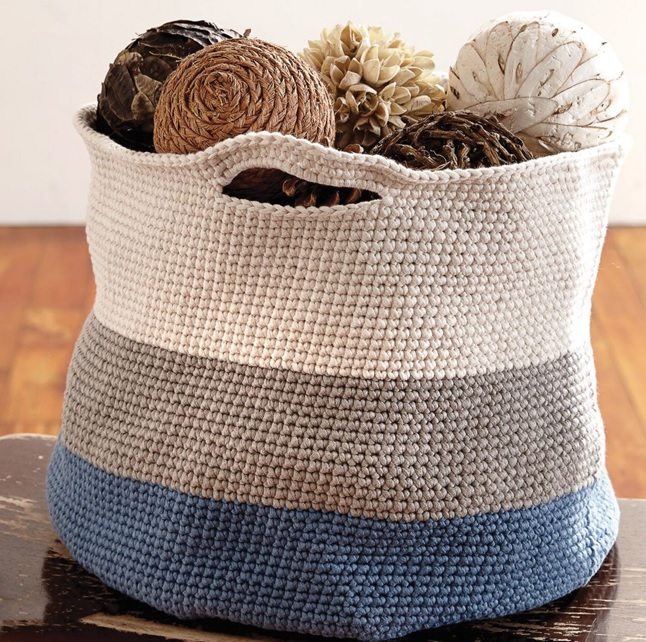
- Change Colours: Use different colors to create stripes or patterns.
- Add a Decorative Edge: A round of slip stitches or crab stitches gives a polished look.
- Use Different Stitches: Instead of plain single crochet, try half double crochet (hdc) or front post/back post stitches for texture.
- Attach Labels: Sew on a fabric or leather label for a stylish touch.
- Lining the Basket: If you want a more refined look, sew a fabric lining inside.
Common Questions & Troubleshooting
Why is my basket floppy?
- Use a smaller hook size for tighter stitches.
- Try double-stranding the yarn.
- Add a stiffening agent if necessary.
How do I make a bigger basket?
- Increase the base by adding more rounds before starting the walls.
- Work additional height by adding more rounds on the sides.
Can I use different yarn types?
Yes! However, sturdy yarns like cotton, jute, or t-shirt yarn work best. If using acrylic, consider double-stranding for firmness.
Final Thoughts
Crochet baskets are a wonderful project that combines practicality with creativity. Whether you’re making one for home organization, gifting, or craft storage, this handy basket pattern is simple yet effective. Plus, the ability to customize size, shape, and design means you can create the perfect basket to suit your needs.
Now, grab your yarn and hook—happy crocheting! 😊