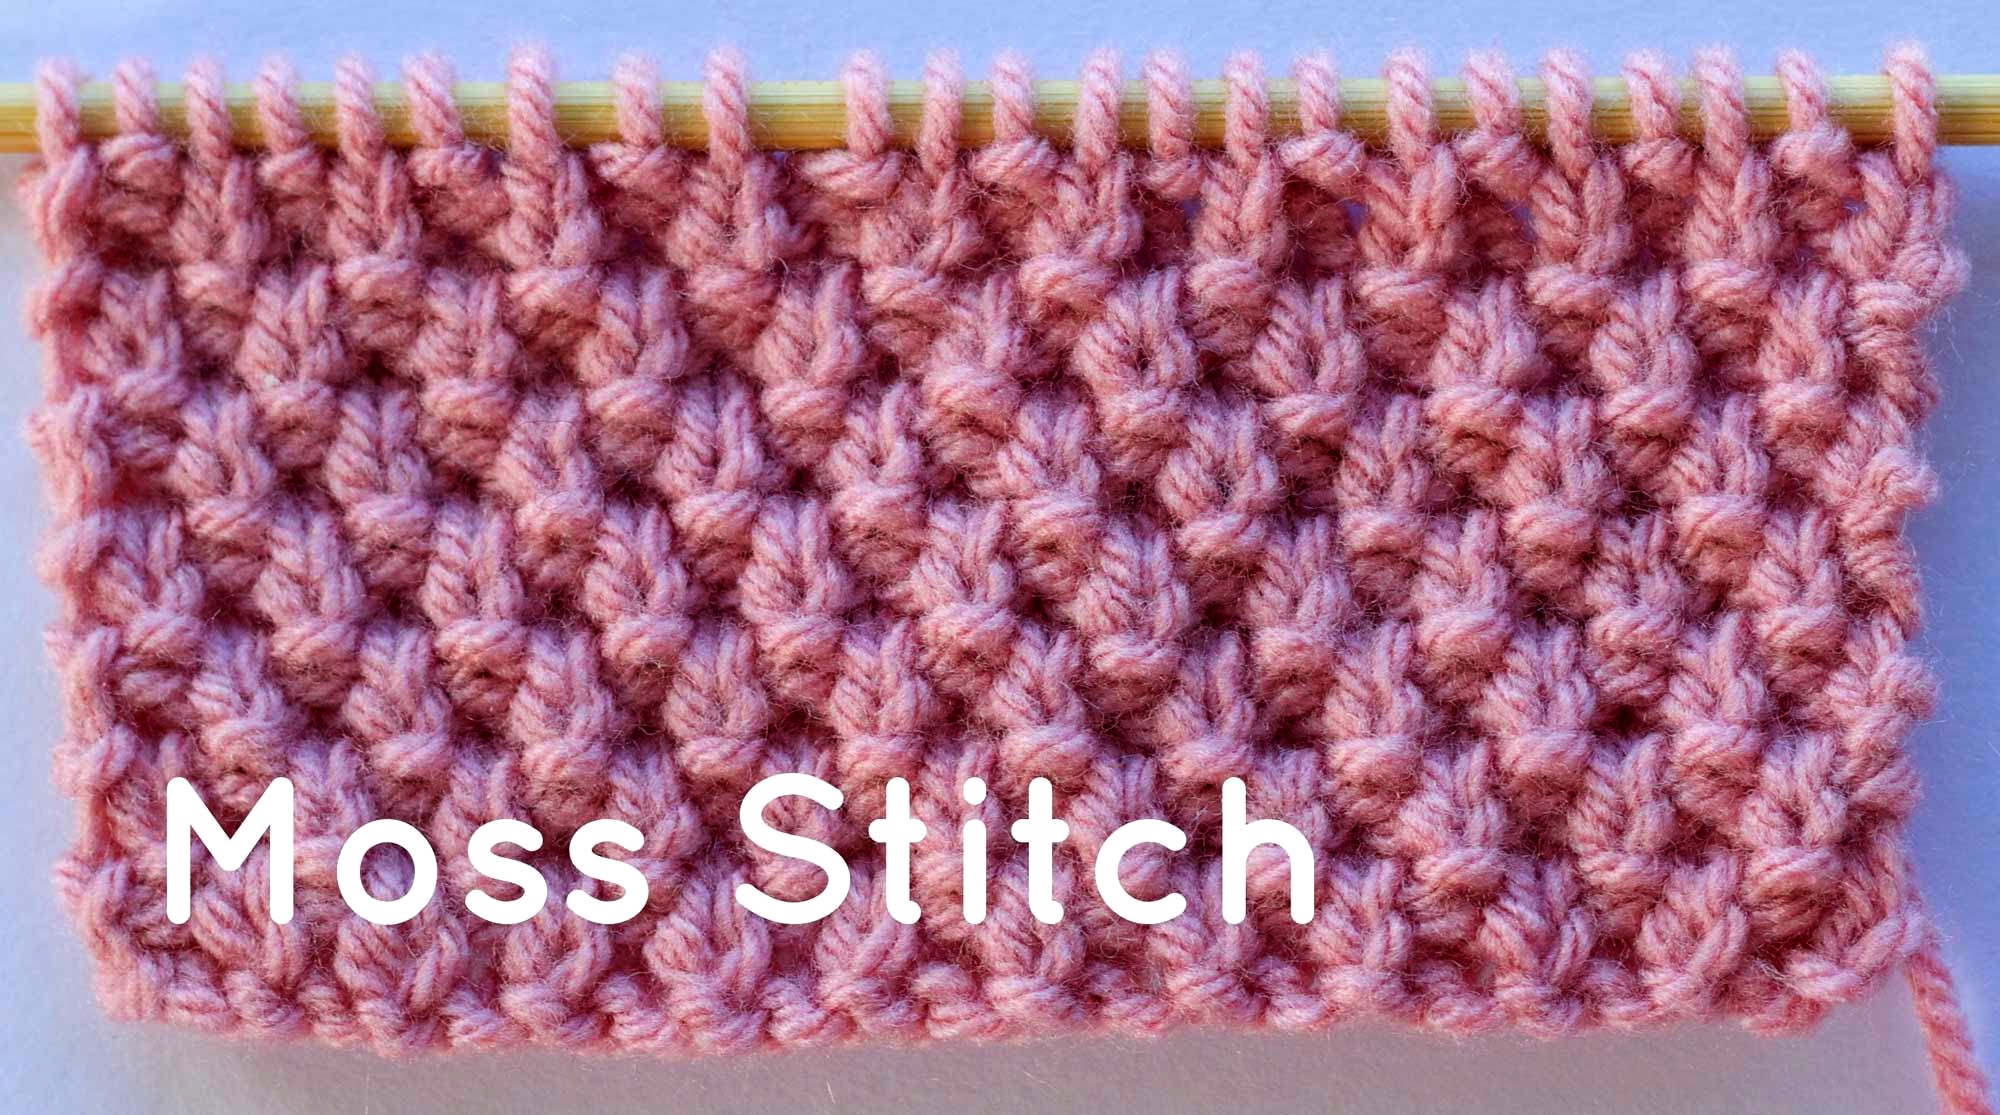
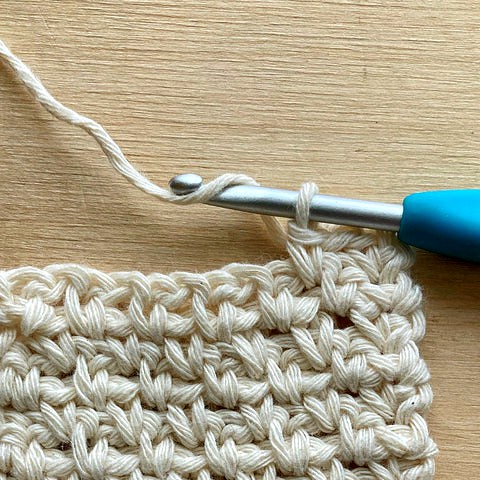
The Moss Stitch, also known as Seed Stitch in some regions, is a classic knitting pattern that produces a textured, woven-like fabric. It is one of the easiest stitch patterns to learn, making it ideal for beginners.
This stitch creates a soft, bumpy texture that is fully reversible, meaning it looks the same on both sides. It also lays flat, making it a fantastic choice for scarves, blankets, sweaters, and more.
Why Choose Moss Stitch?
✔️ Beginner-friendly – Requires only knit and purl stitches.
✔️ No curling – Unlike stockinette stitch, moss stitch lies flat without needing a border.
✔️ Reversible – Looks the same on both sides.
✔️ Great for texture – Adds a unique, bumpy texture to your fabric.
✔️ Works with any yarn – Suitable for all types of yarn, from thin cotton to thick wool.
Materials Needed
Before you start knitting the moss stitch, gather the following materials:
- Yarn: Any weight of yarn (choose the right needles accordingly).
- Knitting Needles: Use the size recommended on your yarn label.
- Tapestry Needle: For weaving in ends.
- Scissors
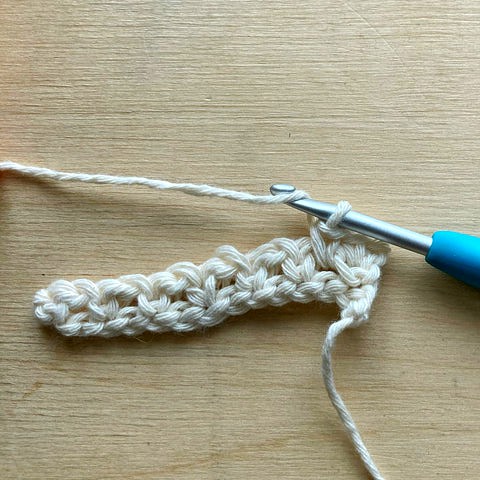
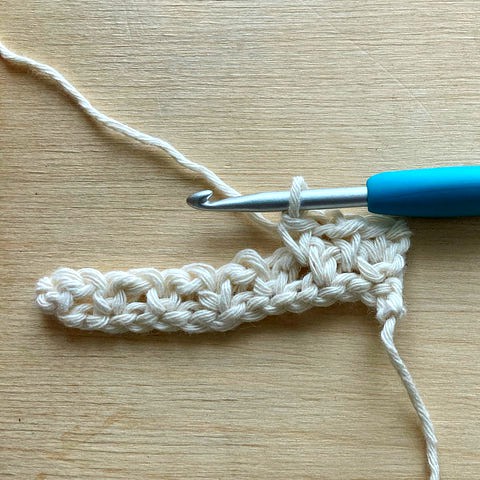
Basic Moss Stitch Pattern (Flat Knitting – Back and Forth)
Instructions
- Cast on an even number of stitches.
- Row 1: Knit 1, Purl 1 across the row.
- Row 2: Purl 1, Knit 1 across the row.
- Repeat Rows 1 and 2 until the fabric reaches your desired length.
- Bind off in a pattern and weave in ends.
📌 Tip: You can also cast on an odd number of stitches to create a more symmetrical look. The pattern will remain the same, but each row will start and end with a knit stitch.
Moss Stitch in the Round (For Circular Knitting)
If you are knitting in the round (such as for a hat, cowl, or tube scarf), you need to adjust the pattern slightly:
- Cast on an even number of stitches.
- Round 1: Knit 1, Purl 1 around.
- Round 2: Knit 1, Purl 1 around.
- Repeat Rounds 1 and 2 until you reach your desired length.
- Bind off in a pattern and weave in ends.
💡 Note: Unlike flat knitting, where the stitches alternate each row, knitting in the round keeps the pattern the same every round.
Moss Stitch Variations
There are several variations of the basic moss stitch that offer different textures.
1. British Moss Stitch (4-Row Repeat)
This version spaces out the bumps, creating a more structured texture.
- Row 1: Knit 1, Purl 1 across.
- Row 2: Knit 1, Purl 1 across.
- Row 3: Purl 1, Knit 1 across.
- Row 4: Purl 1, Knit 1 across.
- Repeat these four rows for a more spaced-out textured pattern.
2. Double Moss Stitch (Extended Texture)
The double moss stitch creates a chunkier, bolder texture.
- Row 1: Knit 1, Purl 1 across.
- Row 2: Knit 1, Purl 1 across.
- Row 3: Purl 1, Knit 1 across.
- Row 4: Purl 1, Knit 1 across.
- Repeat these four rows to create a pronounced, woven-like texture.
Best Projects for Moss Stitch
The moss stitch is incredibly versatile and can be used in many knitting projects, including:
🧣 Scarves – The reversible texture makes it perfect for scarves.
🛏 Blankets – It lays flat and have a cozy feel.
👕 Sweaters & Cardigans – Adds beautiful detail to knitted garments.
👜 Bags & Totes – A sturdy texture makes it great for accessories.
🧥 Hats & Cowls – The non-curling edges make it ideal for winter wear.
Tips for Knitting the Perfect Moss Stitch
✔️ Use even tension – Keep your knitting even to maintain a uniform texture.
✔️ Check your stitches – A mistake in the moss stitch can be noticeable.
✔️ Mark your rows – Use stitch markers or a row counter to track your pattern.
✔️ Practice on a swatch – Knit a small test piece to check gauge and texture.
Common Mistakes and How to Fix Them
❌ Problem: Uneven tension.
✔ Solution: Practice knitting consistently and avoid pulling too tightly.
❌ Problem: Losing track of the pattern.
✔ Solution: Use a row counter or make a note of where you stopped.
❌ Problem: Twisted stitches.
✔ Solution: Make sure you’re wrapping the yarn correctly around the needle.
❌ Problem: Curling edges.
✔ Solution: Moss stitch naturally lies flat, but if curling occurs, try blocking your finished piece.
Blocking Your Moss Stitch Project
Blocking helps smooth out stitches and gives your knitted piece a professional finish.
How to Block Your Moss Stitch Piece:
- Soak your knitting in lukewarm water for 10–15 minutes.
- Gently squeeze out excess water (do not wring).
- Lay it flat on a towel and shape it to the correct dimensions.
- Pin it in place using blocking mats and rust-proof pins.
- Let it dry completely before unpinning.
Frequently Asked Questions
Q1: Can I use any yarn for moss stitch?
Yes! Moss stitch works well with all yarn types. However, smoother yarns (like cotton) will show the texture more clearly than fuzzy yarns.
Q2: Is moss stitch the same as seed stitch?
It depends on the region. In the U.S., “seed stitch” usually refers to the single-row version, while “moss stitch” refers to the 4-row repeat (British Moss Stitch). However, they are often used interchangeably.
Q3: Why does my moss stitch look uneven?
Uneven tension can cause irregular bumps. Practicing and blocking can help improve the texture.
Q4: Can I knit moss stitch with an odd number of stitches?
Yes! It will create a more symmetrical edge. Simply begin and end each row with a knit stitch.
Conclusion
The Moss Stitch is a fantastic technique for all levels of knitters. Whether you’re creating a simple scarf or adding texture to a sweater, this stitch will give your projects a professional, handcrafted look.
Video Tutorial:
Certainly! To help you master the Moss Stitch in crochet, here’s a detailed video tutorial that walks you through each step: By channel Daisy Farm Crafts
This tutorial provides clear, easy-to-follow instructions suitable for beginners and experienced crocheters alike.
For a comprehensive understanding, you might also consider exploring the written tutorial available at Hooked by Robin, which complements the video with detailed explanations and images.
Happy crocheting!