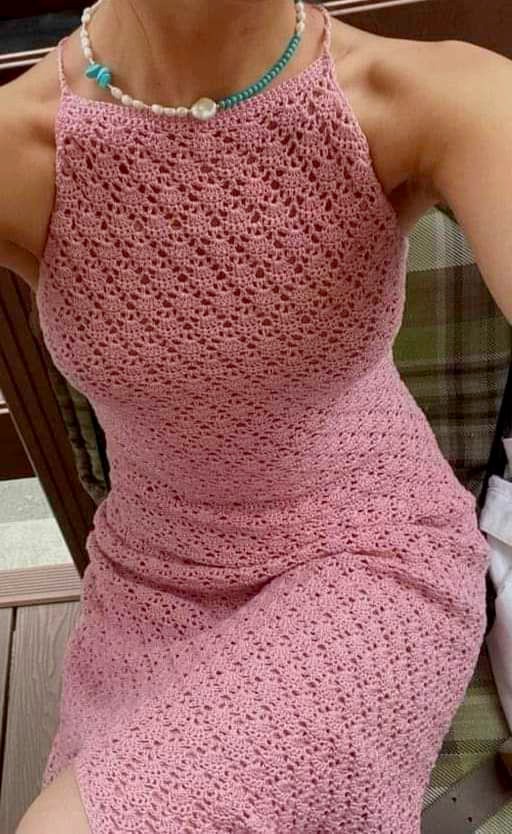
Here is a detailed, step-by-step crochet pattern for a long, pretty spring dress. This pattern is for an adult size but can be adjusted to any size by modifying the stitch count or length.
Materials Needed:
- Worsted-weight cotton yarn (approximately 600-700 yards depending on size)
- Crochet hook size H-8 (5 mm)
- Stitch markers
- Scissors
- Tapestry needle to weave in ends
- Optional: buttons, beads, or embellishments for decoration
Abbreviations:
- ch = chain
- dc = double crochet
- sc = single crochet
- hdc = half double crochet
- sl st = slip stitch
- st = stitch
- sk = skip
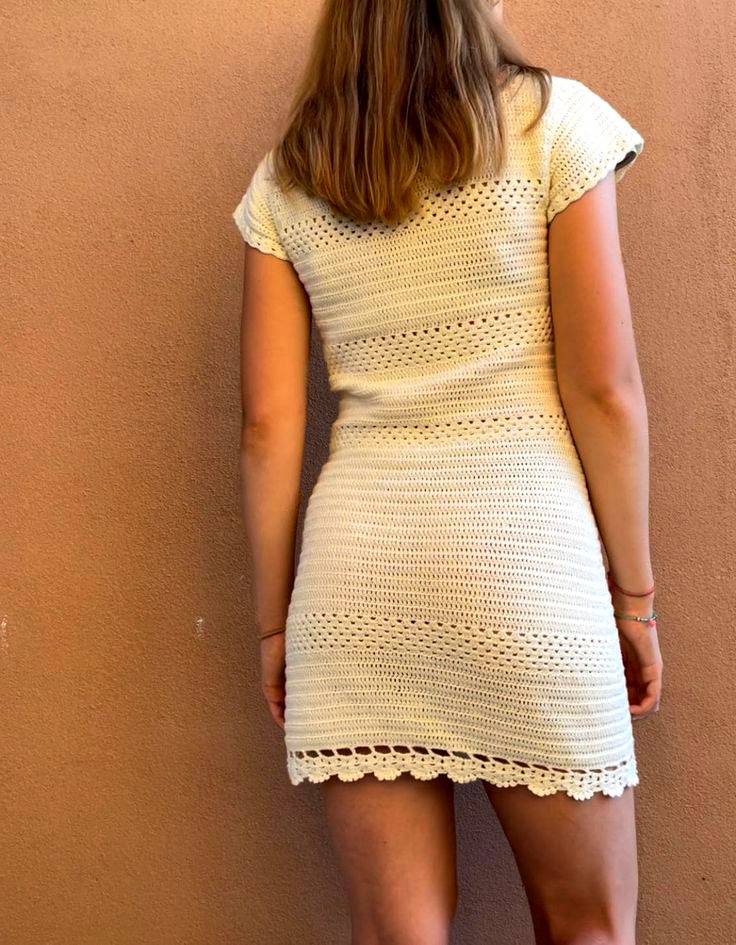
Skirt:
-
Start the Skirt:
- Ch 120 (or any multiple of 5 that fits your waist or desired size).
- Join with a sl st to the first chain to form a circle, making sure not to twist it.
-
Round 1:
- Ch 3 (counts as 1 dc), and then work 1 dc into each chain around.
- Join with a sl st to the top of the ch-3.
-
Round 2:
- Ch 3 (counts as 1 dc), work 1 dc into each dc from the previous round.
- Continue working in rounds without turning your work, joining each round with a sl st at the end.
-
Repeat Round 2:
- Continue working in rounds until the skirt reaches the desired length. For a long dress, you may need to repeat this step about 40-50 rounds, depending on your height.
-
Optional Lace Border:
- Once the skirt reaches your desired length, finish the skirt with a lace border:
- Ch 5, sk 2 sts, sl st into the 3rd st, then repeat this around.
- This will create a nice lace finish at the bottom of the dress.
- Once the skirt reaches your desired length, finish the skirt with a lace border:
Bodice:
-
Start the Bodice:
- Ch 80 (adjust based on bust size), join to form a circle. This will create the foundation for the bodice.
-
Row 1:
- Ch 3 (counts as the first dc), then work 1 dc in each chain around.
- Join with a sl st to the top of the ch-3.
-
Row 2 and onwards:
- Work in dc in each DC stitch around. Continue to work in rounds until the bodice reaches your desired length, typically about 6-8 inches from the top.
-
Shaping the Bodice (Optional):
- To create a more fitted look, you can start to decrease the stitch count. For example, you can work 1 dc in each of the first 4 sts, then dc2tog (double crochet two together) around.
- This will make the bodice more fitted to your body shape.
-
Finishing the Bodice:
- Once the bodice is the right length, you can add straps by chaining 30-40 stitches (adjust to fit) and attaching them to the top corners of the bodice. Attach them securely using sl sts or sc stitches.
- For thicker straps, you can add more rows of sc or dc.

Assembly:
-
Joining the Bodice to the Skirt:
- Align the bodice with the top of the skirt and whip stitch or sl st around the waistband to attach them together.
-
Straps:
- After attaching the bodice to the skirt, attach the straps at the top corners of the bodice. Ensure the straps are evenly placed.
Finishing Touches:
- Weave in all loose ends using the tapestry needle.
- You can decorate your dress with small crochet flowers, beads, or buttons at the waistline or along the skirt.
Enjoy your gorgeous, handmade long-spring dress!