Project Type: Blanket (easily adaptable for other sizes such as baby blankets, lapghans, or larger throws)
Skill Level: Confident beginner
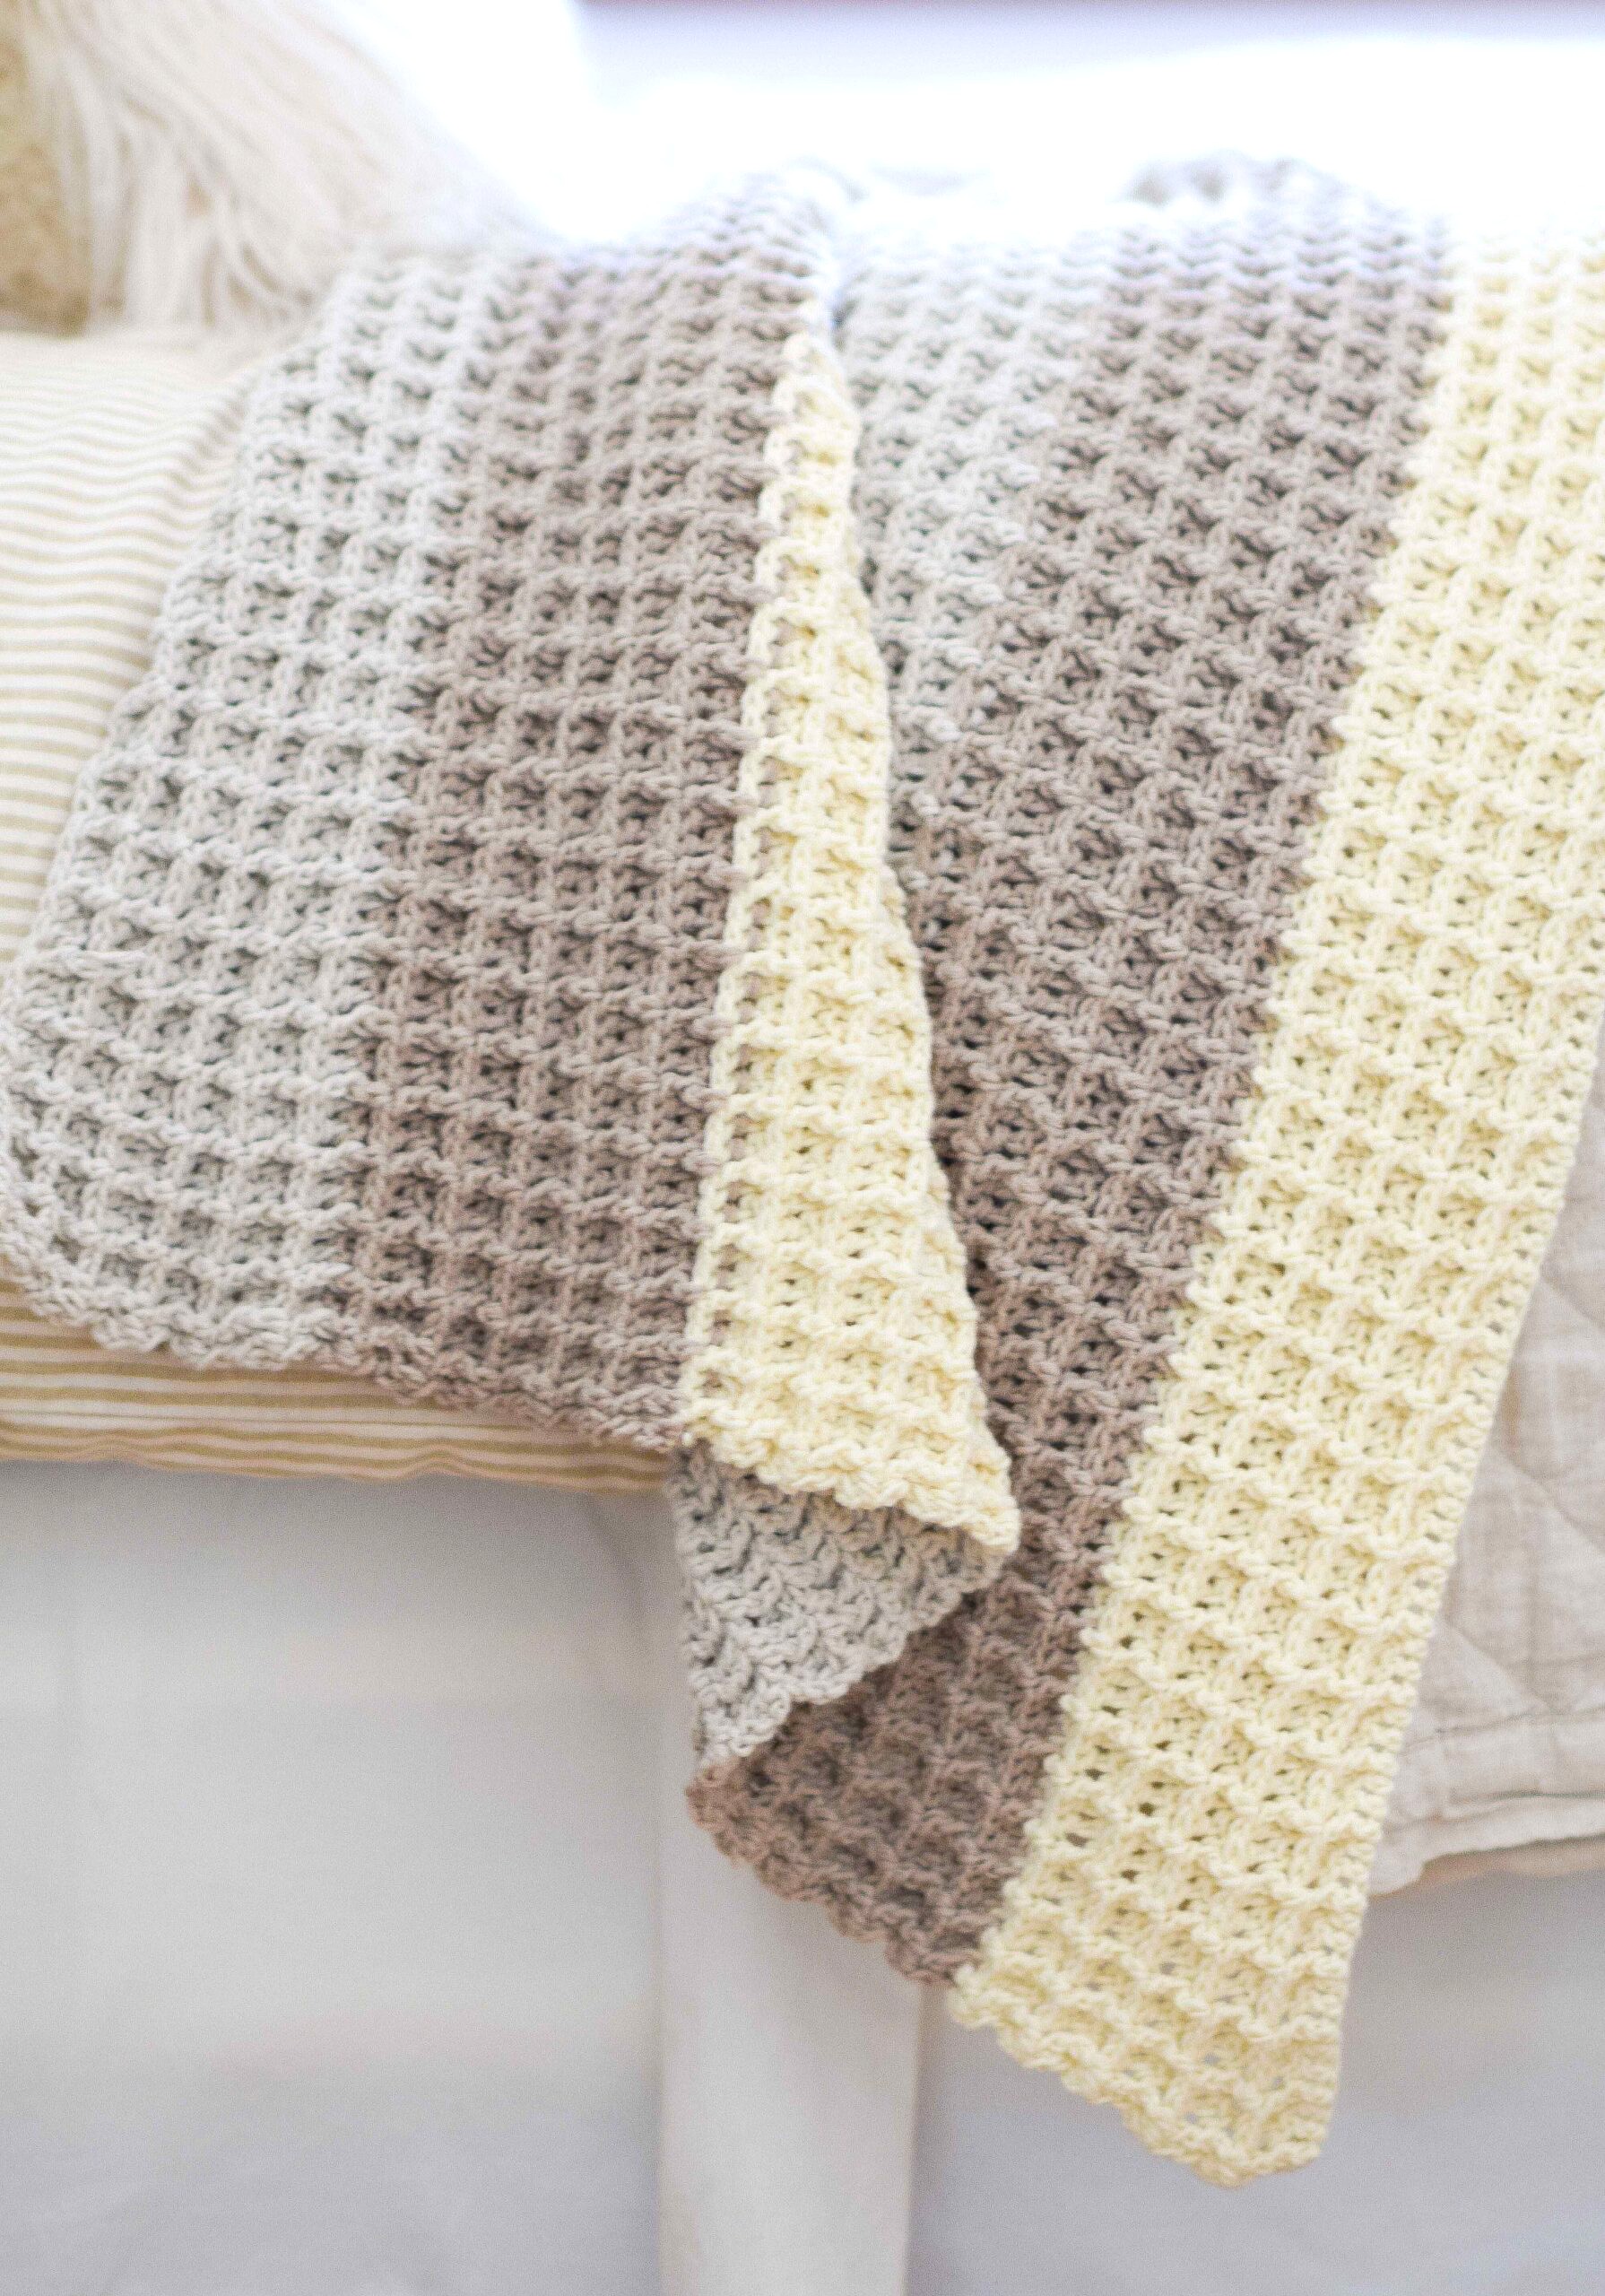
Texture: Raised, textured grid – perfect for creating a squishy, cosy feel
Finished Size Example: 100 cm x 120 cm (adjustable)
Yarn Type: Double Knit (DK) or Aran/Worsted weight yarn (adjust depending on size)
Hook Size: 5mm (or the recommended size for your yarn)
Gauge: Approximately 12 stitches x 8 rows = 10 cm x 10 cm (in waffle stitch pattern)
Materials
-
Yarn of choice (DK, Aran, or Worsted weight) – around 5–7 skeins, depending on size
-
Crochet hook size 5mm or the size recommended for your yarn
-
Yarn needle (for weaving in ends)
-
Stitch marker (optional, to mark the beginning of the round or turning chain)
-
Scissors
Stitches Used (UK Terms)
-
ch – chain
-
tr – treble crochet
-
fptr – front post treble crochet (this is the key stitch for creating the waffle texture)
-
dc – double crochet (used for the border, optional)
Basic Instructions
Foundation Chain:
To begin, chain a multiple of 3, then add 2 more stitches for turning. For example, for a medium-sized blanket, chain 122 (120 + 2).
The extra 2 chains at the end allow you to start the first treble crochet stitch in the next row.
Row 1: Base Row (Treble Crochet Row)
-
In the 3rd chain from the hook, make a treble crochet (tr).
-
Continue to tr in each chain across the foundation chain.
-
Turn your work around at the end of the row.
This row sets up your blanket, creating a solid base of regular treble crochet stitches, which will form the foundation of your waffle pattern.
Row 2: First Pattern Row (Waffle Pattern A)
-
Ch 2 (this counts as the first treble crochet stitch).
-
fptr around the next tr from the row below (this creates the raised waffle texture).
-
Now, 1 tr in the next 2 stitches (regular treble crochet stitches).
-
Repeat the sequence (fptr around next tr, 1 tr in next 2 stitches) across the row.
-
End with 1 tr in the final stitch (usually the turning chain or the last stitch from the previous row).
-
Turn your work around.
At this stage, you will start to see the waffle texture begin to form, with the raised post stitches adding dimension to the fabric.
Row 3: Second Pattern Row (Waffle Pattern B)
-
Ch 2 (counts as the first treble crochet).
-
1 tr in the first stitch of the row.
-
fptr around the next two stitches (this keeps the waffle texture consistent).
-
Repeat (1 tr, fptr around next 2 stitches) across the row.
-
Finish with 1 tr in the turning chain.
-
Turn your work around.
By repeating rows 2 and 3, you’ll continue building up the textured waffle effect. The alternating rows of regular trebles and front post trebles give this pattern its beautiful 3D texture.
Repeat Rows 2 and 3
Continue repeating Row 2 and Row 3 until your blanket reaches your desired length. This is the main body of the waffle stitch blanket. Feel free to check your work regularly to ensure the texture is developing as you want it.
Final Row (Flattening the Edge)
Once your blanket has reached the desired length, finish with a row of regular treble crochet (tr) stitches across. This helps to flatten the edges and gives your blanket a nice, tidy finish.
Optional Border (Neat Finishing Touch)
If you want to add a clean, finished look to your waffle stitch blanket, consider adding a border. Here’s an easy method for a simple border:
-
Round 1 – DC Border:
-
Start at any corner and work 1 dc (double crochet) into each stitch around all four edges of your blanket.
-
For each corner, work 3 dc into the same stitch to keep the corners flat and square.
-
Join the round with a slip stitch to close it.
-
-
Round 2+ – Optional Rounds:
-
For a thicker border, you can continue working more rounds of dc stitches.
-
Alternatively, you could switch to another stitch for the border, such as shells, picots, or even a crab stitch (reverse dc), depending on your preference.
-
The border is optional but adds a neat, polished finish to your blanket.
Tips and Tricks for Success
-
Front Post Treble Stitches:
The front post treble crochet stitches (fptr) are key to achieving the waffle pattern’s textured grid effect. These stitches might feel tricky at first, but once you get the rhythm of going around the posts, it becomes very easy and relaxing. -
Tension and Consistency:
Be mindful of your tension throughout the blanket. Keep your stitches loose enough to allow the texture to show through clearly, but not so loose that it causes holes. -
Using Different Yarns:
The beauty of the waffle stitch is that it works well with almost any type of yarn. Self-striping yarns, ombré colours, or even variegated yarns will all create a unique look with this stitch. -
Adjusting the Size:
To make a smaller or larger blanket, simply adjust the foundation chain by adding or subtracting multiples of 3, and repeat the waffle pattern until you achieve the desired length. If making a baby blanket or lapghan, you may want to aim for a starting chain of around 60–80 stitches. -
Even Edges:
If your edges start to look a bit wonky, use a stitch marker in your turning chains to help keep things even. Alternatively, you can crochet more tightly at the edges or add a decorative edging to mask any unevenness.
Finishing
Once your blanket is the desired size, simply weave in any loose ends using a yarn needle. Take your time to finish off neatly for a professional touch.
Summary of Waffle Stitch Pattern
-
Foundation Chain: Multiple of 3 + 2
-
Row 1: Standard treble crochet across
-
Row 2: Fptr around tr, tr in next 2 sts
-
Row 3: Tr in next st, fptr around next 2 sts
-
Repeat Rows 2 and 3 until your blanket is the desired length
-
Final Row: Standard treble crochet across
-
Optional Border: Add a simple DC or decorative border for a neat finish.
Enjoy creating your beautiful waffle stitch blanket! This texture will make your project both a joy to crochet and to snuggle under once it’s finished.