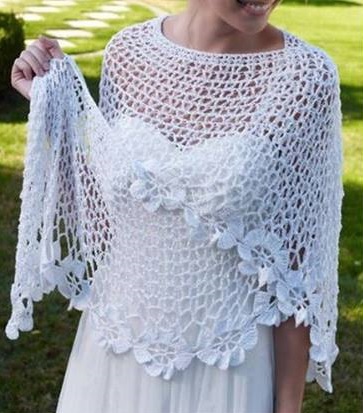
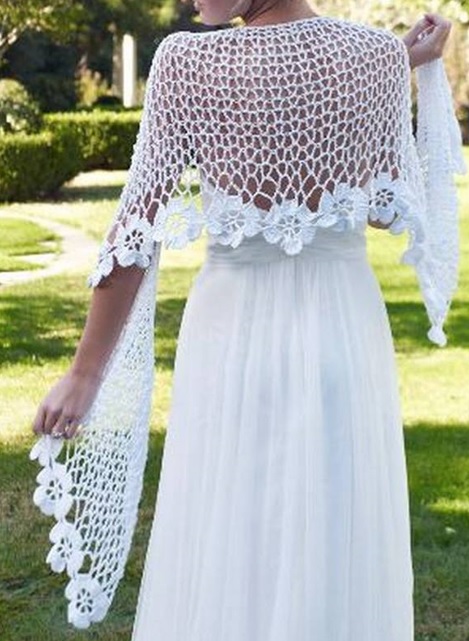
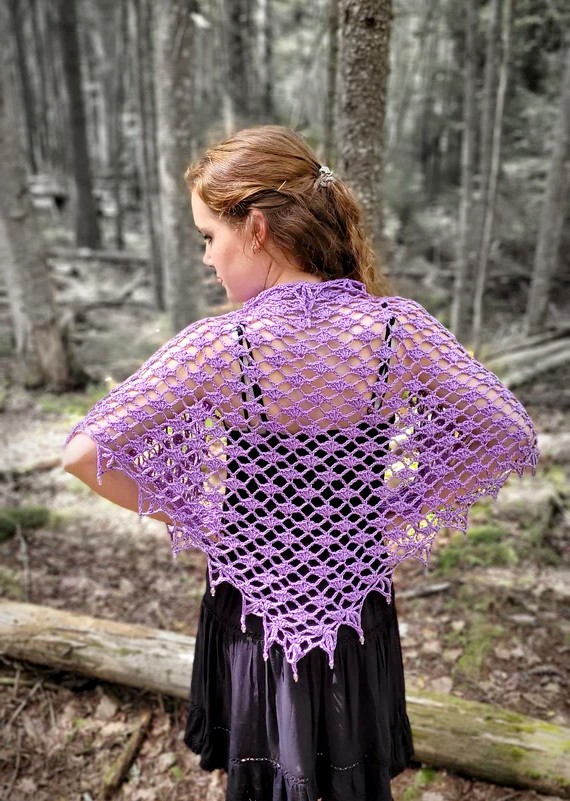
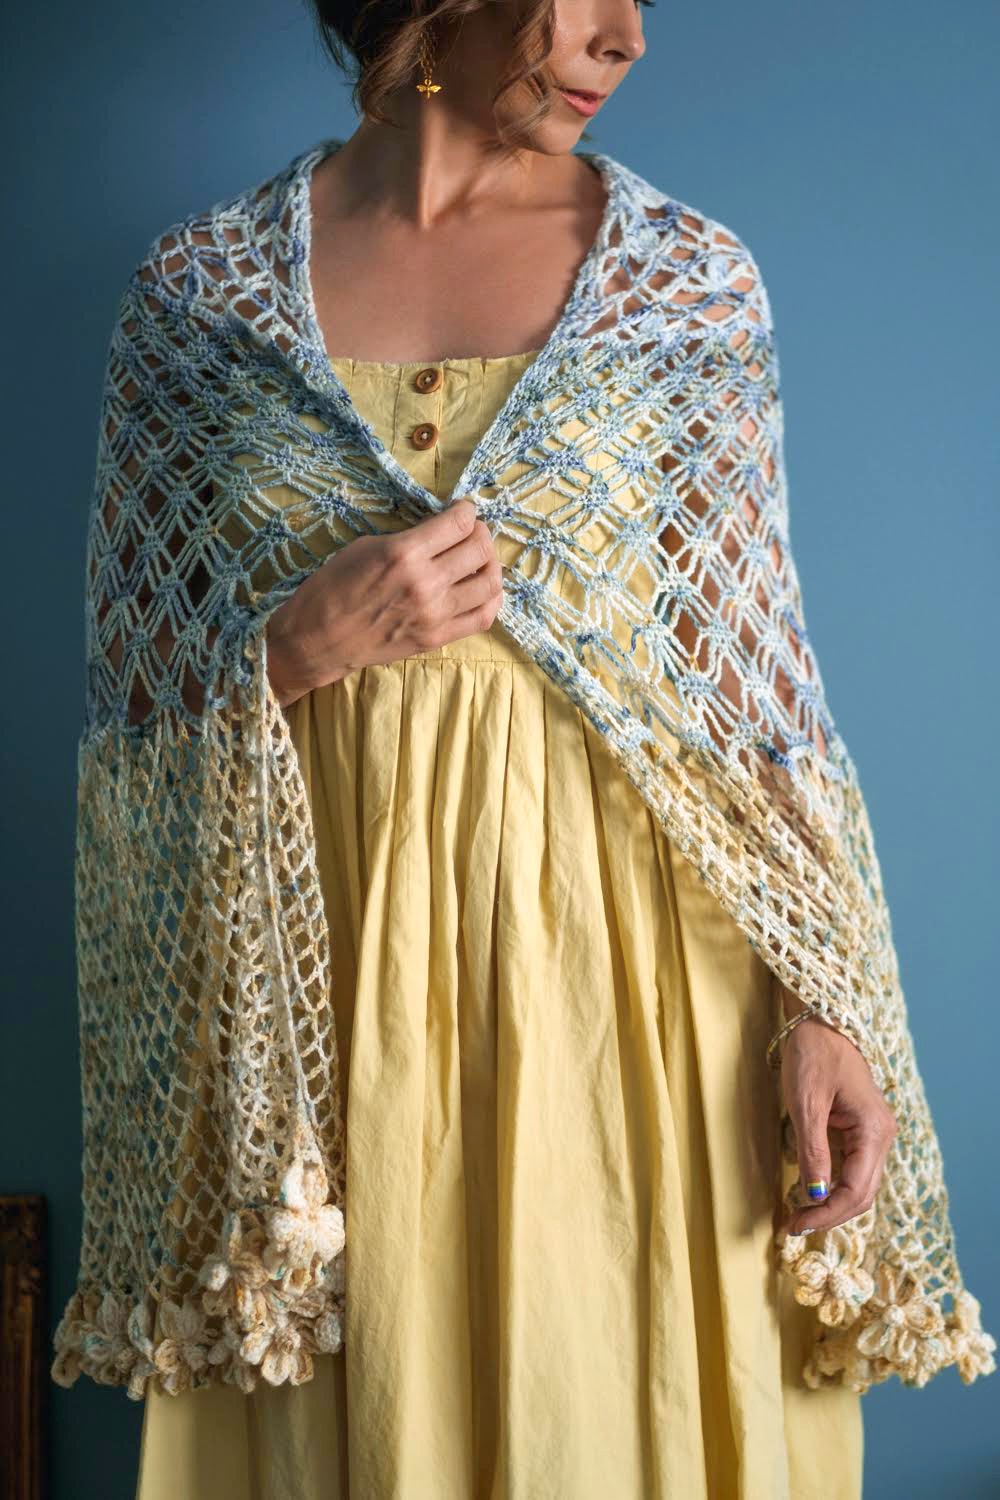
A light and airy triangular shawl adorned with delicate floral edging
Skill Level: Intermediate
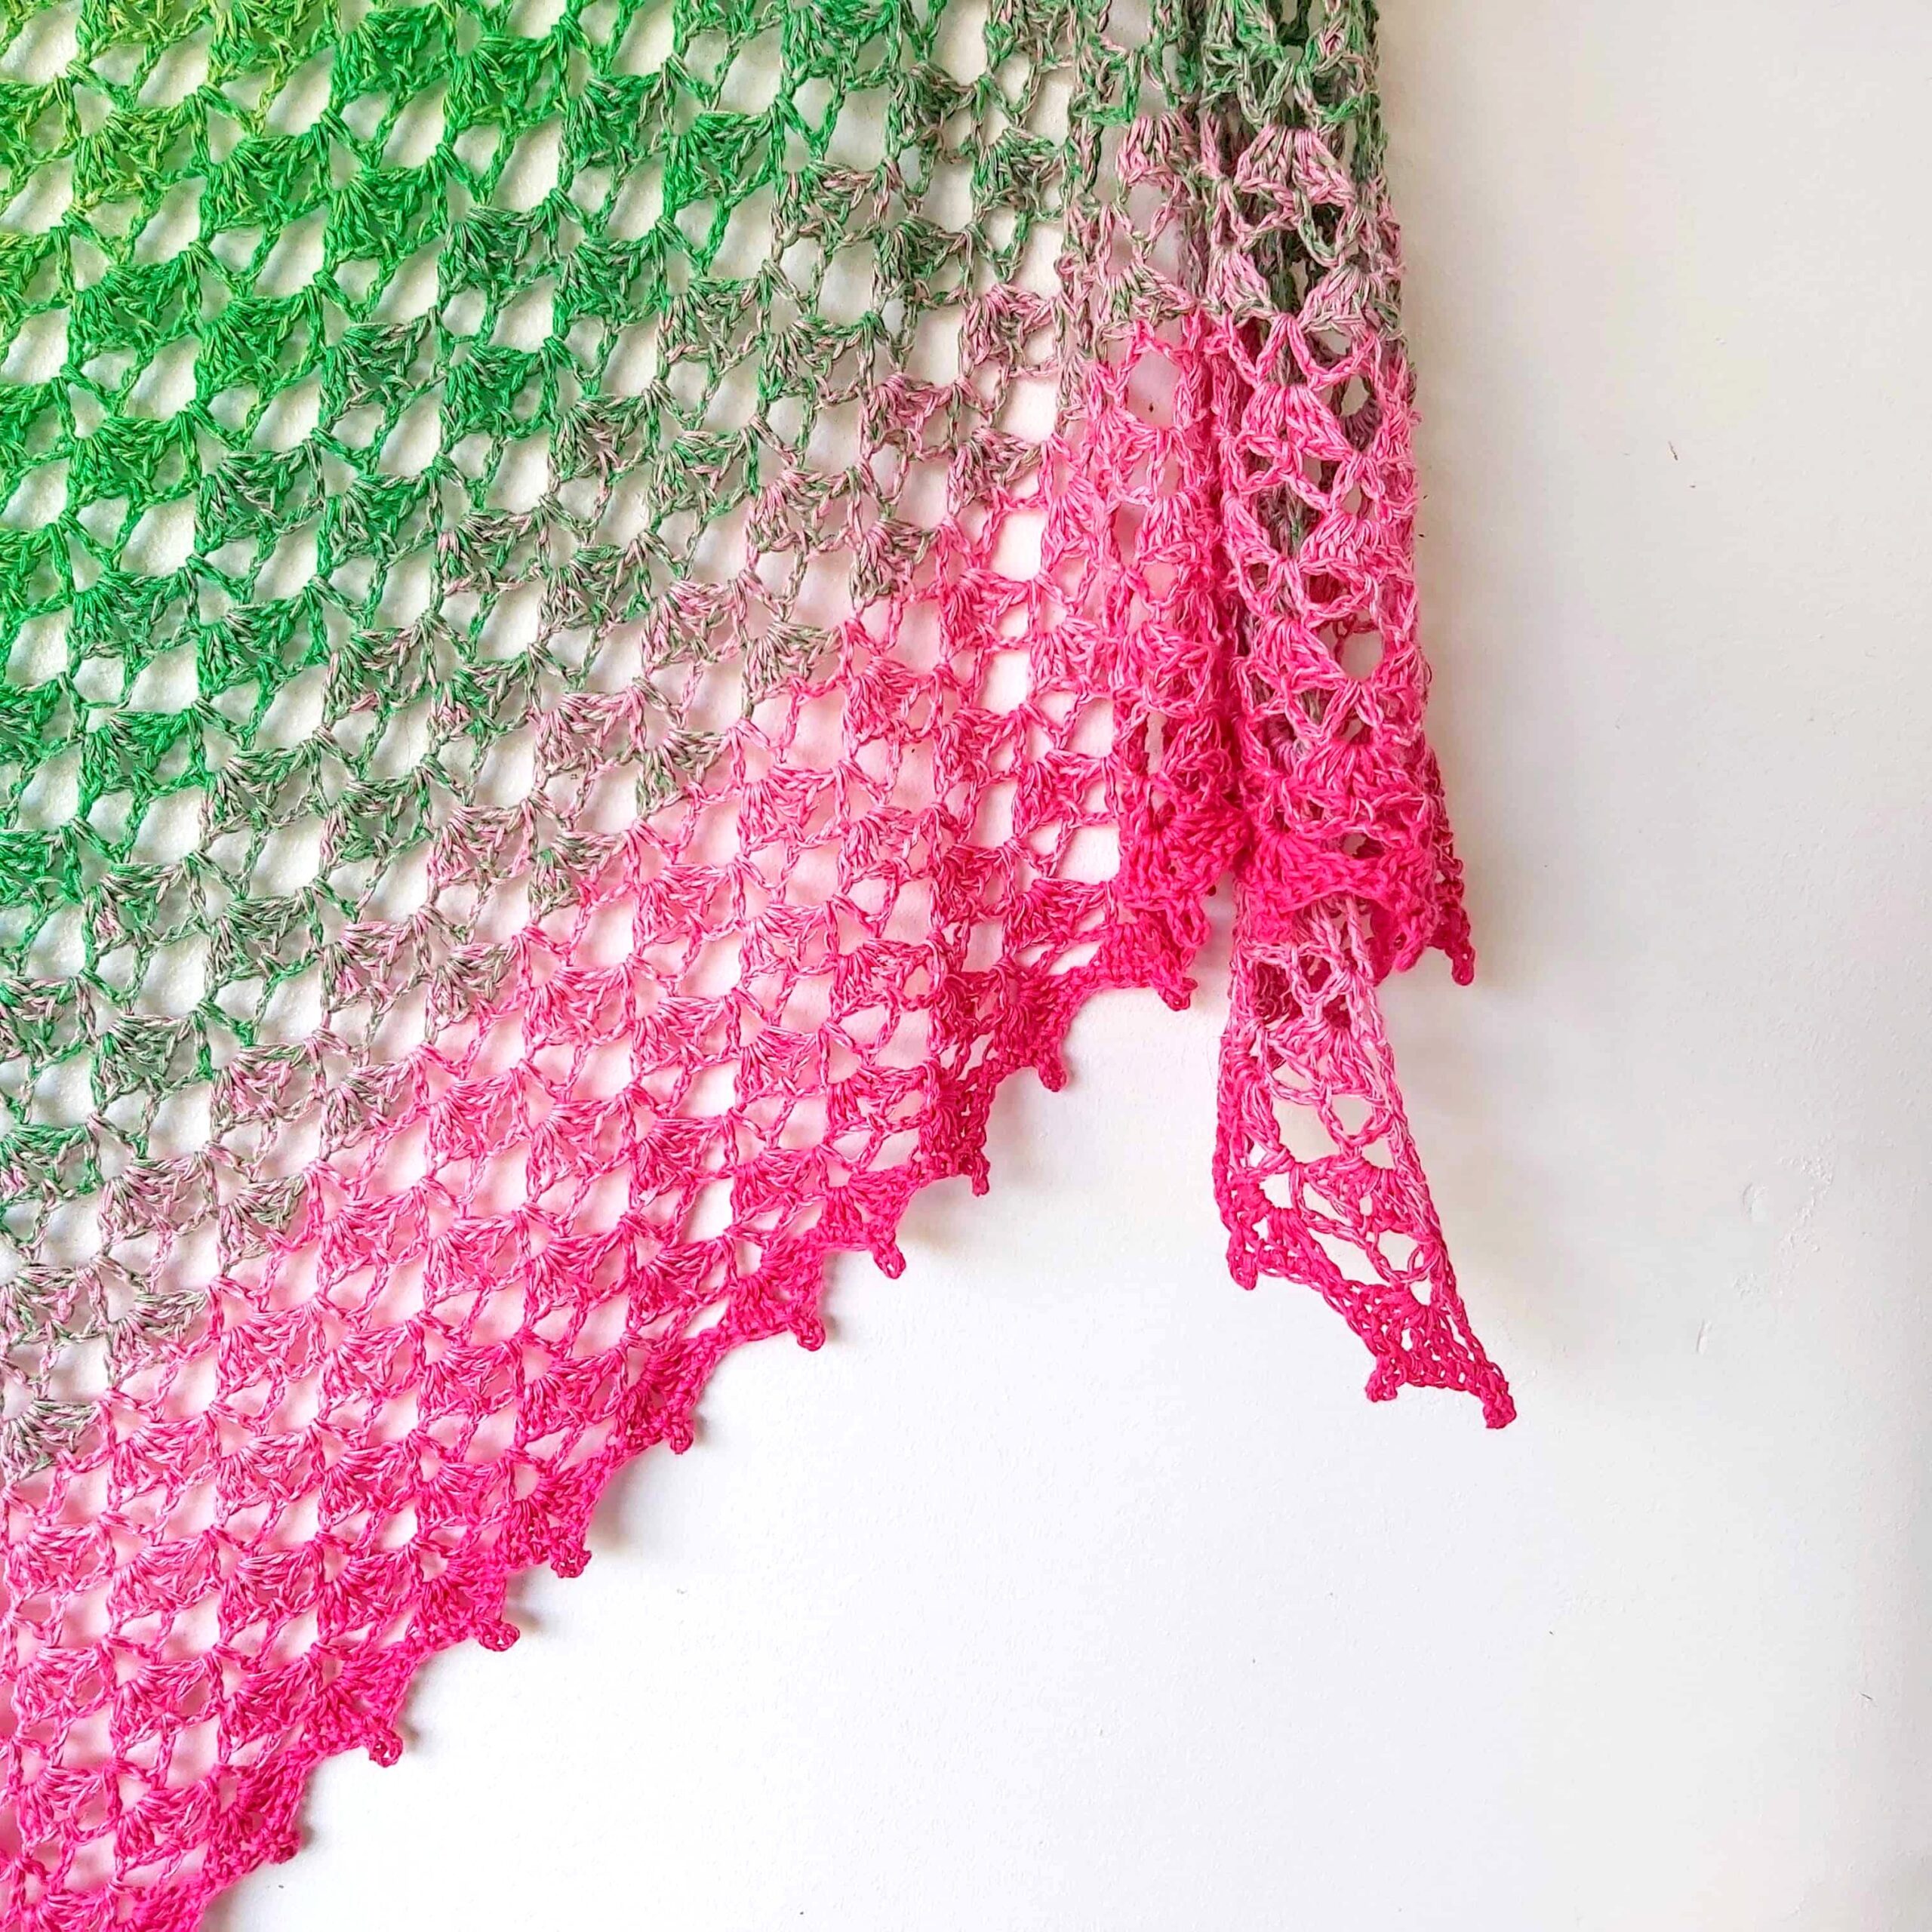
Construction: Top-down triangle, increasing from the center
Finish: Decorative floral edging
🧶 Materials
-
Yarn: Fingering weight or light sport weight
-
Approx. 800–1000 yards, depending on desired size
-
Suggested yarns:
-
Scheepjes Whirl (60% cotton, 40% acrylic – ideal for color gradients)
-
Malabrigo Lace (100% baby merino – soft and warm)
-
-
-
Crochet Hook: 3.5 mm (E)
-
Notions:
-
Yarn needle
-
Blocking mat and pins
-
Stitch markers (optional, for center)
-
📏 Finished Size (before blocking)
-
Approx. 65″ wide x 28″ deep
-
Size can be adjusted by working more or fewer rows.
🧵 Gauge (unblocked):
-
4″ = 6 rows of pattern stitch + 7–8 dc
-
Gauge is not critical for this project, but a swatch is useful to estimate yarn usage.
🪡 Special Stitches
-
Shell: (2 dc, ch 2, 2 dc) in same space
-
Picot: ch 3, sl st in first ch
-
Treble Crochet (tr): yarn over twice, insert hook, pull up loop, (yo, pull through 2) three times
🔺 Shawl Body Pattern (Top-Down Triangle)
The shawl is worked in rows, turning at the end of each row. Place a marker in the center ch-2 space if needed to keep track of the center point.
Foundation Ring – Row 1:
Ch 4, join with sl st to form ring.
Ch 3 (counts as dc), 2 dc in ring, ch 2, 3 dc in ring. Turn.
(6 dc total, with ch-2 space in center)
Row 2:
Ch 3 (counts as dc), 2 dc in same st.
Ch 1, (2 dc, ch 2, 2 dc) in center ch-2 space.
Ch 1, 3 dc in last dc. Turn.
Stitch count: 10 dc, 2 ch-1 spaces, 1 ch-2 center space.
Row 3:
Ch 4 (counts as tr), skip next dc.
Dc in next dc, ch 1 to center.
(2 dc, ch 2, 2 dc) In ch-2 center space.
Continue ch 1, dc in next dc across to last, tr in top of turning ch. Turn.
Note: This row increases width more rapidly and adds lacy holes.
Row 4:
Ch 3, 2 dc in same st.
Ch 1, dc in next dc, ch 1 to center.
(2 dc, ch 2, 2 dc) in center ch-2 space.
Continue ch 1, dc in next dc to last 3 sts, ch 1, 3 dc in last st. Turn.
Repeat Rows 3 and 4 alternately
-
Each repeat adds 4 more dc and 2 more ch-1 spaces.
-
Continue until shawl measures your desired size (28–30″ deep is typical) or until 10% of yarn remains (for edging).
Example Section Sizes:
| Row | Width | Notes |
|---|---|---|
| 10 | ~18″ | Still narrow |
| 30 | ~50″ | Medium size |
| 50 | ~70″+ | Large shawl |
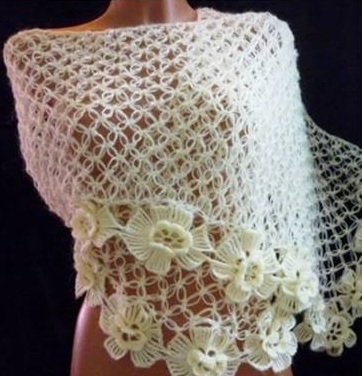
🌼 Floral Edging Pattern
This floral edging adds an elegant finish. Flowers are made individually and sewn or joined to the final row of the shawl.
Tiny Petal Flowers (Make 40–60):
With the same or contrasting yarn:
Round 1:
Make a magic ring.
Ch 1, work 6 sc into ring. Pull tight, sl st to first sc.
Round 2 (Petals):
(Sl st into next st, ch 2, 3 dc, ch 2, sl st) all in the same st – repeat around.
You should have 6 petals.
Fasten off, leaving a 6″ tail for sewing.
Attach Flowers to Edging:
Option 1 – Sew on:
-
Block the shawl first.
-
Evenly space flowers along the final row, overlapping lightly or separated for a “daisy-chain” feel.
-
Use yarn tails to sew through the ch spaces along the edge.
Option 2 – Join-As-You-Go (advanced):
-
Replace the final shell edging with floral motifs.
-
After each flower, sl st into chain space on shawl to attach as you go.
-
May require spacing adjustment.
🔁 Optional Picot Edge:
If you want more texture on the final edge, after completing the final body row:
Picot Trim Row:
Sc in next ch space, ch 3, sl st in first ch (picot), sc in same space – repeat across.
🧼 Finishing Touches:
-
Weave in all ends.
-
Soak in lukewarm water with a gentle wool wash.
-
Block: Pin to desired shape, opening up lace, and flattening the flowers.
-
Dry completely before removing pins.
🖼️ Optional Chart & Diagram:
Would you like a stitch diagram for the body rows or a visual chart for flower placement? I can provide a visual layout.