

 soofha
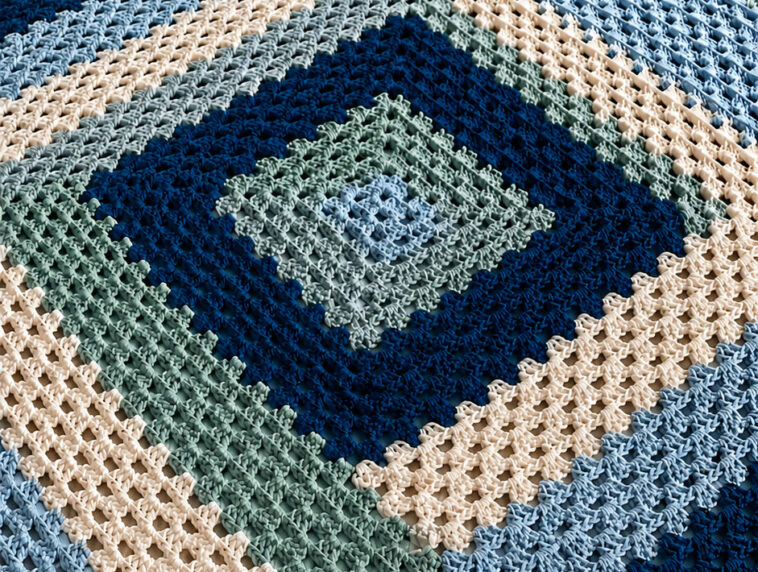
A classic granny square blanket is one of those crochet projects that never goes out of style. It is simple enough for beginners to enjoy, yet versatile enough for experienced crocheters to customize with different colors, sizes, joining methods, and decorative borders.
Whether you prefer soft neutral shades or a cheerful mix of bright colors, granny squares give you endless possibilities for creating a blanket that feels completely personal.
Materials You’ll Need
Before starting your blanket, gather your supplies:
- Medium-weight yarn in your preferred colors
- A crochet hook suitable for your yarn
- Tapestry needle
- Scissors
- Measuring tape, if you want to keep your squares a specific size
Choose a color palette that matches your style. You can work each square in one color, use several colors within each square, or create a repeating combination throughout the blanket.
Step 1: Make Your First Granny Square
Begin with your first yarn color and create a magic ring.
Chain 3. This chain counts as the first double crochet of the round.
Work 2 more double crochets into the magic ring. Then chain 3 to create the first corner.
Continue working groups of 3 double crochets followed by 3 chains around the ring. You should have four groups of double crochets, with a chain-3 space between each group.
Once you reach the beginning of the round, join with a slip stitch into the top of the beginning chain-3.
Pull the magic ring gently closed and secure the yarn.
You have now completed your first granny square.
Step 2: Continue Building the Squares
Make additional granny squares following the same basic pattern.
This is where you can have fun experimenting with color. You might use a different color for every round, repeat the same three or four colors, or create squares in coordinated shades.
For a more organized blanket, make all of your squares the same size. If you want a more artistic or patchwork appearance, you can experiment with different square sizes and color combinations.
As you work, try to keep your tension consistent. This will help your squares maintain similar dimensions and make the final assembly much easier.
Step 3: Arrange Your Squares
Once you have crocheted enough squares for your blanket, lay them out on a large, flat surface.
Arrange the squares in rows and columns until you find a combination you like. This is a great opportunity to balance the colors and avoid having too many similar shades next to one another.
Take a photo of your chosen arrangement before joining the squares. This can be especially helpful if you need to move the squares while working.
Step 4: Join the Granny Squares
There are several ways to join granny squares, so choose the method that gives you the look you prefer.
You can sew the squares together using a tapestry needle and yarn, or use a crochet joining method for a more visible decorative finish.
If sewing, place the squares together with their edges aligned. Work carefully along the edges, keeping your stitches even and secure.
Continue joining the squares row by row until the entire blanket has been assembled.
Step 5: Add a Border
A border is optional, but it can give your blanket a polished and finished appearance.
Choose a yarn color that complements the blanket. You can use a simple single crochet border for a clean finish, or add several rounds with decorative stitches for more detail.
When working around the corners, add enough stitches to help the blanket remain flat. If the corners begin to curl, you may need additional stitches. If the edge becomes wavy, you may be adding too many.
Continue around the entire blanket until you are happy with the size and appearance of the border.
Step 6: Finish Your Blanket
After completing the final border, fasten off your yarn and weave in all loose ends with a tapestry needle.
Give the blanket a gentle blocking if necessary to help straighten the squares and even out the edges.
Finally, take a moment to admire your finished project. A handmade granny square blanket is not only beautiful but also a wonderful way to showcase your favorite colors and crochet skills.
Helpful Tips for Beginners
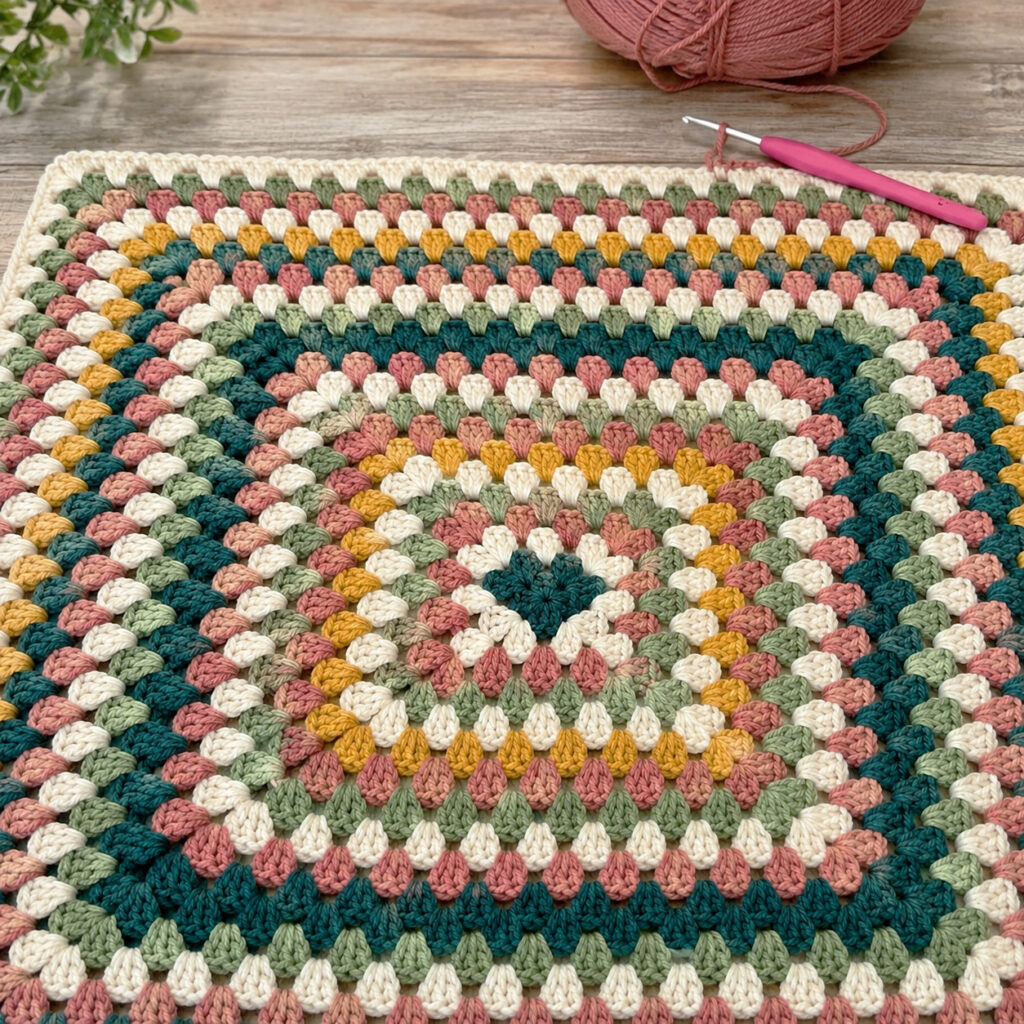
Don’t worry if your first granny squares aren’t perfectly even. Consistent tension takes practice, and your stitches will become more uniform as you crochet.
If you’re making a large blanket, consider finishing a few squares at a time rather than waiting until you have dozens of loose pieces. This makes the project easier to organize and lets you see your blanket slowly come together.
You can also experiment with different yarn colors, borders, and joining techniques to create a completely different look from the traditional granny square design.
Video Tutorial
If you are a visual learner, a video tutorial can be especially helpful when learning how to form the corners, join rounds, and maintain the classic granny square shape. Follow along slowly and pause the video whenever you need extra time to complete a round.
Final Thoughts
Crocheting a granny square blanket is a relaxing and rewarding project that can be adapted to almost any style. From traditional multicolored squares to modern neutral palettes, the possibilities are practically endless.
Most importantly, enjoy the process. Every square you make is another step toward a cozy handmade blanket that you can treasure for years to come.
We hope this pattern inspires you to pick up your crochet hook and start creating. Wishing you a wonderful week filled with creativity, warmth, and plenty of beautiful crochet projects. Happy crocheting!

