

 soofha
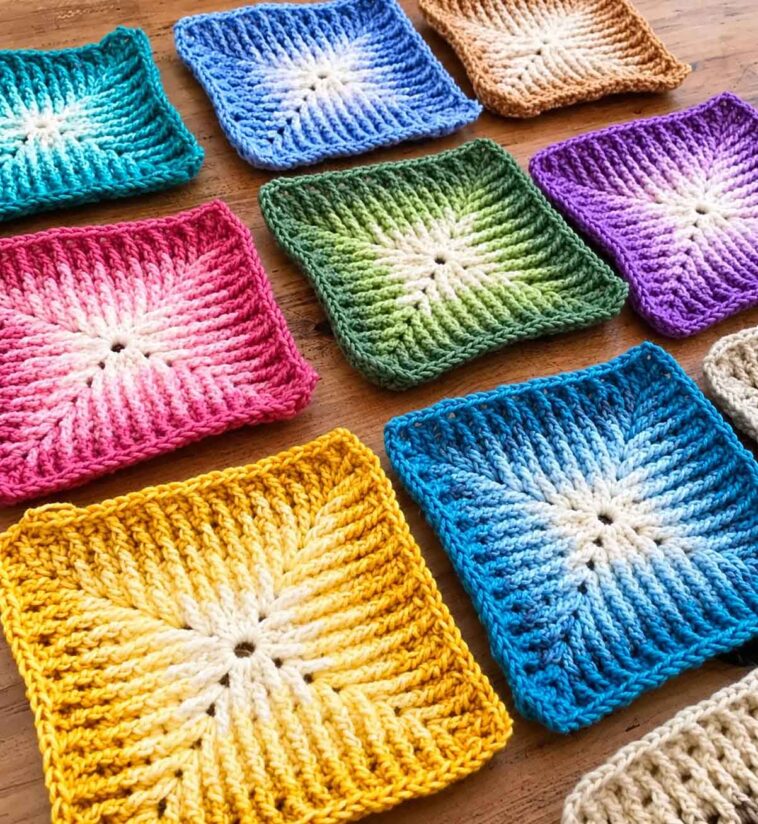
There’s something so satisfying about making a granny square. You start with a small circle of stitches, add a few rounds, and before you know it, you have a little piece of crochet that can become part of something much bigger.
Today on Soofha, we’re sharing the Mosaic Granny Square, a beautiful design that combines the familiar look of a traditional granny square with a striking geometric pattern.
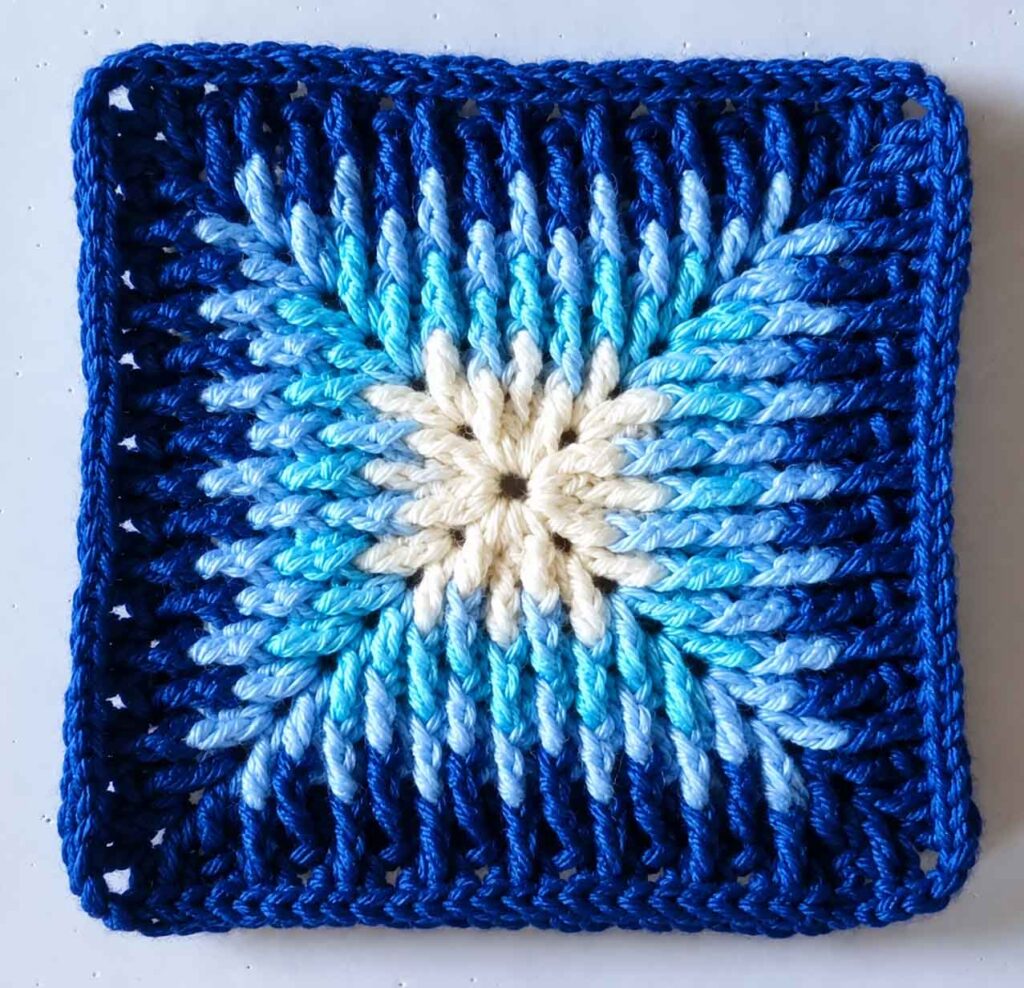
The finished square has a lovely mosaic effect created by changing colors and using a special long front post treble stitch. At first glance, the design may look complicated, but once you get into the rhythm of the stitches, it becomes much easier to follow.
This is a great pattern to try if you already have some crochet experience and want to learn a stitch technique that gives your work a little extra dimension.
What Makes the Mosaic Granny Square Special?
Granny squares have been a favorite crochet project for generations because they’re so versatile. You can make them into blankets, pillows, bags, scarves, cardigans, and so many other things.
The mosaic version takes that classic idea and gives it a fresh look.
The geometric sections are created through careful stitch placement and color changes. Using several shades makes the pattern stand out even more, especially when contrasting colors are chosen.
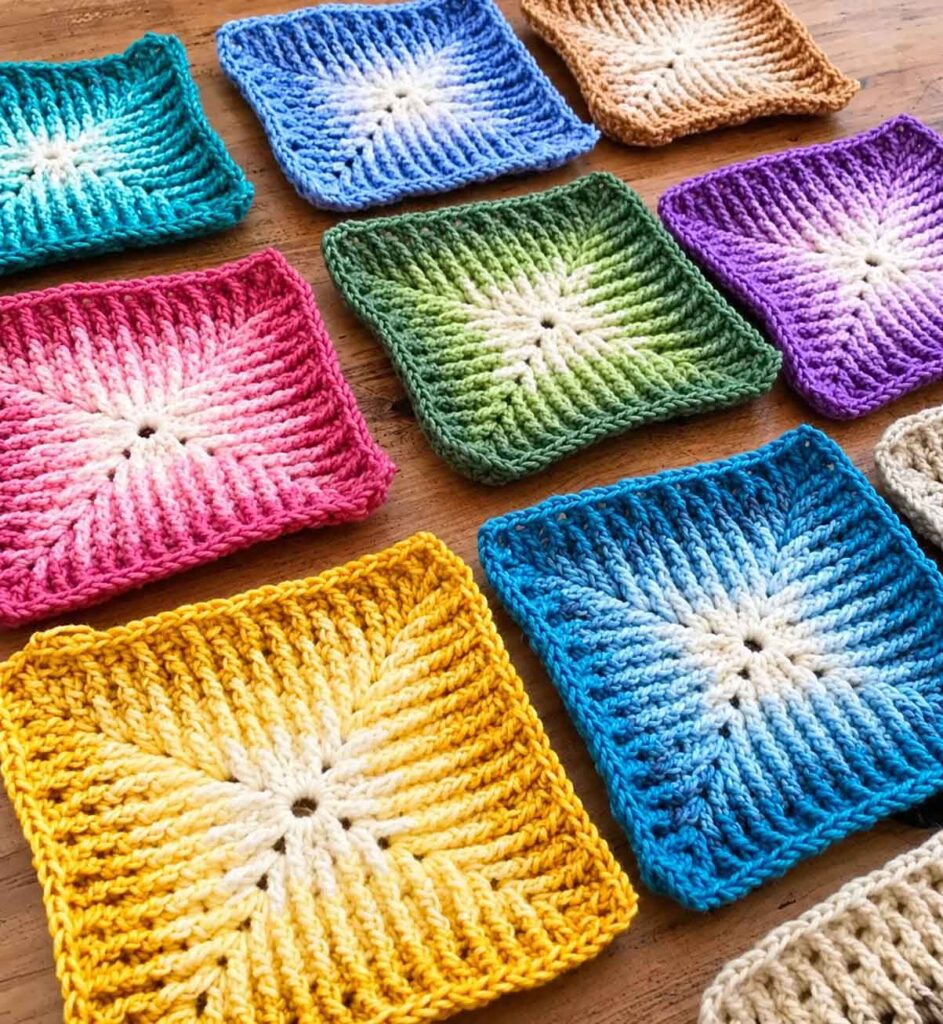
For the sample shown in this pattern, four colors are used, with the colors changed every two rounds. However, don’t feel like you have to stick to those exact colors. This is one of those patterns where experimenting can be half the fun.
You could use soft neutrals for a subtle, modern square, bright colors for something cheerful, or shades from the same color family for a more coordinated look.
Choosing Your Yarn and Hook
For the best results, choose a crochet hook that matches the yarn weight you’re using. The yarn label will usually give you a recommended hook size, which is a good place to start.
Try to keep your tension fairly consistent throughout the square. If your tension changes a lot from one round to another, the square may start to become uneven or the corners may not sit flat.
If you’re unsure about your tension, making a small practice square before starting the actual project can save you some frustration later.
Materials Required
- Yarn in four different colors: Color A, Color B, Color C, and Color D
- Crochet hook suitable for your chosen yarn
- Yarn needle for weaving in ends
- Scissors
Special Stitch
Long Front Post Treble (LFPtr)
This special stitch is used to create the raised sections of the mosaic design. If you haven’t worked a long front post treble before, it’s worth practicing it separately before beginning the square.
Skill Level
Intermediate
This pattern uses basic granny square stitches along with the long front post treble, so it’s best suited to crocheters who are already comfortable with double crochet, chain stitches, slip stitches, and working into spaces.
Mosaic Granny Square Pattern
Starting with Color A
Begin with Color A.
Make a loose chain of 4 stitches.
Round 1
Make 2 double crochet stitches in the 4th chain from the hook.
Chain 2.
Make 3 double crochet stitches in the same chain as the last double crochet, then chain 2.
Repeat from * 3 more times.
Join with a slip stitch to the top of the beginning chain 3.
You should now have the basic four-corner shape of your granny square.
Round 2
Slip stitch across to the next corner chain-2 space.
Chain 3, which counts as the first double crochet.
In the same corner space, make 2 double crochet stitches, chain 2, then make 3 more double crochet stitches.
Chain 1 and skip the next 3 stitches.
In the next corner chain-2 space, make 3 double crochet stitches, chain 2, and then make 3 more double crochet stitches.
Chain 1 and skip the next 3 stitches.
Continue working this pattern around the square.
Join with a slip stitch to the top of the beginning chain 3.
Fasten off Color A.
Switch to Color B
Join Color B in any corner chain-2 space.
Round 3
Chain 3, counting as the first double crochet.
In the same corner space, make 2 double crochet stitches, chain 2, and then make 3 more double crochet stitches.
Chain 1 and skip the next 3 stitches.
Double crochet in the next chain-1 space.
Next, work a long front post treble (LFPtr) around the corresponding stitch from two rounds below, in the 3-stitch group from Round 1.
Double crochet in the same chain-1 space.
Chain 1 and skip the next 3 stitches.
Repeat this pattern around the square.
Join with a slip stitch to the top of the beginning chain 3.
Round 4
Slip stitch across to the corner chain-2 space.
Chain 3, counting as the first double crochet.
In the same corner space, make 2 double crochet stitches, chain 2, and then make 3 more double crochet stitches.
Chain 1.
Skip the next stitch, then double crochet in the following stitch.
Skip the next stitch and repeat the same pattern around the square.
Join with a slip stitch to the top of the beginning chain 3.
Fasten off Color B.
Continue the Mosaic Pattern
Continue following the pattern by repeating Rounds 5 through 8, changing colors as indicated in the pattern, until your square reaches the size you want.
As the square grows, you’ll begin to see the mosaic design become more noticeable. This is also a good time to check that your corners are staying square and that your tension remains consistent.
If you’re making several squares for a larger project, try to keep your tension and color changes the same for each one. That will make joining the squares together much easier later.
Tips for a Beautiful Mosaic Granny Square
Have Fun With Your Color Choices
Color can completely change the personality of this square. Try combinations that you wouldn’t normally use together. A dark shade paired with a light background can make the mosaic design really stand out.
For a softer look, choose several pastel shades. For a bold blanket, try bright contrasting colors.
Keep Your Tension Even
Consistent tension is especially important when working granny squares. If some rounds are much tighter or looser than others, the finished square may not lie flat.
Don’t worry if your first attempt isn’t perfect. It often takes a little practice to find the right rhythm.
Pay Attention to Stitch Placement
The mosaic effect comes from where the stitches are placed, particularly the long front post treble. Take your time when you reach these stitches and make sure you’re working around the correct stitch from the previous rounds.
If you lose your place, stop and look at the pattern before continuing. It’s much easier to correct a mistake early than several rounds later.
Weave In Your Ends as You Go
If you’re changing colors frequently, you’ll have quite a few yarn tails to deal with.
Rather than leaving everything until the very end, weave in your ends as you finish each section. It makes the final finishing process much less overwhelming.
What Can You Make With Mosaic Granny Squares?
Once you have a few squares finished, there are plenty of ways to use them.
Of course, a mosaic granny square makes a beautiful blanket, but you don’t have to stop there. Depending on the size of your squares, you could use them for:
- Crochet blankets
- Throw pillows
- Tote bags
- Market bags
- Scarves
- Table runners
- Baby blankets
- Cushion covers
- Crochet jackets and cardigans
- Decorative wall hangings
You can also make a collection of squares in different color combinations and join them together for a more playful, scrappy look.
Mosaic Granny Square
Video Tutorial
If you’re a visual learner, watching someone work the stitches can make the pattern much easier to understand. The Creative Grandma YouTube channel has a helpful video tutorial related to joining mosaic granny squares.
How to Join Mosaic Granny Squares – Invisible Join / How to Sew Crochet Squares Together
Watching the joining process can be particularly useful if you’re planning to make a blanket or another project using multiple squares.
Final Thoughts
The Mosaic Granny Square is a lovely pattern to add to your crochet collection. It has the familiar foundation of a classic granny square but adds texture, dimension, and a beautiful geometric effect through color changes and long front post stitches.
Once you understand how the special stitch works, the pattern becomes much easier to follow. And because you can change the colors to suit your own style, every set of squares can look completely different.
So grab a few favorite colors, pick up your hook, and give this mosaic design a try. You may find yourself making just one more square… and then another!

