

 soofha
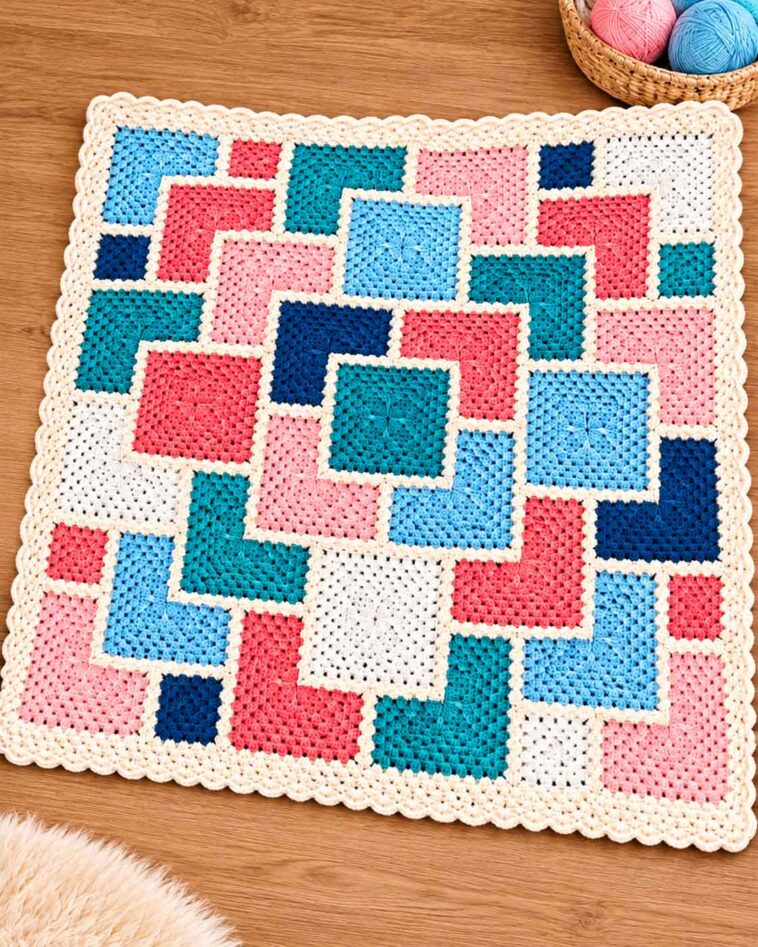
Some crochet blankets catch your eye because of their colors, while others stand out because of the way they’re put together. The Granny Labyrinth Crochet Blanket does both! It takes the familiar granny square and gives it a fresh twist, turning simple crochet blocks into a beautiful maze-like design.
The combination of white, yellow, green, deep purple, and soft lilac creates a lovely contrast. As the squares come together, the colored sections form winding paths that seem to flow from one block to the next. It’s a clever design that looks much more complicated than the individual squares actually are.
If you enjoy experimenting with granny squares and playing around with color combinations, this is definitely a project worth exploring. Below, you’ll find more details about the design, along with a free PDF guide containing the proposed crochet instructions and layout diagrams.
What Makes the Granny Labyrinth Blanket Special?
Unlike a traditional granny square, which grows evenly around its center, this design takes a slightly different approach.
Each block begins with a small white granny square. From there, the colored sections are worked back and forth along two neighboring sides, creating an L-shaped arrangement. This leaves the white center tucked into one corner of the finished motif.
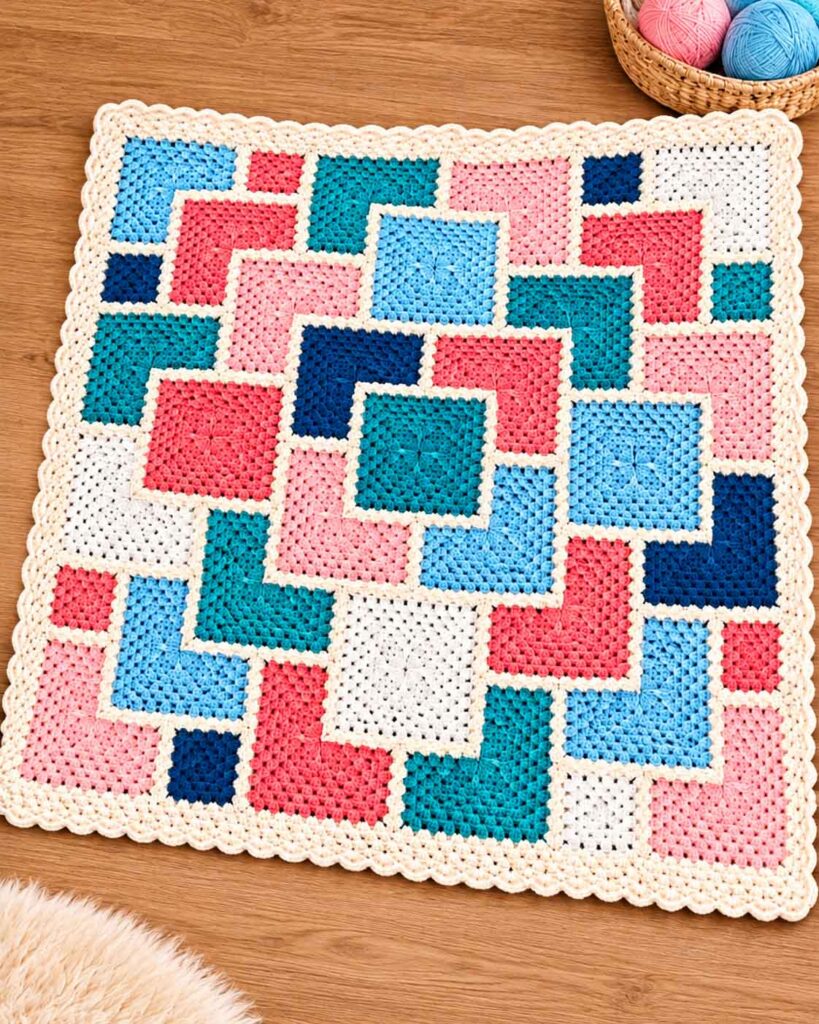
The real magic happens when you start putting the squares together. Turning a block in a different direction completely changes how its colored bands connect with the neighboring squares. When arranged correctly, the individual motifs create the appearance of one continuous, colorful labyrinth.
One fun way to understand the layout is to place four finished blocks together before making the entire blanket. Try rotating them until their white corners meet in the middle, then experiment with different positions. You’ll quickly see how the overall pattern changes.
The suggested layout includes 36 squares arranged in six rows of six. All the blocks follow the same color sequence, so there’s no need to make different motifs. You simply rotate them according to the placement chart.
Choosing the Right Colors
Color plays a big part in the finished look of this crochet blanket. The original combination uses five shades:
- White or ivory for the small granny square centers.
- Yellow for a bright accent.
- Leaf green for the connecting bands.
- Deep purple for a stronger contrast.
- Soft lilac to balance the darker purple.
Try to choose colors that stand out from one another without clashing. The white should remain noticeably lighter than the surrounding shades, while the deep purple needs to be dark enough to define the pattern.
Before you begin, lay your yarn colors next to each other. This makes it much easier to see whether the transitions work well together.
Of course, you’re not limited to the original palette. You could try shades of blue and cream, warm autumn colors, or even a combination of pink, peach, and burgundy. Just keep enough contrast between the lighter and darker shades so the labyrinth effect remains visible.
Materials and Crochet Skills You’ll Need
Before starting, gather everything you’ll need:
- Yarn in five coordinating colors.
- A crochet hook suitable for your chosen yarn.
- Scissors.
- A yarn needle for weaving in ends.
- Stitch markers.
- A measuring tape.
- Blocking mats and pins, if available.
The PDF guide uses US crochet terminology and includes chain stitches, slip stitches, single crochet, and double crochet.
It’s helpful to have some experience making granny squares, especially working into the spaces between stitch groups. If you’ve made a few traditional granny square blankets before, you’ll likely find the basic techniques familiar.
A little tip: Make one complete block before starting the remaining 35. Check its size, see how the colors look together, and make sure you’re comfortable with the construction. This will also help you estimate how much yarn you’ll need for the entire blanket.
How to Arrange the Granny Labyrinth Squares
Once you’ve completed your blocks, resist the temptation to join them immediately. Take a little time to arrange all 36 squares first.
Lay them out in six rows of six, using the white corner of each block as your reference point. Follow the orientation chart in the PDF carefully, as the direction of each square determines how the colored bands connect.
I recommend taking a photo once you’ve arranged everything. Compare it with the diagram and check each row before joining. It’s much easier to rotate a square now than to remove a seam later!
When you’re happy with the arrangement, block the squares if necessary to make sure they’re all approximately the same size. Then join them using a consistent, relaxed tension. Avoid pulling the seams too tightly, as this can make the blanket curl or distort its shape.
About the Free Granny Labyrinth PDF Guide
The accompanying PDF is an illustrated reconstruction based on the supplied blanket photograph and design drawing. It brings the proposed block arrangement and crochet instructions together in one place, making it easier to follow the project.
The guide includes:
- A complete 6 × 6 blanket layout.
- A block orientation chart.
- Written crochet instructions.
- An illustrated stitch sequence.
- Suggestions for joining the squares.
- Basic finishing recommendations.
Please note: The instructions and construction details are proposed adaptations and have not been physically test-crocheted. It’s best to make a sample square first and check the stitch count, dimensions, and yarn requirements before committing to all 36 blocks.
Download the Free Granny Labyrinth Crochet Blanket PDF
Ready to give this colorful design a try? Download the free Granny Labyrinth Crochet Blanket PDF guide below and keep the assembly chart close while you work.
Granny Labyrinth Crochet Blanket – Free PDF Guide
Starting with just one square is a great way to get comfortable with the pattern. As you make more blocks, you’ll begin to see how the colors work together and how the labyrinth design gradually comes to life.
If you’d rather not make all 36 squares at once, work on them in small batches. Completing a few blocks at a time makes it easier to keep track of your progress and maintain consistent sizing.
Remember to weave in your yarn ends as you go. With several color changes in each square, it’s easy to end up with quite a collection of loose tails by the time you’re finished. Secure them carefully, preferably through stitches of a matching color, so they blend into the granny square texture.
Once everything is joined and finished, you’ll have a beautiful crochet blanket with a design that’s sure to get noticed. Whether you spread it across your bed or drape it over your favorite sofa, those colorful, winding bands will make a lovely addition to your home.
Happy crocheting!

