 soofha
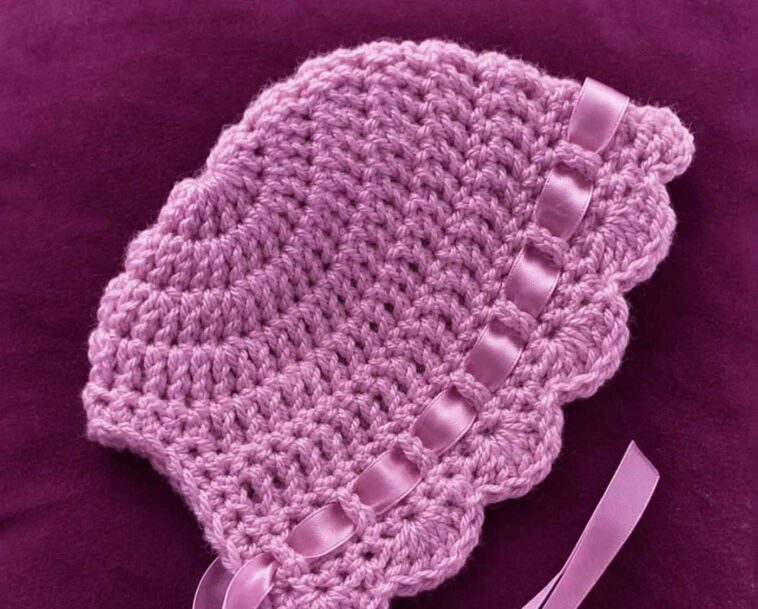
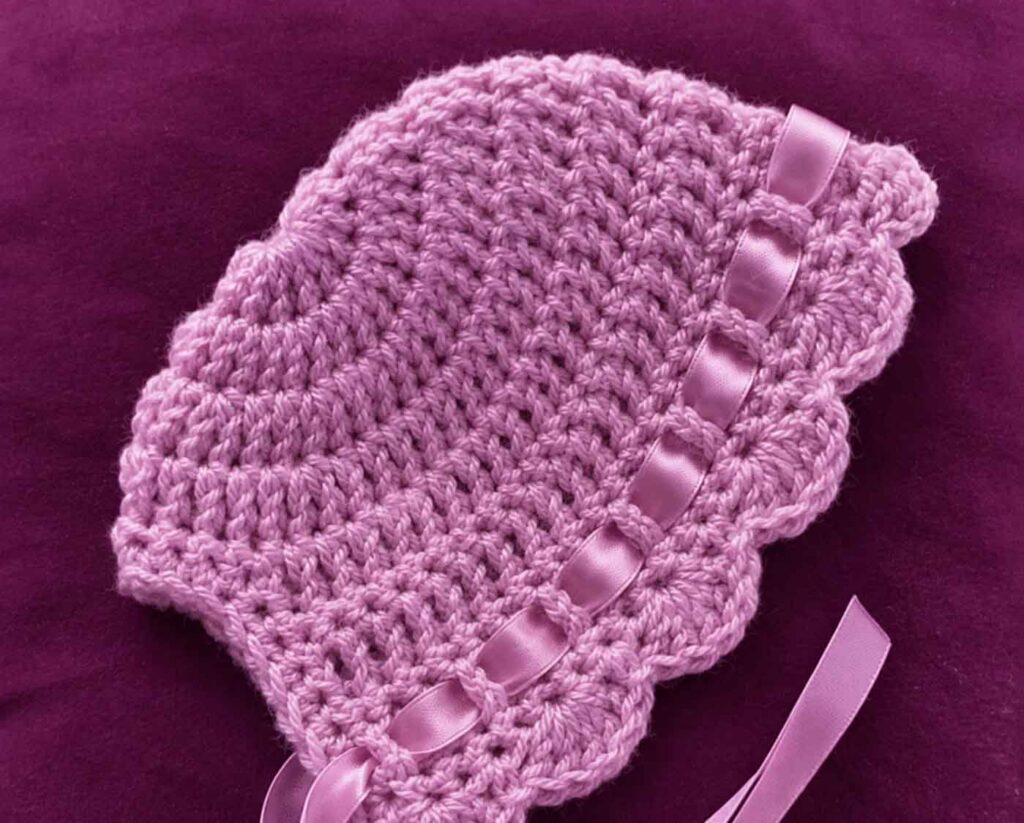
There’s something special about making a little crochet hat for a newborn. It’s a small project, but every stitch adds a bit of love to something that will be worn by a precious little one. If you’re planning to make a sweet handmade bonnet, this crochet baby hat pattern is a lovely place to start.
We’ll begin with the crown, working in joined rounds of double crochet. The circle starts with just 10 stitches and gradually grows until you have 40 stitches at the end of Round 4. At this point, your crown should measure approximately 3½ inches (9 cm) across.
Before getting started, I recommend using a smooth, light-colored yarn. It’s much easier to see your stitches, especially when you’re working into a small circle. Don’t worry if the first few stitches feel a little fiddly. Once you get into the rhythm, the rounds become much easier.
A Few Helpful Tips Before You Begin
One thing that can sometimes be confusing when crocheting a baby bonnet is knowing exactly where to join each round.
For this pattern, the beginning chain of 2 counts as your first double crochet. To make the joining process easier, place a removable stitch marker in the top of the second chain. This little trick will help you find the correct stitch when you reach the end of the round.
When working your double crochets, look for the small V-shaped loops at the top of each stitch. Insert your hook underneath both loops unless the pattern tells you otherwise.
Pay special attention to increase stitches. Whenever you need to work two double crochets into the same stitch, both stitches should go into the same opening. Taking a moment to check this will help keep your crown neat and evenly shaped.
Understanding the Crown Increases
The crown grows by adding 10 stitches in every round. Although the stitch count increases at the same rate, the placement of the increases changes slightly as you work.
Here’s a quick breakdown:
- Round 1: Start with 10 double crochet stitches.
- Round 2: Work 2 double crochets into every stitch.
- Round 3: Alternate between an increase and one regular double crochet.
- Round 4: Alternate between an increase and two regular double crochets.
If you ever lose track of your place, don’t rush. Look for the stitches that share the same base, as these are your increases. Counting the regular stitches between them will help you work out where to continue.
How to Check Your Crochet Baby Hat Crown Size
Once you’ve finished Round 4, it’s worth taking a moment to check the size before moving on.
Place your crochet circle on a flat surface and allow the stitches to settle naturally. Measure straight across the center, then turn the piece a quarter turn and measure again. Both measurements should be close to 3½ inches (9 cm).
Sometimes crochet fabric can curl or fold slightly, so gently flatten it before measuring.
If you’re happy with the result, make a note of the yarn and hook size you used. It’s a useful little habit, especially if you plan to make another newborn bonnet later.
Stitches and Abbreviations (US Crochet Terms)
Here are the abbreviations used throughout this crochet baby hat pattern.
| Abbreviation | Meaning |
|---|---|
| beg | Beginning |
| ch(s) | Chain(s) |
| yo | Yarn over |
| dc | Double crochet |
| sc | Single crochet |
| sl st | Slip stitch |
| st(s) | Stitch(es) |
| RS | Right side |
| WS | Wrong side |
A quick reminder of the basic stitches:
- Chain (ch): Yarn over and pull through the loop on your hook.
- Double crochet (dc): Yarn over, insert your hook into the indicated stitch, yarn over and pull up a loop. Yarn over and pull through two loops, then yarn over and pull through the remaining two loops.
- Single crochet (sc): Insert your hook into the stitch, yarn over and pull up a loop. Yarn over and pull through both loops.
- Slip stitch (sl st): Insert your hook into the indicated stitch, yarn over and pull through the stitch and the loop on your hook.
- Fasten off: Chain 1, cut the yarn, leaving a 5–6 inch tail, then pull the tail through the loop and gently tighten.
- Asterisks ( ): Repeat the instructions between the asterisks as indicated.
- Brackets [ ]: Show the total stitch count at the end of the round.
Newborn Crochet Baby Hat Pattern – Crown Instructions
You can begin your crown using either a magic circle or a simple chain start. Both methods give you the same final stitch count, so choose whichever technique you feel most comfortable with.
Round 1 – Magic Circle
Make a magic circle. Chain 2 (this counts as your first double crochet), then work 9 dc into the circle.
Pull the starting yarn tail to close the center. Join with a slip stitch to the top of the beginning chain-2.
[10 sts]
Alternative Round 1 – Chain Start
If you prefer not to use a magic circle, there’s another easy way to begin.
Chain 2, then work 10 dc into the second chain from your hook. Join with a slip stitch to the first actual double crochet.
With this method, all 10 stitches are made using double crochet stitches.
[10 sts]
Round 2
Chain 2 and work 1 dc into the same stitch at the base of the chain. Work 2 dc into each of the next 9 stitches.
Join with a slip stitch to the top of the beginning chain-2.
[20 sts]
Round 3
Chain 2 and work 1 dc into the same stitch. Work 1 dc into the next stitch.
Repeat the following sequence 9 times:
2 dc in the next stitch, 1 dc in the next stitch.
Join with a slip stitch to the top of the beginning chain-2.
[30 sts]
Round 4
Chain 2 and work 1 dc into the same stitch. Work 1 dc into each of the next 2 stitches.
Repeat the following sequence 9 times:
2 dc in the next stitch, 1 dc in each of the next 2 stitches.
Join with a slip stitch to the top of the beginning chain-2.
[40 sts]
Final Crown Check Before Continuing
And that’s the crown finished! You should now have a neat crochet circle with 40 stitches, measuring approximately 3½ inches (9 cm) across.
Before continuing with the rest of the newborn bonnet, take a moment to check your stitch count and measurements.
If you end up with 41 stitches, have another look at your joining point. Remember that the beginning chain-2 counts as one stitch, while the slip stitch used to join the round does not count.
If your stitch count is correct but the circle is noticeably too large or too small, try adjusting your hook size. A smaller hook will generally make a tighter, smaller crown, while a larger hook will give you a little more width.
It’s much easier to make these small adjustments now than to discover a sizing problem after completing the entire hat.
Once everything looks right, you’re ready to move on to the next part of your crochet baby bonnet. Enjoy every stitch, and have fun creating something beautiful for a little one!

