

 soofha
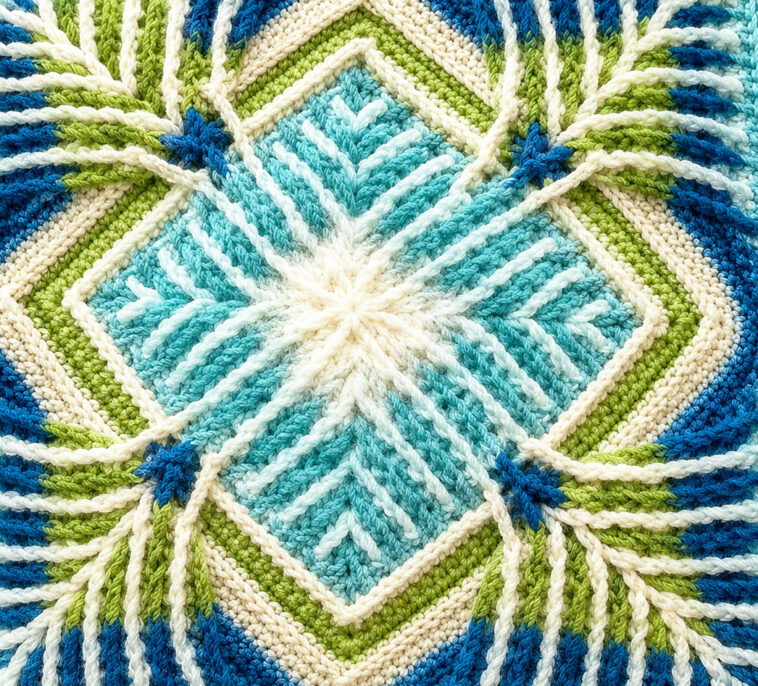
The Elements CAL Crochet Square is a beautiful textured crochet design featuring raised stitches, layered corners, dimensional details, and a striking geometric appearance. Inspired by the creative work of Sandra from Hooks and Yarn, this square combines classic crochet techniques with front-post stitches and decorative granny-style motifs to create a richly textured block.
This pattern is a wonderful project for crocheters who enjoy learning new stitch combinations and watching a design develop round by round. The finished square can be used on its own as a decorative piece or joined with additional squares to create a stunning blanket, cushion cover, wall hanging, or other crochet project.
The pattern below has been rewritten into an easy-to-follow format while keeping the original construction concept of Parts 1 and 2.
About the Elements CAL Square
What makes this crochet square special is the way the texture develops throughout the rounds. Raised trebles and layered stitches create a dimensional surface, while contrasting colors can emphasize the geometric design.
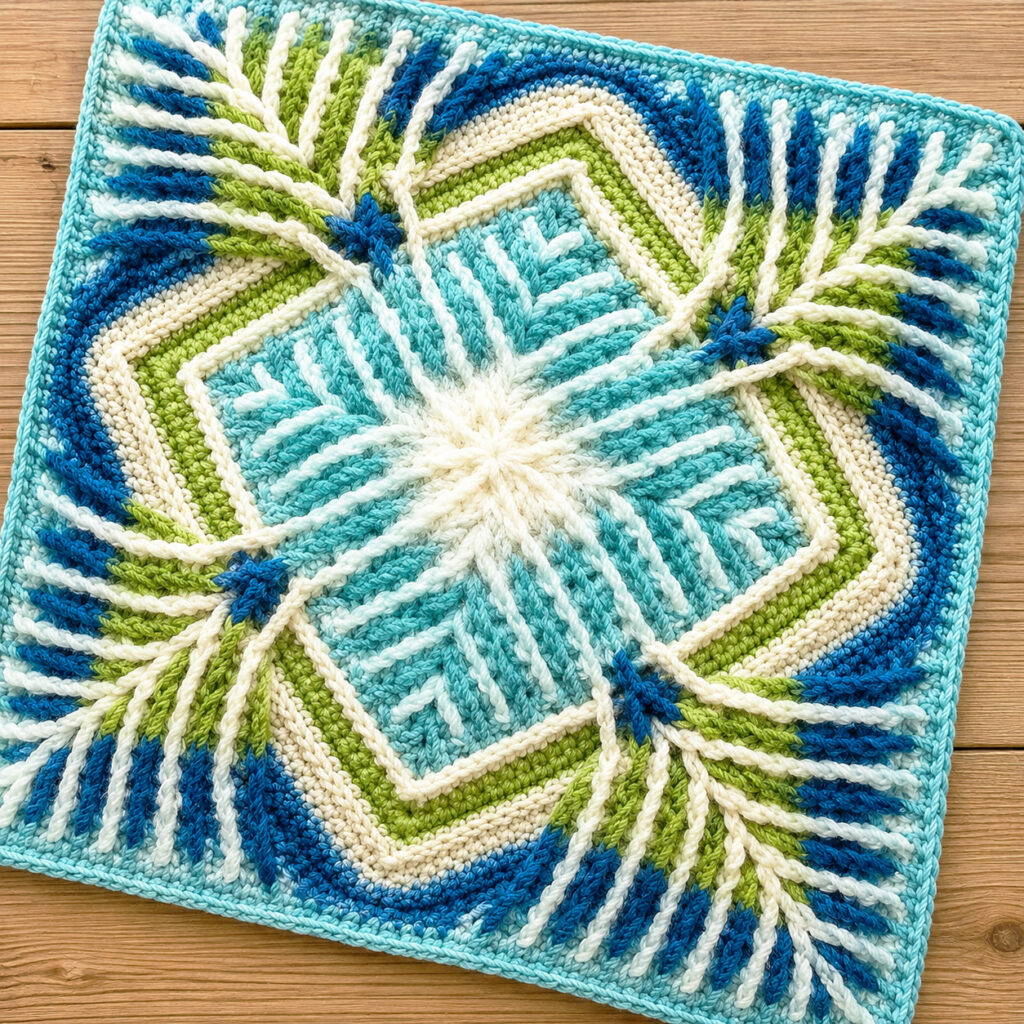
You can make the square using one shade for a sophisticated monochromatic look or introduce several colors for a bright and eye-catching result. The pictured color combination of aqua, turquoise, blue, green, and cream gives the design a fresh, coastal appearance.
The pattern is worked from the center outward. As each round is completed, the square becomes larger and additional textured elements are introduced.
Materials Needed
Before beginning, gather the following supplies:
- Yarn: Scheepjes Stone Washed or another DK-weight yarn
- Crochet hook: 4 mm
- Scissors
- Yarn needle
- Stitch markers, optional
- Blocking mats and pins, recommended for finishing
You can substitute another DK-weight yarn if desired. Keep in mind that changing yarn weight and hook size will affect the final dimensions of your square.
Choosing Your Colors
The Elements design works particularly well with multiple shades. You could combine:
- Turquoise
- Aqua
- Royal or navy blue
- Lime or fresh green
- Cream or off-white
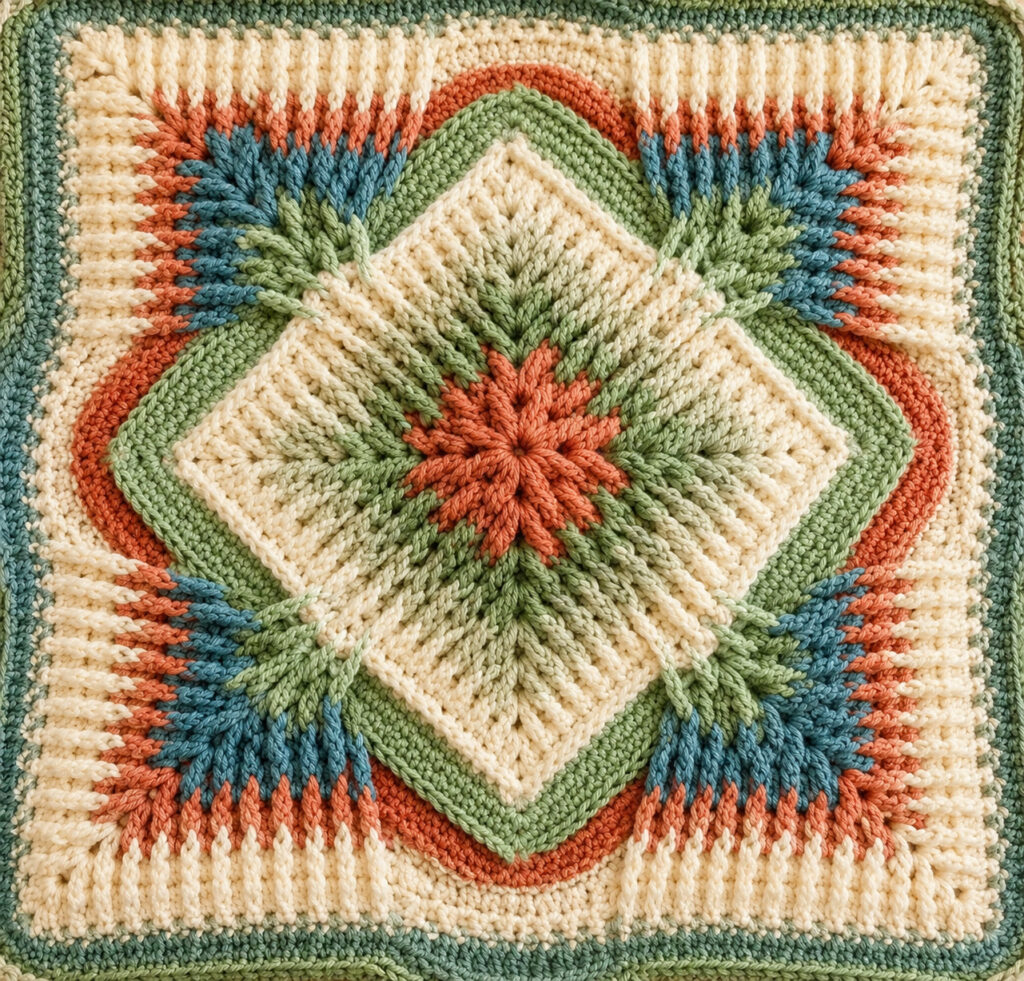
Alternatively, try warm shades such as coral, mustard, terracotta, cream, and brown for a completely different appearance.
Crochet Abbreviations
The pattern uses standard US crochet terminology.
| Abbreviation | Meaning |
|---|---|
| ch | Chain |
| st/sts | Stitch/stitches |
| sl st | Slip stitch |
| sc | Single crochet |
| hdc | Half double crochet |
| dc | Double crochet |
| tr | Treble crochet |
| fpdc | Front post double crochet |
| fptr | Front post treble crochet |
| rep | Repeat |
Part 1 – Building the Textured Center
Part 1 establishes the foundation of the square and introduces the raised texture that continues throughout the design.
Round 1 – Create the Center
Begin with a slip knot.
Chain 5 and join with a slip stitch to the first chain to form a small ring.
Fasten the center securely enough to hold the following stitches while still allowing the ring to remain flexible.
Round 2 – Form the Four Corners
Chain 3, counting this as the first double crochet.
Work 1 dc into the center ring, then chain 2.
Repeat the following sequence three more times:
2 dc into the ring, ch 2.
Join with a slip stitch to the beginning chain.
You should now have a small four-cornered center.
Round 3 – Introduce the Raised Trebles
Move to the next corner space with slip stitches as necessary.
In each corner, work:
dc, tr into the center area one round below, dc, ch 2, dc, tr into the same lower area, dc.
Repeat this textured corner around the square.
Join with a slip stitch at the end of the round.
The longer trebles begin creating the raised structure that gives the Elements square its distinctive appearance.
Round 4 – Continue the Texture
Work the corners using the same basic construction as Round 3.
This time, position the treble stitches into the appropriate corner space from the previous round, reaching down one round where indicated.
Across each straight side, create groups consisting of:
dc, tr worked into the lower round, dc.
Continue around the square and join.
Take your time with the long stitches. Keeping your working yarn relaxed will make it much easier to insert the hook several rows below.
Rounds 5–6 – Develop the Raised Pattern
Continue working the textured corners using:
dc, tr below, dc, ch 2, dc, tr below, dc.
Along the sides, continue alternating regular stitches with raised treble elements worked around stitches from previous rounds.
At this stage, the center of the square should begin to develop a noticeable layered and dimensional texture.
If you are changing colors, this is a good place to experiment with different combinations.
Rounds 7–10 – Expand the Pattern
Continue following the established construction.
With each new round, the number of decorative groups between the corners increases, gradually expanding the square.
Maintain the same basic principle:
- Textured corners
- Raised treble elements
- Granny-style groups
- Straight and even side sections
- Consistent tension
If you are using several colors, change shades wherever you feel the design needs more contrast.
Remember that color changes can dramatically alter the appearance of this pattern. High-contrast colors will emphasize the raised stitches, while closely related shades will create a softer, more blended effect.
Round 11 – Add the Raised Border
Work a complete round of front-post single crochet around the square.
At each corner, work 2 sc as required to maintain the shape.
This round creates a raised outline around the previous work and gives the design a stronger definition.
Take care not to pull your stitches too tightly. A relaxed tension will help prevent the square from becoming distorted.
Round 12 – Work Behind the Raised Texture
For this round, work into the back loops of the earlier round, positioned behind the raised stitches.
Work approximately 27 sc along each side.
At each corner, work:
sc, ch 2, sc.
Continue around the entire square and join with a slip stitch.
Part 1 Complete
At the end of Round 12, you should have a beautifully textured square with a raised center and defined outer edge.
The fabric may look slightly uneven at this point. Don’t worry—blocking later will help straighten and refine the finished shape.
Part 2 – Expanding the Elements Square
Part 2 builds outward from the textured foundation. New decorative groups are added along the sides while the corners continue to receive special treatment.
Round 13 – Add the First New Layer
Begin along one side with approximately 13 sc.
Skip the indicated stitch and create the first decorative group above the treble from the previous rounds.
Work:
dc, tr around the lower treble, dc.
Chain 2.
Then repeat:
dc, tr around the same lower treble, dc.
Continue with the required single crochet stitches along the side.
At each corner, use:
sc, ch 2, sc.
Repeat the construction around the square.
Round 14 – Continue the Layered Design
Work single crochet stitches along the sides, skipping the specified stitches before and after each decorative granny-style group.
The corners continue using the layered combination:
dc, tr into the lower stitch, dc, ch 2, dc, tr into the lower stitch, dc.
Keep the tension consistent as the square becomes larger.
The decorative elements should sit neatly on top of the surrounding stitches without pulling the fabric inward.
Round 15 – Introduce More Raised Stitches
Begin incorporating back-post single crochet techniques where indicated.
Skip the required stitches and work front-post trebles around stitches from approximately two rounds below.
The textured corners remain consistent with the previous rounds.
This combination of stitches creates the characteristic relief effect of the Elements design.
When working front-post stitches, make sure your hook passes around the correct stitch rather than through the top loops.
Rounds 16–17 – Build the Next Layers
Continue expanding the square.
Add additional granny-style decorative groups along each side while positioning the longer stitches around the appropriate stitches from earlier rounds.
Chain spaces can be incorporated through the central sections where needed to maintain the correct width and shape.
Pay particular attention to the corners. They are responsible for maintaining the square shape as the design grows.
If the edges begin to ripple, check your stitch count and tension before continuing.
Rounds 18–20 – Continue Expanding
The square now becomes increasingly detailed.
Continue working the textured corner construction while adding several granny-style groups along each side.
Depending on the exact placement of the decorative sections, you will work combinations of:
- Single crochet
- Half double crochet
- Slip stitches
- Raised trebles
- Front-post stitches
- Chain spaces
- Decorative granny groups
These stitches help fill the sides while keeping the square balanced.
As the design grows, regularly place your work on a flat surface and check whether all four sides remain approximately the same length.
Round 21 – Straighten the Sides
Continue working the textured corners.
Along each side, work approximately five granny-style decorative groups.
Between these groups, use single crochet sections and strategically placed decreases such as sc2tog and sc3tog where required.
These decreases help control the amount of fabric and prevent the edges from becoming too loose or wavy.
This round is especially important for maintaining the crisp square shape.
Round 22 – Fine-Tune the Shape
Work another round following the established corner and side pattern.
Where indicated, work 2 sc into the center stitch to provide additional shaping and help keep the sides properly aligned.
Check each side before moving forward.
If one section appears tighter or looser than another, gently adjust your tension rather than trying to correct the problem several rounds later.
Round 23 – Complete Part 2
The final round of Part 2 brings the second section of the Elements square together.
At each corner, work:
3 hdc.
Across the sides, combine the required single crochet stitches, front-post double crochet stitches worked around the raised trebles, and additional sc groups.
Continue around the entire square.
Finish with a neat invisible join or another joining method that produces a clean edge.
Fasten off and weave in all loose ends securely.
Blocking the Crochet Square
Blocking is highly recommended for this project.
Because the Elements square contains many raised and layered stitches, the fabric may appear uneven or slightly wavy immediately after crocheting.
Blocking helps:
- Straighten the edges
- Define the corners
- Open up the stitch pattern
- Highlight the raised texture
- Create a more professional finished appearance
Place the dampened square on a blocking surface and gently shape it into a perfect square.
Pin the corners first, then work along each side, adding additional pins as needed.
Allow the piece to dry completely before removing the pins.
Avoid stretching the square excessively. The goal is to shape the crochet, not force it into a size that is significantly different from its natural dimensions.
Tips for Crocheting the Elements CAL Square
1. Keep Long Stitches Relaxed
When working trebles several rounds below, avoid pulling the loop tightly. The stitch needs enough height to reach the intended location without pulling the surrounding fabric.
2. Count Each Side
After completing every round, check the number of stitches or groups on each side.
A small mistake made early in the pattern can become much more noticeable as the square grows.
3. Use Stitch Markers
If you sometimes lose track of the corners, place a stitch marker in each corner space. This makes it much easier to identify where the next corner sequence should be worked.
4. Watch Your Tension
Front-post and back-post stitches can naturally tighten your work. If your square begins to curl inward, try loosening your tension slightly.
5. Experiment With Color
This design is perfect for stash yarn.
You can use a repeating color sequence, alternate light and dark shades, or let every round introduce a new color.
A cream border can make bright colors stand out, while darker blues and greens can create a rich, sophisticated appearance.
What Can You Make With an Elements Crochet Square?
Once you have completed the square, there are many ways to use it.
Crochet Blanket
Make several matching squares and join them together to create a textured blanket.
Cushion Cover
A single square can become the front of a decorative cushion. Add a simple crochet or fabric backing for a finished pillow.
Wall Hanging
The raised texture makes the square attractive enough to display as fiber art.
Table Decoration
Depending on the yarn and finished size, it can also be used as a decorative mat or centerpiece.
Larger Afghan
Create multiple squares in different color combinations and join them into a large patchwork-style afghan.
Final Thoughts
The Elements CAL Crochet Square is an engaging project for crocheters who love texture, color, and dimensional stitchwork. Its combination of raised trebles, layered corners, granny-style details, and carefully shaped edges creates a square that is both decorative and versatile.
Although some of the techniques may take a little practice, the pattern becomes easier to understand as the repeating structure develops. Take your time with the long front-post stitches, count your sides regularly, and don’t skip the blocking stage.
Whether you make one square as a statement piece or crochet several blocks for a larger blanket, this design is a wonderful way to explore textured crochet while creating something truly eye-catching.
Happy crocheting!

