

 soofha
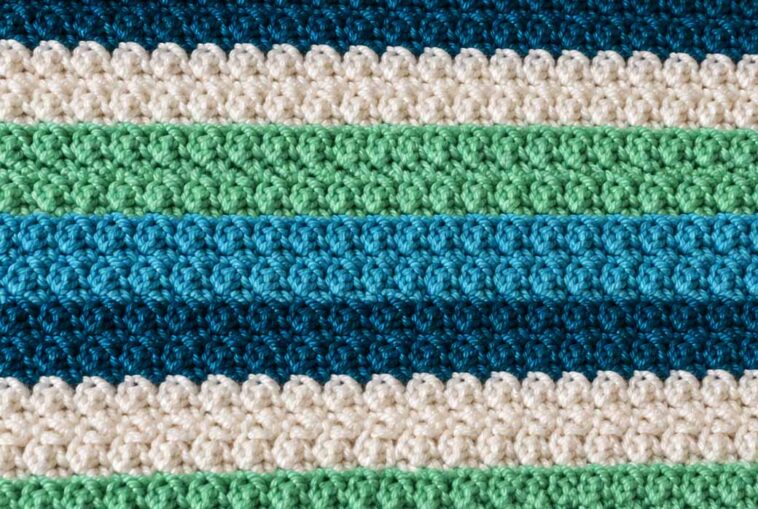
Few crochet projects are as timeless, cozy, and nostalgic as a classic Granny-style blanket. With its familiar repeating texture, simple construction, and endless color possibilities, this type of blanket has remained a favorite among crocheters for generations.
The traditional Granny Square is thought to have developed into the familiar crochet style we know today during the early 20th century. It became especially popular because crocheters could use small amounts of leftover yarn to create colorful, practical blankets and home accessories. Over time, the pattern became closely associated with handmade family treasures and crochet traditions passed from one generation to the next.
Why Crochet a Granny Blanket?
One of the best things about a Granny-inspired blanket is its versatility. You can easily customize the size, colors, yarn weight, and overall appearance to create something that perfectly matches your style.
You can use a traditional combination of bright colors for a cheerful vintage look, or choose soft neutral shades for a more modern blanket. The same basic technique can also be adapted for baby blankets, lap blankets, throws, scarves, cushions, and many other crochet projects.
This pattern uses basic crochet stitches arranged in a repeating sequence. Once you understand the rhythm of the rows, the stitch becomes easy to memorize, making it a relaxing project for both newer crocheters and experienced makers.
The finished fabric has a lovely textured appearance and works beautifully for cozy blankets and other handmade accessories. It is a simple technique that produces a polished result without requiring complicated stitches.
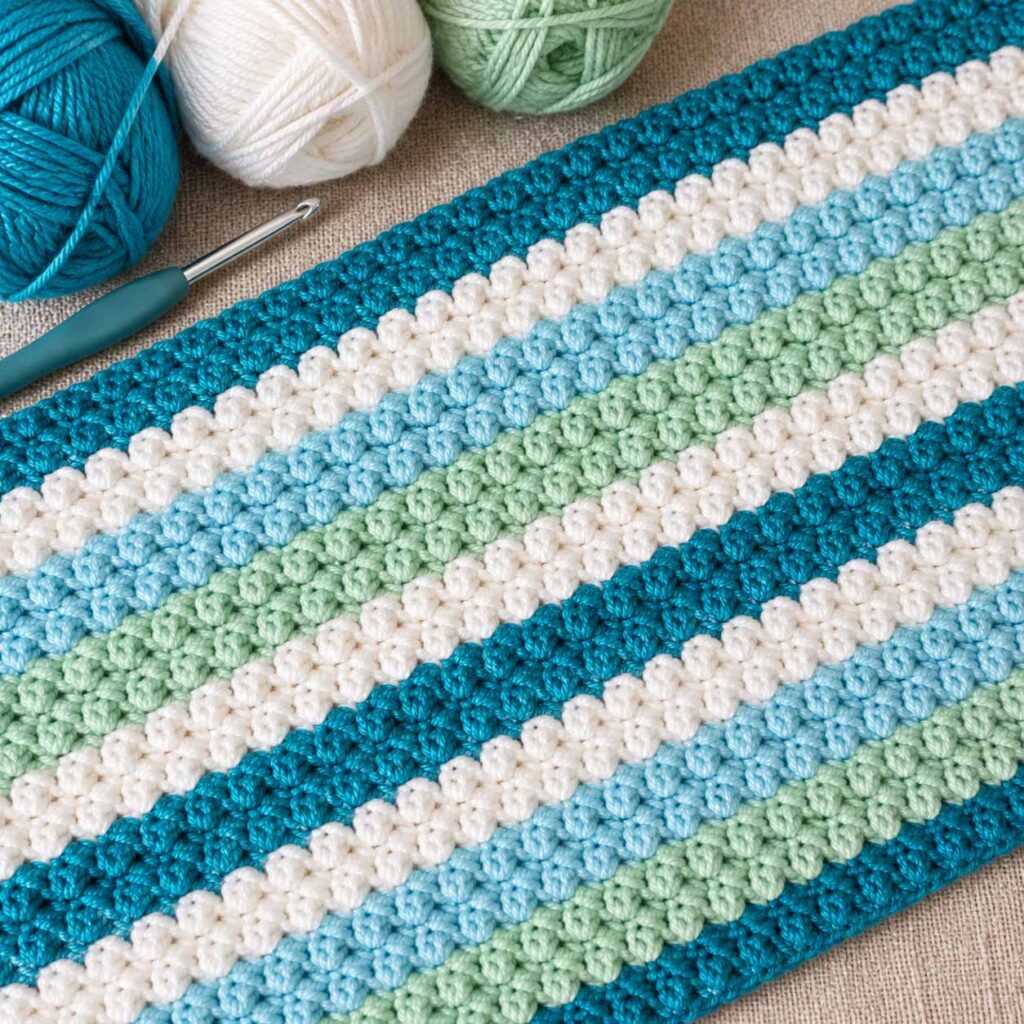
Crochet Granny Blanket Pattern
Materials
- Worsted-weight yarn in the following colors:
- Plum Wine
- White
- Light Country Peach
- Soft Pink
- Pumpkin
- Crochet hook appropriate for your yarn
- Tapestry needle
- Scissors
Abbreviations
- CH – Chain
- SC – Single Crochet
- DC – Double Crochet
- SL ST – Slip Stitch
- SK – Skip
- DC3TOG – Double Crochet 3 Together
- DC5TOG – Double Crochet 5 Together
Note: This pattern uses US crochet terminology.
Step-by-Step Crochet Instructions
Foundation Chain
Using Plum Wine, chain 139 stitches.
The foundation chain is worked as a multiple of 3, plus 1 extra chain for the pattern structure.
Row 1
Work 1 DC into the 4th chain from the hook.
Skip the next 2 chains, then work 3 DC into the following chain.
Repeat the sequence across the row.
Finish by working 2 DC into the final chain, then turn.
Row 2
Chain 3. Work 1 DC into the next DC. The beginning chain-3 counts as the first double crochet.
Chain 2, then work a DC3TOG.
Repeat across the row.
At the end, work CH 2, DC into the next DC, and DC into the top of the turning chain.
When completing the final DC, pull the new yarn color through the final loops to make a clean color change.
Row 3
Chain 3.
Work 3 DC into the CH-2 space between the final DC3TOG and the 2 DC stitches from the previous row.
Work 3 DC into the next CH-2 space.
Repeat across the row.
Finish with 1 DC into the top of the turning chain.
Row 4
Chain 4. This counts as 1 DC and 1 CH.
Work a DC3TOG into the top of each group of 3 DC from the previous row, then CH 2.
Repeat the sequence across.
Finish with CH 1 and 1 DC into the top of the CH-3 turning chain.
Change to the next color by pulling the new yarn through the final loops of the stitch.
Row 5
Chain 3.
Work 1 DC into the DC at the base of the beginning CH 3.
Work 3 DC into the next CH-2 space.
Repeat across the row.
Finish with 2 DC into the top of the third chain of the turning chain.
Row 6
Chain 3, then work 1 DC into the next DC.
CH 2, then work a DC3TOG.
Repeat across the row.
Finish with CH 2, DC into the next DC, and DC into the third chain of the beginning CH 3.
Change to the next color immediately before completing the final stitch.
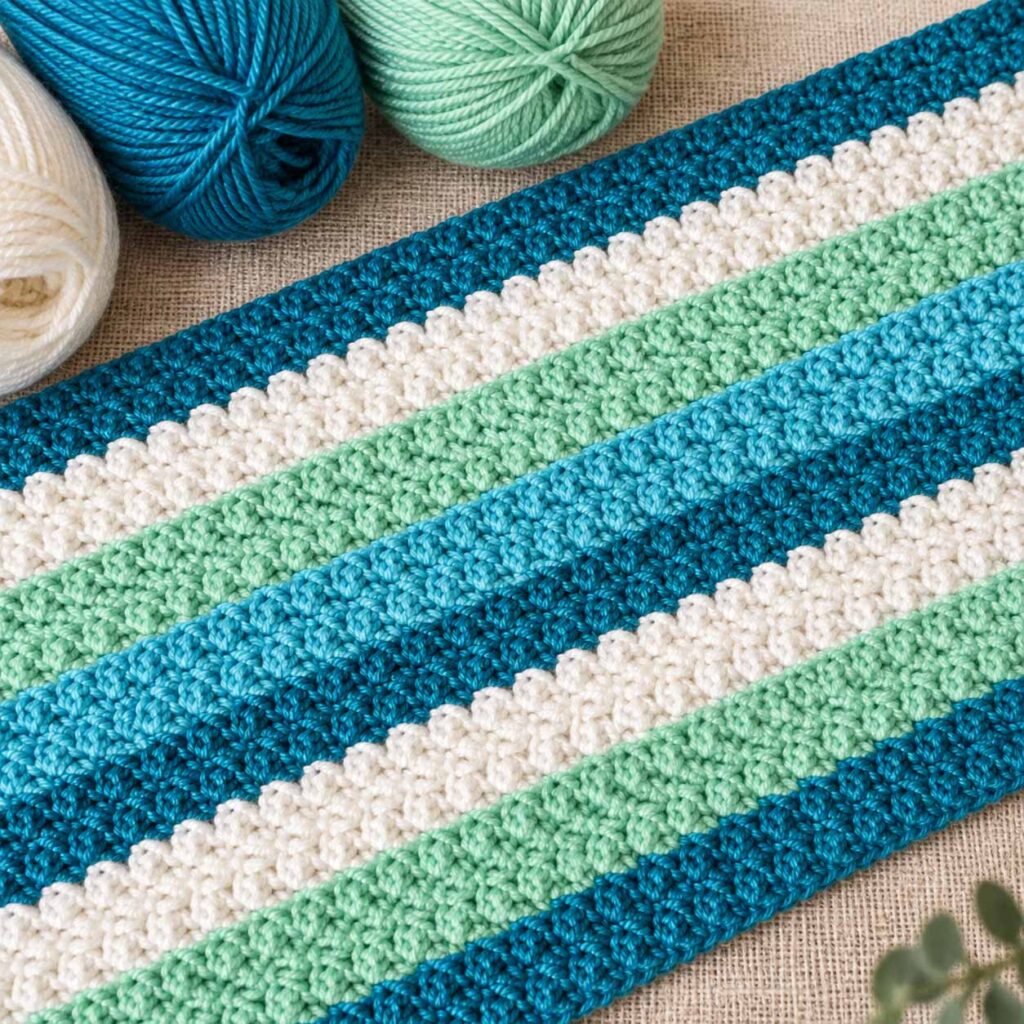
Crochet Granny Blanket
Color Sequence
For the striped effect shown in this pattern, work 6 rows in each color using the following sequence:
- 6 rows – Plum Wine
- 6 rows – White
- 6 rows – Light Country Peach
- 6 rows – Soft Pink
- 6 rows – Pumpkin
- 6 rows – Soft Pink
- 6 rows – Light Country Peach
- 6 rows – White
- 6 rows – Plum Wine
Continue following the sequence until all sections are complete.
The gradual movement from deeper shades into lighter colors and back again creates a beautiful balanced stripe effect.
Crochet Blanket Border
Before beginning the border, take a few minutes to secure all of your yarn tails.
Using a tapestry needle, weave each end back and forth through the stitches for at least 6 inches. This helps keep the ends firmly secured and gives your finished blanket a cleaner appearance.
Round 1
Using White, begin at the bottom-right corner so that you can work upward along one side of the blanket.
Pull up a loop and work 1 SC into the corner space, working around the post of the DC.
Continue up the side by working 2 SC around each DC post.
Try to distribute the stitches as evenly as possible along the edge.
Chain 1 and turn.
Round 2
Work 1 SC into the first chain space.
CH 3, skip the next 2 spaces, then SC into the following space.
Repeat the sequence all the way across the edge.
Do not worry if the spacing at the very end is not perfectly symmetrical. Depending on the exact tension and stitch placement, you may find that you need to skip one fewer space or have a slightly different spacing at the final section.
The most important thing is to keep the border looking neat and even.
Round 3
Chain 1 and turn.
Slip stitch into the first CH-3 space.
*CH 5.
Work a DC5TOG cluster into the 4th chain from the hook.
Work another DC5TOG cluster into the 5th chain from the hook.
Slip stitch the posts together.
Then slip stitch into the same CH-3 space, followed by a slip stitch into the next chain space.*
Repeat this decorative sequence across the edge of the blanket.
When you reach the end, fasten off and carefully weave in the remaining yarn tail.
Finishing Your Crochet Granny Blanket
Once the border is finished, give your blanket a quick inspection and make sure all of the yarn ends are securely woven in.
If desired, gently block the blanket to help even out the stitches and give the edges a more defined shape. Blocking can also help the finished blanket lie flatter and showcase the textured stitch pattern.
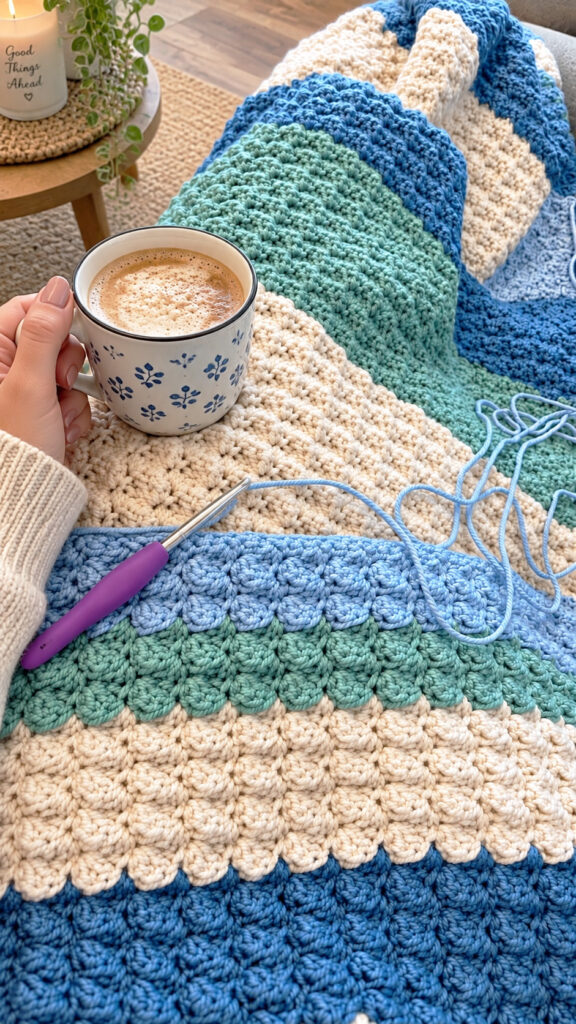
Tips for Making This Blanket
- Keep your tension consistent throughout the project for an even fabric.
- Use stitch markers if you find it difficult to keep track of the turning chains.
- When changing colors, complete the final stitch with the new color for a cleaner transition.
- Weave in yarn tails securely rather than relying only on crocheting over them.
- If you want a larger blanket, simply continue repeating the established stitch pattern.
- Always make a small gauge swatch if you want your finished blanket to match a specific size.
Final Thoughts
This Crochet Granny Blanket Pattern is a wonderful project for anyone who enjoys colorful, textured crochet. The repeating stitch pattern is straightforward enough to become relaxing after a few rows, while the carefully planned color sequence gives the finished blanket plenty of visual interest.
Whether you make it as a cozy throw for your home, a thoughtful handmade gift, or a special heirloom to keep for years, this blanket is a beautiful way to enjoy the timeless appeal of crochet.

