

 soofha
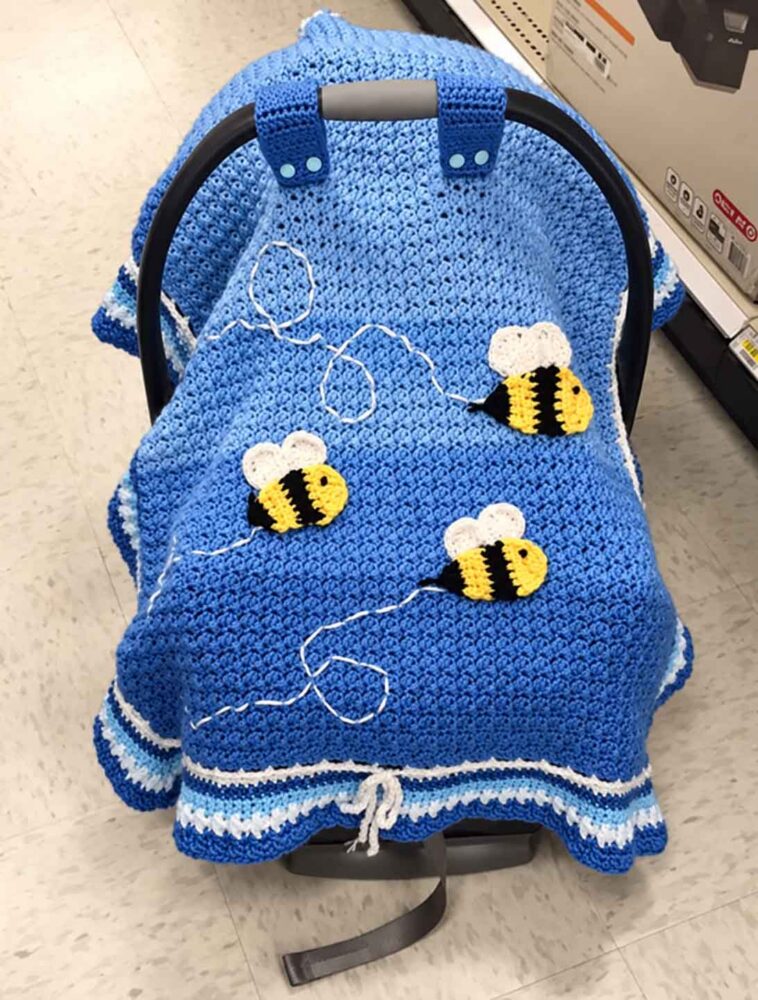
There’s something so satisfying about making a crochet project that is not only pretty but also useful. This Crochet Car Seat Tent is one of those projects. It’s simple enough to work on without feeling overwhelmed, but the textured stitch pattern gives the finished piece a lovely handmade look.
I especially like this pattern for baby gifts. A handmade car seat tent is practical for everyday use, and you can easily customize the colors to match a nursery, baby blanket, or even a favorite outfit.
The main body is worked vertically, which gives the blanket a slightly different look from many traditional crochet blankets. The texture comes from alternating single crochet and double crochet stitches, creating small seed-like clusters throughout the fabric.
If you’re comfortable with basic crochet stitches, you should have no trouble following along. And if you’re newer to crochet, this is a nice project for practicing your tension and getting familiar with working into different stitches.
Materials Needed
Here’s what you’ll need to make your crochet car seat tent:
- Worsted weight yarn in your choice of colors
- Crochet hook appropriate for your yarn, usually a 5 mm (H) hook
- Scissors
- Yarn needle for weaving in ends
- Buttons for the handle straps, if desired
Feel free to choose any color combination you love. You can keep the entire tent one color for a simple, classic look or add contrasting colors around the edging for a little more personality.
Crochet Abbreviations
The pattern uses standard U.S. crochet terminology.
- sc = single crochet
- dc = double crochet
- fpdc = front post double crochet
- bpdc = back post double crochet
- sl st = slip stitch
- sk = skip
- rep = repeat
- beg = beginning
Special Stitch
Seed Cluster: Work (sc, dc) in the same sc.
This small combination of stitches is what gives the main body its textured appearance without requiring a complicated stitch pattern.
Gauge / Tension
Working in the pattern:
3 seed clusters x 5 rows = 2″ x 2″
As always, checking your gauge before starting the full project is helpful if you want your finished tent to come out close to the intended size.
Pattern Multiple
The main stitch pattern is worked over a:
Multiple of 2 + 1
Main Body of the Car Seat Tent
The main body is worked vertically, which is what creates the distinctive texture and construction of this design.
You have two options for beginning the project. You can make the starting chain and work into it normally, or you can use a chainless foundation. The chainless foundation can be especially helpful if your starting chains tend to become tighter than the rest of your work.
Starting Chain
With your main color (MC), ch 81 loosely.
Row 1
Sc in 2nd ch from hook, dc in next st, sc in next st, dc in next st, rep from * to * to last st, ch 1, turn.
Row 2
Sk dc, (sc, dc) in sc, sk dc, (sc, dc) in sc, rep from * to * to last st, ch 1, turn.
Rows 3–55
Repeat Row 2 until you have completed Row 55, or continue until you reach the length you need.
Do not fasten off after Row 55.
Turn your work 90 degrees clockwise so you can begin working along the edges of the rows.
Optional Foundation Start
Instead of chaining 81, you can begin with a chainless foundation of sc, followed by dc, repeating to the end and finishing with a dc.
You should have a total of 80 stitches: 40 scs and 40 dcs.
Then skip directly to Row 2 of the pattern.
Crochet Edging
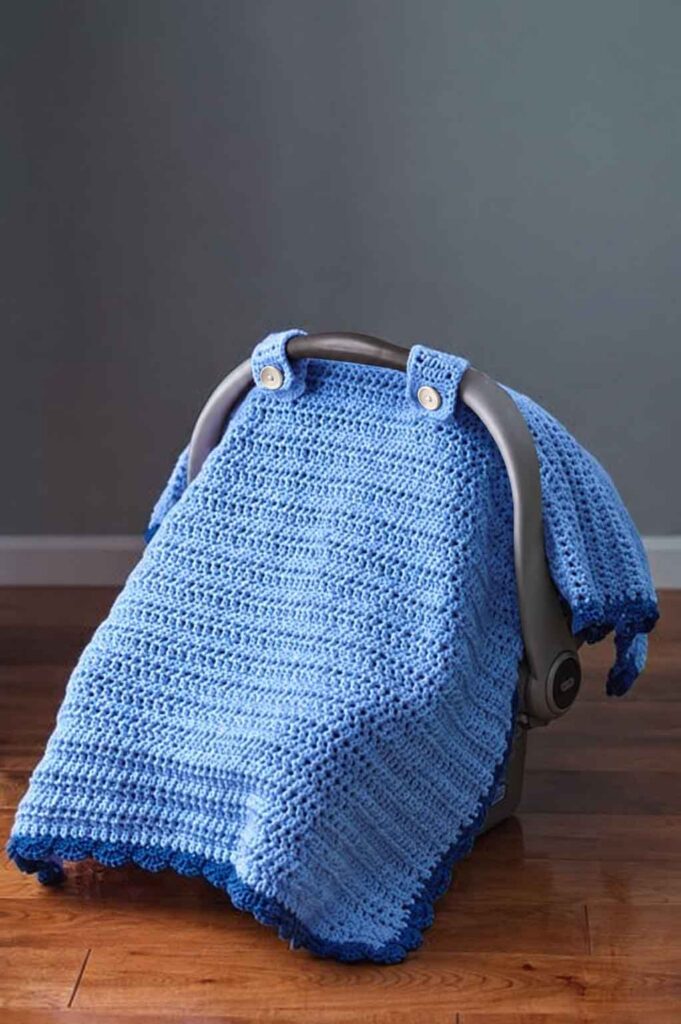
The edging gives the car seat tent a neat finished border and also adds a little extra detail around the outside.
Because the edging is worked around the entire piece, don’t worry if your stitch count isn’t perfectly exact in every section. The important thing is to keep the corners looking even and consistent.
Round 1
Ch 1, work 1 sc into the top of the last worked dc of Row 55, sc into the second half of the same dc.
Work 2 scs into each dc along the edge, with none worked between the dcs.
Work 3 scs in the corner stitch, which is the second half of the last dc on the edge.
Sc in each stitch along the next edge until the last st.
Work 3 scs in the last st.
Rep from * to * once more.
Work 2 scs in the same st as the beginning of the round.
Sl st into the first st and fasten off.
Round 2
You can fudge the stitch placement slightly if your stitch count isn’t exact.
Join a new color into the second sc of any corner.
Ch 3, which counts as hdc + ch 1.
Work (hdc, ch 1) in the same st.
Then work (hdc, ch 2) in the next st.
Sk 2 sts.
[(hdc, ch 2) in next st, sk 2 sts, rep from * to * to next-to-last st before corner, (hdc, ch 1) in next-to-last st, (hdc, ch 1, hdc, ch 1) in corner st, rep from * to * to next-to-last st before corner], (hdc, ch 1) in next-to-last st, (hdc, ch 1, hdc, ch 1) in corner st.
Rep from [ to ].
Work (hdc, ch 1) in next-to-last st before corner.
Work (hdc, ch 1) in the same st as ch 3 at the beginning of the round.
Sl st to the 2nd ch of the beginning ch 3.
Ch 1 and turn.
Round 3
Sc in the same st as ch 1.
Work 3 scs in the first ch-1 sp.
[Sc in hdc, sc in ch-1 sp, sc in hdc, 2 scs in ch-2 sp, sc in hdc, rep from * to * to ch-1 before corner V st, sc in ch-1 sp, sc in hdc, 3 scs in ch-1 sp, sc in hdc, sc in ch-1 sp, sc in hdc, rep from * to * to ch-1 before corner V st, sc in ch-1 sp], sc in hdc, 3 scs in ch-1 sp.
Rep from [ to ].
Sl st to the first sc.
Fasten off and turn.
Rounds 4–6
Join a new color to the second sc of any corner.
Ch 1, sc in the same st.
Sc across to the next corner.
Work 3 scs in the second sc of the corner.
Sc across to the next corner.
Work 3 scs in the second sc of the corner.
Rep from * to *.
Work 2 scs in the same st as the first sc of the round.
Sl st to the first sc.
Fasten off and turn.
Rounds 7–10
Continue using the same color as Round 6.
Repeat Round 4, adjusting the stitch placement as necessary so that you have:
- 1 sc in each stitch around
- 3 scs in each corner stitch
This creates a simple, sturdy border that frames the textured center nicely.
Chain Ribbon and Bow
The ribbon is a cute finishing detail, but it also has a practical purpose. Once the car seat tent is folded, you can use the ribbon to tie everything together and keep it neatly stored.
Beginning Chain
Ch 40 loosely.
This creates the first part of the chain that will eventually form the bow.
Round 1
Working along the bottom edge of the tent, begin in the center 2 hdc stitches.
Sc around the hdc on the left.
Ch 2.
Sc in the next hdc.
Ch 2 to the first hdc of the 4 hdc stitches in the corner.
Sc in the first hdc, ch 1, sc in the next hdc, ch 2.
Rep from * to * to the 4 hdc stitches in the corner.
Sc in the first hdc, ch 1, sc in the next hdc, ch 2, sc in the next hdc, ch 1, sc in the next hdc, ch 2.
Rep from * to * to the hdc right before the first hdc in the round.
Sc in hdc, ch 2.
Round 2
Sc into the next hdc, placing the sc adjacent to the previously worked sc so that you have started a second round of the chain ribbon.
Rep Round 1 until you work an sc into the last sc of Round 1.
Ch 41.
Fasten off and pull securely on the yarn tail.
You should now have a beginning chain of 40 and an ending chain of 41. Tie these two lengths together into a bow.
Handle Straps
Make 2 handle straps.
These straps can be adjusted slightly depending on where you want them positioned on your car seat tent.
Row 1
Join yarn to the desired placement of the strap.
Ch 1, sc in the same st, make 3 more scs, ch 2, turn.
Row 2
Hdc in next 3 sts, ch 2, turn.
Rows 3–14
Repeat Row 2.
At the end of Row 14, ch 1 and turn.
Row 15
Sc in the same st as ch 1.
Sc in next 3 sts.
Ch 1, turn.
Row 16 — Buttonhole
Sc in the same st as ch 1.
Ch 2, sk 2 sts, sc in last st.
Ch 1, turn.
Row 17
Sc in the same st as ch 1.
Work 2 scs in the ch-2 sp.
Sc in the last st.
Fasten off.
Weave in all remaining ends.
Crochet Car Seat Tent Pattern
Finishing Your Crochet Car Seat Tent
Once all of the crochet work is finished, take a few minutes to look over the edging and weave in any loose ends you may have missed.
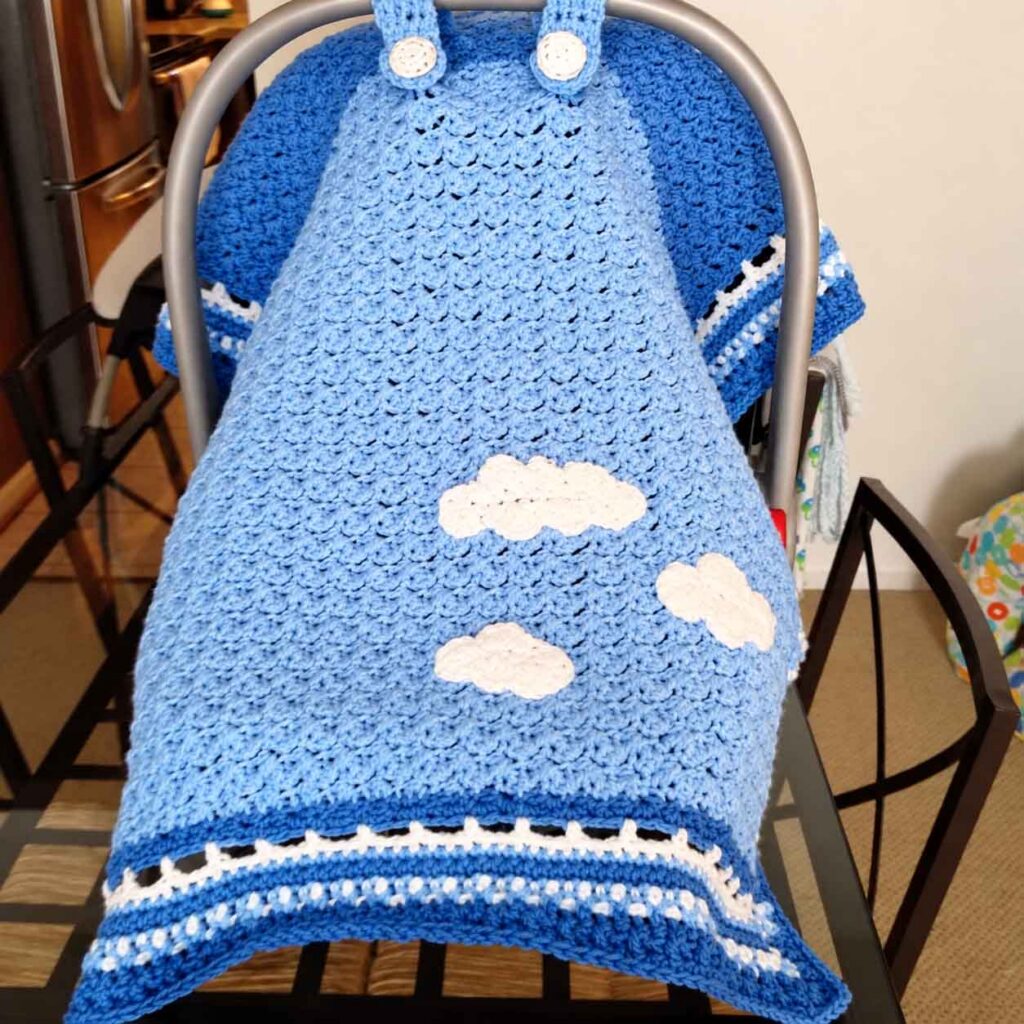
If you added buttonholes to the handle straps, sew on your buttons in the corresponding positions. Make sure they are attached securely.
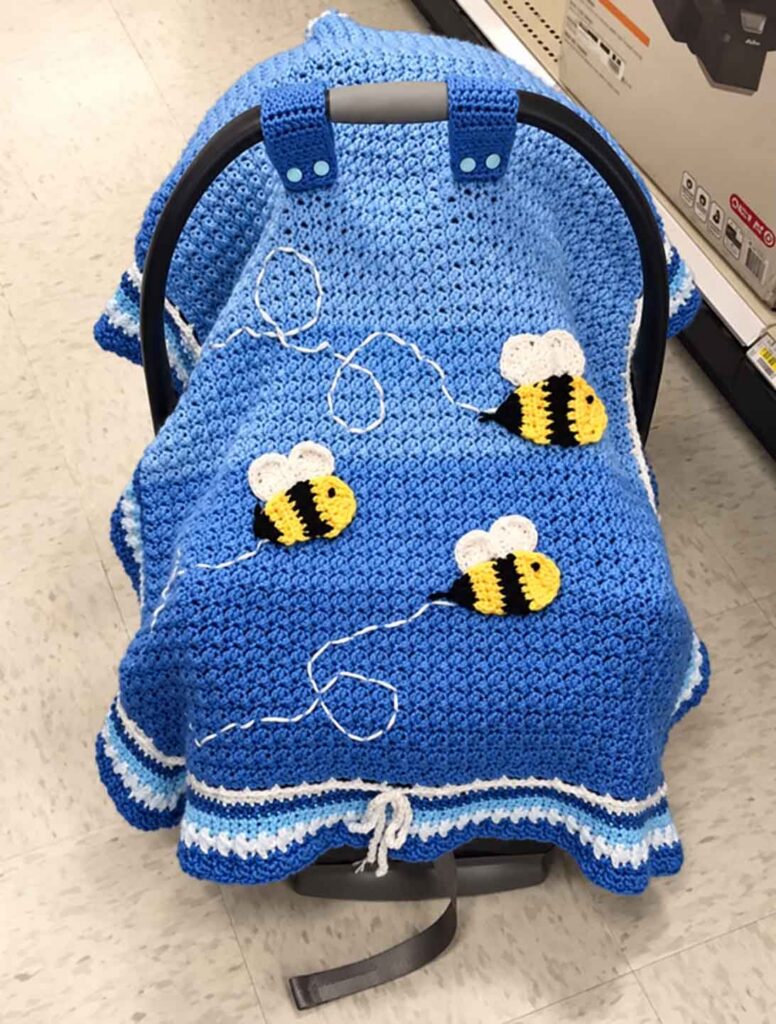
You can also personalize the tent with a small crochet appliqué, flower, heart, animal, or another simple embellishment. This is especially fun when you’re making the project as a baby shower gift.
The long chain ribbon serves two purposes. It creates a sweet little bow when the tent is in use, and it can also be wrapped around the folded tent when you’re storing it. That makes it much easier to keep the blanket tidy between uses.
A Sweet Handmade Baby Gift
This Crochet Car Seat Tent is one of those projects that combines practicality with the charm of something handmade. The textured stitch pattern gives the blanket plenty of visual interest, while the simple edging keeps the overall design clean.
It’s also an easy project to personalize. Try soft neutrals for a timeless look, pastel shades for a baby shower gift, or brighter colors if you want something playful and cheerful.
Whether you’re making one for your own little one or putting together a handmade gift for a new baby, it’s a project that’s useful, thoughtful, and made with plenty of love.
And that’s really the best part of crocheting — taking a few simple stitches and turning them into something someone can actually use and enjoy.
Happy crocheting! 🧶💕

