

 soofha

There’s something about a textured crochet blanket that makes you want to reach out and touch it. The little raised stitches give the fabric so much character, and that’s exactly what I love about this Berry Stitch Blanket.
The Berry Stitch creates small, rounded bumps that look a little like berries scattered across the blanket. They add just the right amount of texture without making the finished piece feel too heavy or stiff. It’s also one of those patterns that looks more complicated than it actually is, which makes it a fun project for crocheters who are comfortable with the basic stitches and want to try something new.
For this version, I chose a soft combination of Soft Lilac, Cream, and Dusty Rose. The colors work beautifully together and give the blanket a gentle, cozy look, but there’s plenty of room to make it your own. You could use bright colors for a cheerful children’s blanket, stick with neutrals for a more modern look, or choose your favorite three shades and create a completely different feel.
This blanket would make a lovely baby shower gift, a cozy lap blanket, or a pretty throw for the sofa. Since the stitch pattern has a simple repeat, changing the size is easy too.
Materials
You’ll need the following supplies to make the blanket:
- Worsted weight yarn
- Color A: Soft Lilac
- Color B: Cream
- Color C: Dusty Rose
- H/8 (5 mm) crochet hook
- Scissors
- Tapestry needle
Feel free to substitute your favorite worsted-weight yarn if you already have something in your stash. Just keep in mind that changing the yarn weight or hook size will affect the finished measurements.
Finished Size
- Approximately 26 x 28 inches
- Gauge: 4 inches = 12 stitches and 16 rows in pattern
If your gauge is slightly different, don’t worry too much if you’re making the blanket for personal use. You can simply adjust your starting chain or continue crocheting until you reach the size you want.
Crochet Abbreviations
The pattern uses standard US crochet terminology.
SC – Single Crochet:
Insert the hook into the stitch, yarn over and pull up a loop. Yarn over again and pull through both loops on the hook.
DC – Double Crochet:
Yarn over, insert the hook into the stitch, yarn over and pull up a loop. Yarn over and pull through two loops, then yarn over and pull through the remaining two loops.
SL ST – Slip Stitch:
Insert the hook into the stitch, yarn over, pull up a loop, and pull that loop directly through the loop already on your hook.
Berry Stitch:
Yarn over, insert the hook into the stitch, yarn over and pull up a loop. Yarn over and pull through the first loop on the hook. Yarn over, insert the hook into the same stitch, yarn over and pull up another loop. Yarn over and pull through all five loops on the hook.
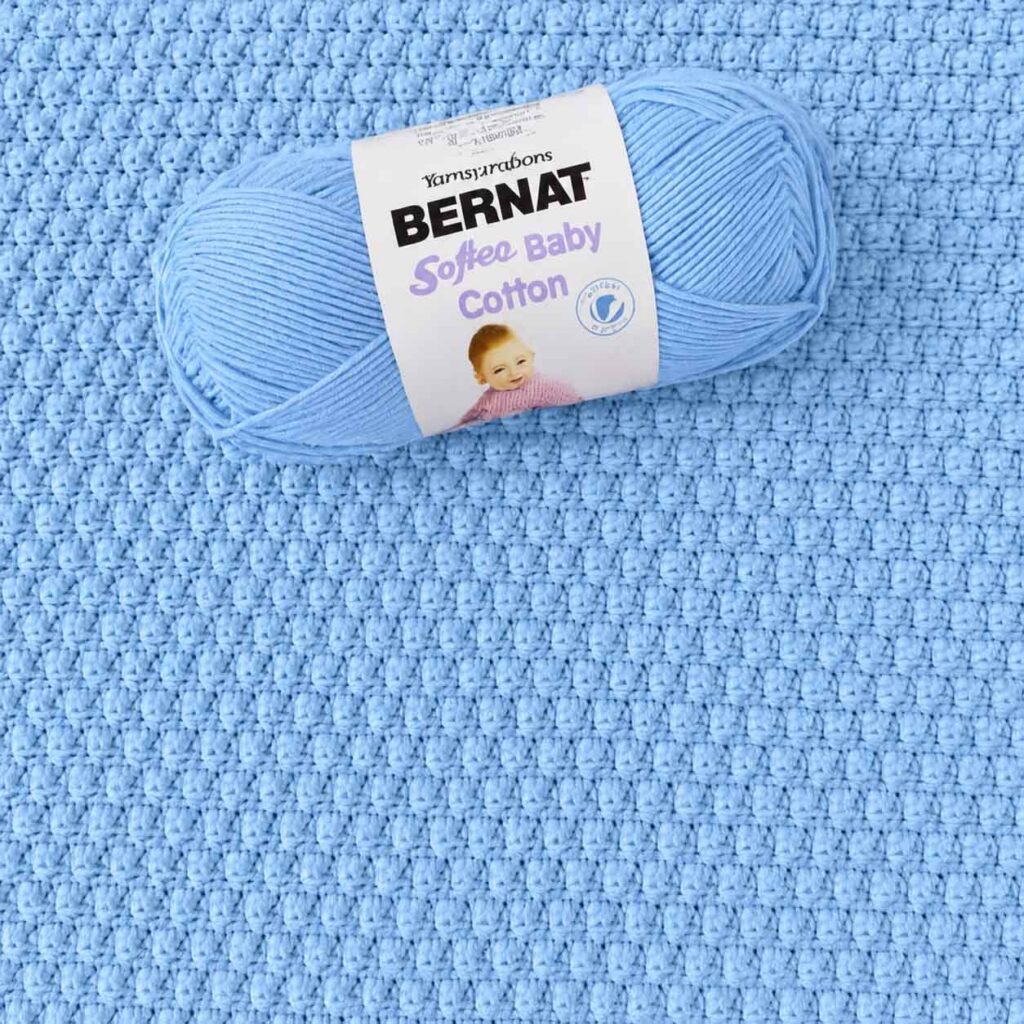
Crochet Berry Stitch Blanket Pattern
Foundation Chain
Using Color A, chain 100.
If you’d like to make the blanket wider, you can use any even number of chains for your foundation.
Row 1
Starting in the second chain from the hook, work 1 SC in each chain across.
Chain 1 and turn.
Row 2 – Berry Stitch Row
Work 1 SC in the first stitch.
Work 1 Berry Stitch in the next stitch, followed by 1 SC in the next stitch.
Continue repeating this sequence across the row.
Chain 1 and turn.
Row 3
Work 1 SC in every stitch across.
Chain 1 and turn.
Row 4
Work 1 SC in each of the first 2 stitches.
Work 1 Berry Stitch in the next stitch, followed by 1 SC in the next stitch.
Continue repeating across the row until you have 2 stitches remaining.
Work 1 SC in each of the final 2 stitches.
Chain 1 and turn.
Row 5
Work 1 SC in every stitch across.
Chain 1 and turn.
Continue the Pattern
Repeat Rows 2–5 until your blanket reaches approximately 27–28 inches long, or continue until it reaches the length you prefer.
For the neatest finish, try to end with Rows 2 and 3.
Changing Colors
The color changes give this blanket a lovely striped effect. For the original color arrangement, use the following sequence:
- Rows 1–10: Color A – Soft Lilac
- Rows 11–20: Color B – Cream
- Rows 21–30: Color C – Dusty Rose
Continue repeating this 10-row color sequence until your blanket reaches the desired length.
Of course, you don’t have to follow these colors exactly. This would be a great project for using yarn you already have at home. You could even make every section a different color if you want something brighter and more playful.
A Few Helpful Notes
The side with the raised Berry Stitches is the textured front of the blanket.
When you’re working the Berry Stitch rows, the berries will initially seem to be facing away from you. As you work the following single crochet rows, they become more visible on the front side.
It’s also worth paying attention to the placement of your Berry Stitches. The pattern is designed so that the textured stitches are offset from one row to the next. Taking a quick look at your previous row before starting a Berry Stitch row can help keep everything lined up correctly.
If you’re new to the stitch, don’t worry if the first few berries look a little uneven. They tend to become much more consistent once your hands get used to the movement.
Adding the Border
A simple decorative border gives the blanket a finished look and helps frame all that lovely texture.
Round 1
Using Color B and with the textured side facing you, work SC evenly around the entire blanket.
Along the sides, work approximately 1 SC per stitch or row space, adjusting slightly where necessary so the edges lie flat.
At each corner, work 3 SC in the same corner space.
Continue around the blanket until you reach the beginning.
Round 2 – Scalloped Edge
At the starting corner, join with a SL ST.
Work 5 DC in the next stitch, then work 1 SL ST in the next stitch.
Skip 1 stitch, then work 1 SL ST in the following stitch.
Continue repeating this scalloped edging around the blanket.
You don’t need to make special corner adjustments for this round. Simply continue following the pattern around each side.
When you reach the beginning, join with a SL ST to the first corner.
Fasten off and use your tapestry needle to carefully weave in all remaining ends.
Making the Blanket Your Own
One of my favorite things about this pattern is how easily it can be changed.
For a light summer blanket, try a cotton or cotton-blend yarn. If you’re looking for something especially warm and cozy, a bulky yarn can create a much thicker version with very pronounced berries. Just remember that you’ll need to adjust your hook size and starting chain when changing yarn weights.
You can also experiment with the color placement. Soft pastels would be beautiful for a baby blanket, while shades of gray, cream, and taupe would give it a simple, neutral look. Jewel tones could make the Berry Stitch stand out even more.
If you’re making the blanket as a gift, choosing colors that match the recipient’s nursery or home is a lovely way to make it feel more personal.
Final Thoughts
The Crochet Berry Stitch Blanket is one of those projects that is relaxing to work on but still interesting enough to keep you coming back to it. The single crochet rows are simple and repetitive, while the Berry Stitch rows add just enough detail to keep things interesting.
And once the blanket starts getting bigger, there’s something very satisfying about seeing those little textured berries build up across the fabric.
Whether you make the original Soft Lilac, Cream, and Dusty Rose version or come up with your own color combination, this is a blanket that would be lovely to keep, display, or give to someone special.
The finished texture is soft and dimensional, and the scalloped border adds a pretty final touch without taking away from the stitch itself.
So grab your favorite yarn, pick out a few colors you love, and give the Berry Stitch a try. You might find yourself reaching for this stitch again the next time you want to make a cozy textured blanket.

