

 soofha
Amigurumi Crochet Bee Free Pattern
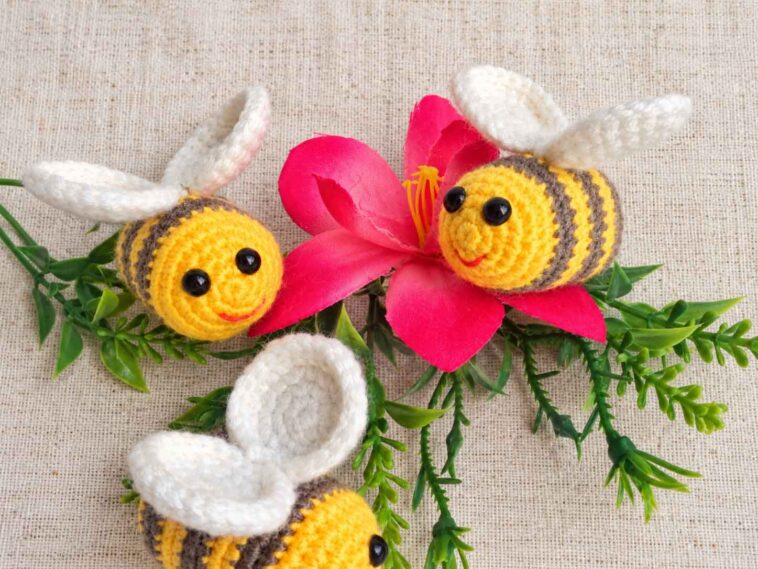
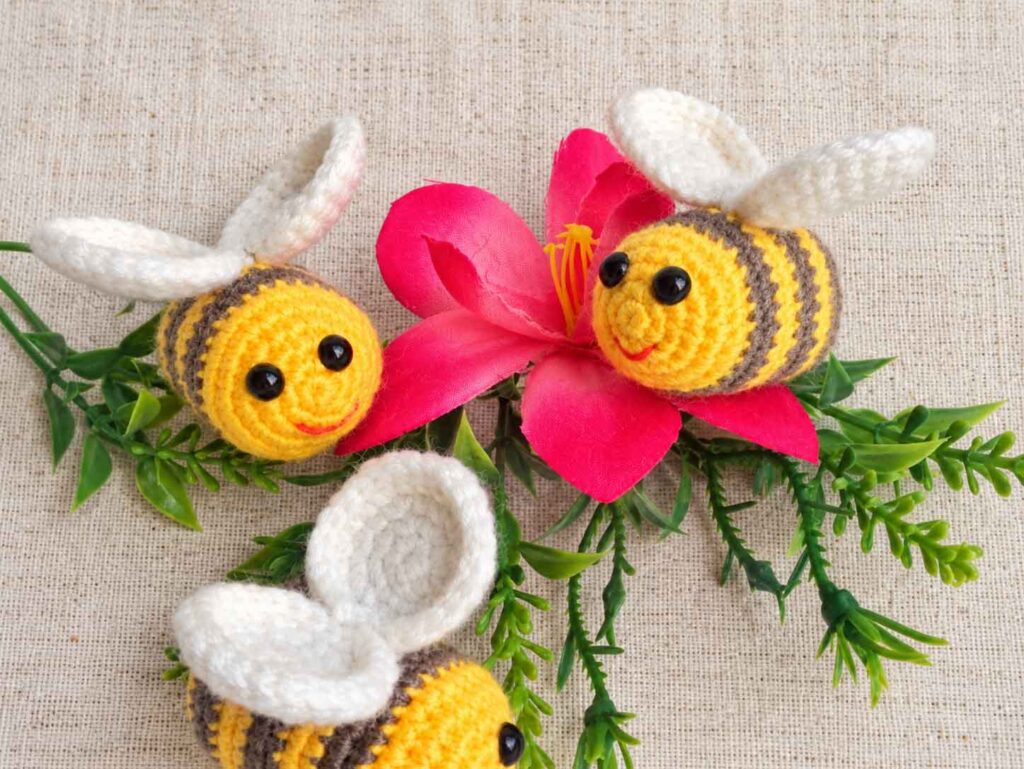
There’s something about tiny crochet animals that makes them impossible not to love, and this little amigurumi bee is no exception. With its round body, cheerful stripes, tiny wings, and sweet little smile, it’s such a fun project to make.
This crochet bee is also a great project if you’re getting started with amigurumi. The body is worked in simple single crochet stitches, with increases and decreases used to create its rounded shape. You’ll switch between yellow and brown yarn for the classic bee stripes and add a pair of white wings at the end.
The finished bee is small enough to use as a cute decoration, a handmade gift, or even as part of a collection of crocheted animals. And once you make one, you may find yourself wanting to make a few more in different color combinations!
So grab your yarn and crochet hook, and let’s make this little buzzing friend.
Materials You’ll Need
- Yarn: Brown and yellow for the body, plus white for the wings
- Crochet hook: Use a size appropriate for your chosen yarn
- Polyfill stuffing
- Safety eyes or black embroidery thread
- Yarn needle for sewing
- Stitch marker (optional, but helpful when working in the round)
- Glue (optional, if using safety eyes)
Crochet Abbreviations
- sc: single crochet
- inc: increase — work 2 single crochets in the same stitch
- dec: decrease — crochet 2 stitches together
- KA: magic circle
Crochet Bee Body
The body is worked in the round, beginning with yellow yarn and changing colors as indicated in the pattern.
As you crochet, add small amounts of stuffing along the way rather than waiting until the very end. This makes it much easier to shape the bee and gives the finished piece that nice, plump amigurumi look.
Body Pattern
Yellow
Round 1: 6 sc in KA (6)
Round 2: (inc) x 6 (12)
Round 3: (sc, inc) x 6 (18)
Round 4: (2 sc, inc) x 6 (24)
Round 5: (3 sc, inc) x 6 (30)
Round 6: 30 sc (30)
Rounds 7–8: 30 sc (30)
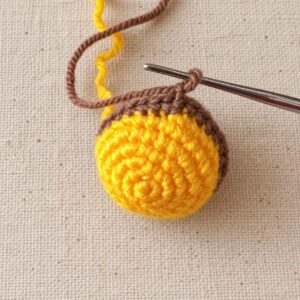
Rounds 9–10: 30 sc (30)
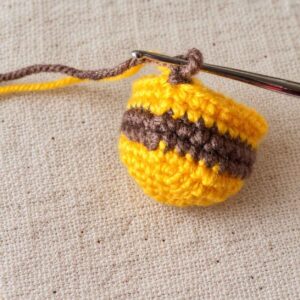
Rounds 11–12: 30 sc (30)
Rounds 13–14: 30 sc (30)
Rounds 15–16: 30 sc (30)
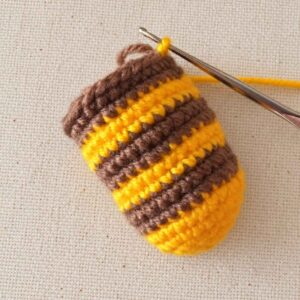
At this point, your bee should have a nice rounded body. If you haven’t already started stuffing, add some polyfill now and continue adding a little more as the opening becomes smaller.
Brown
Round 17: (3 sc, dec) x 6 (24)
Yellow
Round 18: (2 sc, dec) x 6 (18)
Round 19: (sc, dec) x 6 (12)
Brown
Round 20: (dec) x 6 (6)
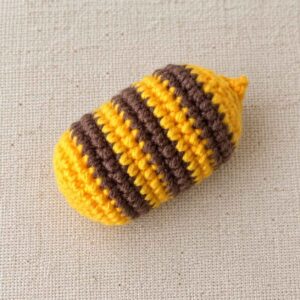
Round 21: Sc 3 times to form the bee’s little stinger.
Fasten off and cut the yarn, leaving a small tail if needed. Use your yarn needle to weave the end inside the body and hide it neatly.
Crochet Bee Wings
Now it’s time to give your bee its little wings.
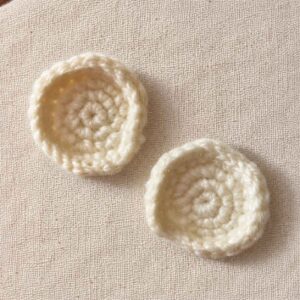
The wings are made separately using white yarn and are worked in a spiral. You’ll need to crochet two wings.
Wing Pattern
Round 1: 6 sc in KA (6)
Round 2: (inc) x 6 (12)
Round 3: (sc, inc) x 6 (18)
Round 4: (2 sc, inc) x 6 (24)
Round 5: dc in each stitch around (24)
Fasten off.
When finishing each wing, you can leave a longer yarn tail and use it to sew the wing directly onto the bee. Alternatively, you can use regular sewing thread. Once the wing is securely attached, weave in and hide the remaining ends.
Putting the Bee Together
Once the body and both wings are finished, you’re ready for the fun part — bringing your little bee to life!
Sew on the Wings
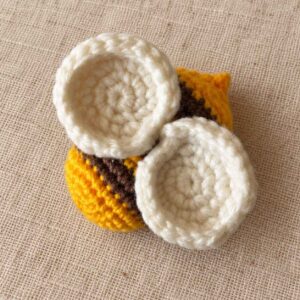
Position the two white wings near the center of the bee’s back. Take a moment to check that they are sitting evenly before sewing them securely into place.
Use the yarn tails or sewing thread to attach the wings firmly. Make a few extra stitches if necessary so the wings stay in position.
Add the Eyes
For the eyes, you can use small safety eyes or embroider them with black thread.
If you’re making this bee for a young child, make sure any safety eyes are attached securely and follow the manufacturer’s age recommendations. Embroidered eyes are another great option and give the bee a softer handmade look.
Embroider the Smile
Finally, add a tiny smile with black embroidery thread.
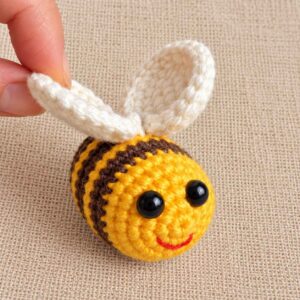
This small detail really brings the bee’s personality out. You can make the smile subtle or give your bee a big cheerful grin — there’s no wrong way to do it!
Your Little Crochet Bee Is Finished!
And just like that, your adorable little amigurumi bee is ready to buzz around!
I love how much personality you can get from such a small crochet project. The classic yellow-and-brown combination gives it that instantly recognizable bee look, while the white wings and embroidered face make it extra cute.
This pattern is also easy to personalize. Try making your bee with different shades of yellow, mustard, orange, or even pastel colors for something completely different. You could also experiment with the facial features or add tiny crocheted antennae.
Make one bee as a sweet handmade gift, or make several and create your own little buzzing family. They would look adorable displayed together in a nursery, craft room, or on a shelf.
Most importantly, have fun with it. Amigurumi is all about turning a little bit of yarn into something full of personality.
Happy crocheting, and enjoy making your cute little bee!

