

 soofha
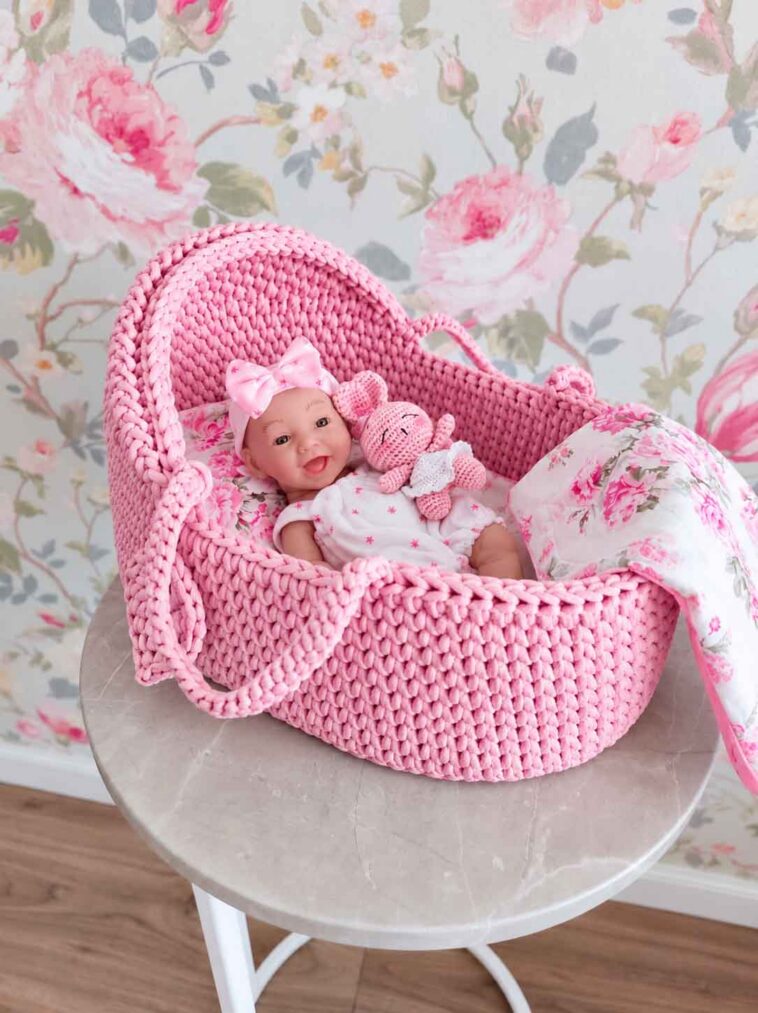
There’s something especially meaningful about making something by hand for a baby. A handmade basket can be simple and practical, but it also carries a little bit of the time, care, and love that went into making it.
I really like using t-shirt yarn for projects like this because it gives the basket plenty of body. The finished piece has a modern, clean look, and the thicker yarn makes it possible to create a basket that holds its shape nicely.
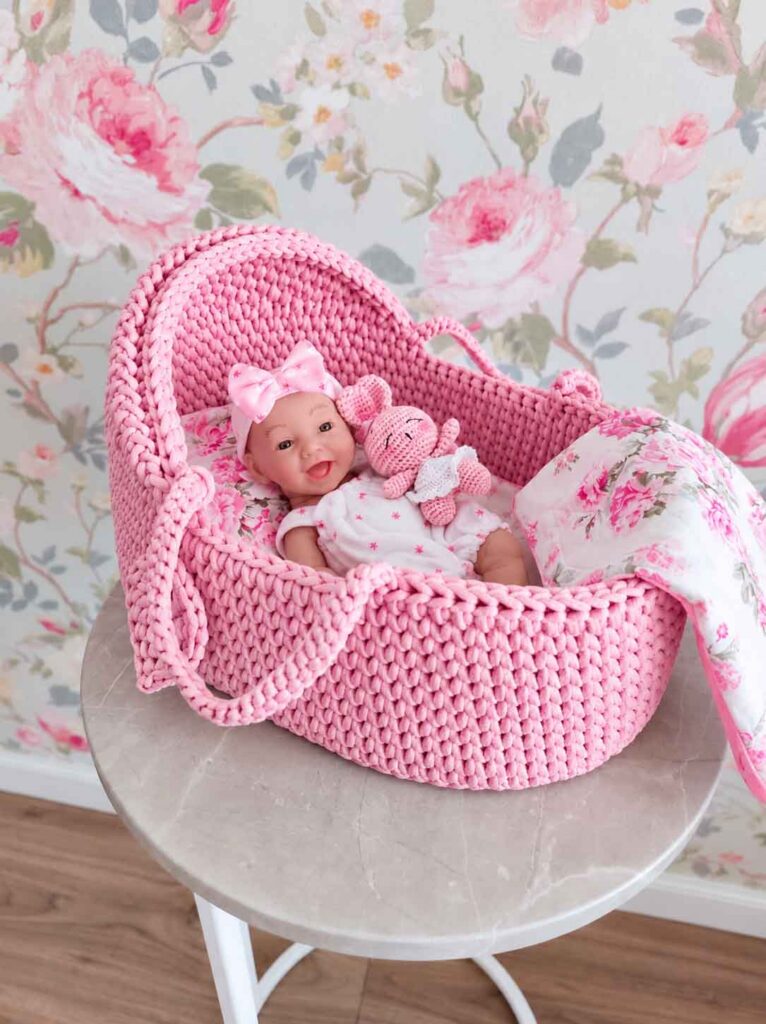
This crochet Moses basket has an oval base, sturdy sides, comfortable handles, and a little bonnet that gives it that traditional Moses basket feel. It would make a lovely handmade gift for a new baby, or you could make one for your own nursery and personalize it with your favorite colors.
The basket can also be used for storing blankets, toys, or other nursery essentials. If it is used with a baby, however, it should only be used under appropriate supervision and with proper safety precautions.
Pattern Details
Skill level: Intermediate
The stitches themselves are fairly simple, but the project does require some attention to tension and shaping. Because t-shirt yarn is thick and can vary slightly in stretch, keeping your tension consistent will help the basket keep its shape.
Finished Size
The oval base measures approximately 45 cm long × 30 cm wide.
Materials
- 4 balls of premium t-shirt yarn
- Size 9 crochet hook
- Stitch markers, optional but helpful
- Yarn needle for weaving in the ends
Abbreviations and Stitch Notes
- sc: single crochet worked into the center of the stitch from the previous round
- ch: chain
- inc: work 2 stitches into the same stitch
- sk: skip a stitch
- dec: decrease
The basket is worked partly in continuous rounds and partly in rows. Keep your stitches fairly firm throughout the project so the sides have enough structure.
Crocheting the Base
The base is worked in a continuous spiral. This gives the bottom a smooth appearance without a noticeable joining seam.
Begin by chaining 13 stitches and work into the second chain from the hook.
Round 1
Work 11 sc, 5 sc in the next chain, 10 sc, then work 2 increases.
Total: 30 stitches
Round 2
Work 12 sc, 3 increases, 12 sc, then 3 increases.
Total: 36 stitches
Round 3
Work 12 sc, then repeat the following sequence 3 times:
1 dc, 1 sc
Continue with 12 sc, then repeat the same sequence 3 more times.
Total: 42 stitches
Round 4
Work 12 sc, then repeat:
2 sc, 1 dc
3 times.
Work another 12 sc, then repeat the same sequence 3 times.
Total: 48 stitches
Round 5
Work 12 sc, then repeat:
1 dc, 3 sc
3 times.
Work 12 sc, then repeat the same sequence 3 times.
Total: 54 stitches
Round 6
Work 12 sc, then repeat:
4 sc, 1 dc
3 times.
Work 12 sc, then repeat the same sequence 3 times.
Total: 60 stitches
Round 7
Work 12 sc, then repeat:
1 dc, 5 sc
3 times.
Work 12 sc, then repeat the same sequence 3 times.
Total: 66 stitches
Round 8
Work 12 sc, then repeat:
6 sc, 1 dc
3 times.
Work 12 sc, then repeat the same sequence 3 times.
Total: 72 stitches
Round 9
Work 12 sc, then repeat:
1 dc, 7 sc
3 times.
Work 12 sc, then repeat the same sequence 3 times.
Total: 78 stitches
Round 10
Work 12 sc, then repeat:
8 sc, 1 dc
3 times.
Work 12 sc, then repeat the same sequence 3 times.
Total: 84 stitches
Round 11
Work 1 sc into every stitch around.
Total: 84 stitches
At this point, you should have a nice, even oval base.
A Helpful Tip
Keep an eye on the shape as you work. If the base begins to ripple or cup slightly, don’t be afraid to adjust the increases. With thick t-shirt yarn, even a small difference in tension can affect the shape.
One useful approach is to leave out an increase for one round and then continue increasing on the following round. The goal is a flat, balanced base rather than simply following the increases mechanically.
Crocheting the Basket Sides
Once the base is complete, it is time to build the sides.
Continue working for 9 rounds without increasing.
For the first round of the sides, work through the back loops only. This creates a defined ridge between the bottom and the upright sides of the basket and helps the sides turn upward.
After that first round, continue working normally, keeping the same stitch count.
Try to maintain an even tension as you work. The sides should gradually rise without becoming too loose or floppy.
Adding the Handles
The handles are worked into the sides of the basket. They are made with chain spaces, which are then worked into on the following round.
Handle Round
Work:
- 34 sc
- ch 8
- skip 5 stitches
- 36 sc
- ch 8
- skip 5 stitches
- 4 sc
The two chain spaces create the openings for the handles.
Following Round
Work:
- 34 sc
- 8 sc around the first chain space
- 36 sc
- 8 sc around the second chain space
- 4 sc
Finish off.
Take a moment to check that both handles are positioned evenly. If you are making the basket for someone else, this is also a good point to check the overall proportions before continuing with the bonnet.
Crocheting the Bonnet
The little bonnet is one of my favorite parts of this design. It gives the basket a softer, more traditional Moses basket appearance without making the whole project overly complicated.
The bonnet is worked over the 36 stitches between the two handles.
Work in straight rows rather than continuous rounds. At the end of each row, cut the yarn so that you can continue working from the right side.
Bonnet Instructions
Rows 1–4
Work 36 sc across.
Row 5
Ch 1, 11 sc, dec, 12 sc, dec, 11 sc.
34 stitches
Row 6
Ch 1, 10 sc, dec, 5 sc, dec, 6 sc, dec, 10 sc.
31 stitches
Row 7
Ch 1, 8 sc, dec, 6 sc, dec, 6 sc, dec, 8 sc.
28 stitches
Row 8
Ch 1, 11 sc, dec, 4 sc, dec, 11 sc.
26 stitches
Row 9
Ch 1, 5 sc, dec, 4 sc, dec, 4 sc, dec, 4 sc, dec, 5 sc.
22 stitches
Row 10
Ch 1, 6 sc, dec, 4 sc, dec, 3 sc, dec, 6 sc.
19 stitches
Row 11
Ch 1, 5 sc, dec, 3 sc, dec, 3 sc, dec, 5 sc.
16 stitches
Row 12
Ch 1, 4 sc, dec, 2 sc, dec, 3 sc, dec, 4 sc.
13 stitches
Row 13
Ch 1, 3 sc, dec, 1 sc, dec, 1 sc, dec, 1 sc, dec, 3 sc.
9 stitches
Row 14
Work the 9 remaining stitches together.
Fasten off and carefully weave in the yarn end.
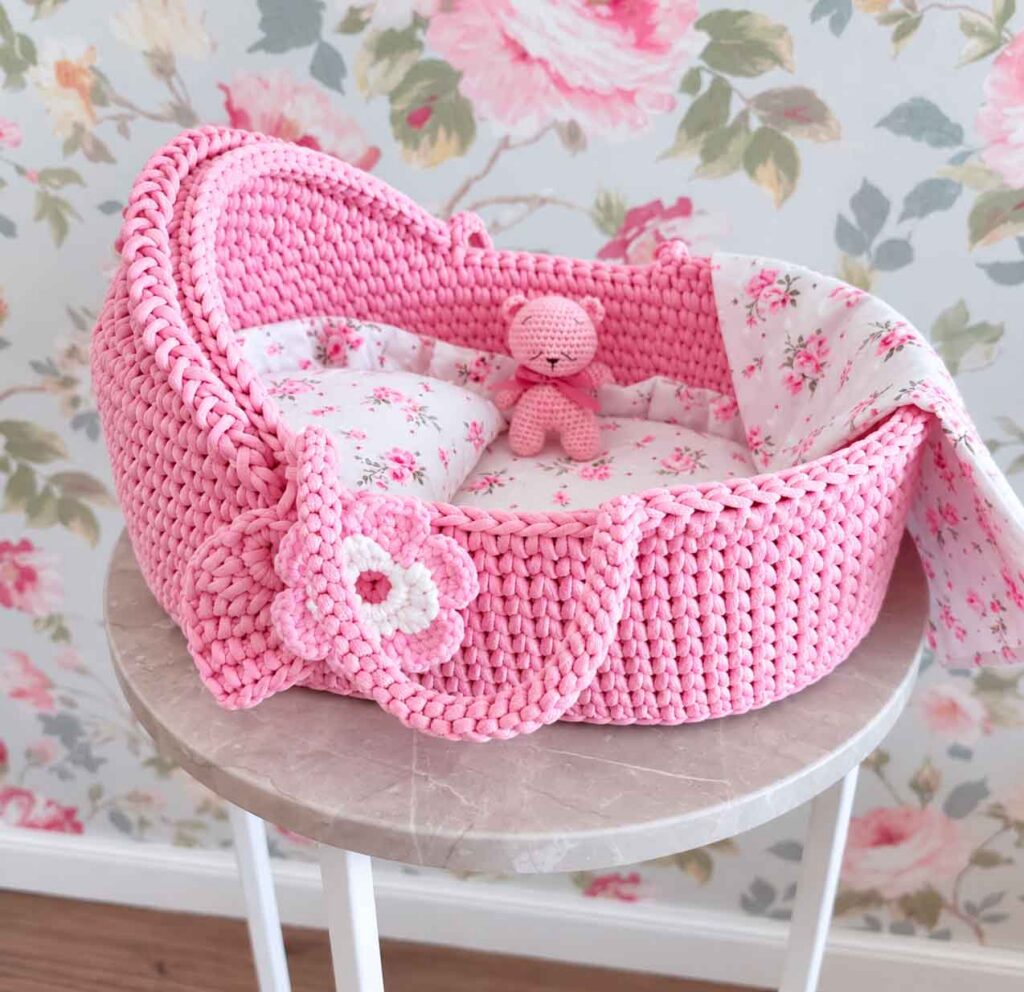
Crochet Moses Basket for Babies
Finishing the Bonnet
For a neat, finished edge, work one final round of single crochet around the bonnet.
This small finishing step makes quite a difference. It tidies up the edges and gives the bonnet a more polished appearance.
Weave in any remaining ends securely.
Personalizing Your Moses Basket
Once the main basket is finished, you can have a little fun with the details.
A few additions that would work beautifully include:
- A soft mattress or properly fitted cushion
- A removable fabric lining
- A simple decorative edging
- Small bows or other decorative details
- A matching crochet blanket
- A coordinating color for the handles or bonnet
You could keep everything in one neutral shade for a simple, modern nursery look, or introduce two or three colors for something more playful.
T-shirt yarn also comes in a wide range of colors, so there are plenty of ways to make the basket your own.
Important Safety Note
This crochet basket is intended for supervised use only. Crochet construction alone should not be relied upon as a safe infant-sleep product or as structural support for carrying a baby.
If the basket is used around a baby, always follow current infant-safety recommendations and the manufacturer’s instructions for any mattress, stand, lining, or carrying hardware being used. Never leave a baby unattended in the basket, and never carry a baby in a handmade basket unless the entire structure has been specifically designed, tested, and approved for that purpose.
Final Thoughts
I love projects like this because they feel useful while still having that special handmade character. There is something satisfying about watching a simple length of yarn slowly turn into a sturdy basket with a shape and purpose of its own.
The t-shirt yarn gives this Moses basket a slightly modern feel, while the bonnet and oval shape add a lovely traditional touch. You can keep the colors soft and neutral for a minimalist nursery, or choose brighter shades if you want something with more personality.
Whether you make it as a gift, for a nursery, or simply because you enjoy trying something different with crochet, it is a project that gives you plenty of room to add your own touches.
And, as with any handmade baby project, the best part is knowing that you put your own time and creativity into every stitch.

