 soofha
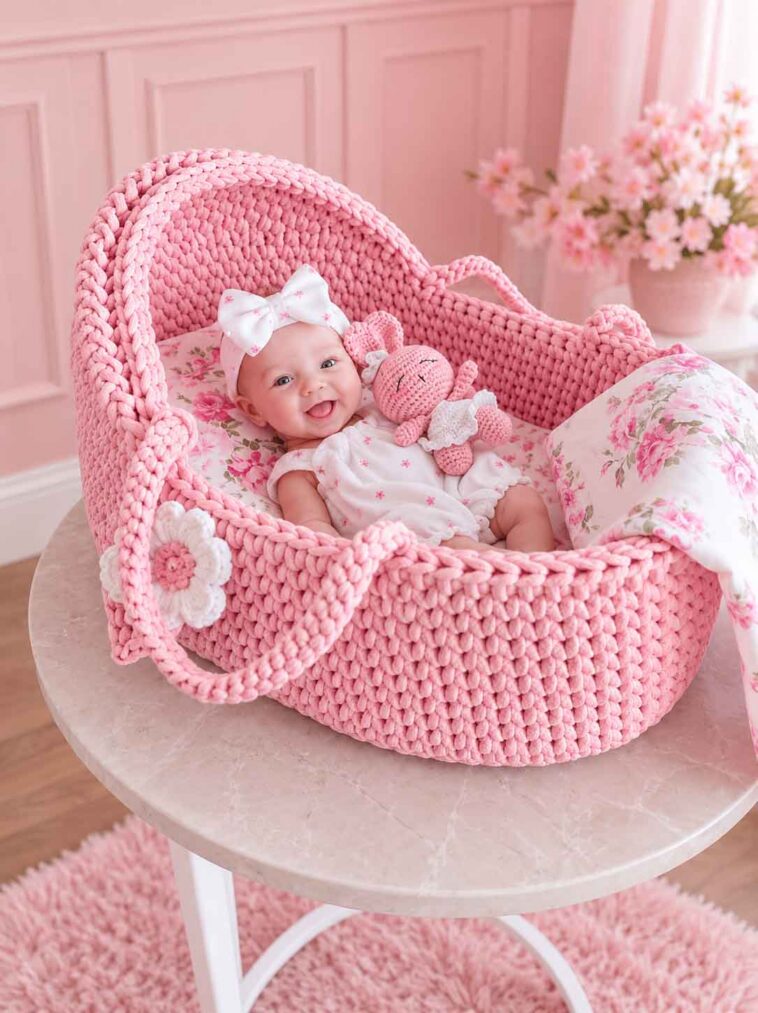
There’s something wonderful about making something by hand for a little one. Every stitch adds a personal touch, turning a simple crochet project into something meaningful. If you enjoy making practical items with a handmade feel, this crochet Moses basket is a lovely project to try.
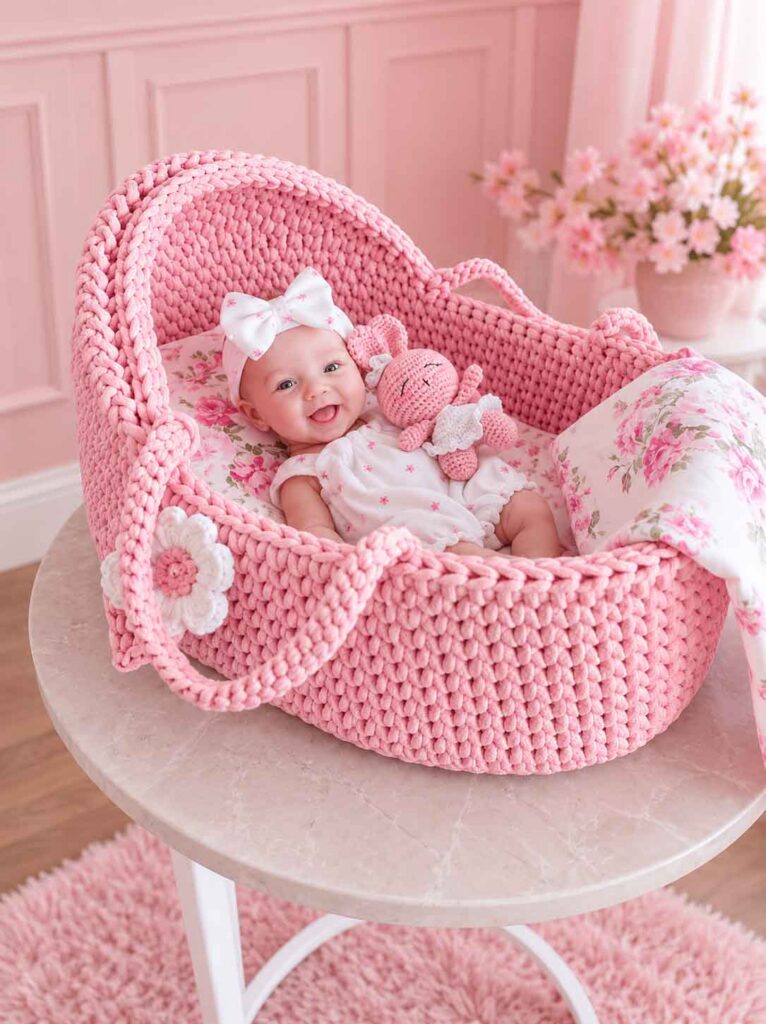
Made with sturdy T-shirt yarn, the basket has a modern look and a firm structure. Its oval base, crocheted sides, built-in handles, and rounded bonnet give it a charming appearance that would look beautiful in a nursery.
This project is a good choice for crocheters who enjoy working with thicker yarn and creating pieces that hold their shape. You could make it as a nursery decoration, a storage basket for baby blankets and toys, or a thoughtful handmade gift for an expecting parent.
Important: Although this pattern is inspired by a traditional Moses basket, a crocheted basket should not be assumed safe for infant sleep or carrying a baby. Use it for decorative purposes or baby-item storage unless the complete product has been independently assessed and approved for its intended use.
Crochet Moses Basket Pattern Details
- Skill level: Intermediate
- Yarn: Premium T-shirt yarn
- Crochet hook: Size 9, using the sizing system appropriate to your pattern
- Additional supplies: Stitch markers and a yarn needle
- Approximate base measurements: 45 cm long × 30 cm wide
- Construction: Worked in a continuous spiral and in rows
The pattern uses basic crochet stitches, increases, and decreases. The main challenge is maintaining even tension, especially when working with thick T-shirt yarn.
Materials You’ll Need
Before you begin, gather the following supplies:
- 4 balls of premium T-shirt yarn
- Size 9 crochet hook
- Stitch markers to keep track of rounds
- Yarn needle for weaving in loose ends
The amount of yarn needed may vary depending on the thickness of your yarn, your personal tension, and the final size of your project.
Crochet Abbreviations
The pattern uses the following abbreviations:
- sc: Single crochet, worked into the center of the stitch from the previous round
- ch: Chain
- dup: Work 2 stitches into the same stitch to increase
- length: Skip 1 stitch from the previous round
- dec: Decrease
Keep these abbreviations handy while crocheting so you can follow the instructions more easily.
A quick note: The original instructions also use the abbreviation dc, which normally means double crochet in US terminology. Because some of the stitch descriptions and round totals are unclear, check the intended stitch before beginning those rounds.
Step 1: Crochet the Oval Base
The base is worked in a continuous spiral to create a smooth foundation without a visible joining seam.
Start by chaining 13. Begin working into the second chain from your hook, following the instructions below.
Base Instructions
Round 1: Work 11 sc, 5 sc in the next chain, 10 sc, then 2 increases. (30 stitches)
Round 2: Work 12 sc, 3 increases, 12 sc, then 3 increases. (36 stitches)
Round 3: Work 12 sc, then repeat the specified increase sequence of 1 dc and 1 sc three times. Work 12 sc, then repeat the same sequence on the opposite end. (42 stitches)
Round 4: Work 12 sc, then repeat the specified sequence of 2 sc and 1 dc three times. Work 12 sc, then repeat the sequence on the opposite end. (48 stitches)
Round 5: Work 12 sc, then repeat the specified sequence of 1 dc and 3 sc three times. Work 12 sc, then repeat the sequence on the opposite end. (54 stitches)
Round 6: Work 12 sc, then repeat the specified sequence of 4 sc and 1 dc three times. Work 12 sc, then repeat the sequence on the opposite end. (60 stitches)
Round 7: Work 12 sc, then repeat the specified sequence of 1 dc and 5 sc three times. Work 12 sc, then repeat the sequence on the opposite end. (66 stitches)
Round 8: Work 12 sc, then repeat the specified sequence of 6 sc and 1 dc three times. Work 12 sc, then repeat the sequence on the opposite end. (72 stitches)
Round 9: Work 12 sc, then repeat the specified sequence of 1 dc and 7 sc three times. Work 12 sc, then repeat the sequence on the opposite end. (78 stitches)
Round 10: Work 12 sc, then repeat the specified sequence of 8 sc and 1 dc three times. Work 12 sc, then repeat the sequence on the opposite end. (84 stitches)
Round 11: Work 1 sc in every stitch around. (84 stitches)
Tips for a Neat, Flat Base
As you work, lay the base on a flat surface every few rounds to check its shape. The edges should remain relatively flat rather than curling or becoming wavy.
If the base begins to distort, check your stitch count and tension before continuing. The original pattern suggests adjusting the increase placement, but the stitch counts and increase sequences should be verified before making those changes.
Step 2: Crochet the Basket Sides
Once the base is complete, you can begin building the sides.
Continue working around the oval without adding any more increases for nine rounds.
For the first round of the sides, work into the back loop only. This creates a defined ridge between the base and the walls of the basket.
For the remaining rounds, continue with the same stitch used for the base, maintaining consistent tension throughout.
As you work, the sides should gradually rise from the oval foundation. Because T-shirt yarn is thick, take your time and check that the walls remain even.
Tip: Use stitch markers to identify the beginning of each round. They are especially helpful when working in a continuous spiral.
Step 3: Add the Handles
The handles are created by chaining across sections of the basket and skipping stitches to leave openings.
Follow the instructions below for the handle round.
Handle Round
Work in the following sequence:
- Work 34 sc.
- Chain 8.
- Skip 5 stitches from the previous round.
- Work 36 sc.
- Chain 8.
- Skip 5 stitches from the previous round.
- Work 4 sc.
Following Round
Continue around the basket as follows:
- Work 34 sc.
- Work 8 sc around the first chain space.
- Work 36 sc.
- Work 8 sc around the second chain space.
- Work 4 sc.
Finish off as instructed in the original pattern.
Important pattern note: The handle instructions should be checked against the actual stitch count and basket circumference before crocheting. The listed sections and skipped stitches do not clearly reconcile with the stated total of 84 stitches, so the handle placement may need correction.
For a decorative basket, make sure both handles are positioned evenly and that the surrounding stitches are secure. Do not assume crocheted handles provide sufficient support for carrying an infant.
Step 4: Crochet the Bonnet
The bonnet gives the basket its distinctive Moses-basket appearance. It is shaped over the 36 stitches between the handles, with decreases gradually narrowing the fabric.
According to the original instructions, the bonnet is worked in rounds or rows, with the yarn cut at the end of each round so that the work consistently faces the right side.
Because the bonnet shaping uses several decreases, keep track of your stitch count after each row.
Bonnet Instructions
Rounds 1–4: Work 36 sc.
Round 5: Ch 1, work 11 sc, decrease, 12 sc, decrease, 11 sc. (34 stitches)
Round 6: Ch 1, work 10 sc, decrease, 5 sc, decrease, 6 sc, decrease, 10 sc. (31 stitches)
Round 7: Ch 1, work 8 sc, decrease, 6 sc, decrease, 6 sc, decrease, 8 sc. (28 stitches)
Row 8: Ch 1, work 11 sc, decrease, 4 sc, decrease, 11 sc. (26 stitches)
Row 9: Ch 1, work 5 sc, decrease, 4 sc, decrease, 4 sc, decrease, 4 sc, decrease, 5 sc. (22 stitches)
Row 10: Ch 1, work 6 sc, decrease, 4 sc, decrease, 3 sc, decrease, 6 sc. (19 stitches)
Row 11: Ch 1, work 5 sc, decrease, 3 sc, decrease, 3 sc, decrease, 5 sc. (16 stitches)
Round 12: Ch 1, work 4 sc, decrease, 2 sc, decrease, 3 sc, decrease, 4 sc. (13 stitches)
Round 13: Ch 1, work 3 sc, decrease, 1 sc, decrease, 1 sc, decrease, 1 sc, decrease, 3 sc. (9 stitches)
Round 14: Work the 9 stitches together as indicated in the original pattern, then finish off and weave in the loose ends.
A Note About the Bonnet
The stitch sequences and stated totals in the original bonnet instructions do not consistently match. Some rounds also switch between rounds and rows, which can affect the shape.
Before publishing or following this section, verify the stitch counts and clarify whether the bonnet is worked flat or in joined rounds. The instructions above preserve the supplied sequence rather than silently changing the pattern.
Step 5: Finish the Edges
Once the bonnet is complete, work a final round of single crochet around its edge, as suggested in the original pattern.
This gives the edge a cleaner appearance and helps the finished piece look more polished.
Weave in any remaining loose ends using a yarn needle. Check the entire project for loose strands, uneven stitches, or areas that need tidying.
For a decorative basket, you can also personalize the finished look with a matching blanket or a simple fabric lining. Any accessories intended for use around a sleeping infant should be selected according to current safe-sleep guidance.
Ideas for Personalizing Your Crochet Moses Basket
One of the nicest things about handmade projects is that you can adapt the colors and finishing details to suit your own style.
Here are a few ideas to consider:
- Choose a neutral color: Cream, beige, gray, and soft brown shades create a simple, modern look.
- Try a two-tone design: Use one color for the base and another for the sides.
- Make a matching blanket: A coordinating crochet blanket can complete a nursery gift set.
- Add a removable decorative lining: Choose a fabric that complements the yarn and can be removed for cleaning.
- Match the nursery decor: Pick colors that work well with the room’s existing furniture and accessories.
Keep decorations simple, particularly if the basket will be displayed near a baby. Avoid small detachable embellishments that could become choking hazards.
Important Safety Considerations
A handmade crochet basket can be beautiful, but appearance and firmness alone do not establish that it is safe for an infant.
This pattern does not specify a tested structural frame, a suitable mattress, load limits, or verified handle strength. Therefore, the finished crochet basket should be used for storage or decoration rather than as a sleeping space or a carrier for a baby.
For infant sleep, use a separate sleep product that meets the applicable safety standards, with a firm, flat mattress and a fitted sheet, and follow current safe-sleep recommendations. Never leave a baby unattended in a decorative basket.
Final Thoughts
Crocheting a Moses-basket-inspired design is a rewarding way to explore a different kind of project. The thick T-shirt yarn gives the basket a contemporary appearance, while the oval shape and bonnet add a traditional touch.
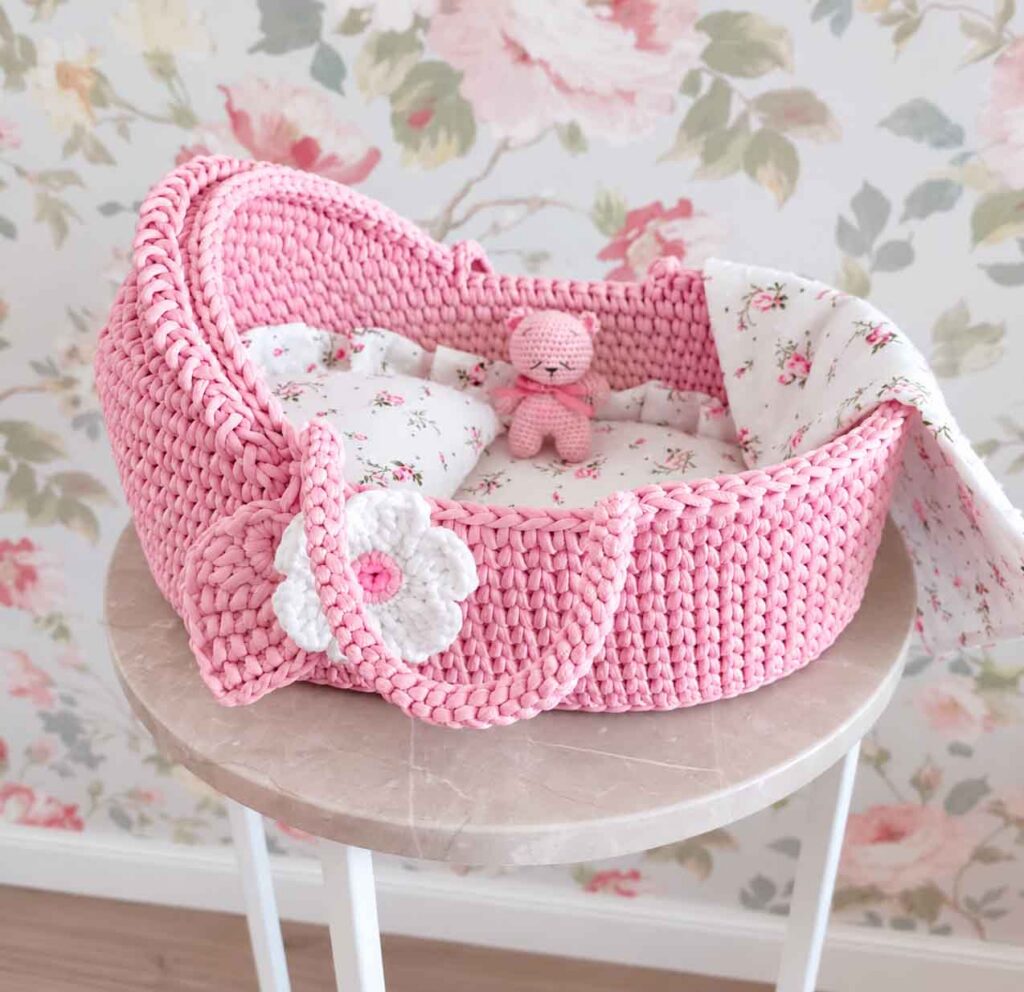
Crochet Moses Basket Pattern
Whether you’re making it to decorate a nursery, organize baby essentials, or create a thoughtful handmade gift, you can customize the colors and finishing details to make it your own.
Take your time with the shaping, check your stitch counts as you go, and enjoy watching the project come together one round at a time.

