

 soofha
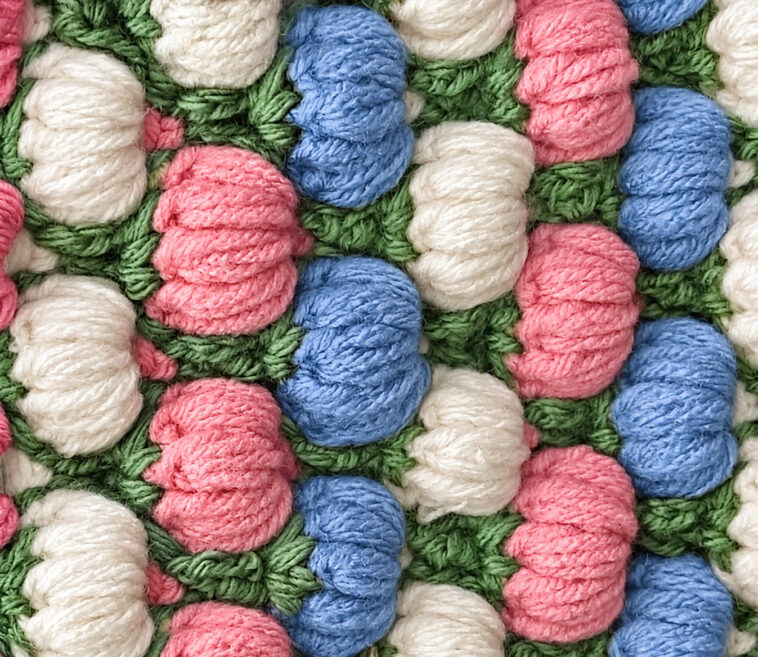
Welcome to Soofha, your cozy place for crochet inspiration, creative projects, and beautiful handmade ideas. Today, we’re taking a closer look at the Crochet Pumpkin Stitch, a wonderfully textured design that creates rounded, raised sections reminiscent of rows of little pumpkins.
This charming stitch is perfect for autumn-inspired crochet, but you certainly don’t have to wait for fall to enjoy it. Use it for blankets, scarves, cushions, baby projects, home décor, and many other handmade creations.
Although the finished texture looks intricate, the stitch becomes much easier once you understand its repeating rhythm. So grab your favorite yarn, pick up your crochet hook, and let’s explore this beautiful stitch together.
What Is the Crochet Pumpkin Stitch?
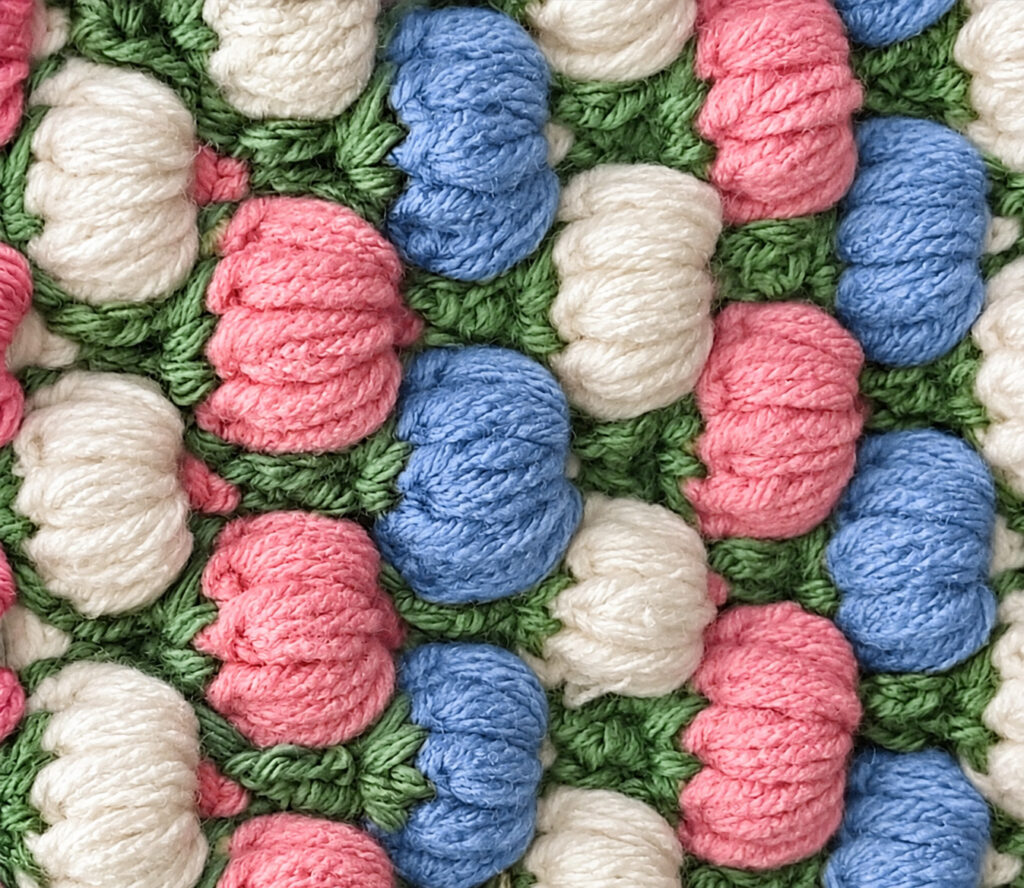
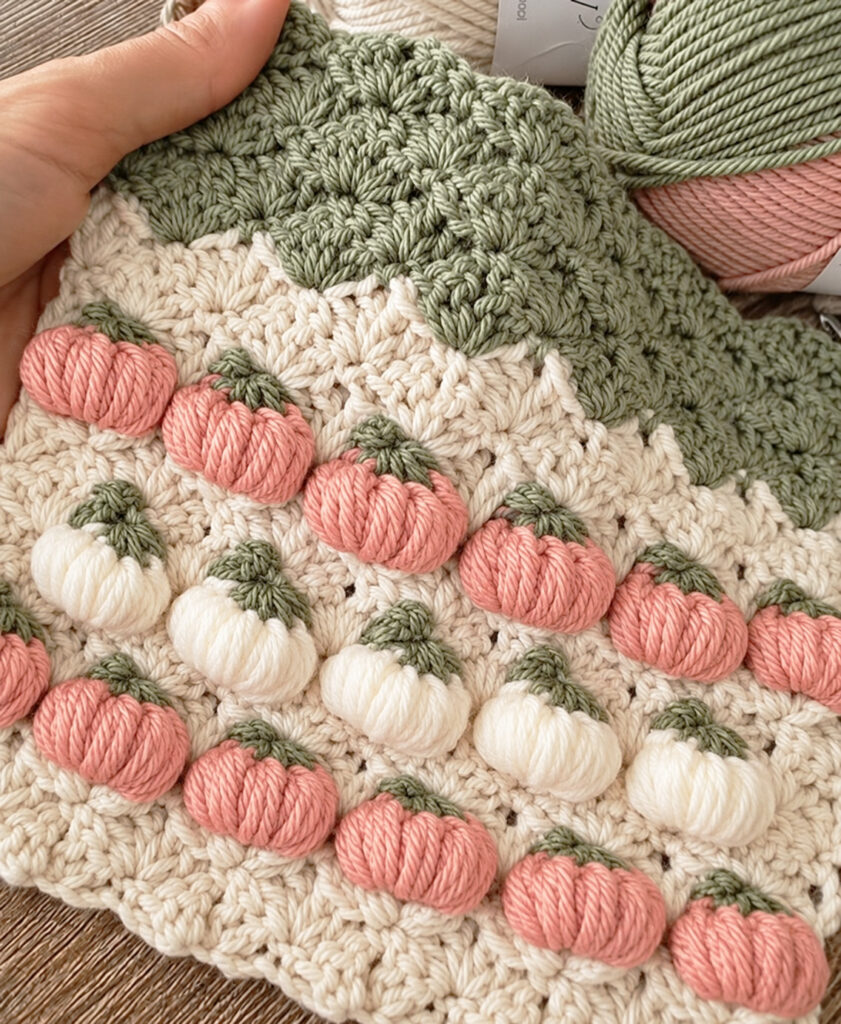
The Pumpkin Stitch is a dimensional crochet technique that produces rounded, raised sections across the fabric. The repeated texture gives the finished piece a soft, almost three-dimensional appearance, similar to a collection of small pumpkins sitting side by side.
Its cozy texture makes it especially attractive for seasonal projects, rustic home décor, and warm accessories.
You can use this stitch for:
- Crochet blankets
- Scarves and cowls
- Pillow covers
- Baby blankets
- Hats
- Table runners
- Fall decorations
- Tote bags
- Mug cozies
- Decorative home accessories
One of its biggest advantages is its versatility. Change the yarn and colors, and the same stitch can create completely different looks.
Crochet Pumpkin Stitch
Crochet Skill Level
Beginner to adventurous beginner
If you already know the basics of crochet, you’ll have a good starting point for learning this stitch.
It helps to be comfortable with:
- Chain stitches
- Single crochet
- Double crochet
- Working into previous stitches
- Maintaining even tension
- Counting stitches
Don’t let the detailed appearance intimidate you. Like many textured crochet designs, the stitch may seem complicated when you first look at it, but repetition quickly makes the movements more natural.
Materials You’ll Need
For practicing the Pumpkin Stitch, gather a few basic crochet supplies.
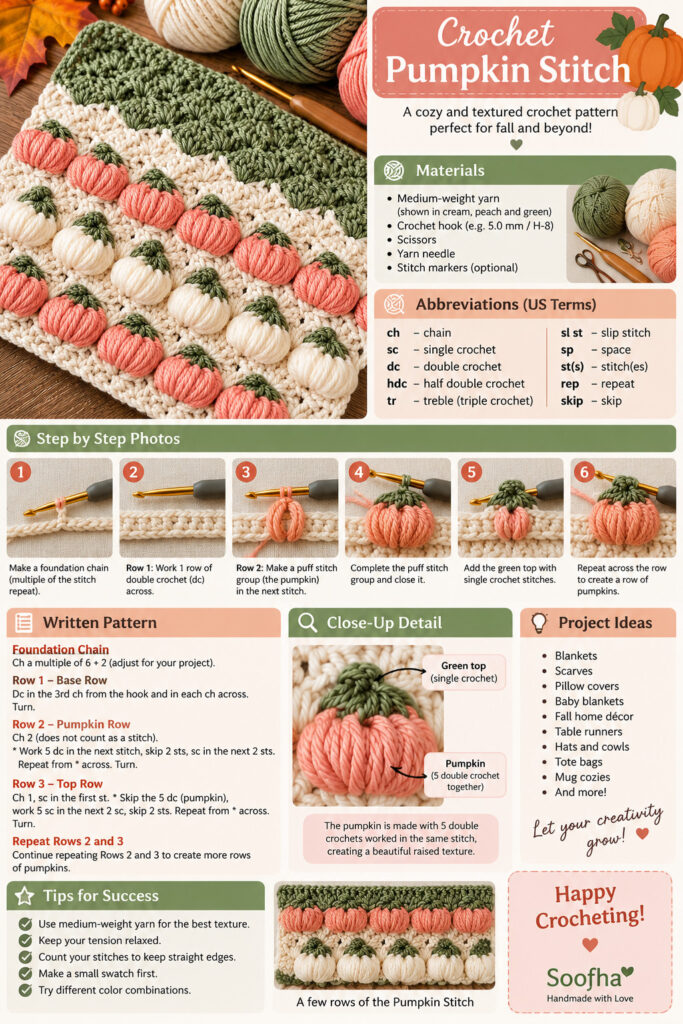
Materials
- Medium-weight yarn
- Crochet hook appropriate for your yarn
- Scissors
- Yarn needle
- Stitch markers, optional
A smooth, medium-weight yarn is a great choice when learning because it makes the individual stitches easier to see.
For your first swatch, consider using a light or neutral shade. Once you understand the stitch, you can experiment with richer autumn colors and contrasting combinations.
Before You Start
Before beginning your project, take a moment to prepare your yarn and workspace.
Keep your hands relaxed and avoid pulling the yarn too tightly. Textured stitches need enough space for the loops and raised sections to develop properly.
If your foundation chain tends to become tighter than the rest of your work, try making the chain with a slightly larger hook. You can then switch back to your main hook for the following row.
This simple technique can help keep the bottom edge from becoming too narrow.
Understanding the Pumpkin Texture
The distinctive appearance of this stitch comes from repeating groups of crochet stitches to build height and dimension.
As the rows progress, the raised areas begin to stack and create the characteristic rounded texture.
You may notice that your first few rows don’t immediately look like pumpkins. That’s completely normal.
Textured crochet often needs several rows before the overall design becomes obvious. Keep working the repeat, and the pattern will gradually begin to reveal itself.
Make a Practice Swatch First
Before starting a large blanket or another major project, it’s a good idea to make a small sample.
Try creating a foundation chain of approximately 25–35 chains for practice.
A small swatch allows you to:
- Learn the stitch repeat
- Check your tension
- See how your yarn behaves
- Practice keeping the edges straight
- Decide whether you like the finished texture
It’s much easier to correct mistakes in a small sample than several rows into a large blanket.
Row 1 – Creating the Foundation
Begin with your foundation chain and work the first row evenly.
This initial row provides the base for the textured pattern that follows, so take your time and make sure your stitches are consistent.
Pay particular attention to the edges.
Counting your stitches at the end of the row can help prevent accidental increases or decreases.
And remember, counting isn’t just for beginners. Experienced crocheters count their stitches too!
Row 2 – Introducing the Texture
The second stage is where the fabric begins to develop its characteristic texture.
As you work through the repeating stitch sequence, raised sections will start appearing across the row.
At first, the texture may look somewhat uneven or difficult to recognize. Don’t worry.
Continue working additional rows. As the pattern builds, the rounded sections become increasingly visible.
This is one of the most satisfying parts of textured crochet—the design slowly emerges from what initially looks like a simple collection of stitches.
How to Keep Your Edges Straight
Textured crochet can sometimes make it difficult to identify the first and last stitches of a row.
To keep your project even:
- Count your stitches regularly.
- Use stitch markers at the beginning and end of rows if helpful.
- Lay your work flat occasionally to check its shape.
- Pay special attention to the first and last stitch.
- Avoid accidentally working into spaces that aren’t part of the pattern.
Keeping the stitch count consistent from row to row will make your finished project much easier to assemble and finish.
Maintaining Even Crochet Tension
Your tension plays an important role in the final appearance of the Pumpkin Stitch.
If your stitches are too tight, the raised texture may become compressed and the fabric can feel stiff.
If your tension is extremely loose, the texture may become too open.
Aim for a comfortable, consistent tension throughout the project.
If your hands begin to feel tired or tense, take a short break. Stretch your fingers and wrists before continuing.
Crochet should be enjoyable and relaxing.
Choosing the Best Colors
Color can completely transform the appearance of this textured stitch.
For an autumn-inspired project, consider combinations such as:
- Burnt orange
- Soft pumpkin
- Cream
- Sage green
- Olive green
- Warm beige
- Terracotta
- Chocolate brown
For a softer farmhouse style, cream combined with muted green, dusty pink, or warm tan can create a beautiful handmade look.
Solid colors are excellent for showing off the stitch definition, while two-color or multicolor combinations can emphasize the individual textured sections.
Crochet Pumpkin Stitch Project Ideas
Once you’ve practiced the stitch, there are plenty of projects you can create.
Pumpkin-Inspired Blankets
A Pumpkin Stitch blanket would make a beautiful autumn throw. Use cream as the background with orange and green accents for a seasonal design.
Cozy Scarves
The raised texture gives scarves extra visual interest and warmth without requiring complicated colorwork.
Decorative Pillow Covers
Create a textured cushion cover for your sofa, reading chair, or bedroom.
Fall Table Décor
Use the stitch for table runners, placemats, or small decorative pieces that bring a handmade autumn feeling to your home.
Baby Blankets
Choose soft yarn and gentle colors to create a cozy textured baby blanket.
Hats and Accessories
The stitch can also be incorporated into hats, cowls, bags, and other accessories when the fabric structure suits your chosen project.
Blocking Your Finished Crochet
Once your project is complete, gently weave in all loose ends.
If the finished piece needs shaping, light blocking can help even out the fabric.
However, be careful not to flatten the raised sections too aggressively. The dimensional texture is one of the main features that makes the Pumpkin Stitch special.
Allow the fabric to dry naturally after blocking and handle the raised stitches gently.
Tips for Better Results
Keep these helpful tips in mind while practicing:
- Start with a small swatch.
- Use a smooth yarn when learning.
- Choose a light color so you can clearly see the stitches.
- Keep your foundation chain loose.
- Count stitches regularly.
- Mark the beginning of rows if necessary.
- Maintain relaxed tension.
- Don’t worry if the first few rows look unusual.
- Give the texture time to develop.
- Experiment with colors after mastering the stitch.
Most importantly, don’t rush.
A textured crochet stitch becomes much easier when your hands learn the movement through repetition.
PDF PATTERN
Why We Love the Pumpkin Stitch
There is something especially appealing about crochet stitches with strong texture. They add depth to even the simplest project and make handmade pieces feel extra special.
The Pumpkin Stitch has a wonderfully cozy character. Its raised shapes can create a playful seasonal effect, while different yarn colors can make the same technique look modern, rustic, elegant, or whimsical.
Once you become familiar with the stitch sequence, it can become one of those relaxing patterns you return to whenever you want an enjoyable crochet project.
Crochet Pumpkin Stitch PDF Pattern
If you prefer working from a printable pattern, a PDF version can be especially convenient. You can keep it beside your crochet supplies and refer to the instructions while working through your swatch or project.
For beginners, I recommend practicing the stitch on a small sample before committing to a full-size blanket.
This gives you a chance to become familiar with the texture and determine whether your chosen yarn and hook combination produces the look you want.
Video Tutorial
A video demonstration can be very helpful when learning a textured crochet stitch because you can watch the hook placement and stitch sequence in real time.
If the first tutorial you find doesn’t match the way you prefer to learn, try another demonstration. Different crocheters often explain the same technique in different ways, and sometimes a second explanation makes everything suddenly click.
Final Thoughts
The Crochet Pumpkin Stitch is a beautiful choice when you want to add dimension, warmth, and personality to your handmade projects.
Its rounded texture is particularly lovely for autumn designs, but the stitch can easily be adapted for projects throughout the year. Try soft neutrals for a minimalist look, earthy greens and creams for farmhouse décor, or bright colors for a playful modern blanket.
And remember, your first attempt doesn’t have to be perfect.
Every crocheter has made uneven stitches, lost count, missed a stitch, or unraveled a few rows. That’s simply part of learning.
Take your time, enjoy the rhythm of the hook and yarn, and let each row teach you something new.
Happy crocheting from all of us at Soofha! 🧶🎃
We hope this Pumpkin Stitch inspires you to pick up your hook and create something warm and beautiful.

