

 soofha
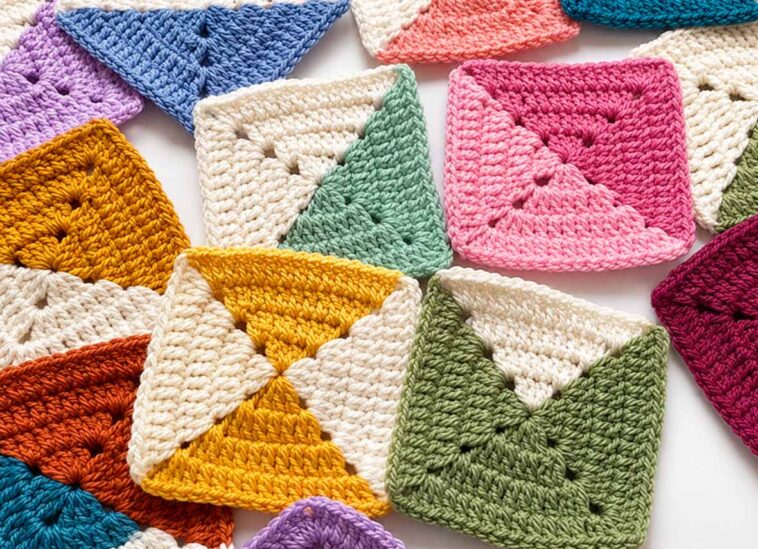
Hello, friends and fellow crochet lovers! Welcome back to our cozy corner of crochet inspiration. Today, we’re taking a closer look at a classic technique with a beautiful twist: the Solid Granny Square.
Granny squares are among the most versatile crochet motifs, and the solid version is especially useful when you want a design with a more filled-in appearance and fewer open spaces. These squares can be used to create blankets, bags, pillows, cardigans, jackets, scarves, home décor, and so many other handmade projects.
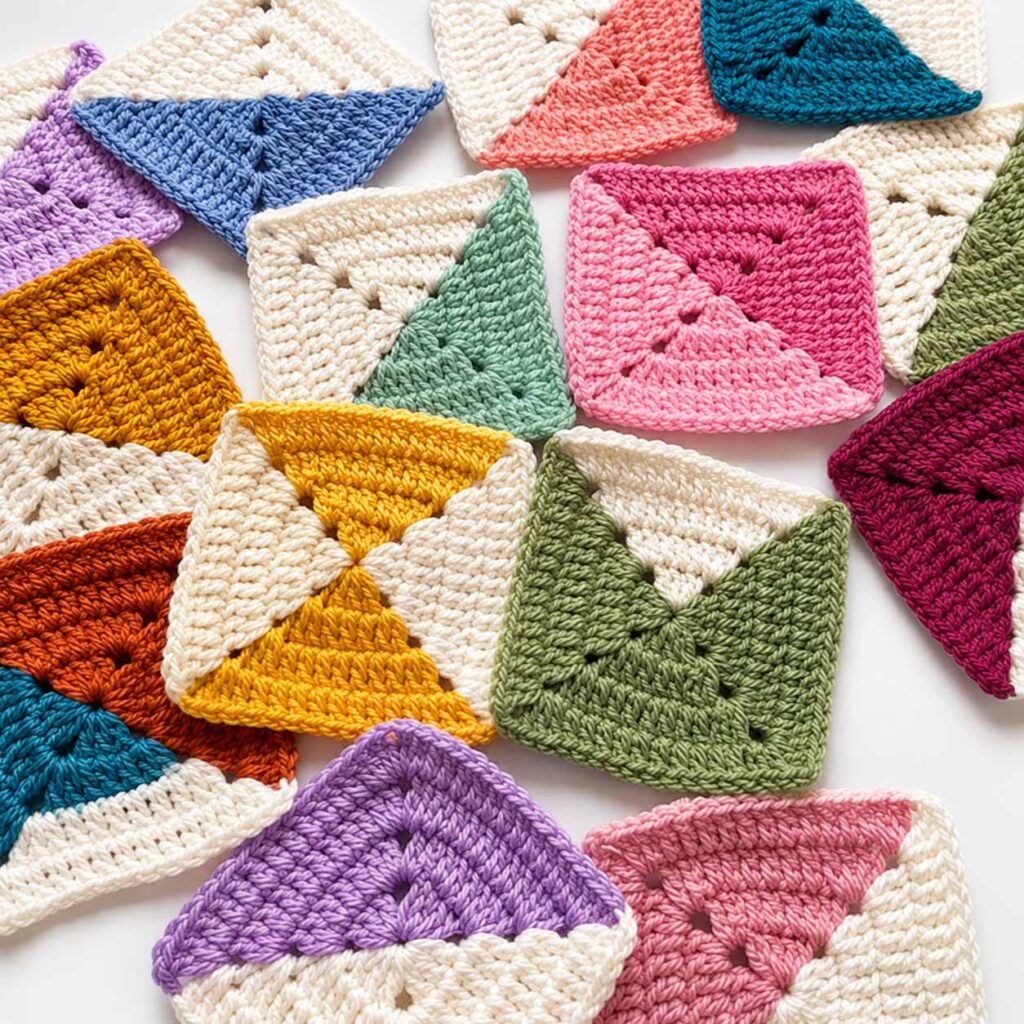
One of the best things about the solid granny square is how easy it is to customize. You can make your squares in a single color for a clean and elegant look, use two or three shades for a coordinated design, or combine lots of different colors for a cheerful, colorful project. There really are no limits when it comes to choosing your palette.
Why You’ll Love the Solid Granny Square
If you’re new to crochet, this is a wonderful pattern to add to your collection. At first glance, the construction may seem a little unusual because the motif begins with a small circular center before gradually becoming square-shaped. Once you understand how the stitches and corners are formed, however, the pattern becomes quite repetitive and enjoyable.
I especially love how quickly these squares can grow. After making the first one, you may find yourself wanting to make another—and another! They are perfect for practicing your tension, learning how increases work, and becoming more comfortable with working crochet stitches around a central motif.
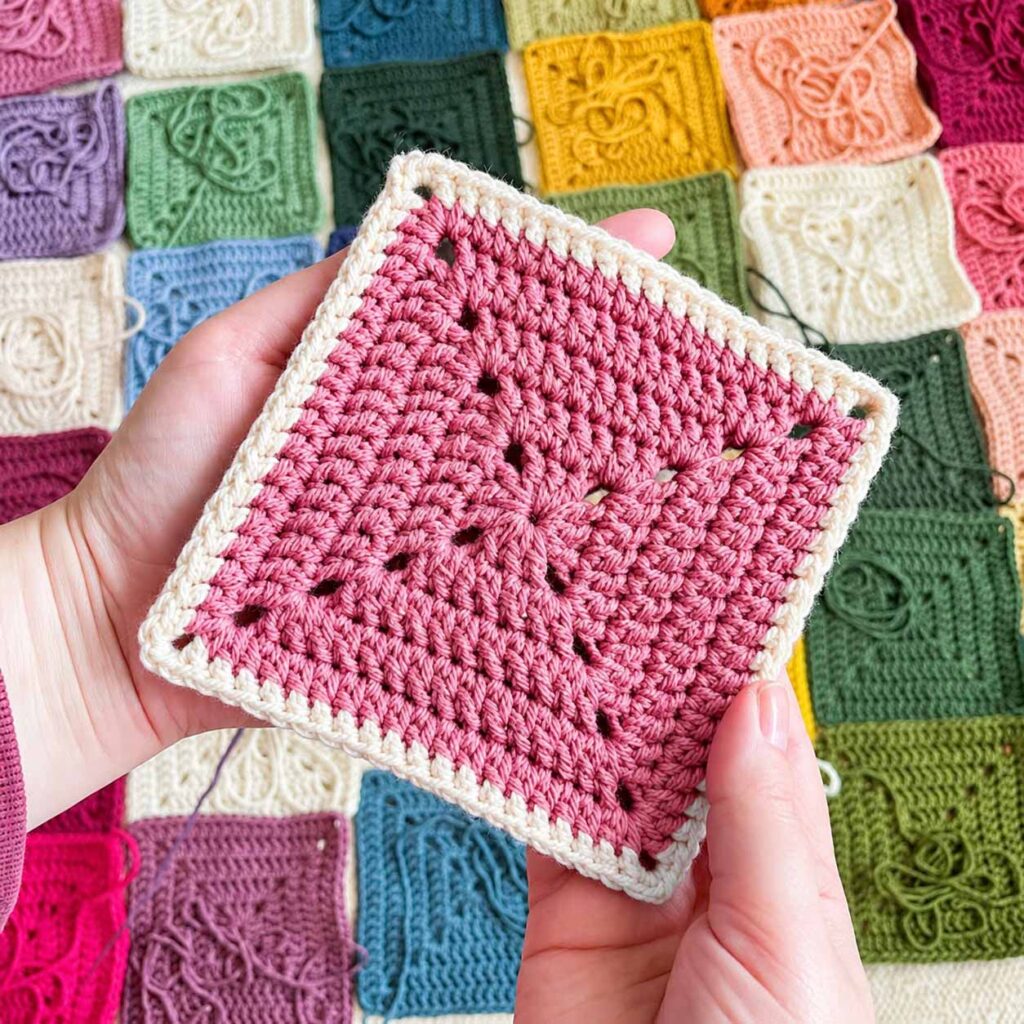
The solid center also gives the square a different appearance from traditional open granny squares. Because there are fewer gaps, it works beautifully for projects where you want a denser fabric.
Solid Granny Square
Choosing Your Yarn Colors
Color selection is completely up to you. That’s part of the fun!
You can make:
- Single-color squares for a simple, classic appearance
- Two-color squares for a subtle contrast
- Three-color combinations for a more decorative effect
- Multicolored squares for a bright and playful blanket
- Scrap-yarn squares for a budget-friendly project
Try arranging your finished squares in different combinations before joining them together. Sometimes an unexpected color combination can become the most beautiful part of the finished project.
This pattern is also a great way to use leftover yarn from previous crochet projects. Small amounts of yarn can be turned into individual squares and eventually combined into a larger handmade creation.
How the Solid Granny Square Is Constructed
The construction is particularly interesting because the motif begins as a circle. During the following rounds, increases are strategically placed to transform that circle into a square.
The center provides a solid foundation, while the corners are created by working groups of double crochet stitches separated by chain spaces.
Once you understand the corner structure, you can continue adding rounds to make your square as small or large as you like.
You can even stop after only a few rounds if you want small motifs for coasters, appliqués, or decorative pieces, or continue working additional rounds for larger squares suitable for blankets and garments.
Materials
For this project, you’ll need:
- Yarn in your preferred color or colors
- H/5.00 mm crochet hook
- Yarn needle
- Scissors
The amount of yarn required will depend on the finished size of your square and the project you plan to make.
As a general guide, one skein can produce several smaller squares, depending on the yarn weight, square size, and your individual tension. Keep your leftover yarn—you can always use it for another square or a future scrap-yarn project.
Crochet Abbreviations
The pattern uses standard US crochet terminology.
- mc – magic circle / magic ring
- ch – chain
- dc – double crochet
- hdc – half double crochet
- st – stitch
- sl st – slip stitch
- sp – space
Solid Granny Square – Written Pattern
Round 1
Begin with a magic circle (mc).
Chain 2. This chain does not count as a stitch.
Work 10 double crochet (dc) stitches into the magic circle.
Join the round with a slip stitch (sl st) into the first double crochet.
You should have 10 stitches at the end of the round.
Pull the magic circle closed carefully to create a neat center.
Round 2
Chain 2. Again, this chain does not count as a stitch.
Work 2 double crochets into each stitch around.
Continue around the entire circle, placing two double crochets into every stitch.
Join with a slip stitch into the first stitch.
You should now have 20 stitches.
Round 3
For this round, chain 3. The chain 3 counts as the first double crochet.
Work the following stitches into the same stitch:
1 dc, ch 2, 2 dc
This creates one corner of the square.
Next, work:
1 dc and 1 hdc in each of the next 2 stitches.
Continue around the motif using the following sequence:
(2 dc, ch 2, 2 dc) in the next stitch, then 1 dc and 1 hdc in each of the next 2 stitches.
Repeat this sequence around the entire round.
When you reach the beginning, join with a slip stitch to the top of the starting chain 3.
At this point, the circular center should have transformed into a recognizable square shape.
Round 4 and Beyond
Continue building the square by following the same general corner-and-side structure established in the previous round.
Work additional rounds until your square reaches the size you want.
You can make small squares for accessories and home décor, medium squares for bags or pillows, or continue adding rounds to create large motifs for blankets and garments.
Remember to maintain consistent tension as you work. Even tension will help your square remain flat and give the finished motif a more polished appearance.
Tips for Making a Beautiful Solid Granny Square
1. Keep Your Tension Consistent
Try to maintain the same tension throughout the entire square. If your stitches become too tight or too loose, the motif may begin to curl or become uneven.
2. Check Your Corners
The chain spaces in the corners are important because they help the square maintain its shape. Make sure your corner stitches are worked into the correct spaces.
3. Count Your Stitches
If your square starts looking uneven, count your stitches before continuing. Missing or accidentally adding a stitch can cause the edges to become distorted.
4. Block Your Squares
For a professional-looking finished project, consider blocking your squares once they are complete. Blocking can help straighten the edges, even out the stitches, and make joining the motifs much easier.
5. Experiment With Color
Don’t be afraid to experiment! Try neutral combinations for a sophisticated blanket, bright colors for a cheerful children’s project, or earthy shades for a rustic handmade look.
What Can You Make With Solid Granny Squares?
The possibilities are practically endless.
Here are a few ideas:
- Granny square blankets
- Baby blankets
- Crochet pillows
- Tote bags
- Shoulder bags
- Cardigans
- Jackets
- Vests
- Scarves
- Cowls
- Table runners
- Placemats
- Coasters
- Wall decorations
- Cushion covers
- Throws
- Crochet baskets
You can also use smaller squares as decorative appliqués or incorporate them into larger crochet designs.
One of the reasons granny squares remain so popular is that you can make individual motifs whenever you have a few spare minutes and join them together later.
Video Tutorial
If you are a visual learner, following a video tutorial can make the construction of the square much easier to understand. Watching the stitches being worked in real time can help you see exactly where the hook should go and how the corners are formed.
A video tutorial by the Jonna Martinez channel can be used as an additional visual reference while practicing the pattern.
For the best results, keep your yarn and crochet hook nearby while watching. Pause the video whenever necessary and work through each step at your own pace.
Solid Granny Square Graphic
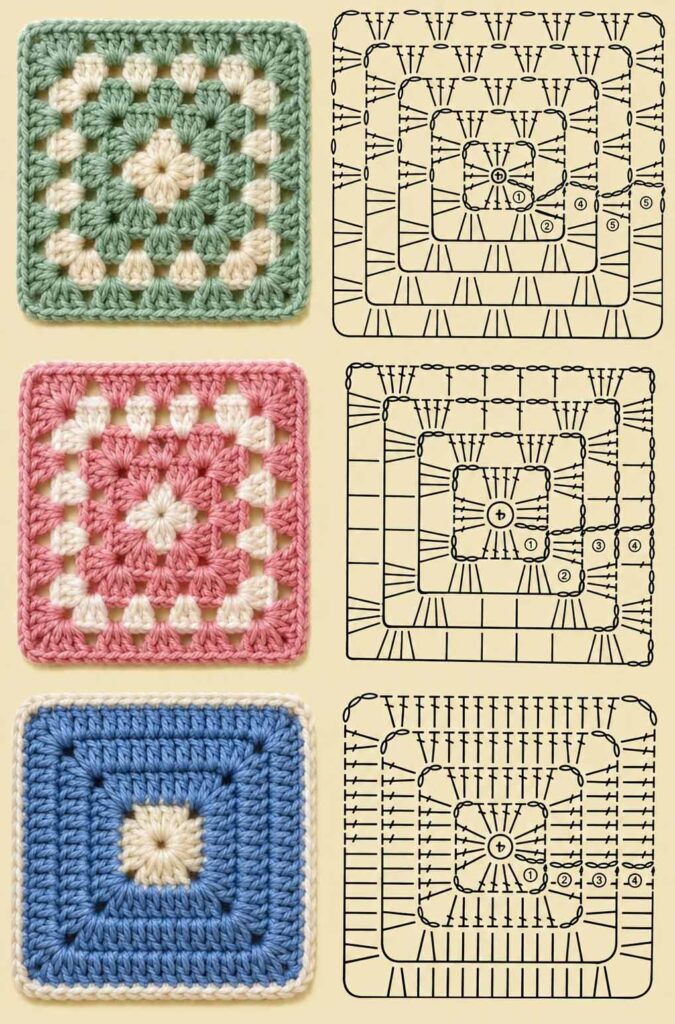
A visual stitch graphic can also be helpful when learning this pattern. Use the written instructions together with a crochet chart or step-by-step visual guide to become familiar with the stitch placement and construction.
Once you have completed your first square, the process becomes much easier to remember.
Ways to Use Your Finished Squares
Your finished solid granny squares can be used individually or joined together to create a larger project.
For example, several small squares can make a colorful blanket, while fewer larger squares can be joined to create a modern crochet bag or garment.
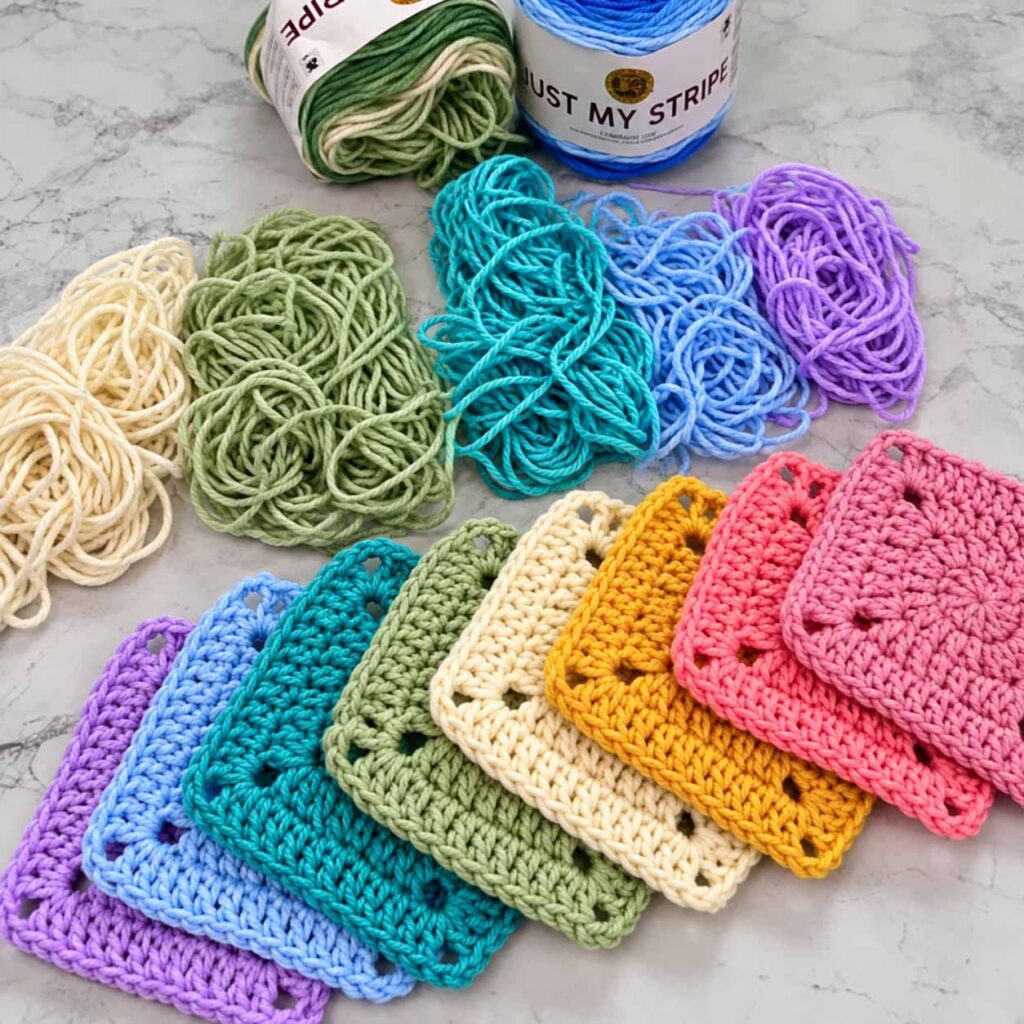
They can also be used as simple coasters. A set of handmade crochet coasters makes a charming addition to a coffee table and can be customized to match almost any décor.
If you have plenty of leftover yarn, consider making each square in a different color. Once all the motifs are finished, arrange them on a flat surface and experiment with different layouts before joining them.
Final Thoughts
The Solid Granny Square is a wonderful crochet project for both beginners and experienced crocheters. Its simple construction, flexible sizing, and endless color possibilities make it a motif worth learning.
What begins as a small circle gradually develops into a neat square, making the transformation especially satisfying. Once you understand the basic pattern, you can continue experimenting with colors, yarn types, sizes, and different project ideas.
So grab your favorite yarn, pick up your 5.00 mm crochet hook, and give this beautiful solid granny square a try. You may be surprised by how quickly the first square comes together—and how difficult it is to stop after making just one!
If you enjoyed this pattern, be sure to explore more granny square designs and crochet motifs for your next handmade project. Save this pattern for later, share it with your crochet friends, and most importantly, have fun creating something beautiful with your own hands.
Happy crocheting!

