

 soofha
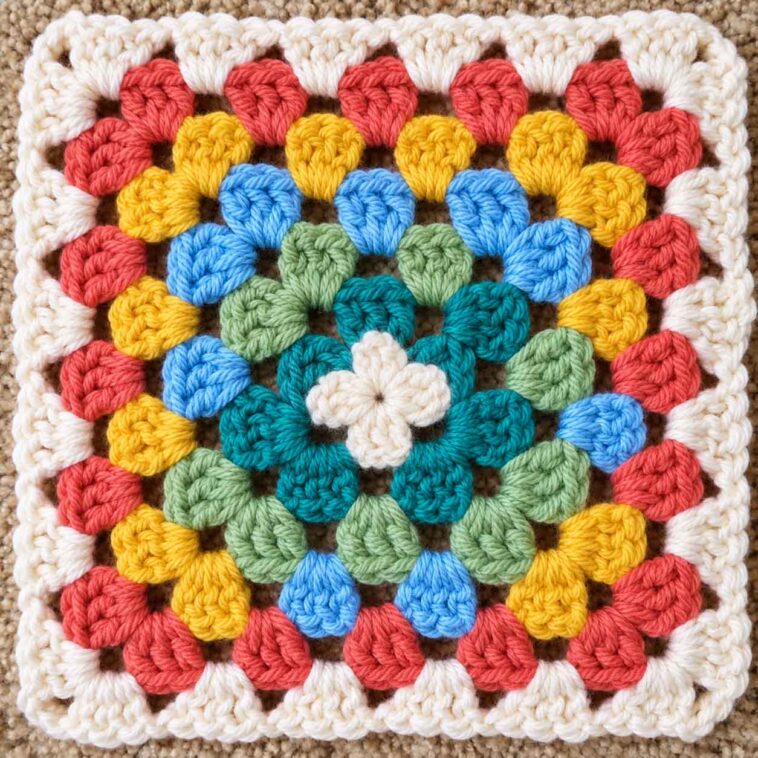
There are some crochet patterns that never seem to go out of style, and the classic granny square is definitely one of them. It’s simple enough for someone picking up a crochet hook for the first time, but it’s also a pattern that experienced crocheters return to again and again.
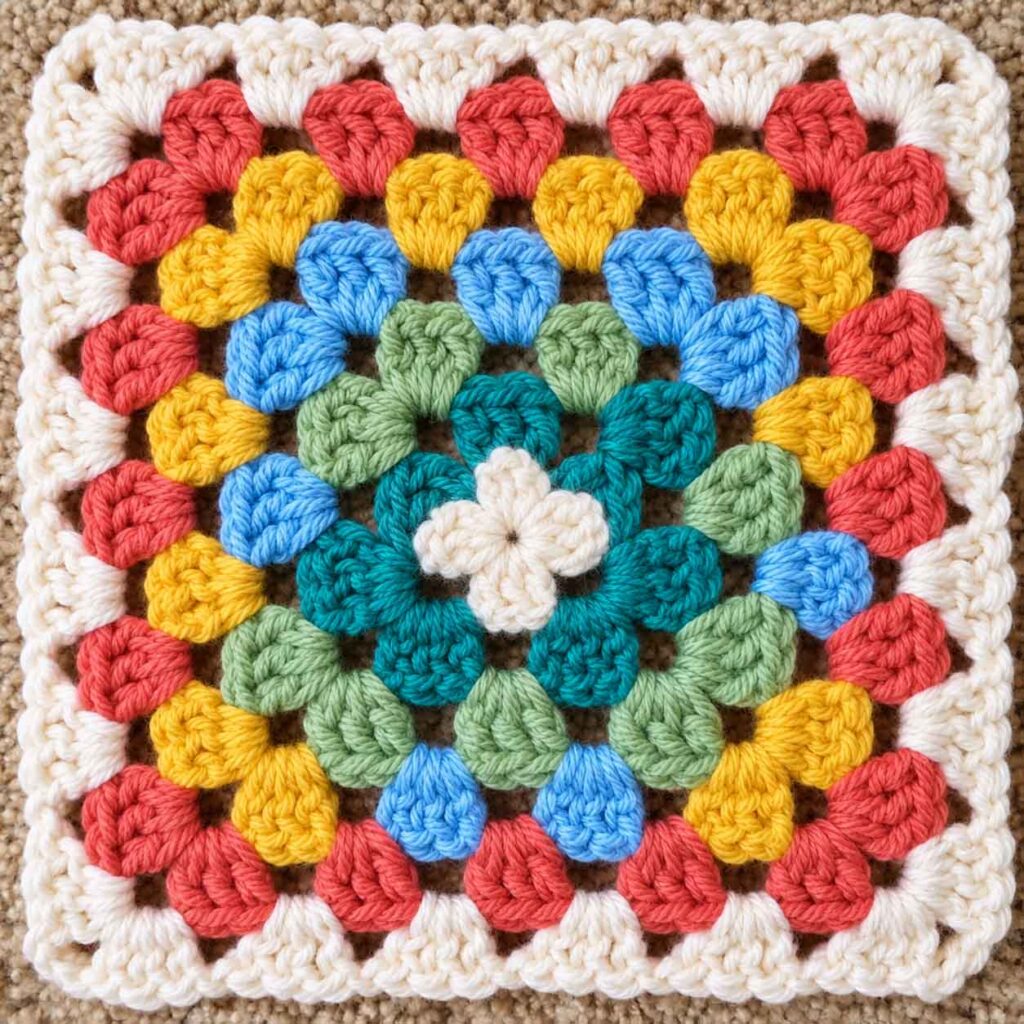
What makes granny squares so much fun is their versatility. You can keep things simple with one color, change colors every round, or use up leftover yarn from your stash to create a completely unique combination. Once you have a few squares made, they can be joined together to create blankets, pillows, bags, scarves, and all kinds of other projects.
The granny square became especially popular in the United States during the 1960s and 1970s, although its exact origins are difficult to trace. The name is often associated with grandmothers, who traditionally made these colorful little squares for blankets and other household items. Even today, there’s something wonderfully nostalgic about working a granny square.
If you’re new to crochet, this is a great pattern to practice your basic stitches and learn how a simple combination of stitches can grow into a beautiful square.
Crochet Abbreviations
Here are the abbreviations used in the pattern:
- Approx = Approximately
- Beg = Beginning
- Ch = Chain
- Dc = Double crochet
- Rep = Repeat
- Rnd(s) = Round(s)
- RS = Right side
- Sl st = Slip stitch
- Sp(s) = Space(s)
- St(s) = Stitch(es)
- Tog = Together
- WS = Wrong side
A Few Notes Before You Begin
Before starting the pattern, keep these details in mind:
- A ch 3 at the beginning of a row or round counts as a double crochet.
- A ch 6 at the beginning of a round counts as 1 dc and a ch-3 space.
- Unless the pattern says otherwise, join each round with a slip stitch to the 3rd chain of the ch-6.
Keeping these points in mind will make the pattern much easier to follow, especially when you get to the corners.
Classic Granny Square Pattern
Starting the Square
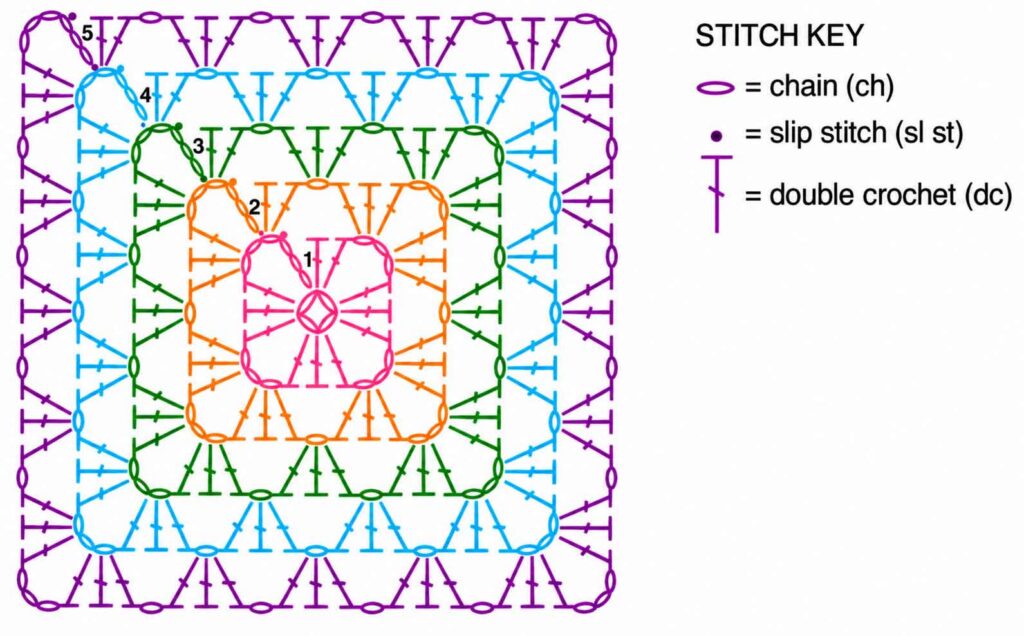
Using Color 1, chain 4. Join with a slip stitch to the first chain to form a ring.
1st Round
Chain 6.
Work (3 dc, ch 3) three times into the ring.
Then work 2 dc into the ring.
Join with a slip stitch.
You should now have the basic four-corner structure of your granny square.
2nd Round
Slip stitch into the ch-3 space.
Chain 6, then work 3 dc into the same ch-3 space.
Chain 1. Work (3 dc, ch 3, 3 dc) into the next ch-3 space.
Repeat from * two more times.
Chain 1, then work 2 dc into the first ch-3 space.
Join with a slip stitch.
3rd Round
Slip stitch into the ch-3 space.
Chain 6, then work 3 dc into the same ch-3 space.
Chain 1. Work 3 dc in the next ch-1 space. Chain 1. Work (3 dc, ch 3, 3 dc) in the next ch-3 space.
Repeat from * two more times.
Chain 1, work 3 dc in the last ch-1 space, then chain 1.
Work 2 dc in the first ch-3 space.
Join with a slip stitch.
4th and 5th Rounds
Slip stitch into the ch-3 space.
Chain 6, then work 3 dc into the same ch-3 space.
Work (ch 1, 3 dc) in each ch-1 space until you reach the next ch-3 corner space.
Chain 1, then work (3 dc, ch 3, 3 dc) in the next ch-3 space.
Repeat around the square, following the same sequence for each corner.
Repeat the indicated section twice more, then work through the final section as directed.
Finish the round with 2 dc in the first ch-3 space and join with a slip stitch.
Fasten off.
Tips for Making Your Granny Square
Choose a Yarn You Enjoy Working With
For a classic granny square, a smooth yarn is a great choice because it allows the stitches to show clearly. Acrylic, cotton, and cotton-blend yarns can all work beautifully.
If you’re making your first square, you may want to avoid very fuzzy or textured yarn. It can make it harder to see where you need to insert your hook.
Pick the Right Hook Size
Your yarn label will usually recommend a hook size, which is a good place to start. If you want a softer, more flexible square, try going up a hook size.
For a firmer square with tighter stitches, a smaller hook may work better.
The most important thing is to keep your tension fairly consistent so that the square stays even and doesn’t become too wavy.
Have Fun With Color
This is probably my favorite part of making granny squares.
You can make the entire square in one color for a simple, classic look, or change colors after every round. You can also use several shades from the same color family for a softer effect.
And don’t be afraid to use leftover yarn. Granny squares are perfect for combining small amounts of yarn that might otherwise sit unused in your stash.
Keep Your Corners Even
The ch-3 spaces create the corners of the square, so they are important for keeping the shape right. As you work each round, make sure you are placing the correct groups of stitches into the corner spaces.
If your square starts looking more like a circle or becomes too tight, check your corner stitches first.
What Can You Make With Granny Squares?
Once you get comfortable with this pattern, you’ll probably find yourself thinking of dozens of projects.
A collection of granny squares can be joined together to make a cozy blanket, baby blanket, pillow cover, tote bag, cardigan, vest, scarf, or even a colorful home accessory.
You can also experiment with the size of your squares. Make several small squares for a detailed design, or continue adding rounds to create larger squares that require less joining.
One of the nicest things about granny squares is that there really isn’t one “right” way to use them. The same basic pattern can look completely different depending on the yarn, colors, and number of rounds you choose.
Final Thoughts
The classic granny square is one of those crochet patterns worth learning and keeping in your collection. The stitches are straightforward, the construction is easy to understand once you get the hang of it, and there are so many ways to make the design your own.
Whether you’re crocheting your very first square or making your hundredth, there’s something satisfying about watching those little clusters of stitches grow into a neat, colorful square.
Grab your favorite yarn, pick a few colors, and give it a try. You may start with one granny square, but don’t be surprised if you end up wanting to make an entire blanket!

