 soofha
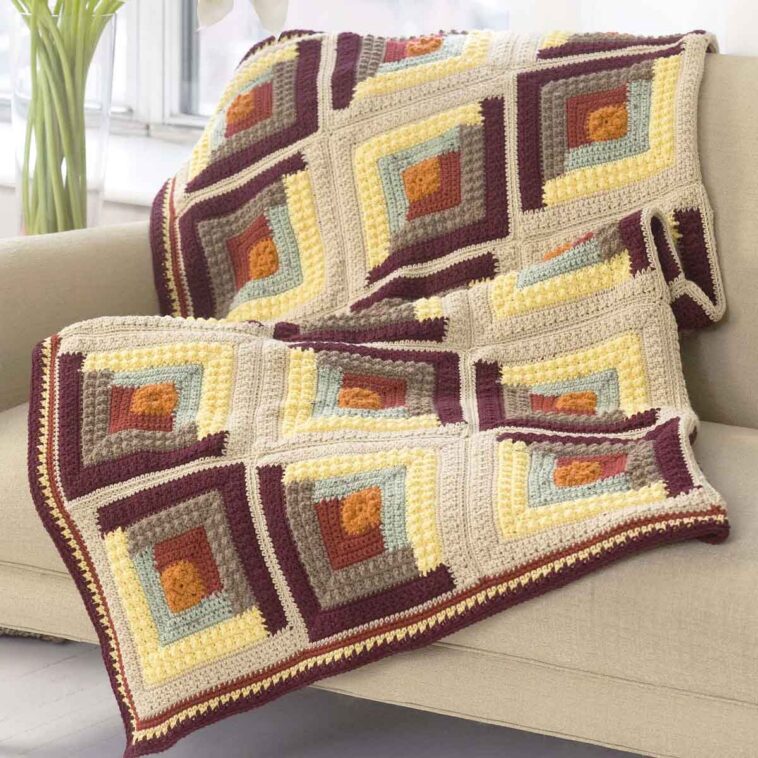
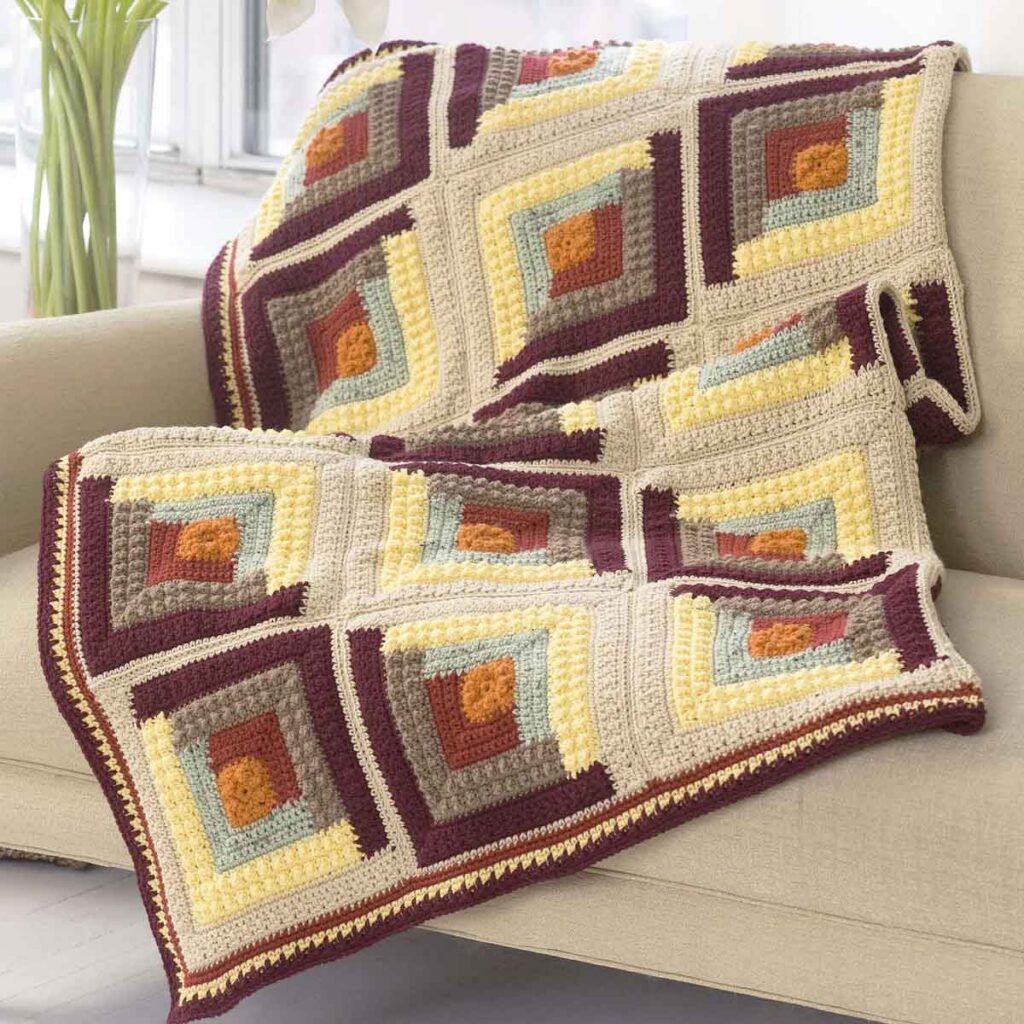
There’s something special about autumn colors in a crochet blanket. Pumpkin, chestnut, wheat, and warm cream look beautiful on their own, but the real magic happens when you bring them together. A little strip of pumpkin next to cream can really stand out, while the same shade paired with rust creates a softer, warmer look.
That’s part of the fun of making this Crochet Autumn Log Cabin Throw. You can experiment with different color combinations, work one section at a time, and watch the blanket grow into something completely your own.
The design is inspired by the traditional log cabin quilt block. In quilting, narrow strips of fabric are sewn around a small center square, gradually building a larger pattern. This crochet version uses the same idea, with rows of stitches forming those familiar stepped sections. The result is a beautiful blanket with plenty of texture and room to get creative with color.
You’ll find the free PDF pattern at the end of this post.
Choosing Colors for Your Autumn Throw
Before picking up your hook, spend a little time playing with your yarn colors. Autumn shades are especially lovely for this design, and even a small change in their placement can make the finished blanket look completely different.
For a classic fall combination, try oatmeal, copper, and walnut brown. These three shades have different levels of lightness, which helps each section stand out without looking too busy.
If you prefer something a little softer, cream, dusty olive, and warm taupe make a lovely combination. You could add a touch of russet near the center for a subtle autumn accent.
For a brighter look, consider pumpkin or marigold. Even a small section of a bold color can make a difference, especially when surrounded by more neutral shades.
Here’s a little tip: Before starting, place your yarn strands next to one another in the order you plan to use them. Sometimes two colors that look completely different in their skeins end up looking almost identical when crocheted into narrow strips.
Getting a Neat Start on Each Log
One part of log cabin crochet that can take a little practice is picking up stitches along the side of an existing section.
Unlike the top of a crochet stitch, where the familiar V shape makes it easy to see where your hook belongs, the row ends can be a little harder to identify. The exact placement also depends on the stitch you’re using.
Take a moment to lay your work flat before starting each new section. Look carefully at where the strip should begin and end, and place removable stitch markers at the corners. This makes it much easier to keep everything lined up.
If your pattern calls for 40 stitches along a long edge, try placing a marker halfway along that edge. You can then work approximately 20 stitches on each side of the marker. This helps distribute the stitches evenly instead of leaving too many for the final few inches.
After completing the first row, lay your work on a flat surface and check the edge.
- If the fabric starts to ripple, you may have picked up too many stitches.
- If the edge pulls inward, you may need a few more stitches.
- If it lies flat and looks even, you’re off to a good start!
Making these small adjustments early can save you a lot of frustration later.
Keeping Track of Your Progress
With several colors and sections to work on, it’s easy to lose track of where you stopped. This is especially true if you put your project away for a few days and come back to it later.
A couple of stitch markers can make a big difference. Keep one on the right side of your work so you always know which side you’re looking at. When you’re ready to put your crochet down, use another marker to show exactly where the next section begins.
It’s also helpful to write down which color you used for each strip. If you’re working with similar shades, such as cinnamon and copper, attach a small yarn sample beside each color name in your printed pattern.
Before starting another log, take a quick look at the edges you’ve already completed. Check the stitch count and make sure both corners are straight. A missed stitch might not seem like a big deal at first, but the next section will follow that uneven edge.
These little checks are particularly important as the blanket gets larger. Fixing a mistake in an outer section can mean pulling out much more work than you would have had to undo earlier.
Finishing Your Crochet Throw Beautifully
Once all your sections are finished, it’s time to take care of those loose yarn ends.
With a log cabin design, you’ll probably have quite a few ends to weave in because of all the color changes. Whenever possible, weave each end through stitches of the same color. This helps keep everything neat and prevents darker yarn from showing through lighter sections.
Pay special attention where dark shades meet cream or other pale colors. Turn the blanket over and check the front before trimming any excess yarn. Sometimes a strand that looks perfectly hidden on the back can peek through the stitches when the blanket is moved.
After securing all the ends, lay your throw flat and gently shape the corners. Follow the care instructions for your chosen yarn, especially if you plan to wash or block the finished blanket.
And now comes one of the best parts: seeing the finished color arrangement!
Drape it over the back of your favorite chair, and you’ll see just a few beautiful autumn stripes. Spread it across your lap, and all those little sections come together to reveal the full log cabin design.
Download the Free Crochet Autumn Log Cabin Throw Pattern
Ready to get started? The complete free Crochet Autumn Log Cabin Throw Pattern is available in the PDF below. Keep it nearby while you work so you can easily follow the color sequence and check off each section as you finish.
If you’re still unsure about your color choices, try wrapping your yarn around a piece of cardboard in the order you plan to crochet it. Use wider wraps for larger sections and thinner ones for accent strips. Then place your sample on the sofa or chair where you plan to use the blanket.
Looking at the colors from a little distance can help you decide whether they work well together. You might discover that a narrow strip of golden ochre between chestnut and olive is just what the combination needs.
Free Crochet Autumn Log Cabin Throw Pattern
Making the Most of Your Leftover Yarn
This pattern is also a wonderful opportunity to use up some of those partial skeins you’ve been saving. Small amounts of autumn-colored yarn can be surprisingly useful when you’re working with a design made up of separate strips.
If you’re not sure whether you have enough yarn for a particular section, weigh your skein before and after crocheting. Write down how many grams you used and the length of the strip you completed.
This gives you a helpful estimate for the next section. For example, if another strip is twice as long, with the same width and stitch pattern, you can expect it to use roughly twice as much yarn.
A little planning now can help you avoid running out of your favorite color halfway through a section.
Choosing the Right Yarn for Your Throw
Since this is a blanket you’ll probably want to curl up with, comfort matters just as much as appearance.
Choose a yarn that feels soft against your skin and has enough drape to make the finished throw comfortable over your knees. Before committing to a hook size, crochet a small swatch using the same stitch pattern as the blanket.
Wash and dry your swatch according to the yarn label instructions, then take another look at its texture and size. Notice how the fabric feels when you fold it and whether it bends easily.
For a cozy lap blanket, you want a fabric that feels soft and flexible without becoming so loose that the edges lose their shape.
Most importantly, enjoy the process. Experiment with your favorite autumn shades, take your time with each section, and don’t be afraid to make the color arrangement your own. That’s what makes a handmade crochet throw so special!

