

 soofha
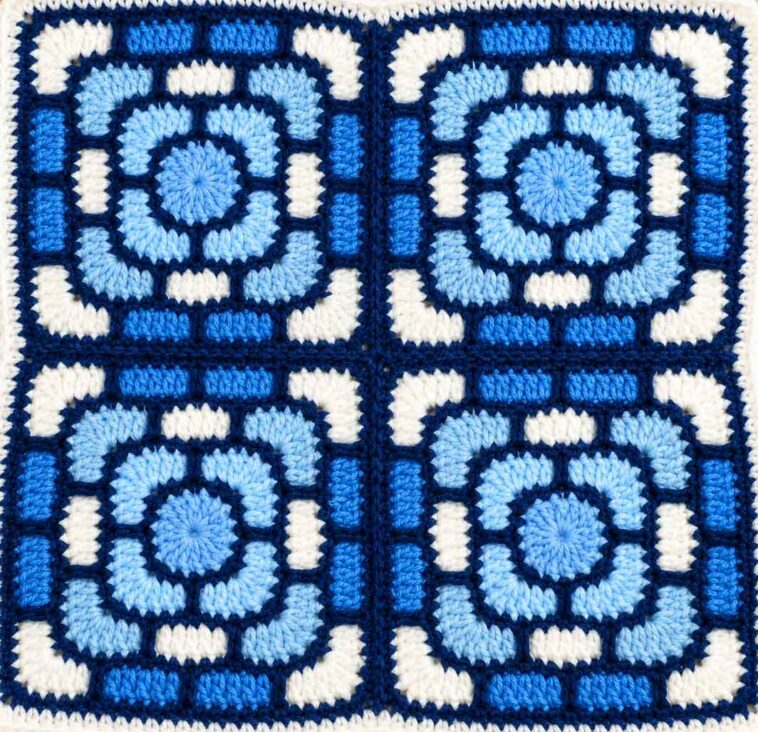
If you love crochet squares with a little bit of drama, the Light Fantastic Square is one you’ll want to add to your project list. The finished square has beautiful geometric details, raised sections, and plenty of texture, making it especially pretty when worked in contrasting colors.
I came across this design and immediately loved the way the colors and stitches work together. It has that kind of eye-catching look that makes you want to keep going just to see how the next round changes the design.
The best part is that you don’t need a huge collection of complicated stitches to make it. The pattern combines familiar crochet stitches with long double crochets and back-loop-only stitches to create the distinctive design.
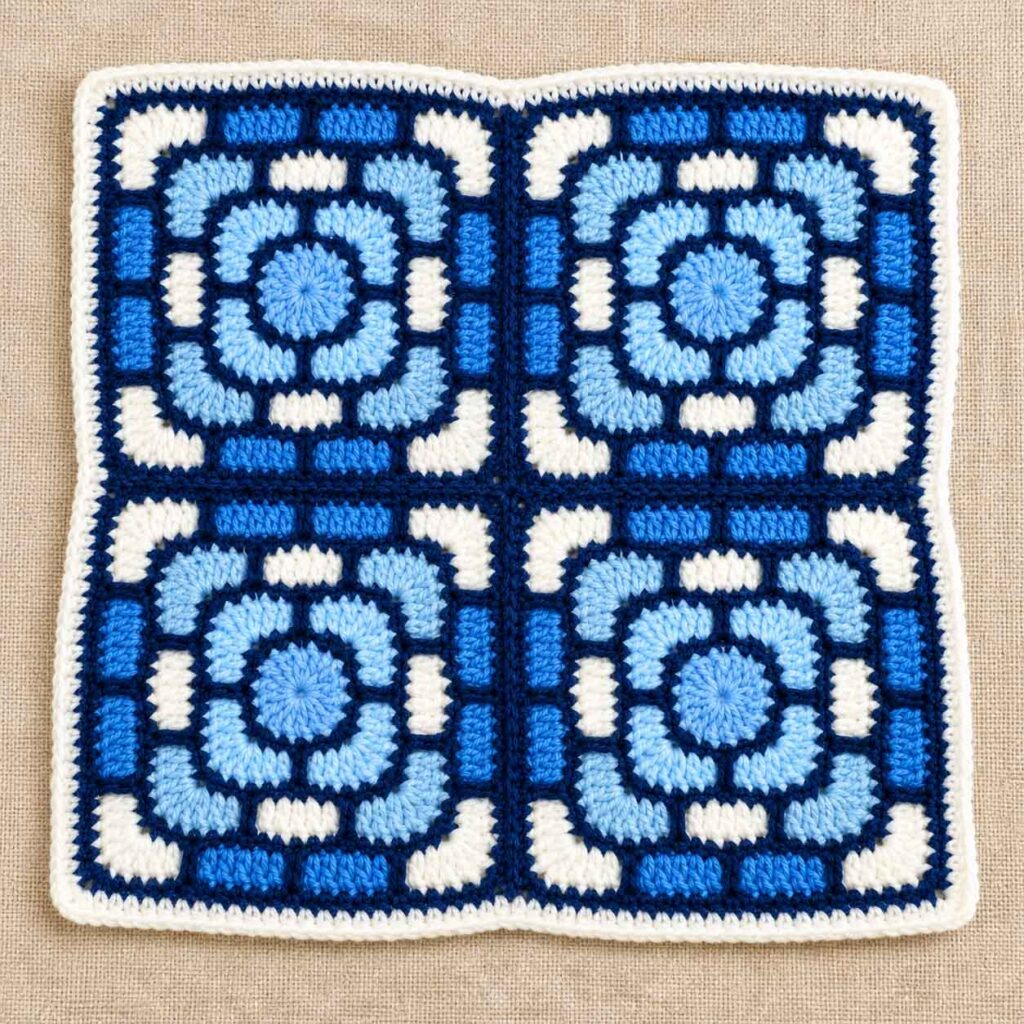
Once you have one square finished, there are so many ways you can use it. Make a few and join them into a blanket, turn one into a cushion cover, or use the square as part of a bag, wall hanging, or another decorative project.
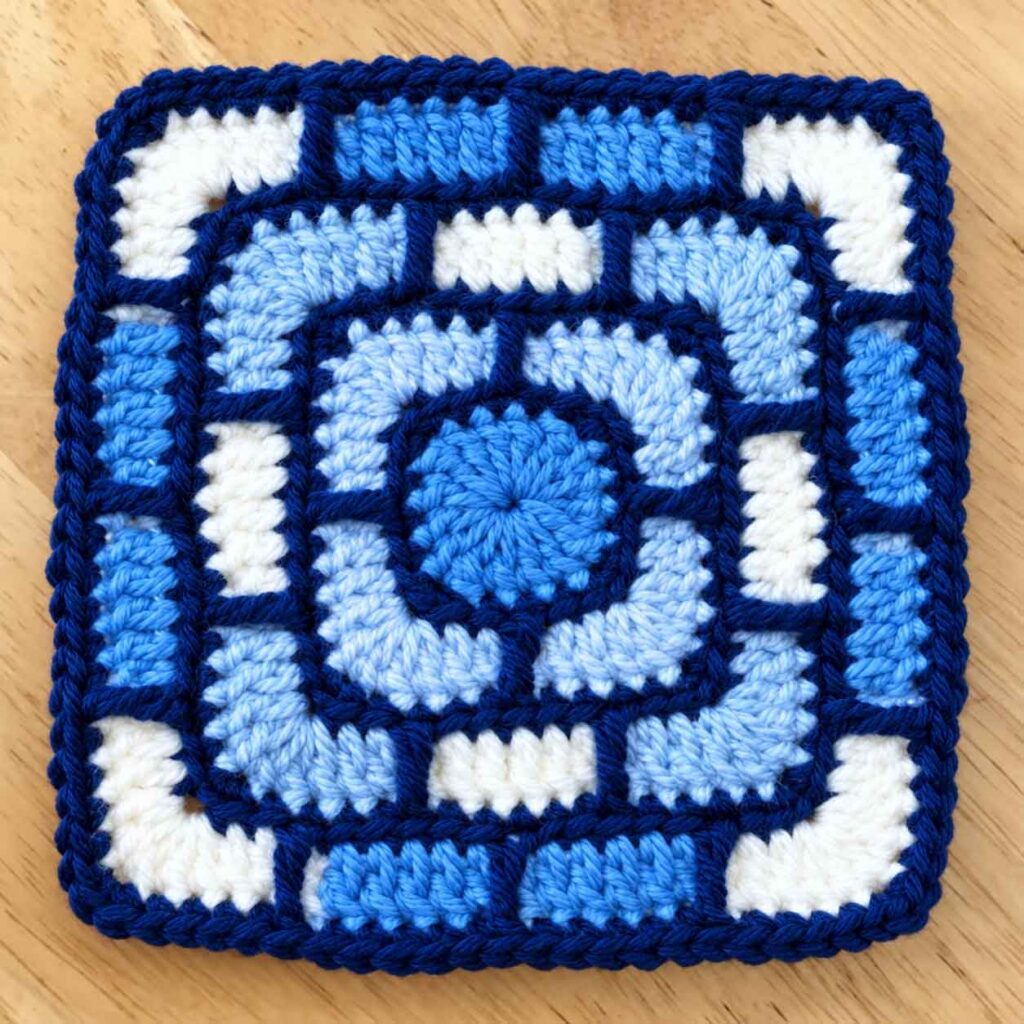
About the Light Fantastic Square
The Light Fantastic Square is worked in rounds, with color changes used throughout the design to make the geometric pattern stand out.
If you’re new to working crochet squares, don’t let the finished look intimidate you. The pattern may look complicated when you first see it, but the individual steps are quite manageable. Take your time, pay attention to your stitch counts, and use stitch markers whenever the instructions call for them.
For the colors, you can go bold with strong contrasts or choose shades that are closer together for a softer, more blended appearance. This is one of those patterns where changing the colors can completely change the personality of the finished square.
Materials
- Worsted-weight or medium-weight yarn in your chosen colors
- Crochet hook suitable for your yarn, generally around 4 mm–5 mm
- Stitch markers
- Tapestry needle
- Scissors
A smooth yarn is particularly nice for this pattern because it makes the stitch definition easier to see.
Stitches Used
You’ll be using a combination of basic stitches and a few techniques that create the special details in the square:
- Chain stitch
- Single crochet
- Double crochet
- Treble crochet
- Long double crochet
- Back loop only
- Front loop
- Magic ring
A note about starting and finishing rounds
The pattern assumes that you’ll change yarn at the beginning of each round. It doesn’t give specific instructions for starting and ending each round, so you can use whichever method you’re most comfortable with.
For a particularly neat finish, you can start each round with a standing stitch and finish invisibly with a tapestry needle.
Another option is to begin each round with the appropriate number of chain stitches and join with a slip stitch at the end. If you use turning chains as a replacement for a stitch, remember that those chains count as a stitch.
Changing colors
When changing colors in the middle of a round, make the color change during the final loop of the stitch before the new color begins.
You can carry the unused yarn along the back of your work, catching it as you crochet. Keep a gentle tension on the carried yarn so it doesn’t become too loose or pull the square out of shape.
Of course, you can also simplify the project by skipping the color changes and working all of the double crochet rounds in one color.
Working the long double crochet
When making the long double crochets, I find it easier to insert the hook downward from the top of the loop rather than trying to come up from underneath. It makes the stitch much easier to work and gives you good control over the elongated stitch.
Abbreviations
The pattern uses US crochet terminology.
- R: Round
- ch: Chain
- sc: Single crochet
- dc: Double crochet
- long dc: Long double crochet
- tr: Treble crochet
- st/sts: Stitch/stitches
- blo: Back loop only
Light Fantastic Square Pattern
Round 1
Start with a magic ring.
Work 3 dc, 1 tr into the ring.
Repeat this sequence 4 times.
Pull the magic ring closed and finish off.
You should have:
12 dc + 4 tr
Round 2
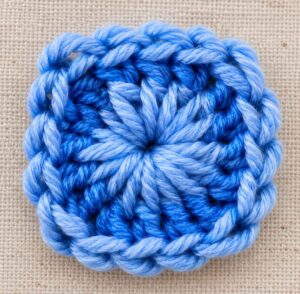
Working into the treble crochet from the previous round, make 3 sc.
The middle sc forms the corner.
Next, work 1 sc into each of the next 3 stitches. Place a stitch marker in the front loop of the second sc.
Repeat this sequence around the square.
Finish off.
You should have 24 sc.
Round 3
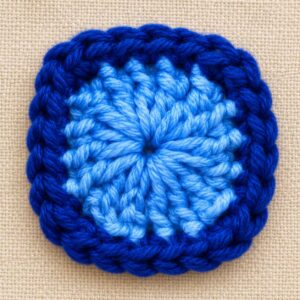
Working into the corner stitch, make 5 dc in the back loop only (blo).
The middle dc forms the corner.
Continue with 1 dc blo in each of the next 5 stitches.
Repeat around the square.
Finish off.
You should have 40 dc blo.
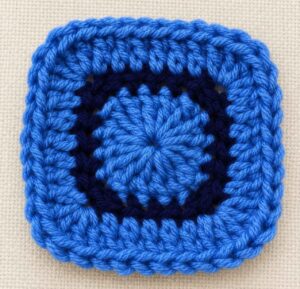
Round 4
Into the corner stitch, work 3 sc.
Then work 1 sc into each of the next 4 stitches.
Place a stitch marker in the front loop of the second sc.
Now work 1 long dc into the front loop of the marked stitch from Round 2. Remove the stitch marker before working the stitch.
Skip the next stitch from Round 3.
Work 1 sc into each of the next 4 stitches, then place a stitch marker in the front loop of the third sc.
Repeat this sequence around the square.
Finish off.
You should have:
44 sc + 4 long dc
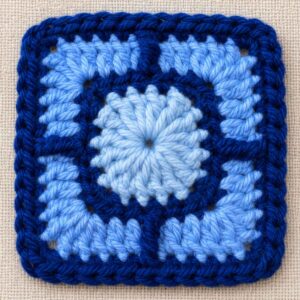
Round 5
For this round, use two colors: A and B.
Begin with Color A.
Into the corner stitch, work 5 dc blo.
Then work 1 dc blo into each of the next 3 stitches.
Change to Color B and work 1 dc blo into each of the next 5 stitches.
Change back to Color A and work 1 dc blo into each of the next 3 stitches.
Repeat this color sequence around the square.
Finish off.
You should have 64 dc blo.
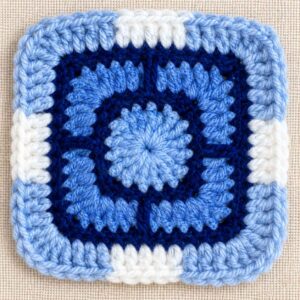
Round 6
Into the corner stitch, work 3 sc.
Then work 1 sc into each of the next 4 stitches.
Place a stitch marker in the front loop of the second sc.
Now repeat the following sequence:
Work 1 long dc into the front loop of the marked stitch from Round 4. Remove the stitch marker first.
Skip the next stitch from Round 5.
Work 1 sc into each of the next 5 stitches.
Place a stitch marker in the front loop of the third sc.
Repeat the sequence around the square.
Near the end of the round, skip the next stitch from Round 5 and work 1 sc into each of the next 4 stitches, placing the stitch marker in the front loop of the third sc as instructed.
Continue around to the beginning.
Finish off.
You should have:
64 sc + 8 long dc
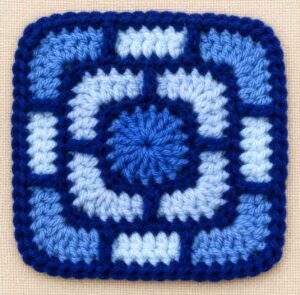
Round 7
For this round, use Colors B and C.
Begin with Color B.
Into the corner stitch, work 5 dc blo.
Then work 1 dc blo into each of the next 3 stitches.
Change to Color C and work 1 dc blo into each of the next 11 stitches.
Change back to Color B and work 1 dc blo into each of the next 3 stitches.
Repeat the sequence around the square.
Finish off.
You should have 88 dc blo.
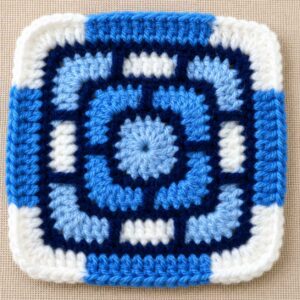
Round 8
Into the corner stitch, work 3 sc.
Then work 1 sc into each of the next 4 stitches.
Now begin the repeating section:
Work 1 long dc into the front loop of the marked stitch from Round 7. Remove the stitch marker before making the stitch.
Skip the next stitch from Round 7.
Work 1 sc into each of the next 5 stitches.
Repeat this sequence around the square.
Toward the end of the round, skip the next stitch from Round 7 and work 1 sc into each of the next 5 stitches.
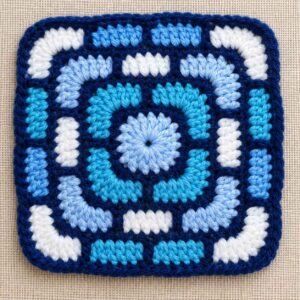
Repeat the long-dc section again as instructed.
Finally, skip the next stitch from Round 7 and work 1 sc into each of the next 4 stitches.
Continue around to the beginning and finish off.
You should have:
84 sc + 12 long dc
Weave in all remaining yarn tails with a tapestry needle.
And there you have it — your Light Fantastic Square is complete!
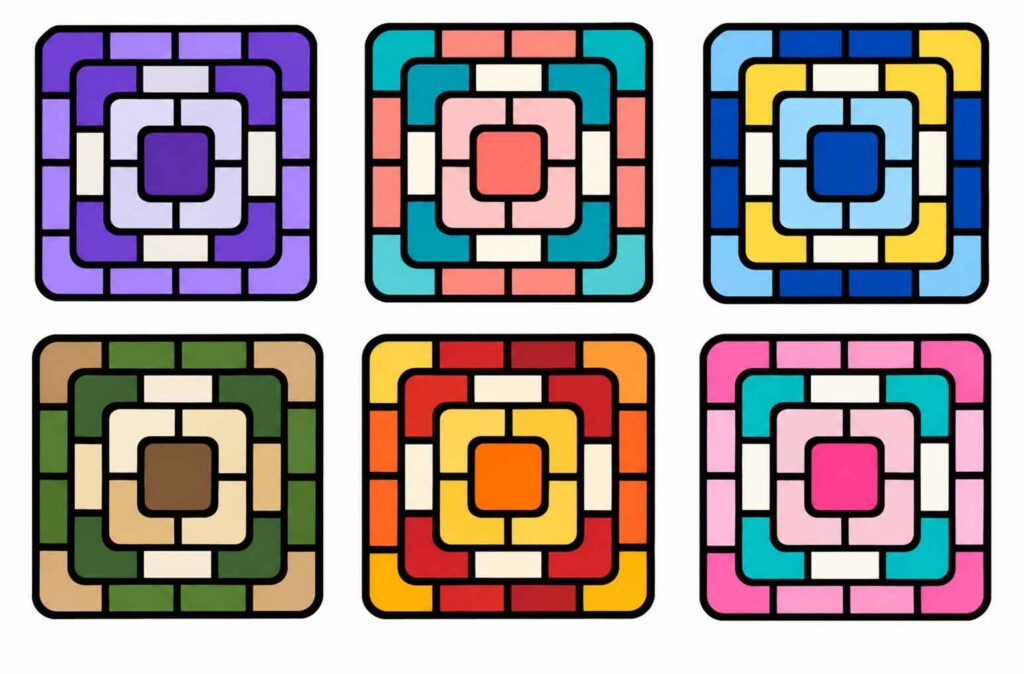
Choosing Colors for Your Square
This design is a great opportunity to play around with your yarn collection.
You can use two or three shades that contrast strongly with one another if you want the geometric sections to really pop. Alternatively, try several shades from the same color family for a more subtle, elegant effect.
Some combinations you might enjoy include:
- Cream, sage green, and soft blue
- White, dusty pink, and mauve
- Mustard, rust, and cream
- Navy, light blue, and white
- Lavender, lilac, and soft gray
- Terracotta, beige, and brown
Don’t be afraid to experiment. Sometimes an unexpected color combination turns out to be the most beautiful one.
What Can You Make With the Light Fantastic Square?
Once you’ve made one square, you may find yourself wanting to make several more. Luckily, there are plenty of ways to use them.
Crochet Blanket
Join multiple squares together to create a colorful blanket. You can make every square the same or alternate different color combinations for a more playful design.
Cushion Cover
A single square can make a lovely decorative cushion. Add a simple crocheted or fabric backing and you have a handmade accent for your sofa or favorite chair.
Crochet Bag
Several squares can be joined together to create a unique crochet bag. Add a lining and sturdy handles for a practical everyday project.
Wall Hanging
If you particularly love the design, why hide it away in a blanket? A finished square can be mounted or hung as a small piece of handmade wall art.
Light Fantastic Square PDF
If you’d like to keep the pattern handy while you crochet, you can also look for the PDF version of the Light Fantastic Square pattern developed by CatsWhiskers Crochet.
Having a PDF beside you can make it much easier to follow the rounds without having to scroll back and forth through a long webpage.
Light Fantastic Square PDF
Final Thoughts
The Light Fantastic Square is one of those patterns that becomes more enjoyable as you work through it. At first, the combination of colors, back-loop stitches, and long double crochets may seem like a lot to keep track of. Once you get into the rhythm, though, the design starts to come together surprisingly quickly.
I especially love how the color changes bring out the geometric details. Even if you use exactly the same pattern, choosing completely different yarn colors can give your finished square an entirely different look.
If this is your first time making the pattern, take your time with the first few rounds. Keep your stitch markers close by and check your stitch count at the end of each round. A little extra attention early on can save you from having to unravel later.
And most importantly, enjoy making it. Crochet doesn’t have to be rushed. There’s something very satisfying about watching a collection of simple stitches gradually turn into a detailed little piece of fabric.
Once you finish your first Light Fantastic Square, you may already be thinking about what colors to try next!
Happy crocheting, and thank you so much for stopping by Soofha. I hope this pattern inspires you to pick up your hook, choose some beautiful yarn, and make something you’ll be proud to keep or share with someone special.
Happy crocheting! ♡

