

 soofha
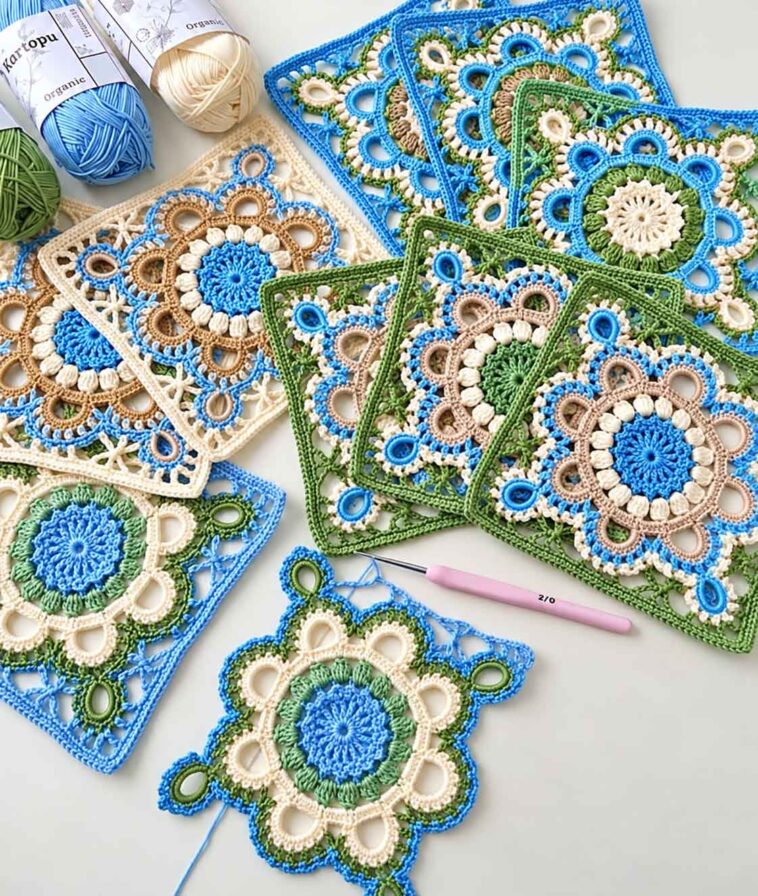
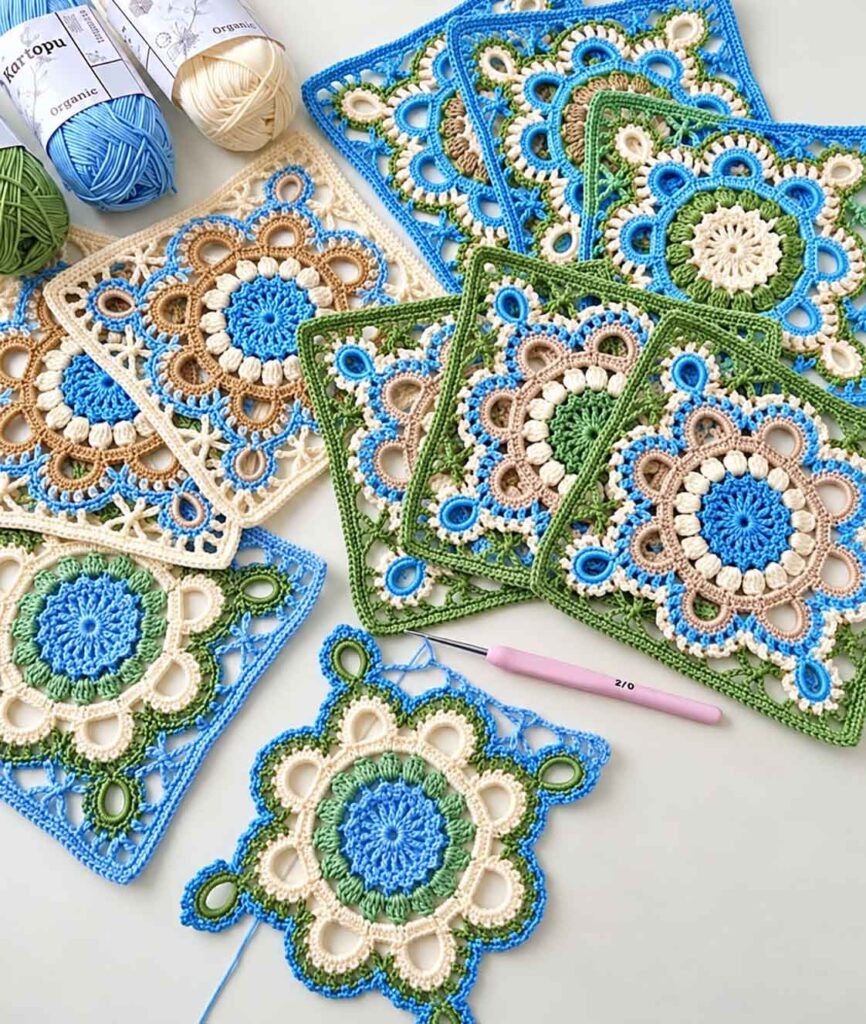
If you enjoy crochet patterns with plenty of texture and interesting details, this Turkish Crochet Square is a lovely project to try. The finished motif has a beautiful combination of arches, open spaces, raised stitches, and delicate lace-like sections that come together to create a unique geometric design.
These squares can be used in so many ways. Make several and join them together for a cozy blanket, or use a single motif for a cushion cover, table decoration, wall hanging, or another handmade project. You can also experiment with different yarn colors to give the pattern a completely different look.
The pattern does involve several rounds and a few unusual stitch combinations, so it is best to work slowly and keep track of each round as you go. Once you get into the rhythm of the design, you’ll see the square begin to take shape.
Materials You’ll Need
- Yarn of your choice
- Crochet hook suitable for your yarn
- Scissors
- Tapestry needle
Choose a yarn and hook combination that gives you a fabric you like. Cotton yarn works particularly well when you want the stitch definition and openwork details to stand out.
Crochet Abbreviations
- ch – chain
- sc – single crochet
- dc – double crochet
- sl st – slip stitch
How to Crochet the Turkish Square
Round 1
Begin with 6 chains.
Join the first and last chains with a slip stitch to form a small ring. Make sure the center opening isn’t pulled too tightly, as you’ll be working several stitches into this space in the next round.
Round 2
Work 16 double crochets into the center of the chain ring.
Once you’ve completed all 16 double crochets, join the round with a slip stitch into the first double crochet.
You should now have a small, solid circle that will become the center of your motif.
Round 3
Work 1 single crochet into each double crochet from the previous round.
Next, work 2 double crochets into the spaces between the double crochets around the circle. These additional stitches help enlarge the motif and prepare it for the more open sections that follow.
Keep your tension even so the circle lies flat.
Round 4
Work 1 double crochet into each double crochet from the previous round.
Then chain 3 and repeat the same sequence around the motif. The chain spaces begin creating the open, lattice-like effect that gives this design much of its character.
Join the round as directed before moving on.
Round 5
Now you’ll start adding the fuller clusters.
In each chain-3 space from the previous round, work 4 double crochets together to form a closed cluster.
After each cluster, chain 4.
Continue working the same combination around the entire motif. As you go, you’ll begin to see the pattern developing into a more decorative shape.
Round 6
Start by working 1 single crochet into the point where the group of 4 double crochets was closed in the previous round.
In the next chain-4 space, work 5 single crochets.
Then chain 11 and join with a single crochet into the first single crochet to create a large arch.
Inside this arch, chain 2 and work 18 single crochets.
Continue around the round, alternating the single-crochet sections and the larger arches.
Take your time with this round because the arches form an important part of the finished design.
Round 7
Begin inside the first arch.
Work 1 single crochet, chain 2, then skip the next single crochet and repeat. Continue this sequence across the arch. The result should be 9 double-crochet sections separated by chain-2 spaces, following the structure of the pattern.
Chain 1 before moving into the next section.
In the next space, work 5 double crochets, placing a chain-2 between each double crochet and skipping one single crochet as you go.
Then chain 10 and close it with a buttonhole-style join in the last double crochet.
Inside this new buttonhole, chain 2 and work 18 single crochets.
Slip stitch at the base of the buttonhole, then continue with the alternating sequence of chain 2, 1 double crochet, and skipping 1 single crochet until you reach the end of the second arch.
This round may feel a little fiddly at first, but the repeating structure becomes much easier once you get a few stitches into it.
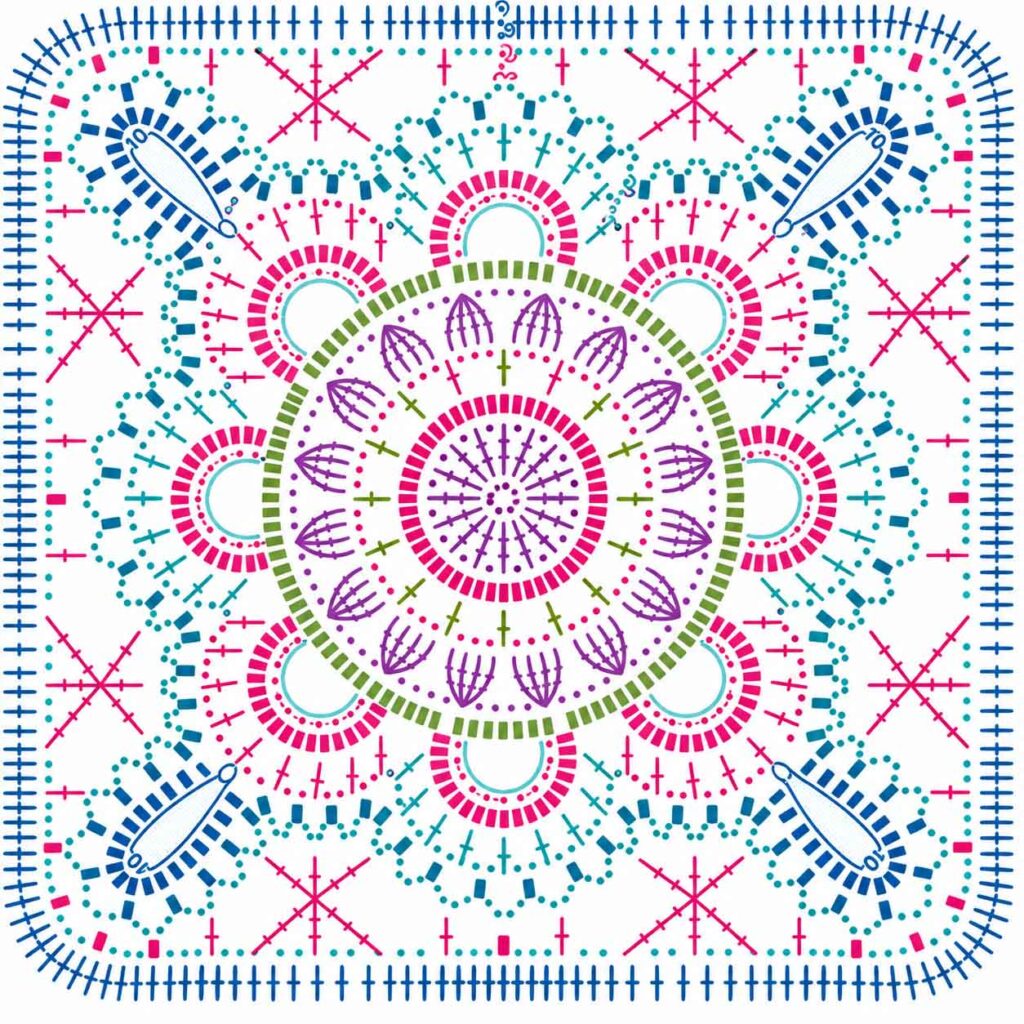
Diagram
Round 8
Work 1 single crochet in each chain-2 space, followed by 4 chains.
Move toward the next arch with 1 chain, then work 1 single crochet.
Repeat this sequence three more times as you work toward the buttonhole.
When you reach the buttonhole, work 1 single crochet into it, followed by 4 chains. This creates a series of 9 arches.
Continue working the same pattern around the motif until the round is complete.
Round 9
For this round, use small stitches to move across to the 4th arch from the previous round.
Chain 5, with the first 2 chains counting as a single crochet, then work 1 single crochet into the next loop.
Chain 2, skip the next loop, and work a 3-loop double crochet.
Chain 2, skip another loop, and make another 3-loop double crochet.
When you reach the first loop containing a buttonhole, work another 3-loop double crochet, but don’t close it completely.
Move into the next 3-loop double crochet and finish the stitch there. This creates the distinctive group of 3 crossed double crochets.
Next, chain 2, skip a loop, and work 1 single crochet.
Chain 3, then repeat the same sequence in the next loop.
Repeat this alternating stitch pattern around the motif until you reach the end of the round.
Round 10
This round helps fill out the spaces and gives the motif more definition.
Work 2 single crochets in each chain space from the previous round.
In the spaces immediately before and after the group of three double crochets, work 3 single crochets.
When you reach a corner where the buttonhole is located, work:
2 single crochets, chain 2, 2 single crochets
all into the same arch.
These corner stitches help the motif begin taking on its square shape.
Round 11
The final round adds a simple openwork border.
Work 1 single crochet, chain 1, then skip 1 stitch in the base round.
Repeat this sequence all the way around the motif.
Keep your tension relaxed during this round so the little chain spaces remain open and visible.
Finish the round neatly and fasten off. Weave in your ends with a tapestry needle.
Finishing the Turkish Crochet Square
Once you’ve completed the final round, gently shape the motif with your fingers. If necessary, you can lightly block the square to help define the corners and open up the lacework.
Blocking can make a noticeable difference with this particular design because it helps the arches and chain spaces sit neatly and allows the geometric shape to become more visible.
If you’re making a blanket, crochet as many squares as you need and join them using your preferred joining method. You can use a simple slip-stitch join, single crochet join, or an invisible mattress-style seam depending on the look you want.
Choosing Colors for Your Squares
One of the nicest things about making crochet squares is being able to play with color.
For a classic look, try one color throughout the entire motif. Soft cream, white, beige, or light gray can beautifully highlight the lacework.
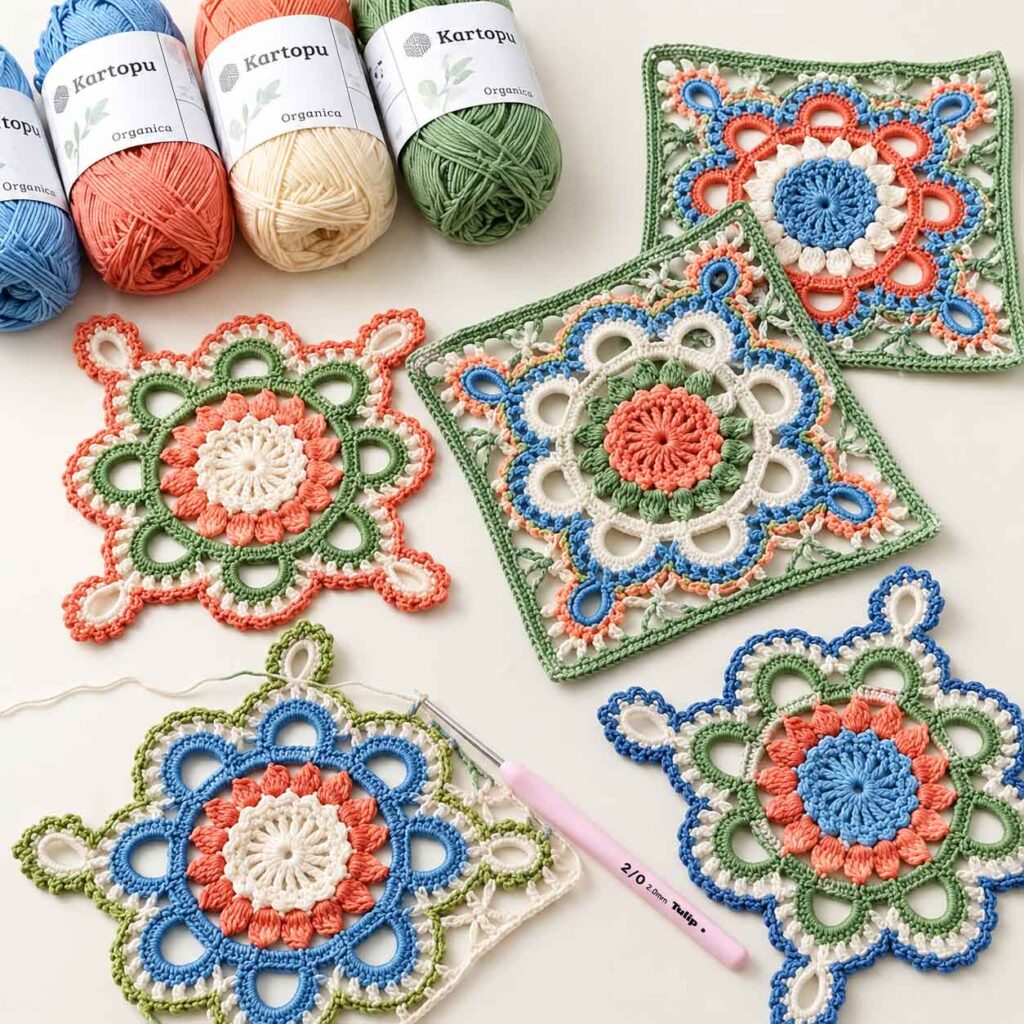
For something more colorful, use one shade for the center and introduce a new color every few rounds. You could also make each square in a different color combination and join them with a neutral shade to create a colorful patchwork blanket.
Don’t be afraid to experiment. The same pattern can look completely different depending on the yarn and colors you choose.
Tips for Making This Pattern
- Count your stitches regularly, especially during the more detailed rounds.
- Keep your tension consistent so the motif doesn’t become too tight or wavy.
- Mark the beginning of each round if you find it difficult to see where the round starts.
- Take your time with the crossed and clustered stitches.
- If your square doesn’t lie completely flat while you’re working, don’t worry. Blocking can help straighten and define the finished motif.
- Make one complete square first before starting a large project. This allows you to check your yarn, hook size, and finished measurements.
What Can You Make With Turkish Crochet Squares?
Once you’ve mastered the motif, there are plenty of ways to use it. A collection of squares can become a beautiful crochet blanket, while larger motifs can be turned into cushion covers, bags, table runners, or decorative wall pieces.
You could even make a few squares in different color combinations and use them as individual coasters or small decorative mats.
The openwork and textured stitches make these motifs especially attractive when displayed together.
Final Thoughts
The Turkish Crochet Square is one of those projects that becomes more rewarding with every round. The beginning starts simply with a small circle, but as you add the arches, clusters, chain spaces, and textured stitches, the design gradually transforms into an intricate geometric motif.
It may take a little patience when you’re making it for the first time, especially around the more detailed rounds, but don’t rush. Once you understand the repeating sections, the pattern becomes much easier to follow.
Make one square just to enjoy the process, or keep going and turn a collection of these beautiful motifs into a larger handmade project. Most importantly, have fun choosing your colors and making the design your own.
Happy crocheting!

