

 soofha
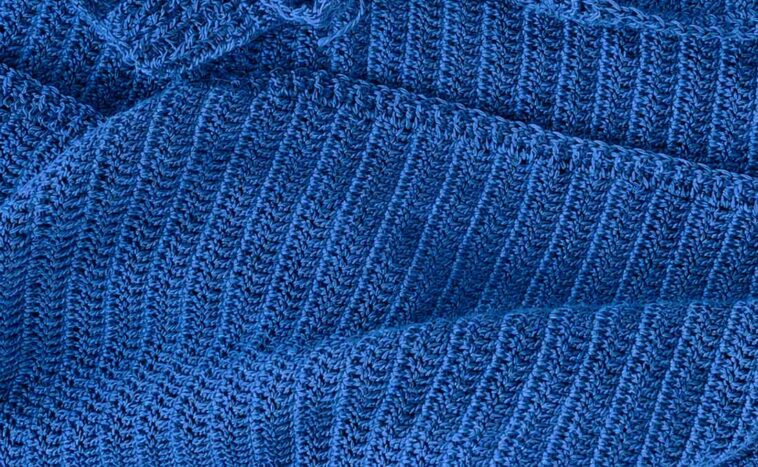
Welcome back to Soofha, your cozy corner for beautiful crochet inspiration, easy-to-follow patterns, and handmade projects! If you’re looking for a stylish layer to keep you comfortable as the weather gets cooler, this Crochet Cardigan Free Pattern is a wonderful project to try.
A handmade cardigan is more than just a practical piece of clothing—it’s something you can customize to match your personality and wardrobe. Whether you want a relaxed cardigan for everyday wear, a cozy layer for chilly evenings, or a thoughtful handmade gift, this pattern offers plenty of possibilities.
This cardigan is made by crocheting individual sections—the back, two front panels, and sleeves—and then joining the pieces during assembly. The construction is straightforward, making it a great choice for crocheters who are comfortable with basic stitches and want to try making a wearable garment.
Why You’ll Love This Crochet Cardigan
There are plenty of reasons to add a handmade cardigan to your crochet project list.
- Beginner-friendly construction: The cardigan uses familiar crochet stitches and simple shaping.
- Comfortable and versatile: It can be worn throughout different seasons as a lightweight or cozy layer.
- Easy to customize: Change the yarn color, add buttons, or experiment with decorative details.
- Great handmade gift: A crochet cardigan can make a thoughtful gift for birthdays, holidays, or special occasions.
- Perfect for layering: Wear it over a T-shirt, blouse, tank top, or dress.
The simple design also gives you plenty of freedom to make the cardigan uniquely yours.
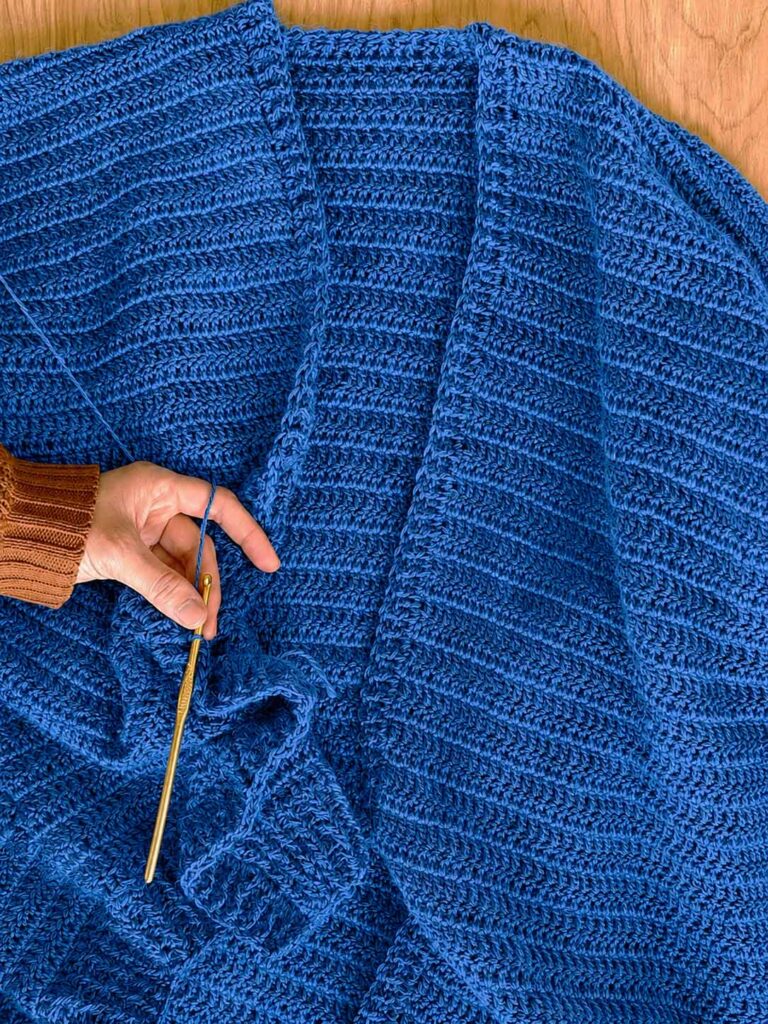
Materials You’ll Need
Before beginning your project, gather all of your supplies so you can crochet without interruptions.
Yarn
Choose a medium-weight worsted yarn that feels comfortable against the skin. Depending on the size of the cardigan and your crochet tension, you will generally need approximately 1,000–1,500 yards of yarn.
For a classic everyday cardigan, neutral shades such as cream, beige, gray, brown, or soft blue work beautifully. You can also choose a brighter shade for a more colorful statement piece.
Crochet Hook
- 5.0 mm (H/8) crochet hook
Always check your gauge before beginning. You may need to change your hook size to achieve the measurements required for your chosen size.
Other Supplies
- Scissors
- Tapestry needle
- Stitch markers
- Measuring tape
- Buttons, if desired
Crochet Stitches and Abbreviations
This pattern uses several basic crochet stitches. Here are the abbreviations used throughout the instructions:
- ch – chain
- sc – single crochet
- dc – double crochet
- sl st – slip stitch
- st/sts – stitch/stitches
- RS – right side
- WS – wrong side
If you are new to crochet garments, it may be helpful to review each stitch before starting the main project.
Crochet Cardigan Construction
The cardigan is created in separate sections and assembled once all of the pieces have been completed.
The main pieces include:
- Back panel
- Left front panel
- Right front panel
- Two sleeves
Working the cardigan in separate pieces makes the construction easier to manage. You can also check the measurements of each section as you work, helping you achieve a better fit.
Step 1: Crochet the Back Panel
Begin with the back of the cardigan. Work your foundation chain according to the desired width and follow the stitch pattern across each row.
Continue working rows until the back panel reaches your desired length. Keep your edges as straight as possible and check your measurements regularly.
Step 2: Make the Front Panels
Next, crochet the two front panels separately.
The front panels should correspond with the dimensions of the back panel while leaving the appropriate opening in the center for the cardigan front.
Work each panel until it reaches the same overall length as the back. Keep both front pieces consistent in stitch count and tension so they look symmetrical when assembled.
Step 3: Crochet the Sleeves
Create two matching sleeves using the same yarn and hook.
Depending on your preferred fit, the sleeves can be made closer to the arm or slightly relaxed for a loose, comfortable style.
Measure the sleeve length as you work rather than relying only on row count. This allows you to adjust the length for different arm sizes.
Step 4: Assemble the Cardigan
Once all pieces are finished, gently block them if needed.
Lay the back and front panels flat and align the edges. Use a tapestry needle and matching yarn to sew the shoulder and side seams.
Attach the sleeves carefully, making sure the sleeve seams are positioned correctly before sewing them into place.
Take your time during assembly because neat seams can make a significant difference to the finished appearance.
Adding Buttons
Buttons are completely optional, but they can give your cardigan a more traditional and finished look.
You can add a few buttons along one front edge and create corresponding buttonholes on the opposite side. Choose buttons that complement your yarn color and overall style.
For a more modern cardigan, you can leave the front open or add a simple crochet tie instead.
Choosing the Right Yarn
Yarn choice can dramatically change the look and feel of your finished cardigan.
For a lightweight garment, choose a softer worsted-weight yarn with good drape. For a warmer cardigan, select a yarn with a little more loft and softness.
Before purchasing a large quantity of yarn, it’s a good idea to make a small swatch. This allows you to check both the gauge and the fabric texture.
Gauge Matters
Checking your gauge before starting is one of the most important steps when crocheting a garment.
If your stitches are larger than the pattern gauge, try a smaller crochet hook. If your stitches are smaller, try a larger hook.
Remember that matching gauge helps ensure your finished cardigan will have the intended dimensions.
Blocking Your Crochet Pieces
Blocking can help your crochet pieces look cleaner and more professional.
After finishing each piece, gently shape it to the desired measurements and allow it to dry completely according to the characteristics of your yarn.
Blocking can help straighten uneven edges, improve stitch definition, and make the individual pieces easier to assemble.
Easy Ways to Customize Your Cardigan
One of the best things about crocheting your own clothing is the ability to personalize every detail.
Change the Color
Create a classic neutral cardigan or experiment with your favorite shades. You could also use multiple colors to create stripes or color blocks.
Adjust the Length
Make a cropped cardigan for a modern look or extend the body for a longer, cozier style.
Modify the Sleeves
Try shorter sleeves for warmer weather or longer, relaxed sleeves for a cozy winter garment.
Add Decorative Details
You can personalize your cardigan with crochet edging, contrasting borders, textured stitches, pockets, or decorative buttons.
Styling Your Handmade Cardigan
A crochet cardigan is incredibly versatile and can easily become a wardrobe staple.
For a casual outfit, wear your cardigan with jeans, leggings, and a simple T-shirt. Add sneakers or ankle boots for an effortless everyday look.
For a dressier outfit, layer it over a simple dress or skirt. A belt can also be added around the waist to create a more defined silhouette.
During cooler weather, wear your cardigan over a long-sleeve top and pair it with your favorite trousers or jeans.
Because you control the yarn color and design, you can create a cardigan that works perfectly with your existing wardrobe.
Tips for a Successful Crochet Cardigan
Keep these helpful tips in mind before and during your project:
Check your gauge first.
Even a small difference in tension can affect the final size of a garment.
Measure as you go.
Compare your work with the intended measurements instead of relying only on the number of rows.
Keep the panels consistent.
Try to maintain the same tension throughout the front and back pieces.
Block before assembly.
Blocking can make joining the pieces much easier.
Take your time with seaming.
Careful assembly will give your finished cardigan a cleaner appearance.
Customize the fit.
Don’t be afraid to adjust the length, sleeve size, or overall width to suit your body and preferred style.
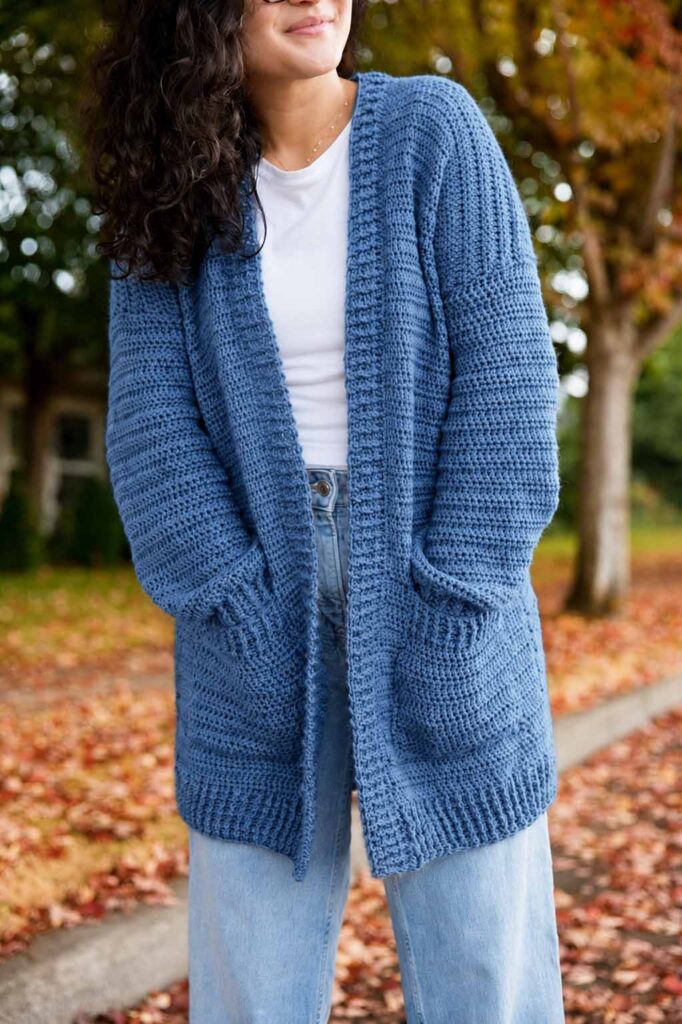
Crochet Cardigan Free Pattern
Frequently Asked Questions
Is this crochet cardigan suitable for beginners?
Yes. The cardigan is based on basic crochet stitches and separate rectangular-style pieces, making it a good introduction to crochet garments for beginners who are comfortable with foundational stitches.
How much yarn will I need?
Approximately 1,000–1,500 yards of worsted-weight yarn may be needed, although the exact amount will depend on the finished size, stitch tension, and any modifications you make.
Can I use a different crochet hook?
Yes. However, changing the hook size will affect your gauge and potentially the finished measurements. Always make a gauge swatch before beginning the cardigan.
Can I make the cardigan longer?
Absolutely. Simply continue working additional rows on the body pieces until you reach your preferred length.
Can I make this cardigan in different colors?
Yes! Solid colors, stripes, color blocks, and even subtle gradients can all create beautiful results.
Download Your Free Crochet Cardigan PDF
Ready to start crocheting?
Keep your yarn, hook, and supplies nearby and enjoy creating your own handmade cardigan. A printable PDF version of the Crochet Cardigan Pattern can make it easier to follow the instructions while you work.
Whether you’re making this cardigan for yourself or creating a handmade gift for someone special, we hope you enjoy every stitch and love the finished result.
Don’t forget to share your completed crochet projects and inspire other makers in the crochet community. Happy crocheting!

