

 soofha
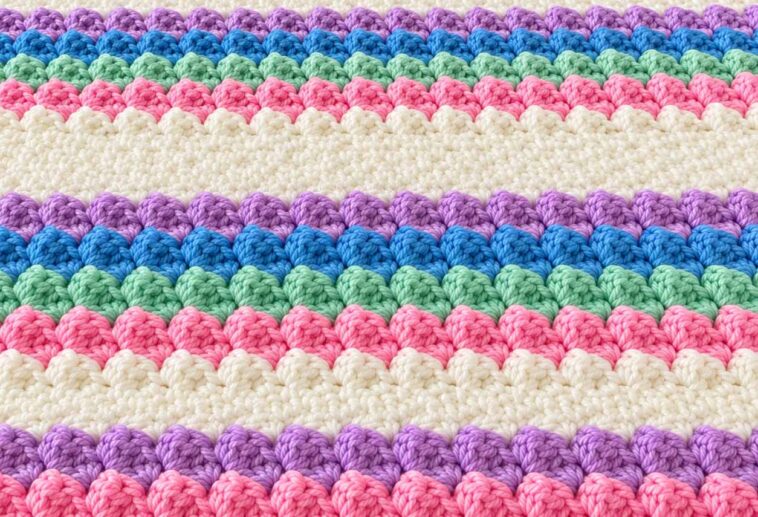
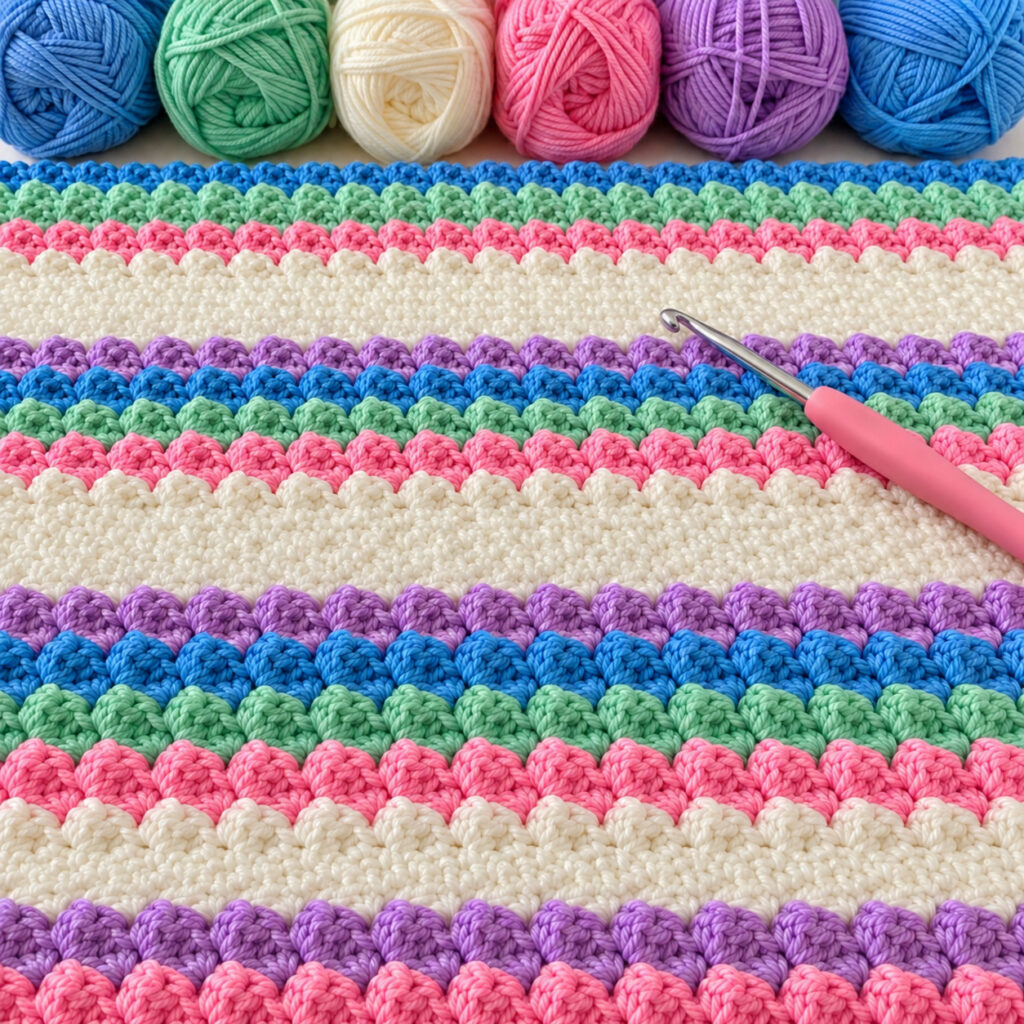
Bring a little sunshine to your crochet basket with this cheerful Rainbow Days Blanket! 🌈🧶 This colorful blanket combines soft cream sections with rows of textured stitches, creating a cozy design that is perfect for babies, children, gifts, or a colorful throw.
The original Rainbow Days Blanket by Little Duck Crochet is a published paid pattern using textured techniques such as sedge stitch and moss stitch. Ravelry The pattern below is an original crochet design inspired by the colorful, textured look, rather than a reproduction of that paid pattern.
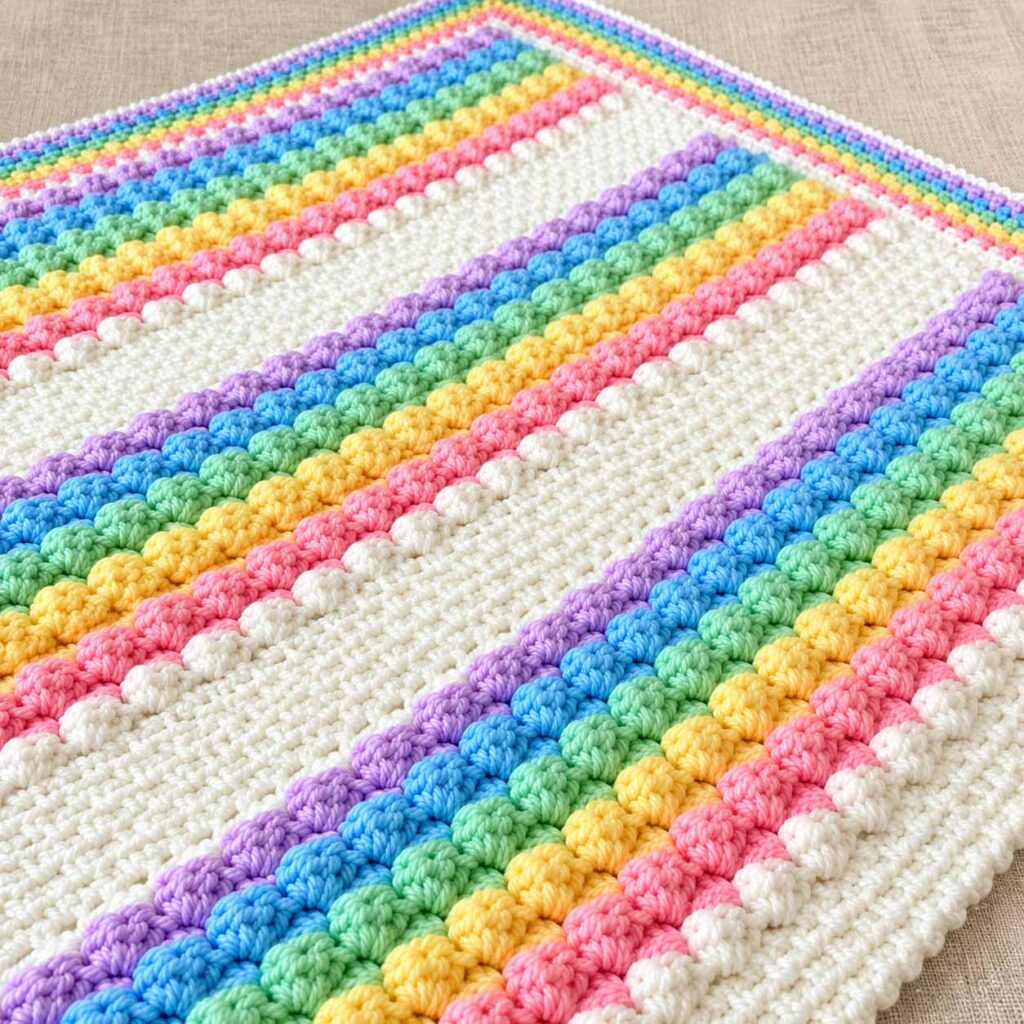
Rainbow Days Blanket
This version uses simple crochet stitches arranged in colorful horizontal stripes. The combination of single crochet, half double crochet, and textured shell-style rows gives the blanket plenty of visual interest while keeping the construction approachable.
Skill Level
Easy to Intermediate
Finished Size
Approximately 32 × 37 inches (81 × 94 cm).
You can easily make the blanket larger or smaller by adjusting the starting chain.
Materials
- Aran/Worsted-weight yarn
- 4.5 mm crochet hook
- Yarn needle
- Scissors
- Measuring tape
Suggested Colors
Choose cheerful rainbow shades such as:
- Color A: Cream/Ivory
- Color B: Pink
- Color C: Orange
- Color D: Yellow
- Color E: Mint Green
- Color F: Bright Blue
- Color G: Lavender
For a softer baby blanket, substitute pastel versions of the same colors.
Abbreviations
US crochet terminology:
- ch – chain
- sc – single crochet
- hdc – half double crochet
- dc – double crochet
- sl st – slip stitch
- st/sts – stitch/stitches
- sk – skip
- rep – repeat
Special Textured Stitch
Mini Shell
Work:
3 dc in the same stitch
This creates a small fan-shaped cluster.
Textured Shell Row
A simple repeating row is:
sc, skip 2 sts, 3 dc in next st, skip 2 sts, repeat
The following row works single crochet stitches around the shells to create a raised, scalloped appearance.
Pattern Instructions
Foundation Chain
With Cream, chain 128.
For a different width, chain a multiple of 5, plus 3 additional chains.
Row 1
Sc in the second chain from the hook and in each chain across.
128? Depending on the foundation count, you should have one fewer sc than your starting chain.
Turn.
Row 2
Ch 1.
Sc in each stitch across.
Turn.
Continue with the cream section for several rows to create the first wide neutral stripe.
First Rainbow Section
Change to Pink.
Row 1
Ch 1.
Sc in the first stitch.
Skip 2 stitches, work 3 dc in the next stitch, skip 2 stitches, sc in the next stitch.
Repeat across.
Turn.
Row 2
Ch 1.
Sc in the first stitch.
Work 3 dc into the center stitch of each shell from the previous row, placing an sc between each shell according to the established stitch pattern.
Continue across.
Turn.
Row 3
Ch 1.
Sc across.
Fasten off.
You should now have a raised, scalloped pink stripe.
Orange Stripe
Join Orange.
Work 3 rows using the same textured-shell construction.
Keep your stitch tension consistent so the top and bottom edges remain straight.
Fasten off.
Yellow Stripe
Join Yellow.
Repeat the textured stripe:
Row 1: Sc, skip 2, 3 dc in next stitch, skip 2, sc.
Row 2: Repeat the shell arrangement.
Row 3: Sc across.
Fasten off.
Green Stripe
Join Mint Green.
Repeat the same three-row textured section.
The green stripe adds a fresh contrast between the warm yellow and cool blue shades.
Fasten off.
Blue Stripe
Join Bright Blue.
Work the same textured shell section for 3 rows.
For an especially colorful blanket, you can use two shades of blue—one darker and one lighter.
Fasten off.
Lavender Stripe
Join Lavender.
Repeat the textured stripe for 3 rows.
Fasten off.
Cream Section
Return to Cream.
Work several rows of sc or hdc to create another wide neutral section.
Hdc Row
Ch 2.
Hdc in each stitch across.
Turn.
Repeat until the cream section reaches your desired height.
This wide cream stripe helps separate the rainbow colors and makes the textured rows stand out beautifully.
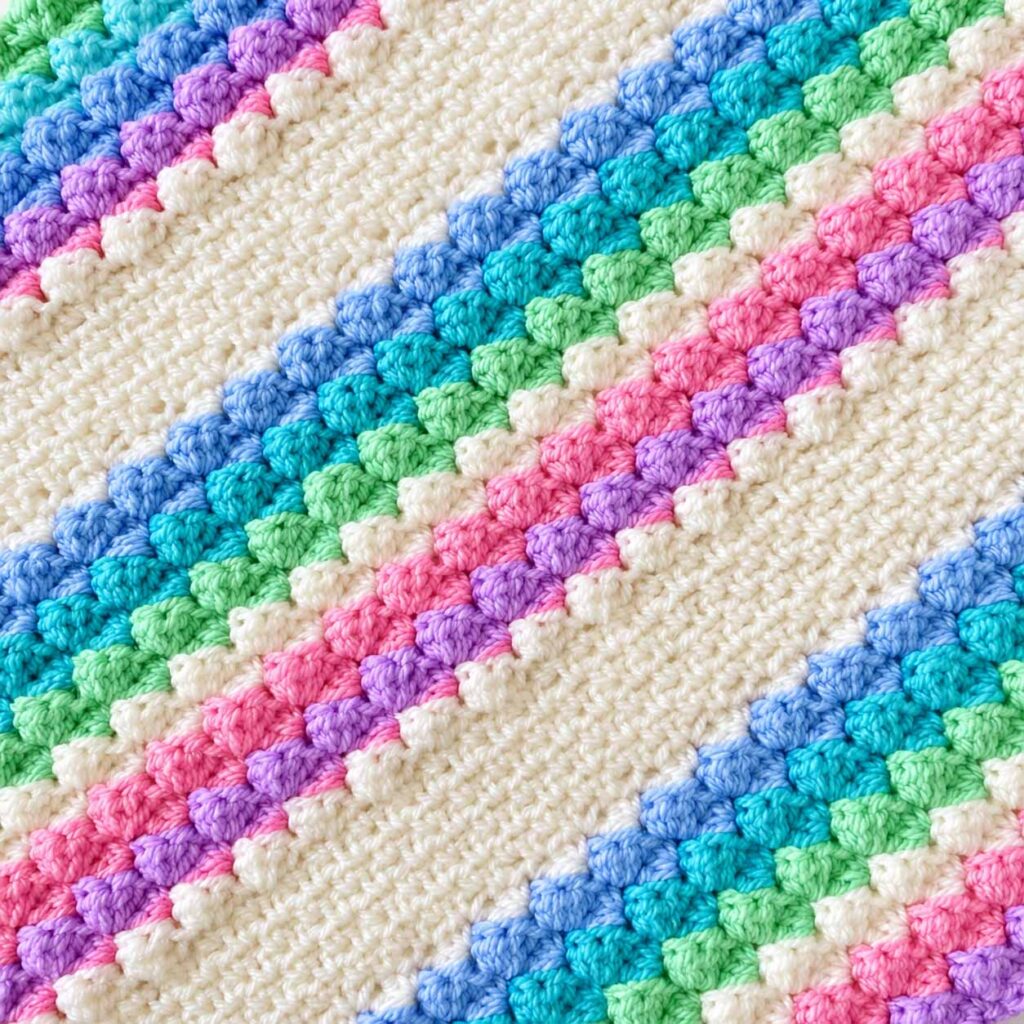
Rainbow Days Blanket
Repeat the Rainbow
Now repeat the color sequence:
Pink → Orange → Yellow → Green → Blue → Lavender
Between rainbow sections, add another wide cream section.
You can continue this sequence until the blanket reaches approximately 37 inches long, or simply keep repeating until you reach your preferred size.
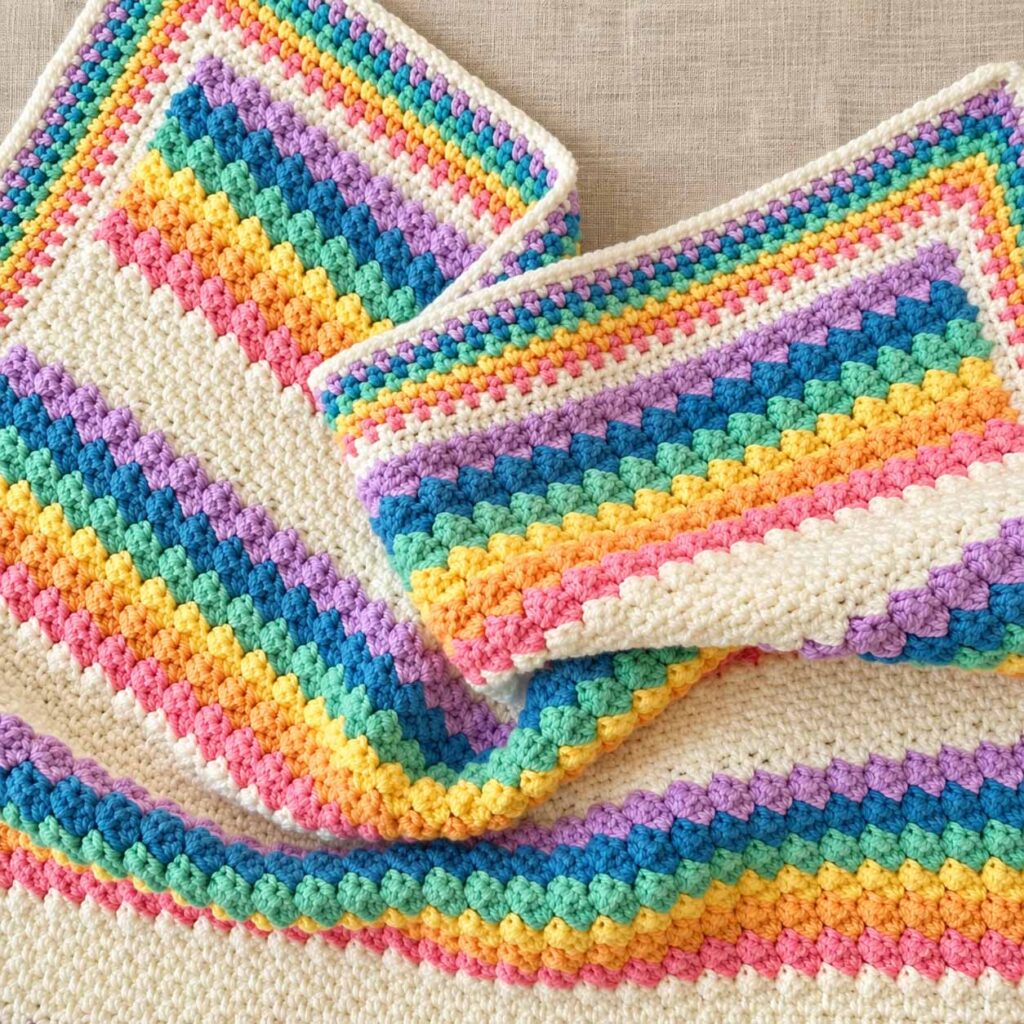
Simple Border
A neat border gives the blanket a polished finish.
Join Cream at any corner.
Border Round 1
Ch 1.
Sc evenly around the entire blanket.
At each corner, work:
sc, ch 2, sc
When you reach the beginning, sl st into the first sc.
Border Round 2
Ch 1.
Sc in every stitch around.
Work sc, ch 2, sc in each corner space.
Sl st to join.
Fasten off.
Finishing
Cut the yarn, leaving a tail of several inches.
Thread the tail onto a yarn needle and weave it securely through the back of the stitches.
Repeat for all remaining ends.
For the best finish, weave each end in different directions through several stitches before trimming the excess.
Color Ideas
The beauty of a rainbow blanket is that you can completely customize the palette.
Classic Rainbow
Pink
Orange
Yellow
Green
Blue
Purple
Cream
Pastel Rainbow
Baby Pink
Peach
Butter Yellow
Mint
Sky Blue
Lilac
Ivory
Bright Rainbow
Hot Pink
Tangerine
Sunshine Yellow
Emerald
Turquoise
Royal Blue
Violet
Modern Rainbow
Dusty Rose
Terracotta
Mustard
Sage
Denim
Mauve
Natural Cream
How to Make the Blanket Larger
This design is easy to customize.
For a wider blanket, start with a foundation chain that is a multiple of 5 plus 3.
For a longer blanket, simply repeat the rainbow and cream sections.
You can also make a small version for a stroller or baby car seat, or continue the pattern to create a large sofa throw.
Tips for a Beautiful Rainbow Days Blanket
Keep your tension consistent.
Textured stitches can become tighter than plain rows, so avoid pulling your yarn too tightly.
Don’t worry about using exactly the same stripe widths.
A mixture of narrow colorful stripes and wider cream sections creates a lovely handmade appearance.
Use a soft washable yarn for baby blankets.
Acrylic or acrylic-blend yarn is particularly practical because the finished blanket can usually be machine washed according to the yarn manufacturer’s instructions.
Change colors neatly.
For cleaner color changes, complete the final yarn-over of the previous stitch with the new color.
Block lightly if needed.
After weaving in the ends, gently block the blanket to even out the edges and help the textured stitches settle.
Frequently Asked Questions
Is this Rainbow Days Blanket suitable for beginners?
Yes. The blanket uses familiar crochet stitches and repeating sections. Beginners may want to practice the textured shell row on a small swatch first.
Can I use DK yarn?
Yes, but the finished blanket will be smaller and have a lighter drape. You may need to adjust your hook size and starting chain.
Can I make this blanket in one color?
Absolutely. A monochrome version would beautifully highlight the raised texture.
Can I make it bigger?
Yes. Simply add more stitches to the foundation chain and repeat additional rainbow sections for length.
What is the best yarn for a baby blanket?
A soft, washable worsted/Aran-weight acrylic or acrylic-blend yarn is a practical choice. The published Little Duck Crochet version also specifies Aran-weight yarn and a 4.5 mm hook. ravelry
Final Thoughts
The Rainbow Days Blanket is a happy crochet project designed around cheerful colors, soft texture, and simple repeating sections. The combination of bright rainbow stripes and creamy neutral rows makes it suitable for a nursery, child’s room, cozy sofa, or handmade gift.
Grab your favorite colors, pick up your hook, and create your own little rainbow one row at a time! 🌈🧶

