

 soofha
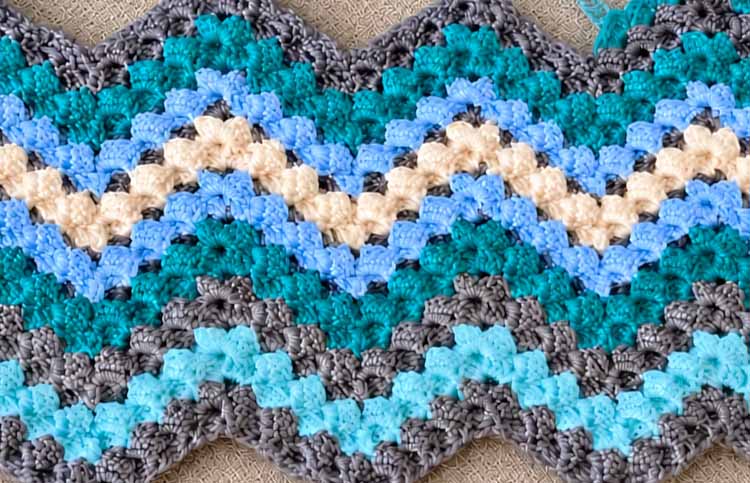
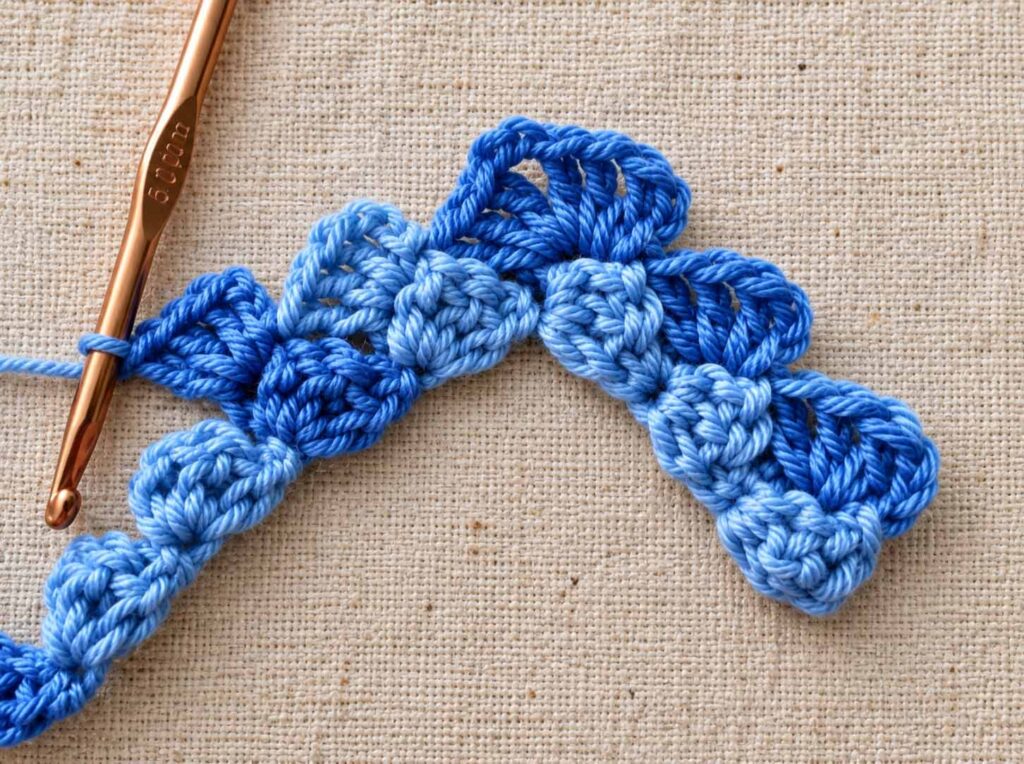
Welcome to Soofha! Today, we’re exploring a charming vintage-inspired crochet design called the Vintage Rippling Blocks Pattern. This beautiful stitch combines simple crochet blocks with a gentle ripple effect, creating a textured geometric fabric that looks wonderful in both classic and modern color combinations.
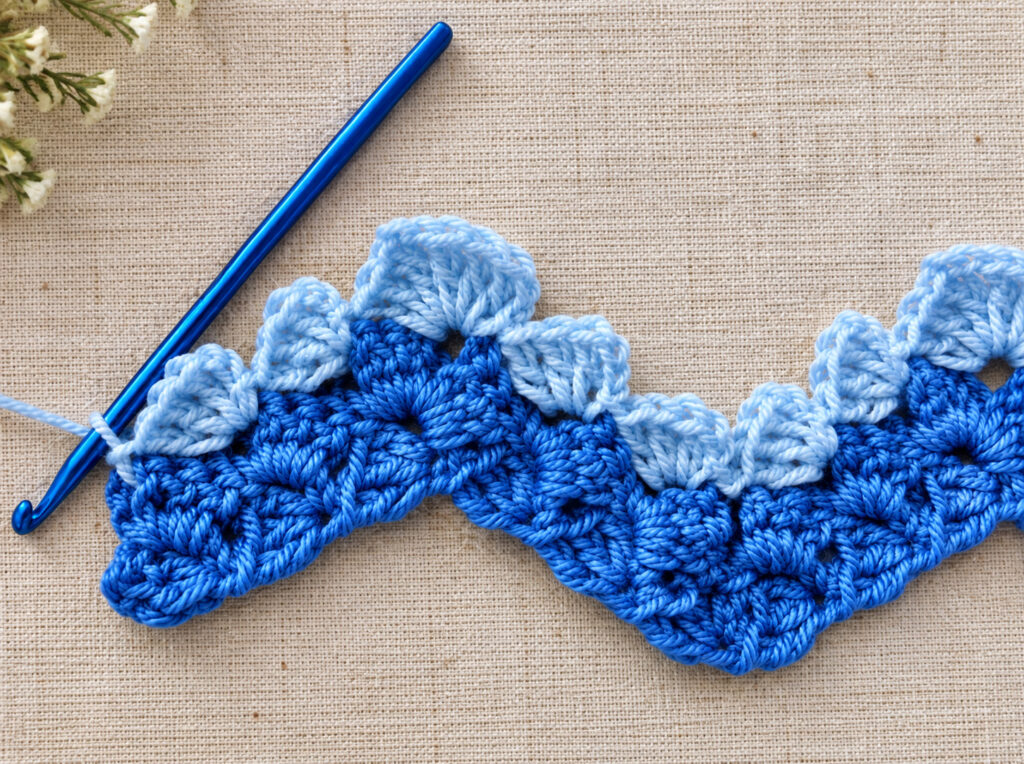
The pattern produces rows of raised blocks that move up and down like soft waves. It’s an enjoyable project for crocheters who love textured stitches and want something a little different from a traditional ripple or chevron pattern.
Why You’ll Love the Vintage Rippling Blocks Pattern
There are plenty of reasons to add this pattern to your crochet collection:
- Beautiful texture: The repeating blocks and ripples create an eye-catching three-dimensional effect.
- Classic vintage appearance: The stitch has a timeless look that works especially well with traditional color combinations.
- Versatile design: Use it for blankets, throws, scarves, cushion covers, wraps, and other crochet projects.
- Great for color changes: Experiment with contrasting shades or use leftover yarn to create a cheerful scrappy design.
- Easy to repeat: Once the first few rows are established, the stitch pattern becomes very easy to memorize.
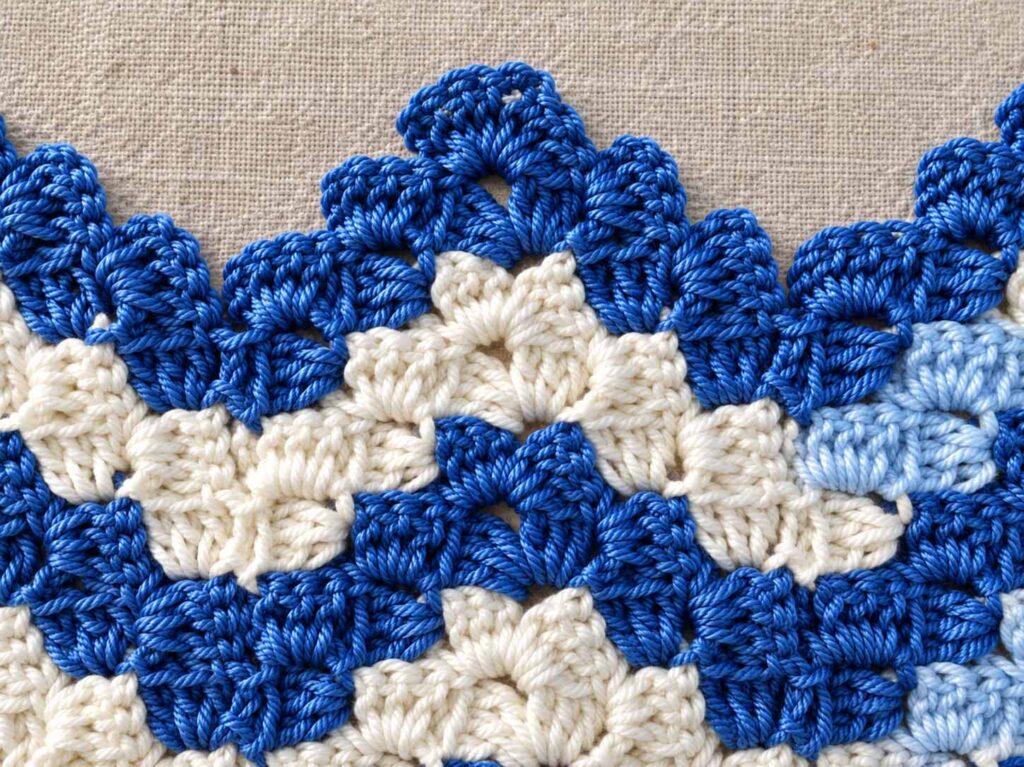
The Vintage Rippling Blocks design is inspired by classic ripple and chevron crochet techniques. Instead of creating a simple zigzag, however, the stitch builds small blocks that follow the peaks and valleys of the ripple, giving the finished fabric extra depth and character.
Materials
For the sample pattern, you will need:
- Worsted-weight yarn
- Size H crochet hook
- Scissors
- Yarn needle for weaving in ends
You can use one color throughout the project or change colors whenever you like to create stripes and additional visual interest.
Crochet Abbreviations
- Ch – Chain
- Sl st – Slip stitch
- Dc – Double crochet
- Sp – Space
Pattern Notes
- Change yarn colors as desired.
- Gauge is not essential for this pattern.
- Because the fabric naturally pulls inward as the ripple develops, the foundation row should be approximately 20–25% longer than your intended finished width.
- With worsted-weight yarn and an H crochet hook, one repeat measures approximately 5 inches, although your exact measurements may vary depending on your tension.
- For the foundation, work a number of blocks that is a multiple of six.
Step-by-Step Crochet Pattern
Row 1
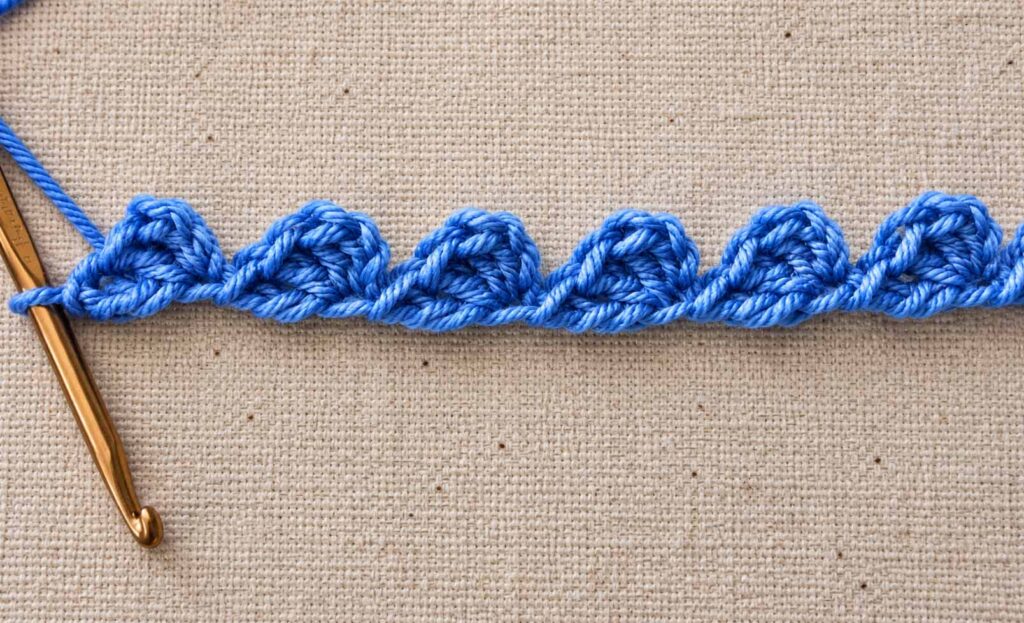
Row 1 – Foundation Blocks
Begin by chaining 4.
Work 3 double crochets into the fourth chain from the hook. This creates your first small block.
Next, repeat:
Ch 4, 3 dc in the 4th ch from hook.
Continue working this sequence across the foundation chain until you reach your desired width.
Remember that the total number of blocks should be a multiple of six.
At the end of Row 1, you should have a series of small open chain spaces with three double crochets worked into each space.
Row 2 – Creating the Ripples
Begin by working a slip stitch into the first chain-3 space.
Chain 3, then work 3 dc into the same ch-3 space.
Slip stitch into the next ch-3 space.
Chain 3 and work 3 dc into that same space.
Now begin forming the ripple pattern.
The basic sequence across the row is:
2 blocks, peak, 2 blocks, slip stitch.
To work the peak, follow the stitch instructions for the designated peak space before continuing with the next blocks.
Continue repeating the sequence across the row:
Block, block, peak, block, block, slip stitch.
Keep working the established pattern until you reach the end of the row.
Finish with a slip stitch, then ch 1 and turn.
Row 3 – Continue the Ripple
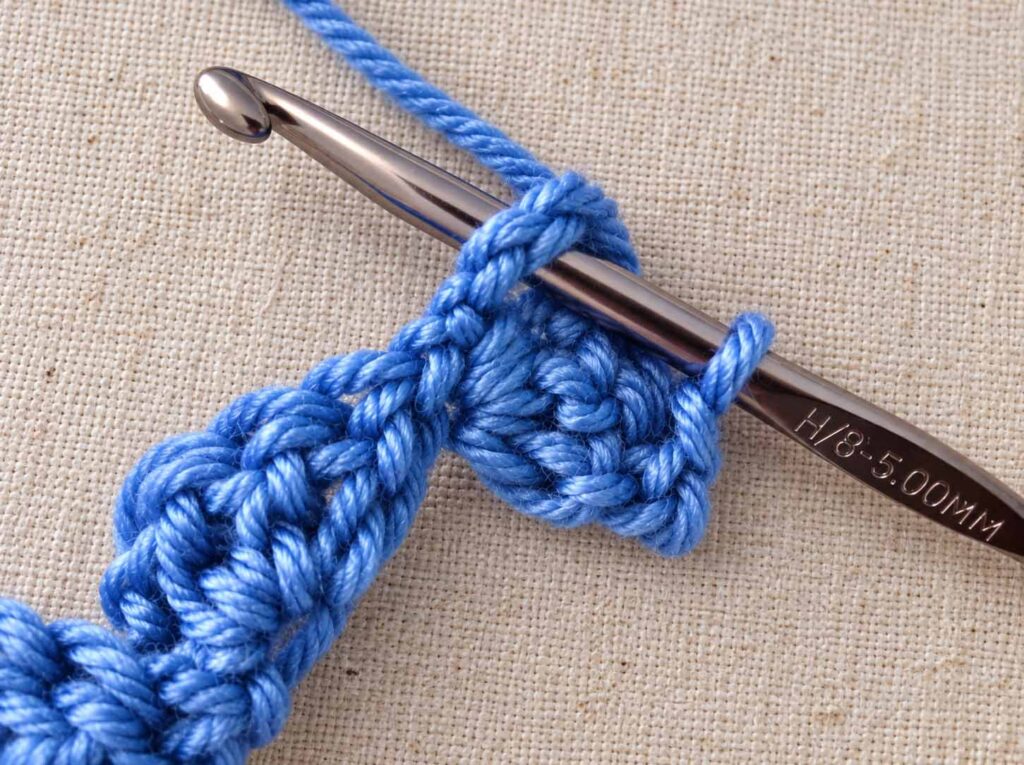
Row 3 follows the same basic structure as Row 2.
Work across the row using this repeating sequence:
2 blocks, peak, 2 blocks, slip stitch into the next ch-3 space.
Continue repeating the sequence until you reach the opposite edge of your work.
At the end of the row, ch 1 and turn.
Repeat for Your Desired Length
Continue repeating Row 3 until your crochet piece reaches the length you want.
Because the same sequence is repeated throughout the project, the pattern becomes much easier to recognize after a few rows.
The rippling blocks will gradually form a beautiful wave-like texture across the fabric.
Once you reach your desired length, fasten off and weave in your ends.
You can leave the project as it is for a simple finish or add a decorative crochet border around the edges.
Easy Stitch Reminder
Once the foundation row is complete, the repeating pattern is simple to remember:
Block → Block → Peak → Block → Block → Slip Stitch
Repeat this sequence across every row.
That simple rhythm is what creates the distinctive rippling effect.
Color Ideas
This pattern is especially attractive when worked in multiple colors.
For a traditional vintage appearance, try combinations such as:
- Cream, mustard, rust, and brown
- Dusty rose, sage green, and ivory
- Burgundy, beige, and soft gray
- Navy, cream, and muted blue
For a modern look, choose two or three contrasting colors and change shades every few rows.
You can also use leftover worsted-weight yarn to create a colorful scrap-yarn rippling blanket. Because the stitch is made from repeating blocks, even small amounts of yarn can be incorporated into the design.
Project Ideas
The Vintage Rippling Blocks pattern is versatile enough for many different crochet projects.
Blankets and Throws
Use a soft worsted-weight yarn to make a cozy throw for the sofa or a decorative bed blanket. Larger projects will beautifully showcase the repeating waves.
Scarves and Wraps
The textured fabric makes an attractive scarf or wrap. Simply adjust the foundation length to create your preferred width.
Cushion Covers
A small square or rectangular project is a great way to experiment with the stitch before committing to a larger blanket.
Baby Blankets
Choose soft, gentle colors for a vintage-inspired baby blanket. Pastels can give the rippling blocks a delicate appearance.
Garments and Accessories
Depending on your yarn and tension, the pattern can also be adapted for shawls, wraps, bags, and other accessories.
Helpful Crochet Tips
Count your blocks carefully.
Keeping the foundation in multiples of six will help maintain the repeating structure of the pattern.
Don’t worry too much about gauge.
For this design, the most important measurement is the finished width and how the ripple changes the shape of the foundation.
Keep your tension consistent.
Even tension will help the blocks remain similar in size throughout the project.
Use stitch markers if needed.
If you are new to ripple patterns, placing markers around the peak sections can make it easier to identify where each repeat begins.
Experiment with color.
The raised blocks become even more noticeable when contrasting colors are used.
Final Thoughts
The Vintage Rippling Blocks Crochet Pattern is a wonderful combination of simplicity, texture, and timeless style. Its repeating blocks create a gentle wave across the fabric, while the color possibilities make it easy to customize for any project.
Whether you’re making a cozy blanket, a decorative cushion, a colorful scarf, or simply practicing a new textured stitch, this vintage-inspired pattern is a fun addition to your crochet collection.
Once you understand the basic repeat, you’ll find that the pattern becomes wonderfully rhythmic: block, block, peak, block, block, slip stitch.
Choose your favorite yarn colors, grab your crochet hook, and enjoy creating your own beautiful rippling design!

