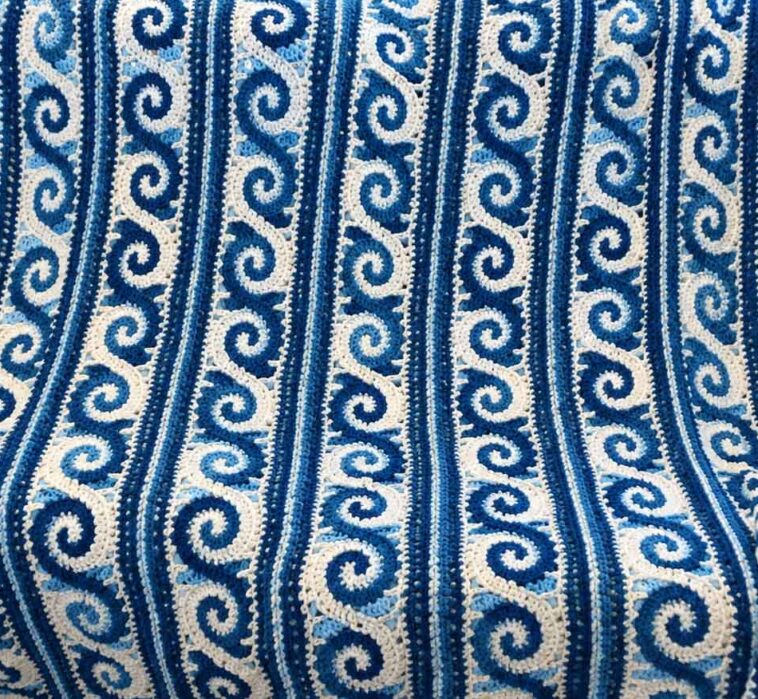
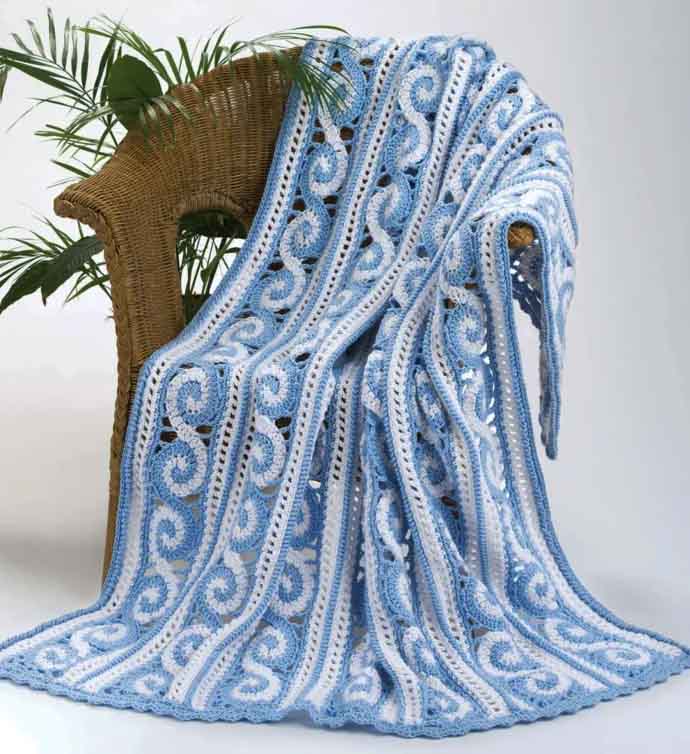
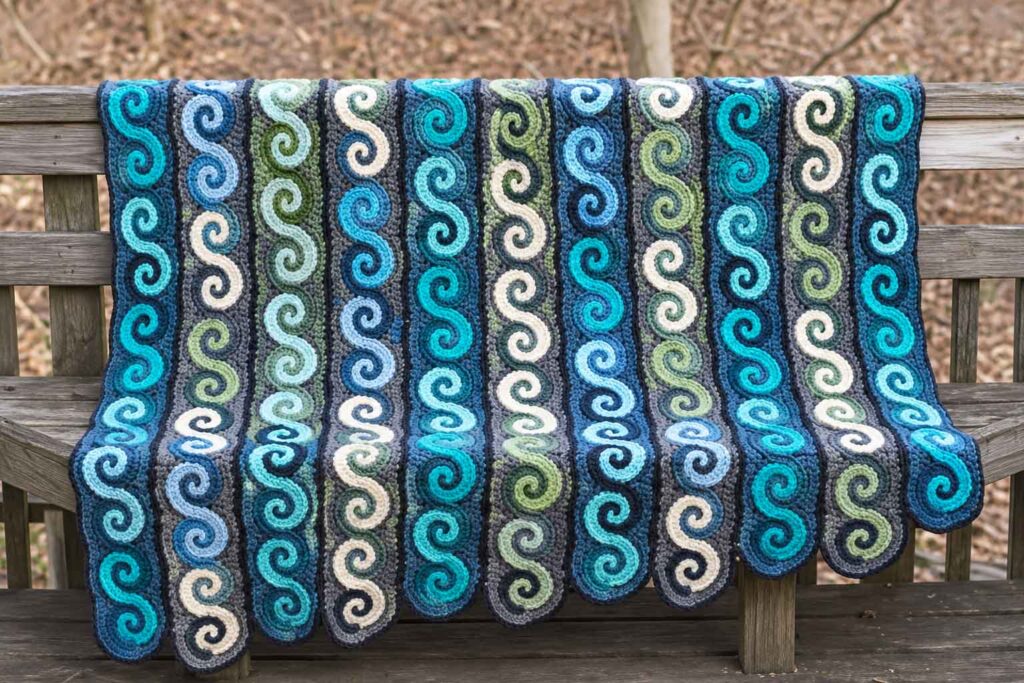
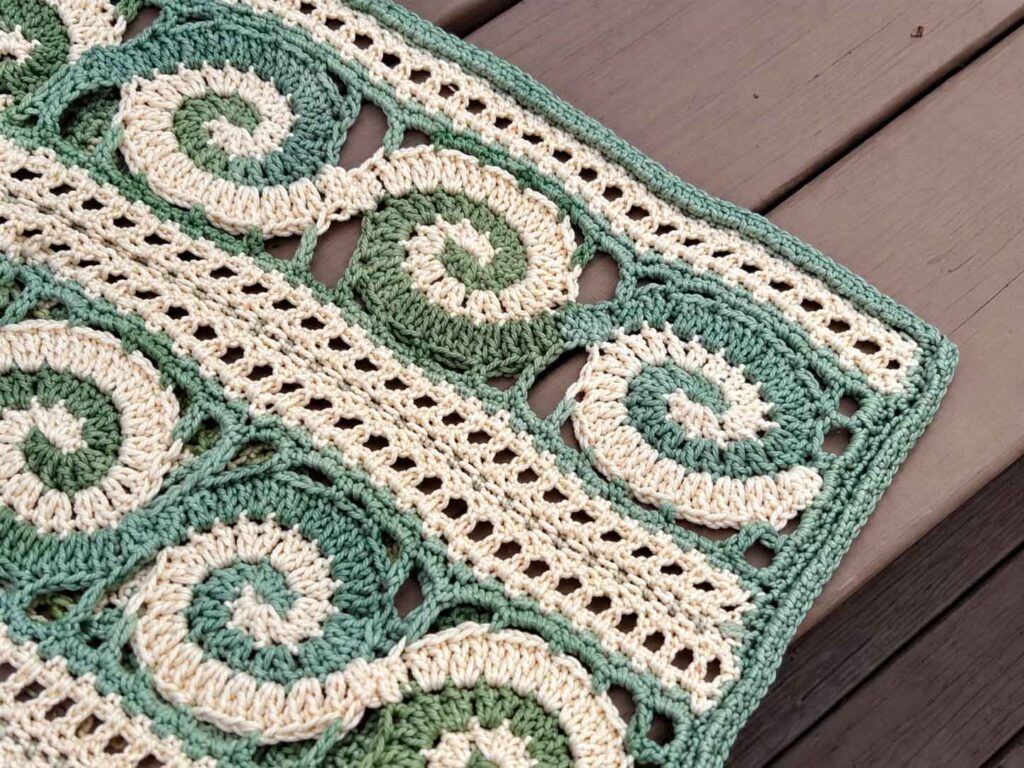
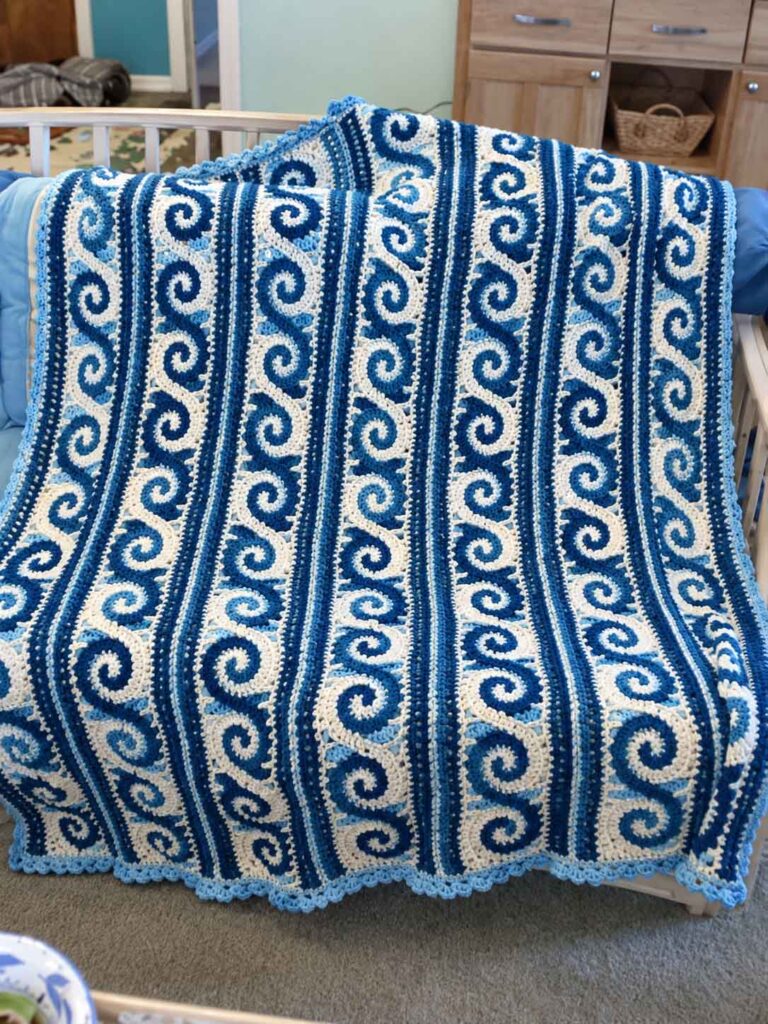
The Spirals Throw is a beautiful two-color crochet blanket made from individual spiral motifs that are joined into seven panels. The contrasting colors create a striking swirling effect, while the simple edging gives the finished blanket a neat, finished appearance.
Spirals Throw Crochet Pattern
Abbreviations
Ch(s) = Chain(s)
Dc = Double crochet
Hdc = Half double crochet
Rev sc = Reverse single crochet
Sc = Single crochet
Sl st = Slip stitch
RS = Right side
WS = Wrong side
St(s) = Stitch(es)
Beg = Beginning
Rem = Remaining
Rep = Repeat
Cont = Continue
WY = Waste yarn
Finished Measurements
Approximately 62 in. (158 cm) wide × 68 in. (173 cm) long.
Materials
One Pound yarn, 454 g / 16 oz; 742 m / 812 yds per ball:
Contrast A: White (0501) — 2 balls
Contrast B: Sky Blue (0508) — 2 balls
US J/10 crochet hook, 6 mm
US K/10½ crochet hook, 6.5 mm
Yarn needle
Removable stitch markers
Waste yarn or locking/knitters safety pins to hold stitches
Gauge
Gauge is not essential for this project. Each completed spiral motif should measure approximately 4 inches when made with the larger hook.
})(jQuery);
Spirals Throw Crochet
Crochet Instructions
Two-Color Spiral Motifs
Make 98 spirals.
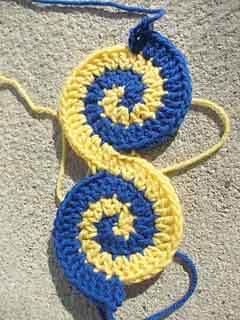
Using the larger hook and Contrast A, wrap the yarn around your finger to form a ring.
Round 1
Continue with A.
Ch 1, then work [sc, hdc, 2 dc] into the ring.
Remove the hook from the working loop and place the loop on a stitch holder.
Attach Contrast B to the ring with a slip stitch. Repeat the instructions between the asterisks using B.
You should have 4 stitches in each color section.
Round 2
Continue with B and work into the stitches of the A-colored section.
Work 2 dc into the sc, 2 dc into the hdc, and 2 dc into each dc.
This creates 8 stitches in the previous color section.
Remove the hook and place the working loop on a holder.
Return to the A loop that was placed on hold. Continue with A and work into the B-colored section, repeating the same instructions.
Round 3
Continue with A and work across the 8 dc of the B section.
Work 2 dc into each stitch.
You will now have 16 stitches worked into the previous color section.
Remove the hook and place the working loop on a holder.
Return to the B loop, continue with B, and repeat the same instructions around the A section.
Round 4
Continue with B and work into the dc stitches of the A section.
Work 2 dc into each of the next 3 dc.
Fasten off B.
Return to the A loop being held and continue with A. Work the same instructions into the B section.
Fasten off A.
Your two-color spiral is complete.
Important: Each spiral is made separately. The completed spirals are then sewn together into panels. The panels receive their own edging before they are joined, followed by the final edging around the entire blanket.
Spirals Throw Crochet Pattern
Assemble the Afghan
Make a total of 98 Two-Color Spirals.
Arrange and sew the spirals together to create 7 panels, with 14 spirals in each panel. Arrange the spirals so the colors line up as shown in the desired layout.
Secure the beginning and ending tails of each spiral to the panel.
Panel Edging
Because the outer edge of each spiral is scalloped, the exact number of stitches may vary slightly from one scallop to another. When necessary, adjust the spacing so the edging remains smooth and even.
The short ends of each panel are squared off by creating two corners at each end using dc, ch 3, dc in one stitch.
Along each spiral, the edging consists of:
dc, [ch 2, sc] repeated 3 times, ch 2, dc
At each panel end, work:
dc, [ch 2, sc] repeated twice, ch 2, dc
The corner double crochet may count as the first or final double crochet in these sequences when appropriate.
Panel Edging — Round 1
With the right side facing, use the larger hook and join Contrast B with a slip stitch in the corner of the end spiral, approximately 2 stitches from the join. Position the yarn so you are ready to work along the long side.
First Spiral
Ch 6. This counts as dc, ch 3.
Work a dc into the same space to complete the first corner.
[Ch 2, skip 2 stitches, sc in the next stitch] 3 times.
There should be approximately 4 stitches remaining before the join between the first and second spirals.
Ch 2, skip 2 stitches, and dc in the next stitch. This completes the side of the first spiral, leaving approximately 2 stitches unworked at the join.
Continue along the long side.
For each following spiral:
Ch 2, skip the first 2 stitches of the next spiral, dc in the next stitch, leaving approximately 4 stitches unworked at the join; [ch 2, skip 2 stitches, sc in the next stitch] 3 times; ch 2, skip 2 stitches, dc in the next stitch.
Repeat across the panel until you reach the final spiral.
At the end of the panel, work [ch 3, dc] in the same space as the final dc to form the corner.
Work across the short end:
[Ch 2, skip 2 stitches, sc in the next stitch] twice, ch 2.
Work the corner:
(dc, ch 3, dc) in the next stitch.
Continue around the remaining long side by repeating the established pattern.
At the final corner, join with a slip stitch to the third chain of the beginning ch-6. Slip stitch into the corner space.
Round 2
In the corner space, work [3 sc, place a stitch marker, 3 sc]. Work 3 sc into each chain space until reaching the next corner.
Repeat from * around the entire panel.
Join with a slip stitch to the first stitch.
You should have approximately 213 stitches along each long side and 15 stitches across each short end.
Fasten off Contrast B.
Side Edging
With the right side facing, continue using the larger hook.
Join Contrast A at the corner marked with the stitch marker, ready to work along one long side.
Row 1
Ch 1, sc in the same space where the yarn was joined.
Sc, ch 1, skip 1 stitch.
Repeat from * until you reach the next marked corner.
Finish with a sc in the marked space.
Turn.
Row 2
Ch 2, counting as the first dc.
Work [dc, ch 1] into every ch-1 space across.
Finish with a dc in the final sc.
Turn.
Row 3
Ch 1.
Sc in the first dc.
Ch 1, sc in the next chain space.
Repeat from * across the row.
Finish with the final sc in the top of the beginning ch-2.
Fasten off.
Repeat the same side edging along the opposite long side of the panel.
Complete the edging on all remaining panels.
Joining the Panels
Place two finished panels together with their wrong sides facing each other.
Matching the stitches along one long edge, use the larger hook and Contrast B to join the panels.
Work one row of reverse single crochet through both panels, joining them securely.
Fasten off.
Repeat this process to join the remaining panels together.
Finishing
Weave in all loose yarn ends with a yarn needle.
Spirals Throw Crochet Pattern
Final Side Edging
With the right side facing and using the smaller hook, join Contrast B with a slip stitch at one corner, positioned to work along the side.
Row 1
Ch 1.
Work 1 sc into every stitch across to the opposite corner.
Do not turn.
Row 2
Ch 1.
Working through the front loops only, work reverse single crochet across the entire edge.
Row 3
Ch 1.
Working through the back loops only, work sc across.
Fasten off.
Repeat along the opposite side edge.
Top and Bottom Edging
With the right side facing, use the smaller hook and join Contrast B with a slip stitch at one corner, ready to crochet across the short end.
Row 1
Ch 1.
Work sc evenly across the entire edge.
When working across the spirals, use either [2 sc, dc] or [2 sc, skip 1], whichever is necessary to keep the edge flat and even.
Turn.
Row 2
Ch 1.
Sc, ch 3, skip 2 stitches.
Repeat from * across the row.
Finish with a sc in the final stitch.
Turn.
Row 3
Ch 1.
Sc in the first stitch.
In each ch-3 space, work:
[sc, hdc, dc, hdc, sc]
Continue across the entire edge.
Finish with a sc in the final stitch.
Fasten off.
Repeat the same edging along the opposite end of the blanket.


 soofha