

 soofha
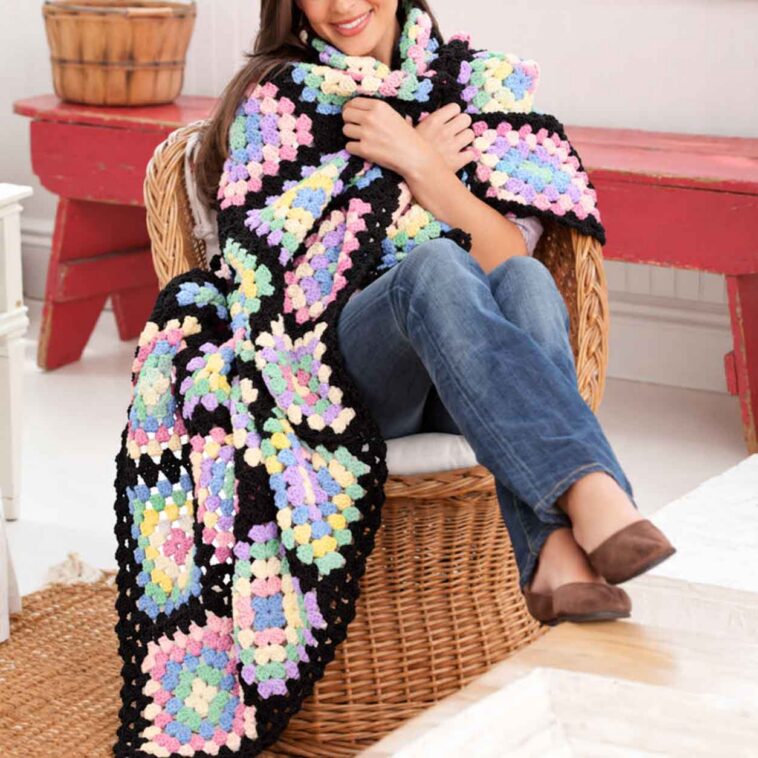
There’s something special about a traditional granny square blanket. It’s one of those crochet projects that never goes out of style, and it’s a lovely way to turn leftover yarn or a collection of favorite colors into something beautiful and useful.
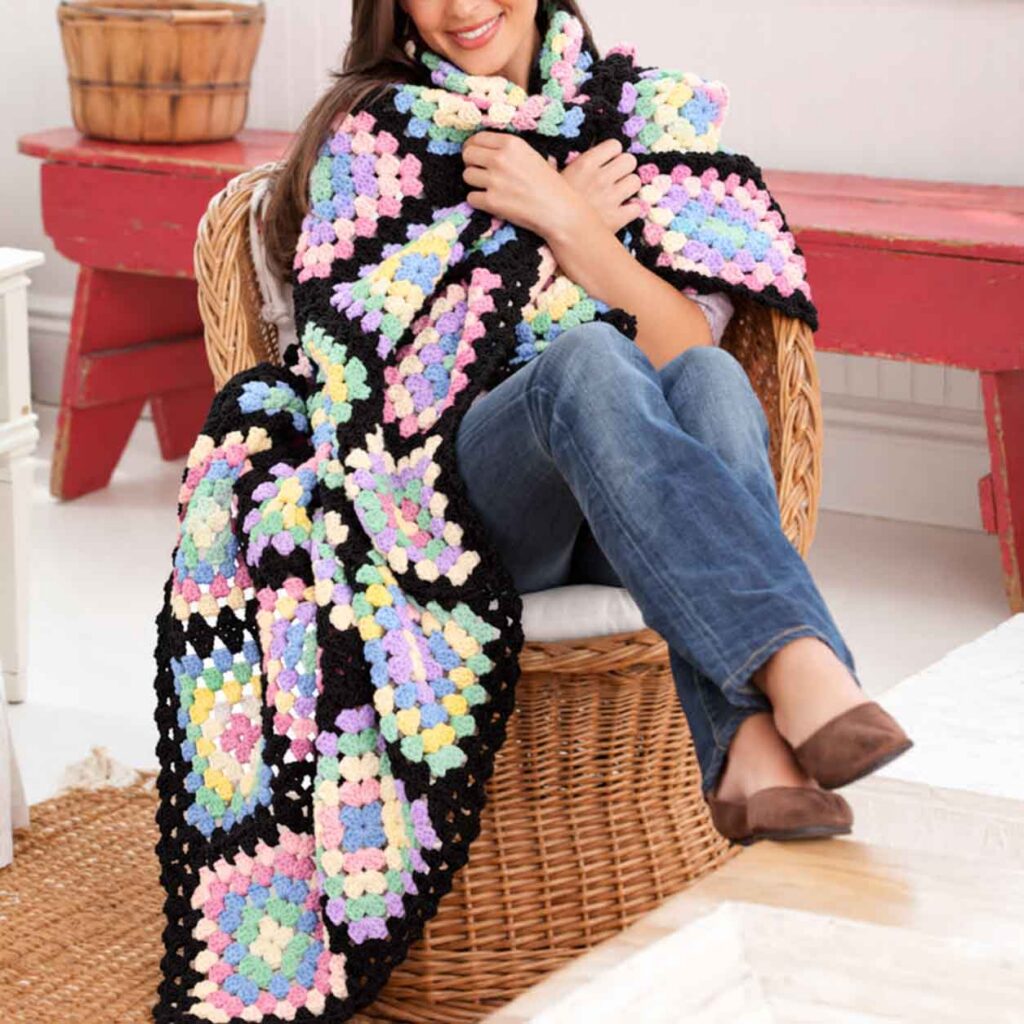
The Traditional Granny Throw brings together the familiar granny square stitch and a colorful combination of yarn shades. Each square is worked in rounds, making it easy to see your progress as the blanket grows. You can choose colors that complement your home decor, create a cheerful mix of shades, or use your favorite yarn colors to make the design your own.
In this tutorial, you’ll find the materials, gauge, color combinations, step-by-step granny square instructions, joining method, and border details needed to make this classic crochet throw.
Materials You’ll Need
Before you begin, gather the following supplies:
- Crochet hooks: 6.0 mm (US J-10) and 5.5 mm (US I-9). The smaller hook is used for the second round of the border.
- Yarn: Red Heart® With Love™ or a similar yarn in a selection of solid and multicolored shades.
- Scissors: For cutting the yarn after each color change.
- Yarn needle: For weaving in the loose ends and sewing the squares together if you choose that method.
Choose colors that work well together, or experiment with contrasting shades for a more playful look.
Gauge and Finished Square Size
Getting the gauge close to the measurements below will help keep your granny squares consistent in size.
- Rounds 1–2: Approximately 3¼ inches in diameter.
- Finished square: Approximately 8 × 8 inches.
Everyone crochets a little differently, so it’s worth checking your first square before making the rest. If your square turns out noticeably larger or smaller, adjust your hook size as needed.
Understanding the Crochet Instructions
A few abbreviations and techniques will make the pattern easier to follow.
Abbreviations
- ch = chain
- dc = double crochet
- sc = single crochet
- sl st = slip stitch
- st(s) = stitch(es)
- sp(s) = space(s)
- yo = yarn over
- RS = right side
Unless otherwise indicated, begin Rounds 2–6 with a chain 3, which counts as the first double crochet.
If you prefer a neater beginning, you can use a beginning double crochet instead. To do this, wrap the yarn around your hook, insert the hook into the specified space, yarn over and draw up a loop, then complete the stitch as you would a regular double crochet.
Fasten off after each round where instructed, and weave in the ends when your work is complete.
Color Combinations for the Granny Squares
This throw uses six different color arrangements to create a varied, coordinated look. Make 7 squares in each color combination, for a total of 42 squares.
The colors are identified by letters in the original pattern. Match each letter to its corresponding yarn shade before starting.
- Square 1: E, C, D, G, B
- Square 2: D, B, F, C, E
- Square 3: F, E, D, B, C
- Square 4: B, G, C, E, F
- Square 5: C, D, E, B, G
- Square 6: G, F, B, C, D
Arrange the completed squares before joining them so you can spread the different color combinations evenly throughout the throw.
How to Crochet the First Granny Square
Each square begins with a small ring and grows through six rounds. The first five rounds establish the traditional granny square pattern, while the sixth round prepares the square for joining.
Round 1: Create the Center
Using the first color and the 6.0 mm hook, chain 4 and join with a slip stitch to form a ring.
Chain 3 (counts as the first double crochet), then work 2 dc into the ring. Chain 2.
Repeat the following sequence three times: 3 dc into the ring, ch 2.
Join with a slip stitch to the top of the beginning chain 3.
You should have 12 double crochet stitches and 4 chain-2 spaces. Fasten off.
Round 2: Form the First Four Corners
With the right side facing you, join the second color in any chain-2 space using the larger hook.
Chain 3, then work 2 dc, ch 2, and 3 dc in the same corner space.
Chain 1. In the next chain-2 space, work 3 dc, ch 2, and 3 dc.
Repeat the corner sequence around the square, placing ch 1 between the corner groups. After the final corner, chain 1 and join with a slip stitch to the top of the beginning chain 3.
You should now have 24 double crochet stitches, 4 chain-2 corner spaces, and 4 chain-1 spaces. Fasten off.
Round 3: Add the Third Color
With the right side facing, join the third color in any chain-1 space using the larger hook.
Chain 3 and work 2 dc in the same space. Chain 1.
In the next chain-2 corner space, work 3 dc, ch 2, and 3 dc. Chain 1.
Work 3 dc in the next chain-1 space, then chain 1.
Continue around the square, working a 3-dc group in each side space and a corner group of 3 dc, ch 2, 3 dc in each corner space. Keep a chain 1 between the groups.
Join with a slip stitch to the top of the beginning chain 3.
You should have 36 double crochet stitches, 4 chain-2 spaces, and 8 chain-1 spaces. Fasten off.
Round 4: Continue Building the Square
With the right side facing, join the fourth color in the first chain-1 space to the left of any corner chain-2 space.
Chain 3 and work 2 dc in the same space. Chain 1.
Work 3 dc in the next chain-1 space, then chain 1.
In the corner space, work 3 dc, ch 2, and 3 dc. Chain 1.
Work 3 dc in the next chain-1 space and chain 1. Continue around, adding a 3-dc group in each side space and the usual corner group at each corner.
Join with a slip stitch to the top of the beginning chain 3.
At the end of this round, you should have 48 double crochet stitches, 4 chain-2 spaces, and 12 chain-1 spaces. Fasten off.
Round 5: Work the Fifth Color
With the right side facing, join the fifth color in the first chain-1 space to the left of any corner chain-2 space.
Chain 3 and work 2 dc in the same space.
Work the following sequence in each of the next two chain-1 spaces: ch 1, 3 dc.
After the second group, chain 1 and work 3 dc, ch 2, and 3 dc in the corner space. Chain 1.
Work 3 dc in the next chain-1 space, then continue around the square following the same pattern. Each side gains another 3-dc group, while the corners remain the same.
Join with a slip stitch to the top of the beginning chain 3.
You should have 60 double crochet stitches, 4 chain-2 spaces, and 16 chain-1 spaces. Fasten off.
Round 6: Prepare the Square for Joining
With the right side facing, join color A in the first chain-1 space to the left of any corner chain-2 space, using the larger hook.
Chain 3 and work 2 dc in the same space.
Work ch 1 and 3 dc in each of the next three chain-1 spaces. Chain 1, then work 3 dc, ch 4, and 3 dc in the corner space.
Continue around, working 3-dc groups in the side spaces with chain 1 between them. Work the same corner sequence at each corner.
Join with a slip stitch to the top of the beginning chain 3 and fasten off.
SEE MORE THAN 30 FREE PATTERNS HERE
Pattern note: The supplied instructions list 4 chain-2 spaces at the end of Rounds 1–5, but Round 6 changes the corner chain to ch 4. Keep the longer chain-4 corners in Round 6, as they are used for the joining and border instructions.
Joining the Granny Squares
Once you’ve finished all the squares, it’s time to bring them together into a blanket.
There are two ways to join them: sew the squares together after completing them, or crochet them together as you work the final round.
Option 1: Sew the Squares Together
If you prefer sewing, complete all 42 squares through Round 6.
Arrange the squares according to your preferred layout, making sure the different color combinations are distributed evenly.
Using a yarn needle, whipstitch the squares together through the back loops of the stitches. Take your time to keep the seams neat and the corners aligned.
Option 2: Join the Squares While Crocheting
If you enjoy a seamless crochet finish, you can join the squares during Round 6.
Complete each square through Round 5, then arrange the squares in the desired layout. Begin with the square at the top left and work its sixth round. Join the remaining squares to their neighbors as you complete their sixth rounds.
For the joining round, use color A and the larger hook. Begin in the first chain-1 space to the left of a corner, chain 3, and work 2 dc in the same space.
Continue following the Round 6 pattern, joining along one or two sides wherever the squares meet.
To join the matching chain-4 corner spaces: Work ch 2, drop the loop from your hook, insert the hook into the corresponding chain-4 space on the neighboring square, and pull the dropped loop through. Chain 2 to complete the connection.
To join the 3-dc groups: Work the first double crochet, drop the loop from the hook, insert the hook into the corresponding second double crochet on the neighboring square, and pull the dropped loop through. Complete the group with the remaining double crochet as directed by the joining pattern.
To join chain-1 spaces: Chain 1, drop the loop, insert the hook into the matching chain-1 space on the neighboring square, and pull the loop through. Chain 1 to continue.
Where four corners meet: Work ch 2, drop the loop, and pull it through the corresponding chain-4 corner space. Chain 1, skip the next chain-4 corner space, insert the hook into the next corresponding corner space, and pull the loop through. Finish with ch 2.
Continue working Round 6, connecting each square along the required sides. At the end of the round, join with a slip stitch and fasten off.
Take care when joining the corners so the blanket lies flat and the squares remain evenly aligned.
Adding the Border
A neat border gives the Traditional Granny Throw a finished appearance and helps frame the colorful squares.
Border Round 1: Work the Granny Groups
With the right side facing and the larger hook, join color A with a slip stitch in any chain-1 space to the left of a corner chain-4 space.
Chain 3 and work 2 dc in the same space.
Work ch 1 and 3 dc in each chain-1 space and each joined chain-4 space across to the next corner.
Chain 1, then work 3 dc, ch 4, and 3 dc in the corner chain-4 space.
Repeat this pattern around the entire blanket, working the same granny groups along each side and the corner sequence at every corner.
Join with a slip stitch to the top of the beginning chain 3.
Border Round 2: Add the Finishing Edge
Switch to the smaller 5.5 mm hook.
Slip stitch into the next double crochet, chain 1, and work (sc, ch 2, sc) in the same stitch.
Continue with ch 1, slip stitch into the next chain-1 space, and ch 1. Work (sc, ch 2, sc) in the center double crochet of the next 3-dc group.
Repeat this sequence across the side until you reach the next corner.
In the corner chain-4 space, work:
(sc, ch 2, sc, ch 3, sc, ch 2, sc).
Continue around the blanket, repeating the edging sequence along each side and using the special stitch combination at every corner.
After completing the final side, work ch 1, slip stitch into the next chain-1 space, and ch 1. Join with a slip stitch to the first single crochet.
Fasten off and weave in all remaining ends with a yarn needle.
Tips for a Beautiful Granny Throw
- Keep your tension consistent. Try to make every square the same size so the finished blanket joins together neatly.
- Check your colors as you go. Lay out the squares before joining them to make sure no one color combination dominates the design.
- Use stitch markers if needed. Marking the corners can help you identify the correct spaces, especially when working the joining round.
- Avoid pulling the seams too tightly. A relaxed joining technique helps the blanket stay flat and flexible.
- Take time to finish the edges. Weaving in loose ends carefully gives the throw a clean, polished look.
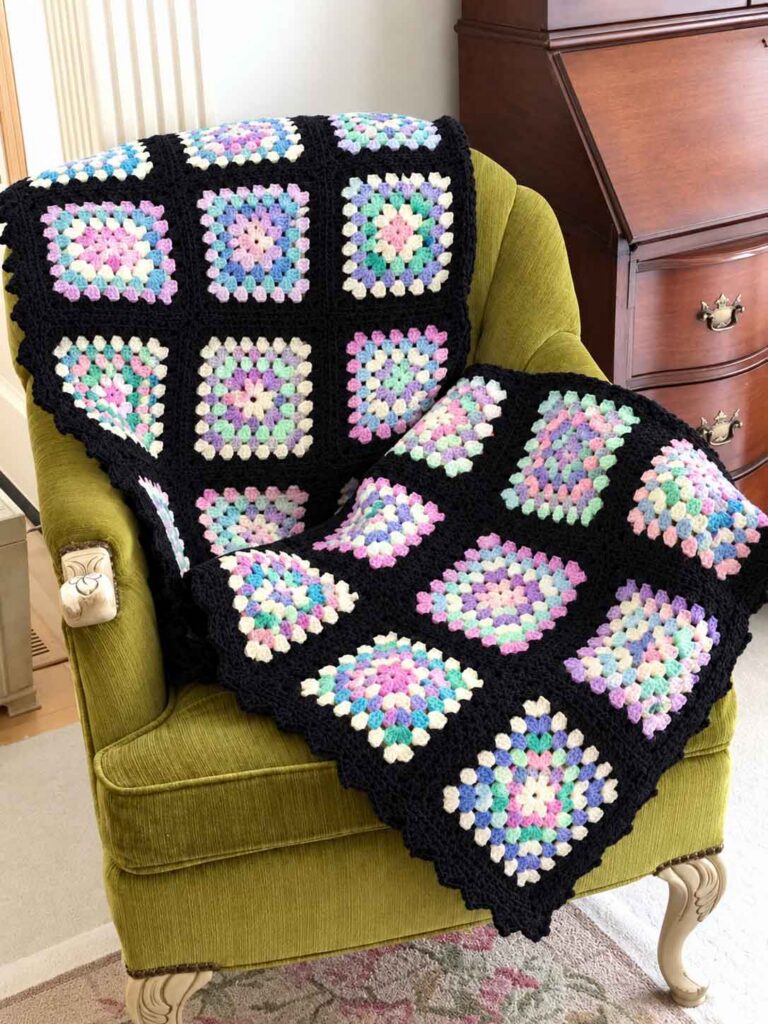
Traditional Granny Throw crochet pattern
Final Thoughts
A Traditional Granny Throw is a lovely project for anyone who enjoys classic crochet and the freedom to play with color. The repeating granny square pattern makes it easy to work on a few rounds at a time, whether you’re crocheting in the evening or fitting a little crafting into a busy day.
Once all the squares are joined and the border is complete, you’ll have a cozy handmade throw that can brighten a living room, decorate a bed, or become a thoughtful gift for someone special.
Choose your favorite yarn shades, settle into a comfortable spot, and enjoy watching your granny squares grow into a beautiful blanket.
Happy crocheting!

