

 soofha
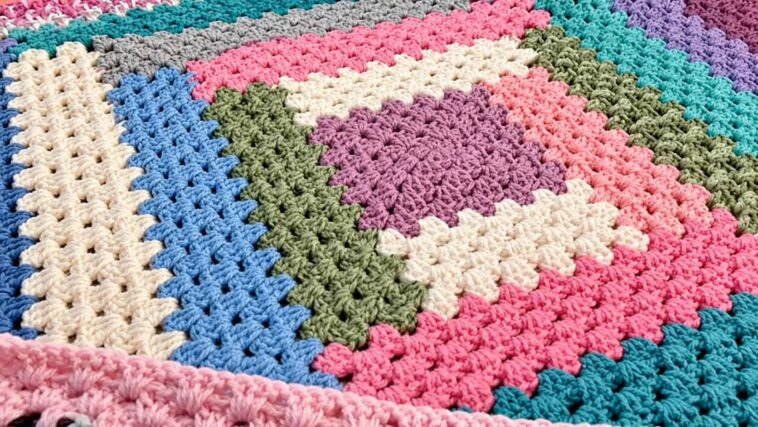
Looking for a crochet blanket pattern that combines classic granny stitches with a fun, colorful design? The Granny Log Cabin Blanket is a lovely project to add to your crochet list. Inspired by traditional log cabin quilts, this blanket brings together the familiar granny-square look and rows of crochet blocks to create an eye-catching design.
One of the things I love about this pattern is how much you can experiment with color. You can choose a few coordinating shades for a soft, classic look or use leftover yarn from your stash to create something bright and cheerful. Either way, the finished blanket will have plenty of character and handmade charm.
The pattern begins with a small granny square, then builds outward with additional blocks worked in different colors. Once you get the hang of the clusters and chain spaces, you’ll start to see the design come together.
Ready to get started? Gather your yarn and crochet hook, and let’s work through the Granny Log Cabin Blanket pattern.
Crochet Abbreviations (US Terms)
Here are the abbreviations used throughout the pattern:
- ch: Chain
- dc: Double crochet
- sl st: Slip stitch
- sp: Space
Special Stitches
- 2-dc cluster: Work 2 double crochets in the same stitch or space.
- 3-dc cluster: Work 3 double crochets in the same stitch or space.
These simple clusters create the textured granny-stitch look you’ll see throughout the blanket.
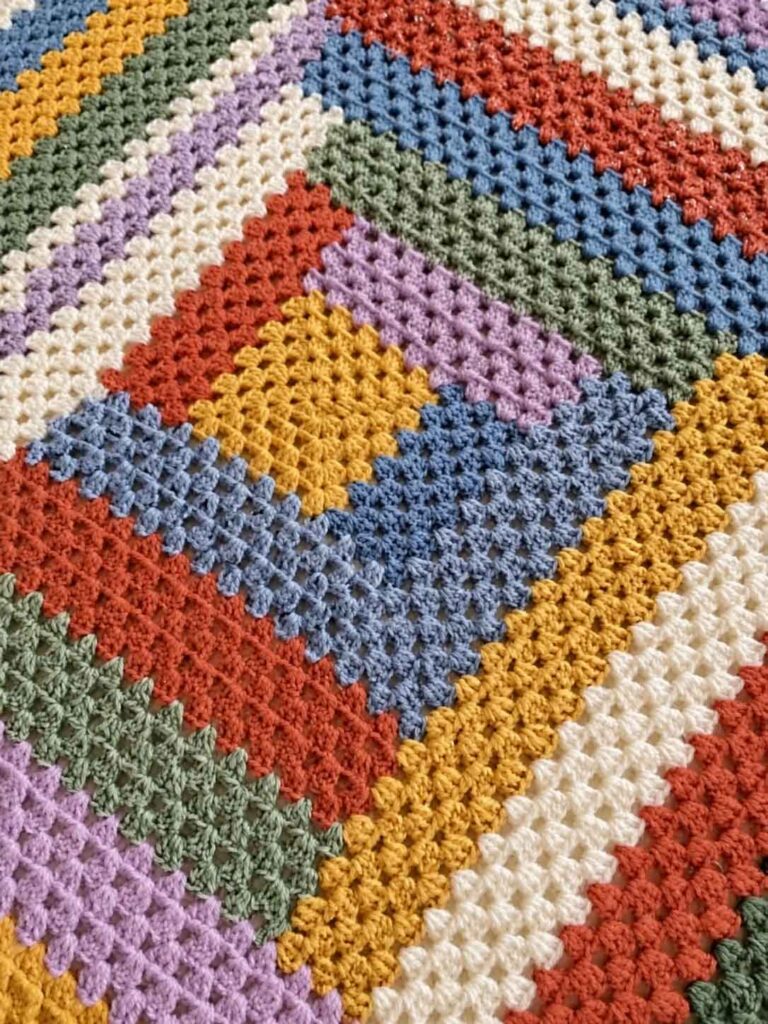
Granny Log Cabin Blanket Instructions
Part 1: Crochet the Initial Granny Square
Using your first yarn color, begin by making the center granny square. This will be the foundation for the rest of your blanket.
Round 1: Chain 4 and join with a slip stitch to form a ring.
Chain 3 (counts as the first double crochet), then work 2 double crochets into the ring. Chain 2 and work a 3-dc cluster into the ring. Chain 2.
Repeat the cluster-and-chain sequence two more times, then join with a slip stitch to the top of the beginning chain-3.
You should have 4 clusters and 4 chain-2 spaces.
Mark the right side of your work with a piece of scrap yarn or a safety pin to make it easier to identify as you continue.
Round 2: Chain 3 (counts as the first double crochet) and turn your work.
Work a 2-dc cluster in the next chain-2 space, chain 2, then work a 3-dc cluster in the same space. Chain 1 to complete the first corner.
In the next chain-2 space, work a 3-dc cluster, chain 2, another 3-dc cluster, and chain 1.
Repeat around the square and join with a slip stitch to the top of the beginning chain-3.
At the end of this round, you should have 8 clusters, 4 chain-2 spaces, and 4 chain-1 spaces.
Round 3: Chain 3 and turn your work.
Work a 2-dc cluster in the next chain-1 space, then chain 1.
In the next chain-2 space, work a 3-dc cluster, chain 2, another 3-dc cluster, and chain 1. Work a 3-dc cluster in the next chain-1 space and chain 1.
Continue around, repeating the corner pattern and working clusters in the chain-1 spaces along the sides. Join with a slip stitch to the top of the beginning chain-3.
You should now have 12 clusters, 4 chain-2 spaces, and 8 chain-1 spaces.
Round 4: Chain 3 and turn your work.
Work a 2-dc cluster in the next chain-1 space and chain 1. In the next chain-2 space, work a 3-dc cluster, chain 2, another 3-dc cluster, and chain 1.
Work a 3-dc cluster in each of the next two chain-1 spaces, chaining 1 after each cluster. Continue around, working the same corner sequence in each chain-2 space and a cluster in each chain-1 space along the sides.
Join with a slip stitch to the top of the beginning chain-3 and fasten off.
Your granny square should now have 16 clusters, 4 chain-2 spaces, and 12 chain-1 spaces.
Part 2: Make the First Block
Turn your work over so you can begin this section on the right side.
Using your next yarn color, follow these instructions to create the first block.
Row 1: Join the yarn in any chain-2 space with a slip stitch. Chain 2, work a double crochet in the same space, and chain 1.
Work a 3-dc cluster followed by chain 1 in each chain-1 space across. Finish with a 2-dc cluster in the last chain-2 space.
Row 2: Chain 3 and turn. Work a 2-dc cluster in the next chain-1 space, then chain 1.
Work a 3-dc cluster in each of the next two chain-1 spaces, chaining 1 after each cluster. Work a 2-dc cluster in the next chain-1 space, then chain 1. Finish with a double crochet in the top of the beginning chain-2.
Row 3: Chain 2 and turn. Work a double crochet in the next chain-1 space, then chain 1.
Work a 3-dc cluster followed by chain 1 in each of the next three chain-1 spaces. Finish with a 2-dc cluster in the last chain-1 space.
Row 4: Chain 3 and turn. Work a 2-dc cluster in the next chain-1 space and chain 1.
Work a 3-dc cluster in each of the next two chain-1 spaces, chaining 1 after each cluster. Work a 2-dc cluster in the next chain-1 space, then chain 1. Finish with a double crochet in the top of the beginning chain-2 and fasten off.
Your first block is complete!
Part 3: Add the Second Block
Rotate your work 90 degrees to the right. Using your next yarn color, you’ll work along the next side to continue building the log cabin design.
Row 1: Join the yarn with a slip stitch in the specified chain-2 space. Chain 2, work a double crochet in the same space, and chain 1.
Work a 3-dc cluster followed by chain 1 in each chain-1 and chain-2 space across to the final chain-2 space. Finish with a 2-dc cluster in the last chain-2 space.
Row 2: Chain 3 and turn. Work a 2-dc cluster in the next chain-1 space and chain 1.
Work a 3-dc cluster followed by chain 1 in each of the next four chain-1 spaces. Work a 2-dc cluster in the last chain-1 space, chain 1, and finish with a double crochet in the top of the beginning chain-2.
Row 3: Chain 2 and turn. Work a double crochet in the next chain-1 space, then chain 1.
Work a 3-dc cluster followed by chain 1 in each of the next five chain-1 spaces. Finish with a 2-dc cluster in the last chain-1 space.
Row 4: Chain 3 and turn. Work a 2-dc cluster in the next chain-1 space and chain 1.
Work a 3-dc cluster followed by chain 1 in each of the next four chain-1 spaces. Work a 2-dc cluster in the next chain-1 space, then chain 1. Finish with a double crochet in the top of the beginning chain-2 and fasten off.
Part 4: Crochet the Edging
The edging gives your Granny Log Cabin Blanket a neat, finished look. You can keep it in one color or choose a contrasting shade to make the border stand out.
Round 1: Join the yarn in the upper-right corner chain-2 space with a slip stitch. Chain 3, work a 2-dc cluster in the same space, and chain 1.
Work a 3-dc cluster followed by chain 1 in each space across the edge.
In each corner chain-2 space, work a 3-dc cluster, chain 2, another 3-dc cluster, and chain 1. Continue around the blanket, repeating the pattern along each side and at every corner.
Round 2: Chain 3 and turn your work. Work a 2-dc cluster in the same chain-1 space, then chain 1.
Work a 3-dc cluster followed by chain 1 in each chain-1 space across. In each corner chain-2 space, work a 3-dc cluster, chain 2, another 3-dc cluster, and chain 1.
Repeat around the blanket and join with a slip stitch to the top of the beginning chain-3.
Round 3 and beyond: Continue working rounds of 3-dc clusters, turning your work at the end of each round. Add as many rounds as you like to achieve your preferred border width.
When you’re happy with the size of the edging, fasten off and weave in all loose ends.
Tips for Your Granny Log Cabin Blanket
Have fun with color. This pattern is a great opportunity to experiment. Choose colors from the same family for a coordinated look, or combine contrasting shades to highlight each block.
Use up leftover yarn. If you have small amounts of yarn left from previous projects, this blanket is a practical way to put them to good use.
Keep your stitches consistent. Even tension helps the blocks sit neatly together and gives the finished blanket a more polished appearance.
Pay attention to the corners. The chain-2 spaces help shape the square and form the corners as you add new sections. Make sure you work the corner stitches in the correct spaces.
Customize the border. You can make the edging as simple or as wide as you prefer. A few extra rounds can give the blanket a more substantial finish.
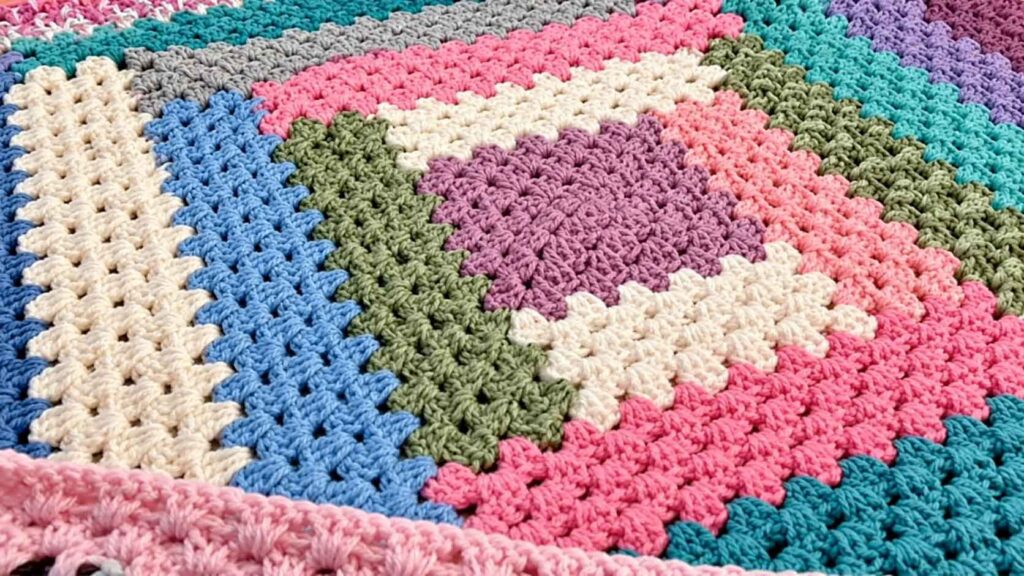
Granny Log Cabin Blanket Crochet Pattern
Granny Log Cabin Blanket Video Tutorial
Prefer to watch someone crochet rather than follow written instructions alone? A video tutorial can be helpful for seeing how the clusters are worked and how the different blocks come together.
Video Tutorial:
Follow along with the written pattern as you watch, especially when working the corners and turning your project between sections.
Final Thoughts
The Granny Log Cabin Blanket is a lovely way to give the traditional granny square a different look. The combination of textured clusters and colorful blocks creates a design that’s both cozy and eye-catching.
It’s also a wonderful project for using yarn you already have at home. Try different color combinations, experiment with the border, and make a blanket that suits your style.
If you make this blanket, we’d love to hear how yours turns out! Which colors would you choose for your Granny Log Cabin Blanket? Share your ideas and finished projects with us at Soofha.
Happy crocheting!

