

 soofha
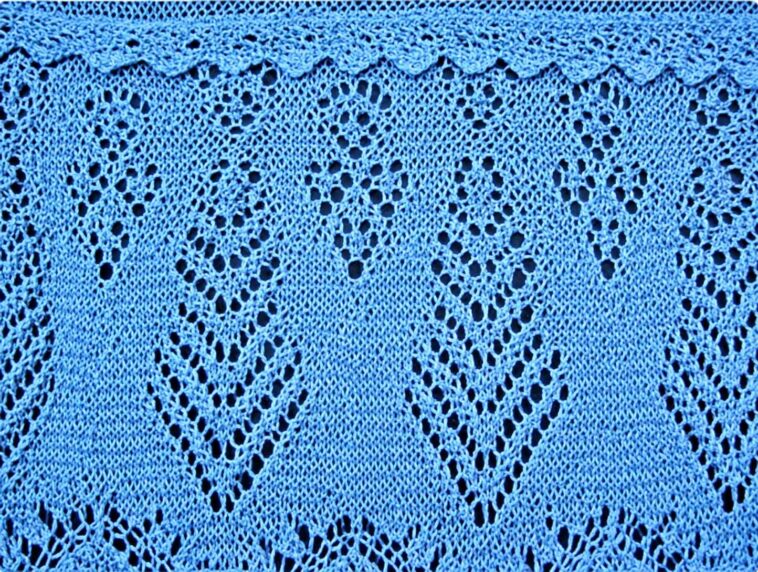
If you love crochet garments with a little bit of texture and a feminine, fitted shape, this crochet dress is a beautiful project to try. The design combines a more structured bodice with a flowing skirt and decorative openwork details, giving the finished dress a lovely balance of coverage and lace-like texture.
The pattern can be adjusted to suit different body measurements, yarn types, and preferred lengths. Before getting started, take a few minutes to make a gauge swatch. It may seem like an extra step, but it can make a big difference when you’re working on a fitted garment.
Materials and Gauge
Yarn
Choose a fine to DK weight yarn for this dress. Mercerized cotton works especially well because it gives the stitches good definition while still creating a comfortable fabric. A lightweight acrylic blend can also be used if you prefer something with a little more softness and drape.
Navy blue, teal, or another rich color would look beautiful with this design, but don’t be afraid to choose a shade that suits your own style.
Crochet Hook
Use a crochet hook that works well with your chosen yarn. For most fine to DK weight yarns, a hook somewhere between 2.0 mm and 3.5 mm should be a good starting point.
Because this is a fitted dress, you generally don’t want the fabric to be too loose or have large gaps between the stitches. If your stitches are naturally loose, you may need to go down a hook size.
Gauge
Gauge is particularly important when crocheting clothing.
Make a small swatch, preferably around 4 x 4 inches, using the main stitch pattern you’ll be working with. Measure both the number of stitches and rows within that area and compare them with your desired measurements.
If your swatch is too large, try a smaller hook. If it’s too small, move up to a larger hook.
Getting the gauge right at the beginning can save you from having to reshape the entire dress later.
How the Dress Is Constructed
This dress can be worked either from the top down or from the bottom up. For a fitted design, however, working in separate sections can make shaping and adjusting the fit much easier.
The construction below starts with the skirt and then moves upward to the bodice.
Section 1: Crochet the Skirt
Starting the Skirt
Begin by making a foundation chain long enough to fit comfortably around the widest part of your hips.
Before joining the chain, lay it flat and make sure it isn’t twisted. Join the first and last chain with a slip stitch to create a large loop.
It’s worth checking the fit at this point. The foundation should sit comfortably around your hips without being so tight that the finished skirt will pull or stretch awkwardly.
Working the Main Stitch
For the main body of the skirt, choose a stitch that gives the fabric enough structure while still allowing it to move comfortably.
Double crochet (DC) is a good choice, although textured stitches can also be used if you’d like more detail.
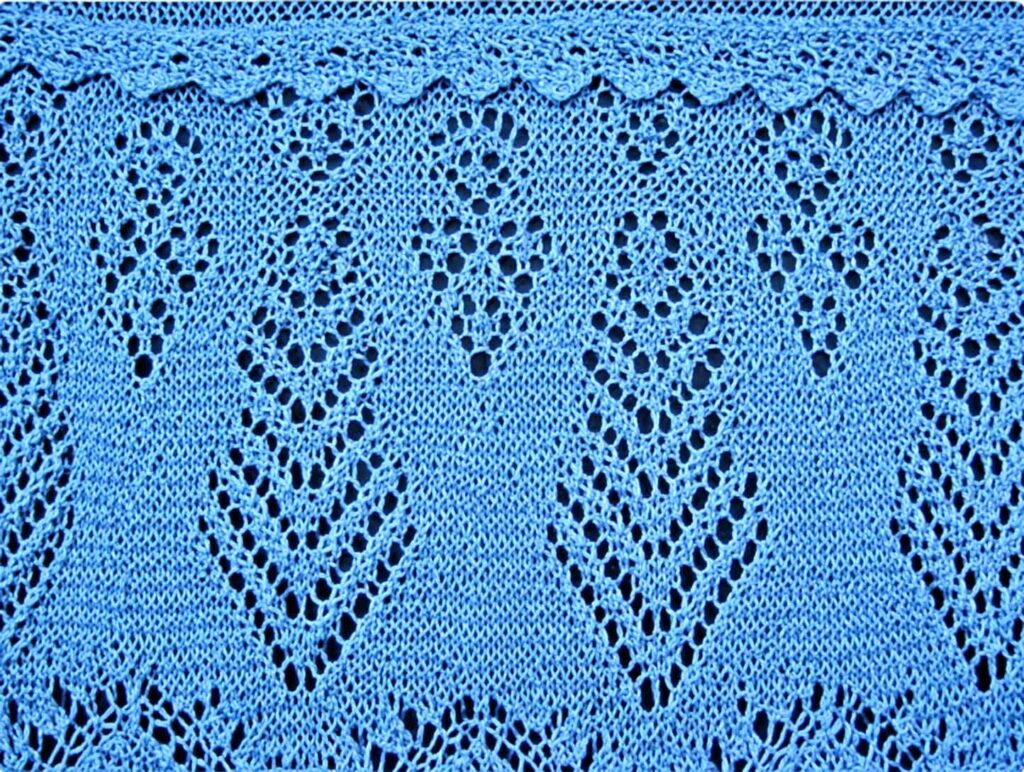
If you want the skirt to have the textured appearance seen toward the lower portion of the design, front post and back post stitches can be worked into selected sections. These raised stitches create a subtle ribbed effect and add more dimension to the fabric.
Shaping the Skirt
Continue crocheting around the skirt, gradually shaping it as you work toward the waist.
Depending on your measurements and the amount of ease you want, decreases can be introduced gradually rather than all at once. This helps the skirt follow the natural shape of the body without creating an obvious change in the fabric.
Keep checking the fit as you go. Crochet fabric can behave differently depending on the yarn you’re using, so measuring the actual piece is more reliable than relying only on stitch counts.
Skirt Length
Continue until the skirt reaches the point where you want the waistline to begin.
You can make the skirt shorter for a casual summer dress or continue adding rows for a longer version.
Section 2: Crochet the Bodice
Once the skirt has reached the waist, it’s time to start working upward into the bodice.
Creating the Waistline
The waist section should fit comfortably without being overly tight.
For a little extra definition, you can work several rows of single crochet (SC) or another relatively dense stitch around the waist. This creates a firmer transition between the skirt and bodice.
Make sure your stitch count corresponds to your waist measurement before moving on.
Shaping the Bust
As you work toward the bust, gradual increases can be added where needed to accommodate the shape of the body.
This is also a good place to introduce a more decorative stitch pattern.
A V-stitch, shell stitch, or another open lace stitch can create the lighter, slightly sheer appearance of the bodice. The openwork also provides a nice contrast to the denser texture of the skirt.
If you prefer more coverage, you can use a less open stitch or wear the dress with a simple lining or slip underneath.
Creating the Armholes
When you reach the armhole area, stop working continuously in the round.
The dress is now divided into the front and back sections, which are worked separately. Working these sections flat allows you to shape the armholes and create a more comfortable fit around the shoulders.
Take your time with the armhole shaping. A smooth curve will make a noticeable difference to how the finished dress sits when worn.
Section 3: Yoke and Neckline
The upper part of the dress is where you can really have fun with the crochet details.
The yoke features decorative openwork that gives the dress a delicate, almost lace-like appearance.
Creating the Lace Yoke
Continue working across the front and back sections using a decorative lace stitch.
A combination of chains and double-crochet clusters works particularly well for creating open circular or floral-looking spaces.
The exact stitch combination can be adjusted depending on the look you want. Keep your tension consistent, especially when working lace stitches, because uneven tension can cause the yoke to become wider or narrower than expected.
Joining the Shoulders
Once the front and back panels have been completed, bring the shoulder sections together.
You can join them using a slip-stitch seam for a flatter finish or use single crochet if you want a slightly more defined seam.
Before making the final joins, try the dress on if possible. This is a good opportunity to check the neckline and shoulder width and make any small adjustments before finishing the seams.
Finishing the Neckline
Finish the neckline with a neat round of single crochet.
For a more decorative edge, you can use reverse single crochet, also called crab stitch.
This creates a slightly raised finished edge and helps prevent the neckline from stretching out of shape with wear.
Section 4: Sleeves
The sleeves are relatively simple compared with the rest of the dress, but they help bring the entire design together.
Starting the Sleeve
Attach your yarn around the armhole and begin working the sleeve.
Depending on your preferred construction, the sleeve can be worked directly in the round or crocheted flat and sewn together afterward.
For a short sleeve, continue working until you’ve reached your preferred sleeve length.
Sleeve Stitch Pattern
You can repeat the lace stitch used on the bodice to create a matching look.
Alternatively, keep the sleeve simple and let the decorative bodice remain the main focal point.
A small lace panel or decorative trim around the sleeve opening can also add a pretty finishing touch.
Finishing the Sleeves
Finish each sleeve with a round of single crochet to give the opening a clean edge.
If you’d like something more feminine, a small picot edging can be added around the sleeve cuffs.
Crochet Stitches Used in This Dress
Several basic crochet stitches come together to create the different textures throughout the dress.
Single Crochet (SC)
Single crochet creates a firm, stable fabric. It’s especially useful around the waist, neckline, sleeve openings, and other areas where you want additional structure.
Half Double Crochet (HDC)
Half double crochet can be used when you want a stitch that’s slightly taller than single crochet but still relatively dense. It can work well in sections where you want a little extra height without making the fabric too open.
Double Crochet (DC)
Double crochet is one of the main stitches used for the body of the dress. Its height allows the project to grow fairly quickly while still giving the fabric a comfortable drape.
It’s also particularly useful for creating lace patterns and decorative clusters.
Lace and Shell Stitches
Open lace stitches, including V-stitches and shell stitches, are ideal for the bodice and yoke.
They create the open spaces that give the dress its delicate appearance while adding plenty of visual interest.
Front Post and Back Post Double Crochet
Front post double crochet (FPDC) and back post double crochet (BPDC) create raised stitches that sit on the surface of the fabric.
When worked in alternating sections, these stitches can create a ribbed or textured effect. They’re especially useful around the waist or toward the hem when you want the dress to have a little extra definition.
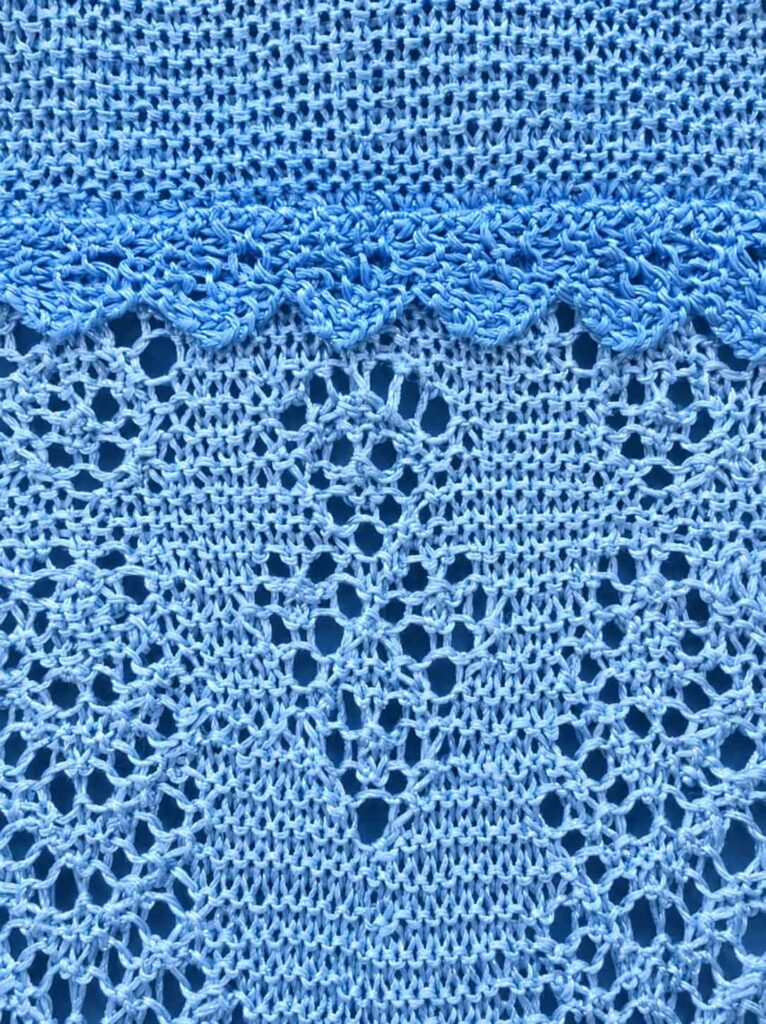
crochet dress pattern
A Few Tips Before You Begin
A fitted crochet dress takes a little more measuring than a blanket or scarf, but the extra effort is worth it.
Keep your bust, waist, and hip measurements nearby while working. Don’t hesitate to try the dress on as you go, especially after finishing the skirt and again before completing the bodice.
Remember that different yarns can stretch and drape very differently. A cotton yarn may feel quite different from an acrylic blend even when both are the same weight.
Most importantly, don’t feel that you have to follow the stitch placement rigidly if you need to adjust the dress for your body. Crochet is wonderfully flexible, and small changes in stitch counts or row length can make the finished garment much more comfortable.
With its combination of textured stitches, delicate lacework, and flattering shaping, this crochet dress makes a beautiful handmade garment for a special occasion or a warm-weather day.

