

 soofha
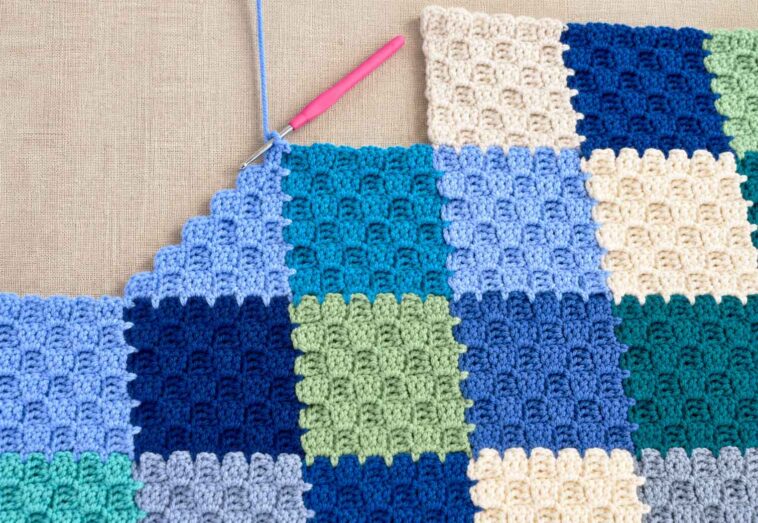
If you’ve ever seen a crochet blanket made up of little diagonal squares, chances are you’ve come across the corner-to-corner crochet technique, often called C2C. It’s one of those crochet methods that looks complicated at first, but once you understand how the small blocks fit together, the pattern becomes surprisingly easy to follow.
C2C crochet is especially fun because you can use it for much more than simple blankets. It works beautifully for scarves, pillows, wall hangings, baby blankets, and even crochet garments. You can also change colors throughout the project to create pictures, geometric designs, initials, and other patterns.
In this tutorial, I’ll walk you through the basic C2C technique step by step so you can get comfortable with the construction before moving on to a larger project.
What Is C2C Crochet?
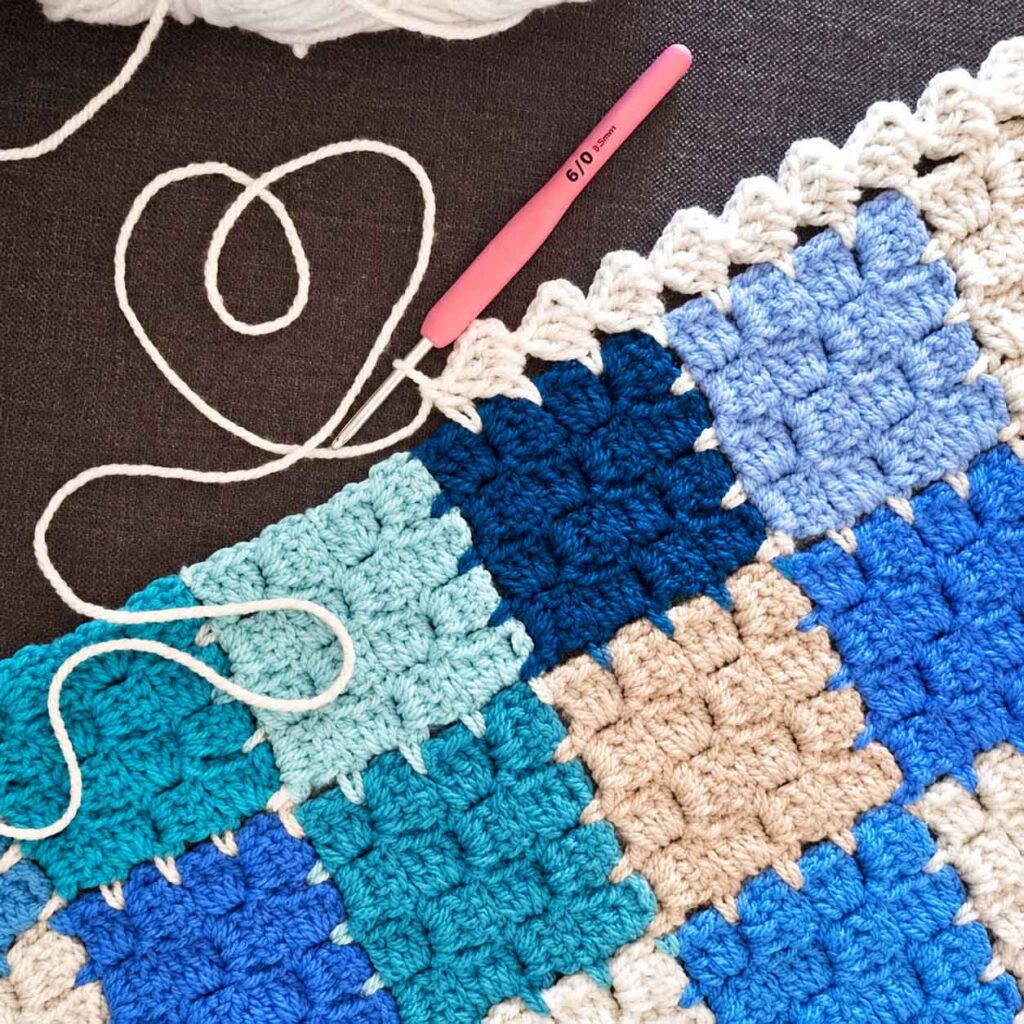
C2C stands for corner-to-corner crochet. Instead of working across a project from one side to the other, you build the fabric diagonally, beginning in one corner.
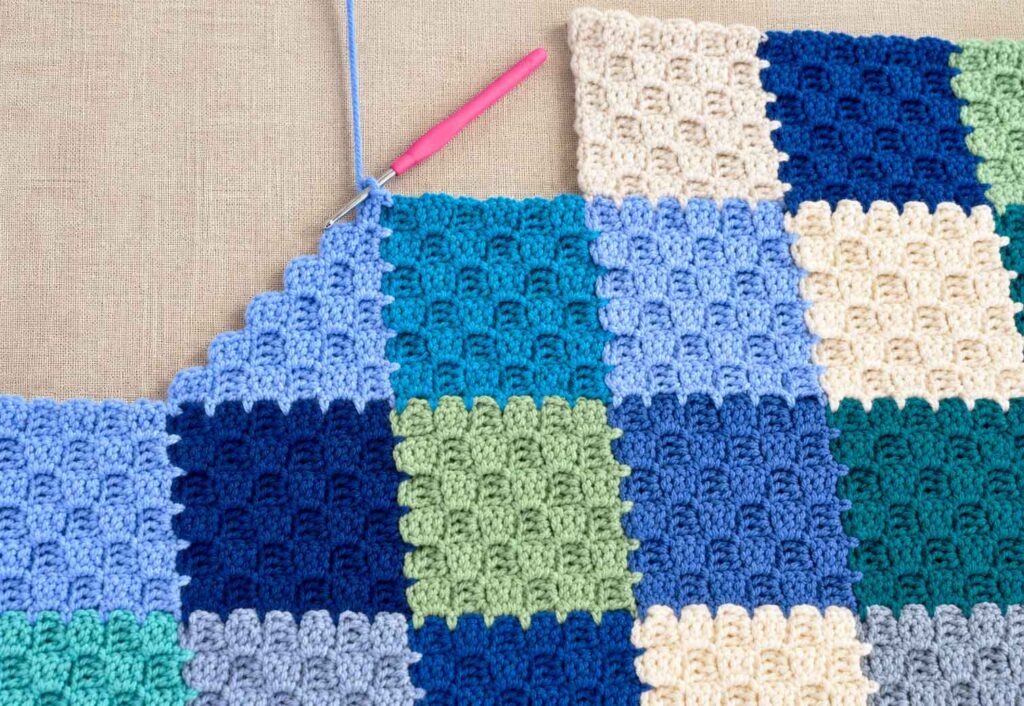
The project starts with a single small block, or “tile.” With each new row, more blocks are added, making the piece wider and wider. Once you reach the widest point, you begin decreasing the number of blocks until you reach the opposite corner.
This creates the characteristic diagonal texture that makes C2C crochet so recognizable.
One thing that can be confusing for beginners is the phrase “C2C stitch.” C2C isn’t really one individual crochet stitch. It describes a method of constructing a project. The traditional C2C technique is made from small groups of double crochet stitches, usually arranged into individual blocks or tiles.
Once you understand how one tile is made and how the tiles are joined together, the rest of the pattern becomes much easier.
C2C crochet stitch
What You’ll Need
You don’t need a long list of supplies to get started.
Yarn
Choose a yarn that feels comfortable to work with. For your first C2C project, a medium-weight yarn is a good option because the stitches are easy to see.
You can work with a single color or use several colors to create a more detailed design.
Crochet Hook
Use the crochet hook recommended for your yarn. If you tend to crochet tightly, you may find that going up a hook size gives your project a softer feel.
Scissors
You’ll need a pair of scissors for cutting the yarn when you finish or change colors.
Tapestry Needle
A tapestry needle is useful for weaving in the yarn ends once your project is finished.
C2C Crochet Abbreviations
The instructions below use standard US crochet terminology.
- ch – chain
- dc – double crochet
- sl st – slip stitch
- sp – space
How to Crochet the C2C Stitch
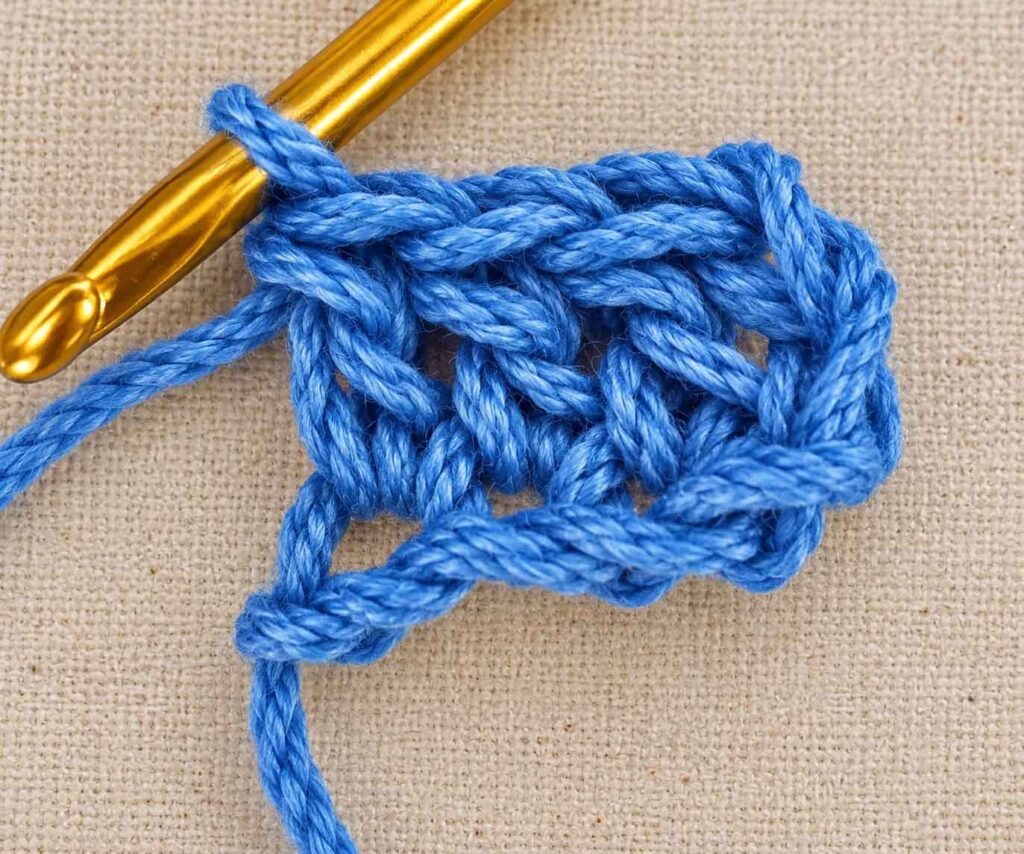
Before starting, remember that each little square is made using three double crochet stitches and a chain-3 space. These small squares are what create the familiar C2C appearance.
Making the First Tile
Start by chaining 6 stitches.
Row 1:
Work 1 double crochet in the 4th chain from your hook. Then work 1 double crochet in each of the next 2 chains.
You should now have your first small C2C block.
Turn your work.
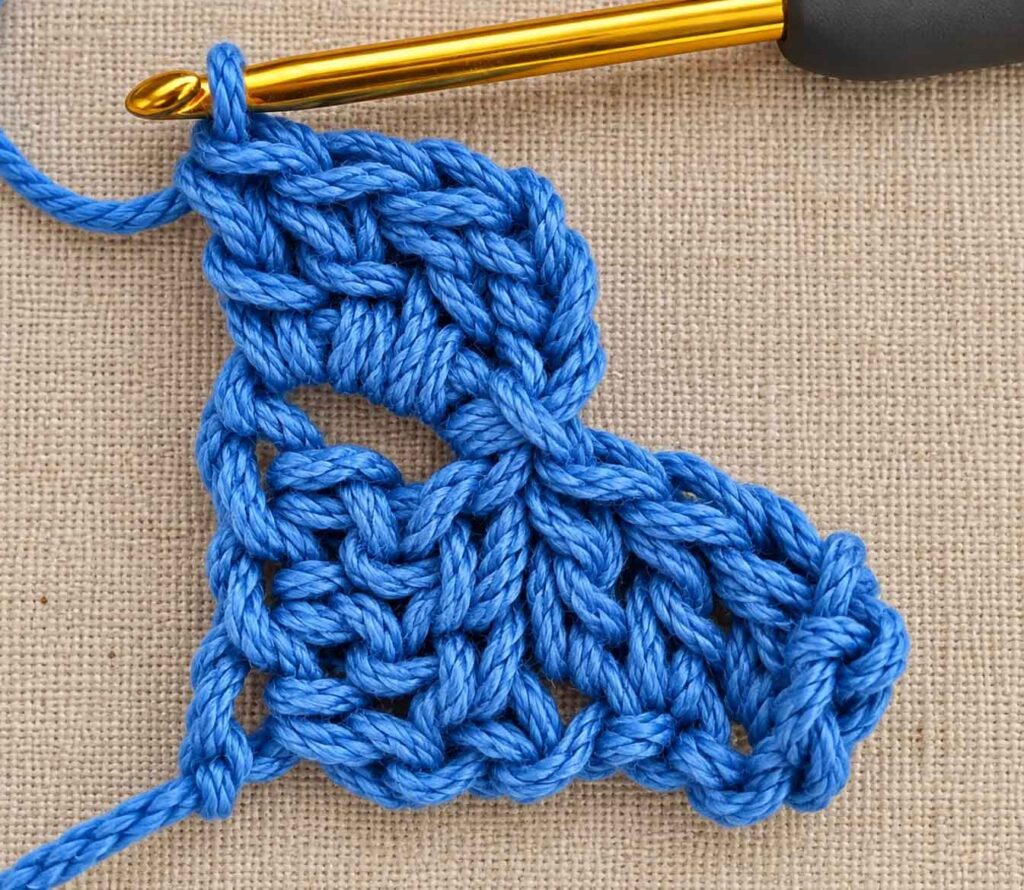
Row 2
Chain 6.
Work 1 double crochet in the 4th chain from the hook, followed by 1 double crochet in each of the next 2 chains.
You have now created another tile.
Slip stitch into the chain-3 space of the first tile.
Chain 3, then work 3 double crochet stitches into the same chain-3 space.
Turn your work.
At this point, you’ll notice that the project is beginning to grow diagonally.
Row 3
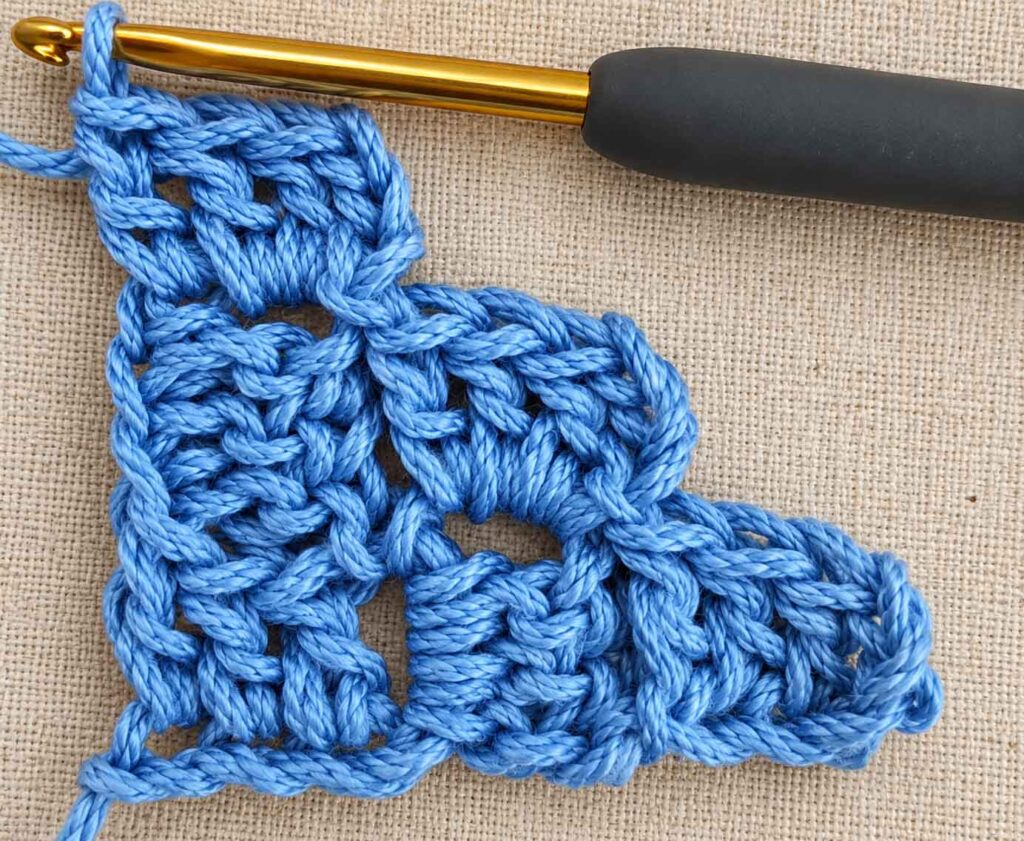
Chain 6.
Work 1 double crochet in the 4th chain from the hook and 1 double crochet in each of the next 2 chains.
Now work across the row as follows:
Slip stitch into the chain-3 space from the previous row, chain 3, then work 3 double crochet stitches into the same chain-3 space.
Repeat this sequence across the row until you reach the end.
Turn your work.
You should now have another diagonal row of C2C tiles.
Row 4
For the next row, slip stitch across the last 3 double crochet stitches you just made and into the chain-3 space.
Then repeat the following sequence:
Chain 3, work 3 double crochet stitches into the same chain-3 space, then slip stitch into the chain-3 space of the next tile.
Continue working across the row.
When you reach the final chain-3 space, don’t add another tile there.
Turn your work.
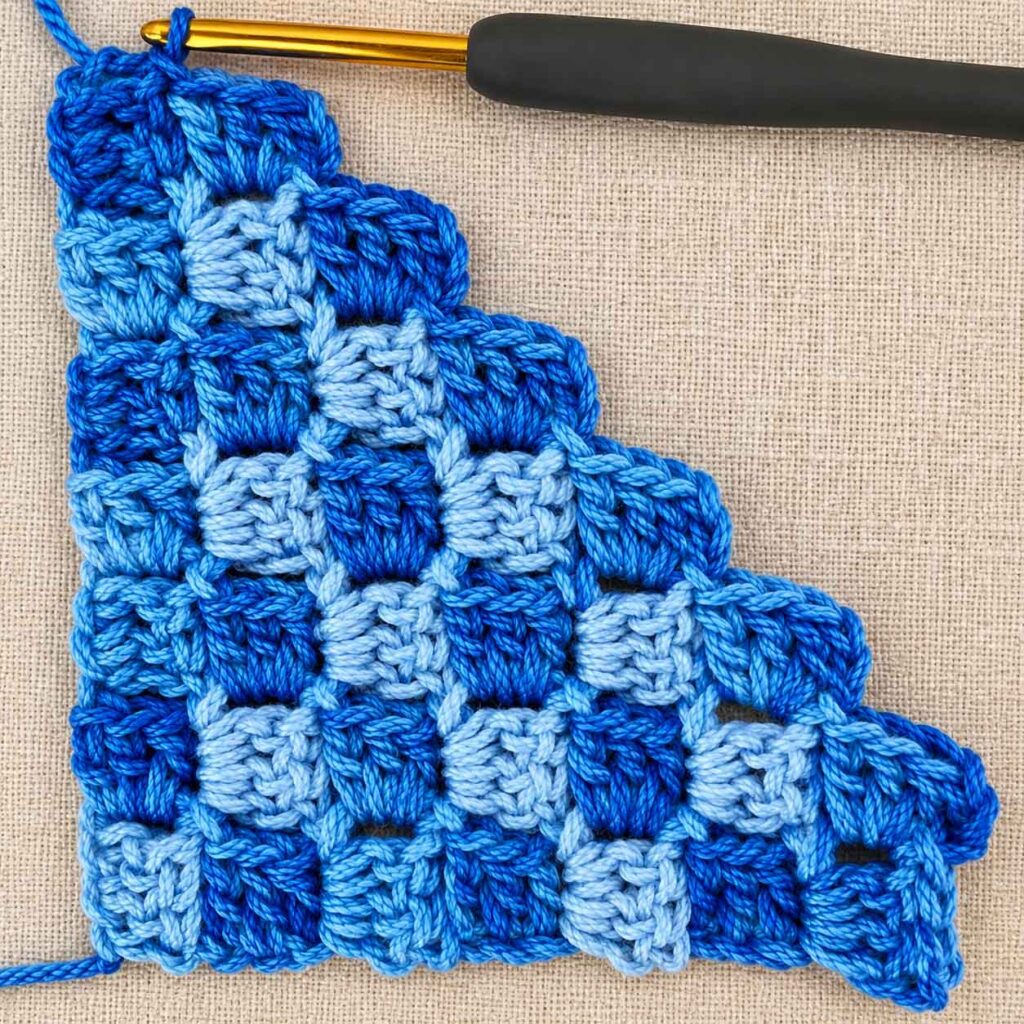
Continue working in the same manner, adding tiles as your project grows. Once you’ve reached the size you want, the decrease section will be used to bring the project back down toward the opposite corner.
How C2C Crochet Grows
One of the easiest ways to understand C2C is to think of the project as a collection of little squares.
You begin with one tile.
Then you increase to:
- 2 tiles
- 3 tiles
- 4 tiles
- 5 tiles
- and so on.
The project continues getting larger until you reach the widest point.
From there, you begin decreasing one tile at a time. Eventually, you’re back down to a single tile at the opposite corner.
This increase-and-decrease construction is what gives C2C projects their diagonal shape.
Tips for Getting Better Results
C2C crochet is fairly straightforward once you get the rhythm down, but a few simple tips can make your first project much easier.
Keep Your Tension Consistent
Try not to crochet some blocks tightly and others loosely. Uneven tension can make the tiles look different in size and can cause the finished fabric to look wavy.
If your first few rows don’t look perfect, don’t worry. Your tension usually becomes more consistent as you get comfortable with the movement of the stitch.
Count Your Tiles
Counting the tiles in each row is one of the easiest ways to catch mistakes early.
If you’re following a graph pattern, keep track of where you are after every row rather than trying to remember several rows at once.
Don’t Be Afraid to Practice
If you’ve never tried C2C before, start with something small. A coaster, washcloth, or small square is enough to help you understand how the blocks are connected.
Once the technique feels natural, you can move on to a blanket or larger graphgan.
Experiment With Color
This is where C2C really becomes exciting.
You can work the entire project in one color for a simple, textured look, or change colors to create pictures and geometric patterns. Because C2C is built from individual blocks, it’s particularly well suited to graph-based crochet designs.
Try experimenting with two or three colors first before tackling a complicated picture.
Check Your Work as You Go
C2C patterns can become difficult to fix if you discover a mistake many rows later.
Take a moment to look at your project after each row. If something doesn’t line up, it’s usually much easier to undo a few stitches right away than to repair a large section later.
Watching a C2C Crochet Tutorial
If written crochet instructions aren’t your favorite way to learn, watching someone work through the technique can make a huge difference.
A video tutorial lets you see exactly where the hook goes, how the tiles are joined, and how the project turns at the end of each row. This can be especially helpful when you’re making your first few C2C blocks.
For a visual demonstration, you can look for a C2C crochet tutorial from The Purple Poncho. Watching the movements while following the written instructions above can help everything click into place.
You can also explore additional C2C resources and tutorials from crochet designers such as Petals to Picots.
What Can You Make With C2C Crochet?
Once you know the basic technique, there are so many directions you can take it.
C2C is commonly used for:
- Baby blankets
- Throw blankets
- Graphgans
- Pillows
- Scarves
- Shawls
- Wall hangings
- Home décor
- Personalized gifts
- Geometric crochet designs
It’s also a wonderful technique for making personalized gifts because you can incorporate names, initials, animals, hearts, flowers, or other simple images into a graphgan.
Access the Tutorial/ C2C Crochet Stitch Tutorial
Final Thoughts
C2C crochet may look intimidating when you first see a finished project, but the basic idea is actually quite simple: make small crochet tiles and connect them diagonally as you work from one corner to the other.
Once you’ve practiced the first few rows, you’ll start to see the pattern come together. From there, you can experiment with different yarn colors, sizes, and designs to make the technique your own.
Don’t worry if your first few tiles aren’t perfect. Crochet is very much a learn-as-you-go craft, and your tension and rhythm will improve with every row.
So grab your favorite yarn, pick up your hook, and give C2C crochet a try. You may be surprised by just how quickly those little blocks turn into something beautiful.

