

 soofha
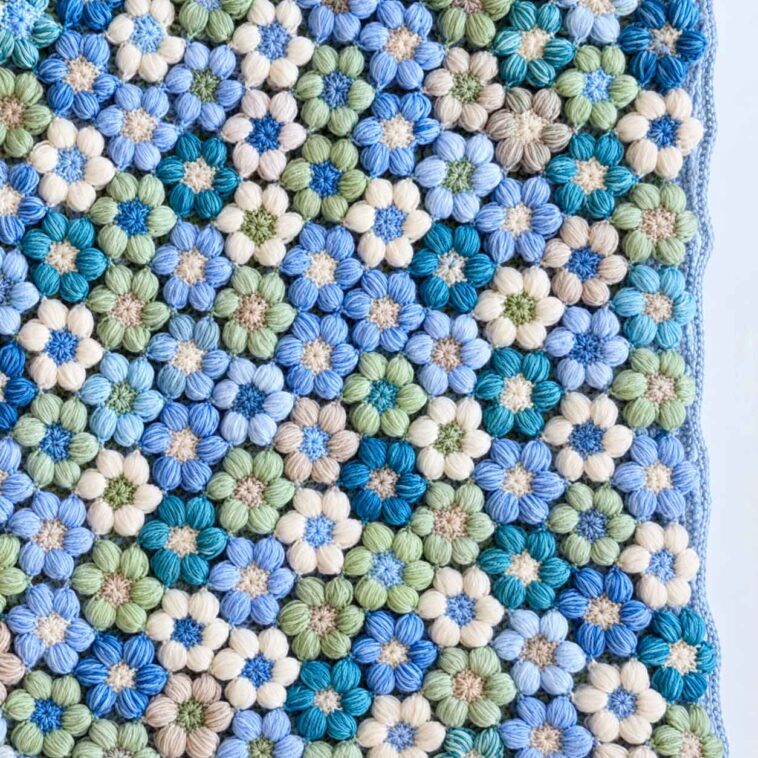
There’s something special about crochet flowers. They’re small, cheerful, and can completely change the look of a project with just a few stitches. If you enjoy adding little handmade details to your crochet work, these Crochet Puff Stitch Flowers are a lovely project to try.
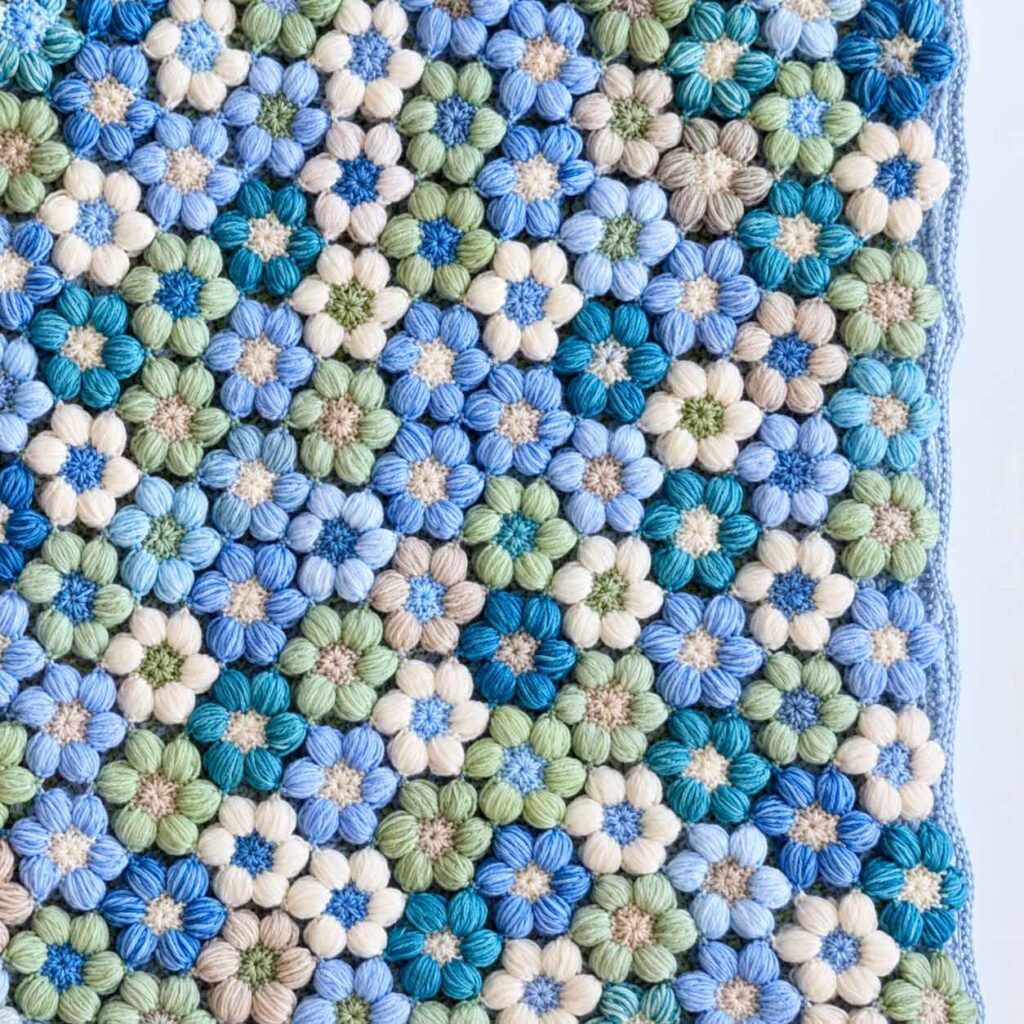
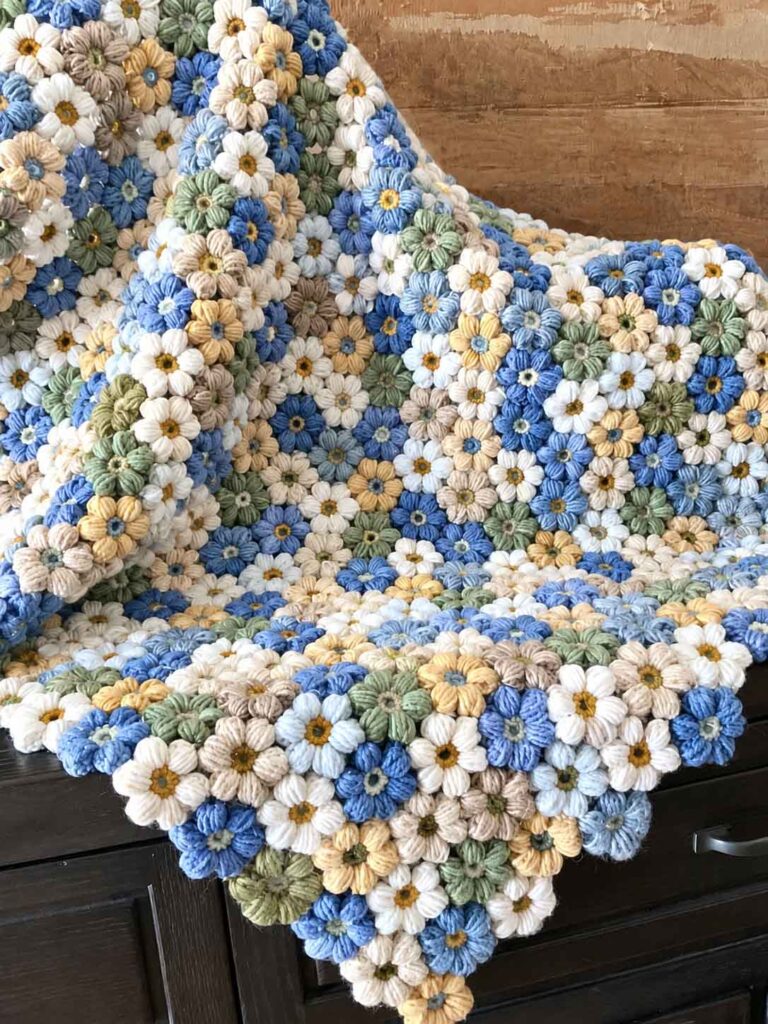
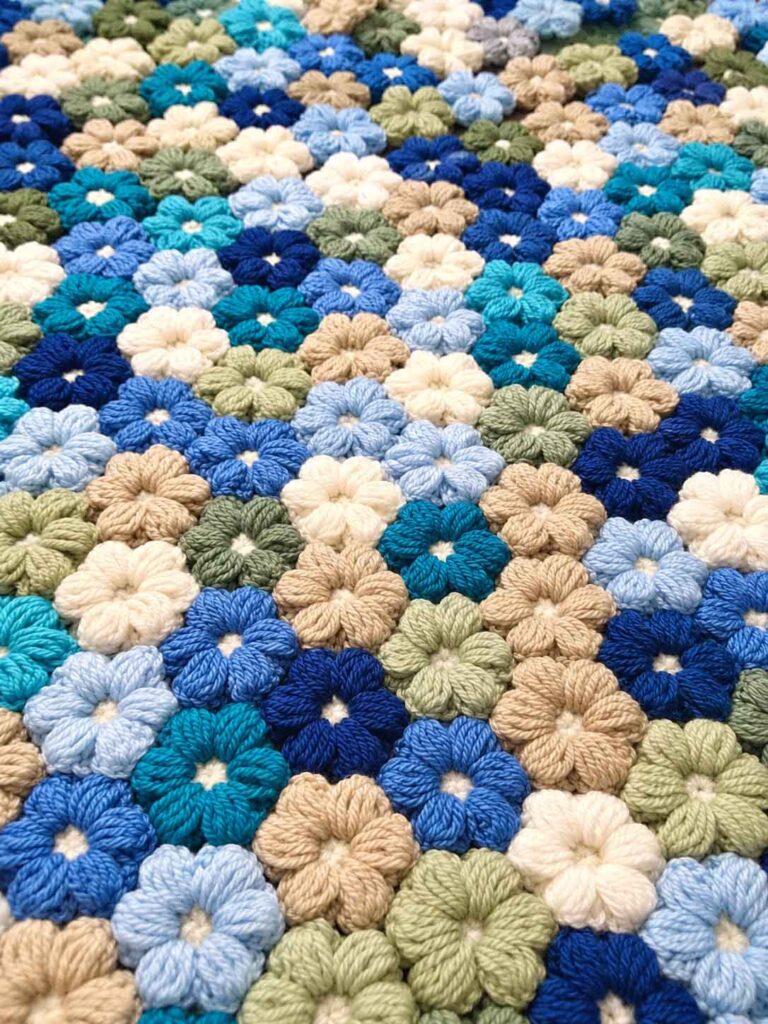
The puff stitches give each petal a soft, raised texture that makes the flower stand out. You can use these little flowers to decorate hats, bags, scarves, blankets, hair accessories, home décor, or even make several of them into a pretty garland.
The best part is that they don’t take very long to make. Once you get comfortable with the puff stitch, you can easily make several flowers in different colors and create your own combinations.
So, grab your yarn and crochet hook, and let’s get started!
Materials Needed
You only need a few basic supplies for this project:
- Yarn: Use your favorite yarn in the color of your choice. Different yarn weights will give you flowers of different sizes.
- Crochet Hook: Choose a hook that works well with your yarn.
- Yarn Needle: For weaving in the ends.
- Scissors: For cutting the yarn.
You can keep the flower simple with one color or experiment with several shades. A bright center with contrasting petals can look especially pretty.
How to Crochet Puff Stitch Flowers
Step 1: Make the Magic Ring
Start your flower with a magic ring. This creates an adjustable center and gives the flower a neat, closed middle.
If you’re already comfortable making a magic ring, you can use your usual method. If not, here’s a simple way to get started.
Make the loop: Wrap the yarn around your finger once or twice to form a loop.
Insert the hook: Put your crochet hook through the loop, pull the working yarn through, and then pull it through the loop on your hook. This does not count as a stitch.
Work single crochet stitches: Make single crochet stitches around the yarn loop.
Make 5 single crochets: Continue until you have 5 single crochet stitches around the loop.
Tighten the center: Gently pull the short yarn tail to bring the stitches together and close the center.
Join the round: Make a slip stitch into the first single crochet to close the circle.
Fasten off: Cut the yarn and pull the tail through the final loop to secure it.
At this point, you may notice that the finishing process makes the stitch count appear as 6. This is simply part of how the flower is joined together.
Step 2: Create the First Puff Stitch Petal
Now comes the fun part—the puff stitch petals.
The puff stitch is what gives these flowers their lovely three-dimensional texture. You’ll be working several loops into the same stitch before pulling them together to form one full petal.
Follow these steps carefully:
- Insert your crochet hook into the first stitch.
- Chain 3.
- Insert the hook back into the first stitch, yarn over, and pull up a loop. Try to make this loop approximately the same height as the 3-chain.
- Yarn over again, giving you 3 loops on the hook.
- Insert the hook into the first stitch once more and pull up another loop. You should now have 4 loops on your hook.
- Yarn over again.
- Continue working into the same stitch, pulling up loops until you have 9 loops on your hook.
- Yarn over one final time, giving you 10 loops on the hook.
- Insert the hook into the first stitch and pull the yarn through the fifth loop.
- Yarn over.
- Pull the yarn through all 9 loops remaining on the hook.
- You’ll have a small loop at the end of the puff.
- Pull the long end of the yarn through this small loop to secure the petal.
- Chain 3.
Take your time with this first petal. The most important thing is keeping the pulled-up loops roughly the same height. This helps the finished flower look even and gives the petals their characteristic puffed appearance.
Step 3: Make the Remaining Petals
Once the first petal is finished, you can repeat the same process around the center.
- Insert your hook into the next stitch of the magic loop.
- Pull the yarn through and make another chain of 3.
Crochet Puff Stitch Flowers Pattern
For the next petal, repeat the puff-stitch process from the earlier steps. Continue working one petal into each stitch around the magic ring.
As you work, the flower will gradually begin to take shape. Don’t worry if the petals look a little loose at first. Once all the petals are finished and the flower is shaped, the texture will become much more noticeable.
Continue around the center until you have completed all of the petals.
Step 4: Join the Last Petal
After making the final petal, secure the last chain with a slip stitch into the sixth stitch of the magic circle.
Give the flower a gentle tug and arrange the petals with your fingers. This little bit of shaping can make a big difference in the finished appearance.
Step 5: Finish Your Flower
There are just a few finishing touches left.
Use a yarn needle to weave in any loose ends on the back of the flower. Trim away any excess yarn once the ends are secure.
Then gently shape each puff stitch petal so the flower sits nicely.
If you want to add a little extra decoration, sew a small button, bead, or decorative embellishment into the center. This is also a great way to personalize the flower and coordinate it with another crochet project.
Ideas for Using Crochet Puff Stitch Flowers
These flowers are small enough to use for all kinds of crochet projects. Here are a few ideas:
- Add one to a crochet hat or headband.
- Sew several flowers onto a blanket.
- Decorate a crochet bag or purse.
- Use them as appliqués on baby projects.
- Attach one to a scarf or shawl.
- Make a colorful flower garland.
- Add them to gift wrapping for a handmade touch.
- Use them as hair accessories.
- Combine different colors to create a larger floral design.
You can also play around with different yarn weights and hook sizes. A finer yarn will create a smaller, delicate flower, while thicker yarn can give you a larger and chunkier version.
This project was inspired by a lovely PDF by Brigitte Read. You can find the original PDF here.
Access the PDF Here!
Have Fun With Different Colors
One of my favorite things about small crochet flowers is how easy they are to customize.
You could make the petals all one color, use a contrasting color for the center, or create a collection of flowers in several different shades. Soft pastels would be beautiful for baby projects, while bright colors would make a fun addition to bags, blankets, and accessories.
Don’t be afraid to experiment. Sometimes a color combination you didn’t expect ends up being your favorite!
Final Thoughts
These Crochet Puff Stitch Flowers are a quick little project, but they have plenty of personality. Once you make the first one, the next few become much easier, and before you know it, you may find yourself making a whole bunch of them.
They’re also a great way to use leftover yarn from other projects, so don’t throw away those small scraps. A few yards of yarn can be enough to create a sweet little flower.
I hope you enjoyed making this puff stitch flower as much as I enjoyed sharing the pattern with you. Have fun choosing your colors, shaping your petals, and finding creative ways to use your finished flowers.
If you enjoyed this project, be sure to explore more crochet patterns and stitch ideas here at Soofha.
Happy crocheting! 🧶🌸

