

 soofha
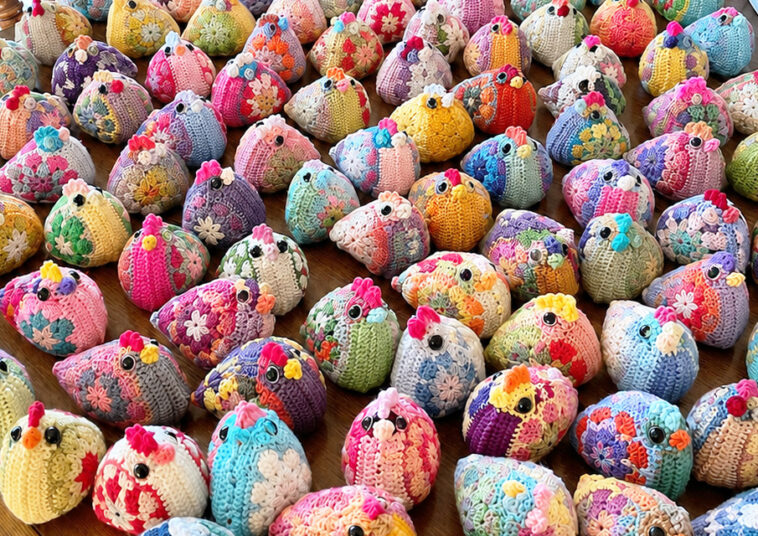
If you love charming crochet projects with plenty of personality, this Granny Square Chicken is sure to make you smile. It combines the timeless look of classic granny squares with simple shaping techniques to create an adorable little chicken that works up quickly.
This pattern is also a wonderful way to use leftover yarn. Mix and match your favorite colors to create colorful chickens, or stick with a coordinated palette for a more traditional look. They make sweet handmade gifts, cute decorations, and fun additions to a crochet collection.
Whether you’re a confident beginner or an intermediate crocheter, this project is an enjoyable way to practice basic stitches, sewing, stuffing, and color changes.
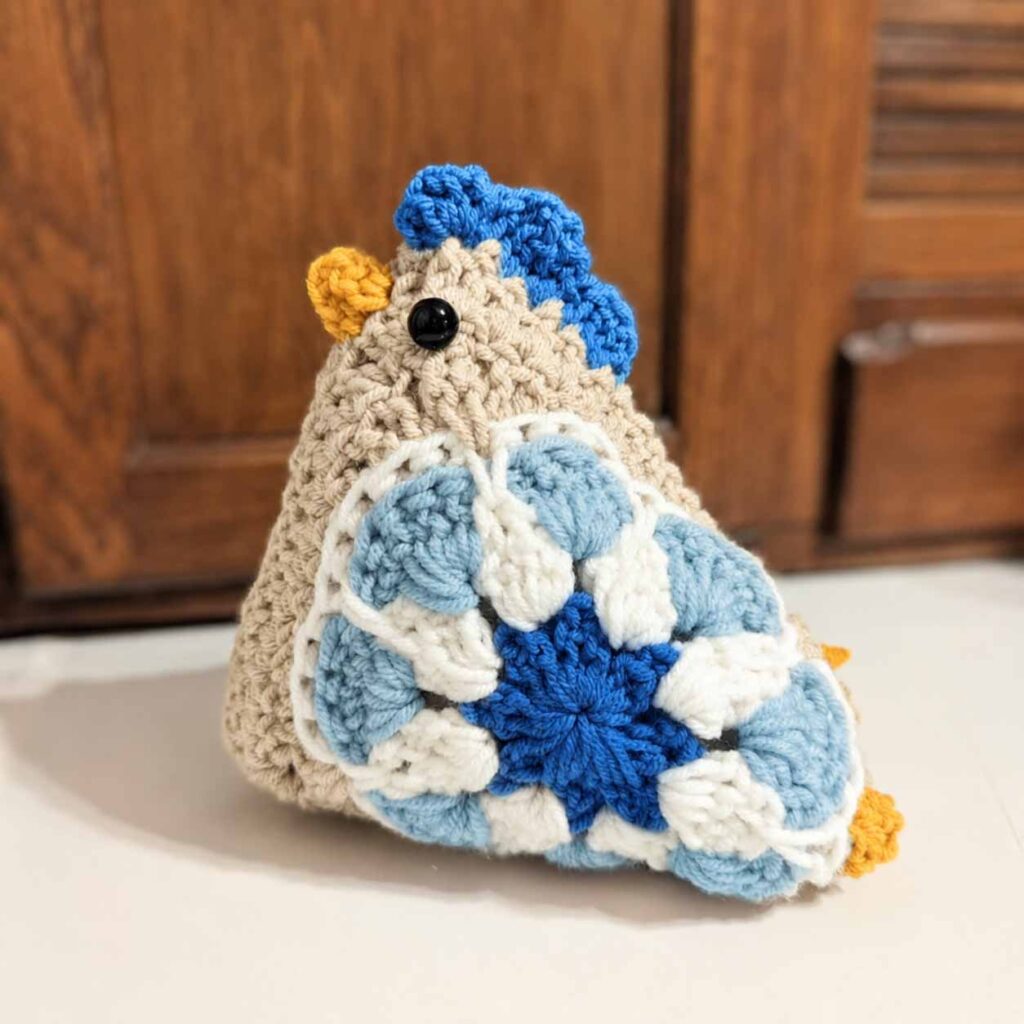
Finished Size
- Height: Approximately 3.5 inches
- Length: Approximately 4 inches
The finished size may vary slightly depending on your yarn weight, hook size, and crochet tension.
Skill Level
Beginner to Intermediate
This project is suitable for crocheters who know the basic crochet stitches and are comfortable working with multiple colors. You should also be familiar with fastening off, sewing crochet pieces together, and attaching small embellishments.
Crochet Abbreviations
The pattern uses standard crochet terminology:
- ch – Chain
- sl st – Slip stitch
- sc – Single crochet
- hdc – Half double crochet
- dc – Double crochet
- tr – Treble crochet
- FO – Fasten off
Materials You’ll Need
Gather the following supplies before getting started:
- Medium-weight #4 yarn in your chosen colors
- 2.75 mm or 5 mm crochet hook, depending on your preferred tension
- 12 mm plastic safety eyes
- Fiberfill stuffing
- Yarn needle
- Scissors
Tip: This is an excellent stash-busting project, so don’t be afraid to combine several bright or contrasting yarn colors.
How to Crochet the Granny Square Chicken
Step 1: Prepare and Join the Granny Squares
First, crochet two granny squares using your preferred granny square pattern. You can use matching squares or create two completely different color combinations for a more colorful chicken.
Once both squares are finished, place them together with the wrong sides facing each other.
Thread a yarn needle with a long strand of yarn and begin sewing the squares together along three sides. Keep one side open because you’ll need this opening to add the stuffing later.
As you sew, make sure the edges line up neatly. The joined squares will begin forming the basic body of your chicken.
Step 2: Make the Chicken’s Beak
Now it’s time to give your little chicken some personality!
Choose a small amount of yellow or orange yarn for the beak. Attach the yarn approximately one stitch after the crown area of the chicken, usually near the upper corner of the joined squares.
Work the following stitches into the same stitch:
- Chain 1.
- Make 1 sc in the same stitch.
- Make 1 dc in the same stitch.
- Chain 3.
- Make another dc in the same stitch.
- Finish with 1 sc in the same stitch.
- Fasten off and carefully weave in the ends.
This creates a small, textured beak that stands out nicely against the granny square body.
Step 3: Add the Eyes and Stuff the Chicken
Before closing the chicken completely, attach the 12 mm safety eyes.
Position them close to the beak and near the upper corner of the body. Take a moment to check the placement from different angles before securing them permanently.
Once the eyes are attached, begin filling the chicken with fiberfill stuffing.
Add the stuffing gradually rather than putting everything in at once. Gently push the fiberfill into the corners so the chicken develops a nicely rounded, plump shape.
Aim for a body that is firm enough to hold its shape but still soft and squeezable.
Shape the Body
After stuffing, flatten the remaining open edge.
Bring the upper corner toward the lower corner so that the two corners meet. This creates the characteristic triangular or pyramid-like shape of the chicken.
Use your yarn needle and matching yarn to sew across the remaining open edge, closing the body securely.
Fasten off and weave the remaining yarn tail into the stitches.
Step 4: Crochet the Chicken Tail
The tail adds an especially cute finishing detail to this little project.
Choose pink yarn for a bright and playful tail, or substitute another color that coordinates with your granny squares.
Attach the yarn to a stitch close to the center of the newly closed bottom edge.
Then work the tail feathers as follows:
- Chain 34.
- Make 1 tr in the same stitch where the yarn was attached.
- Chain 3.
- Slip stitch into the same stitch.
- Repeat the sequence two additional times to create a total of three tail feathers.
- Fasten off, leaving a small yarn tail.
- Weave in the ends securely.
You can gently arrange the three feathers so they fan outward, giving your chicken a cheerful, decorative tail.
Finishing Your Granny Square Chicken
Your adorable crochet chicken is now finished!
Take a few moments to check all the details. Make sure the eyes are securely attached, the beak is firmly stitched, and the tail is properly fastened.
If necessary, add a little more stuffing before completely closing the body to help the chicken maintain its shape.
You can also gently manipulate the corners and sides with your fingers to create a neat, balanced shape.
Creative Ways to Customize Your Chicken
One of the best things about this project is how easy it is to personalize.
Experiment With Colors
Use bright scraps of pink, blue, yellow, green, purple, orange, or turquoise to make every chicken unique.
You could also create themed chickens using:
- Pastel colors for spring
- Red and green for Christmas
- Orange and black for Halloween
- Soft pink and blue for baby gifts
- Neutral tones for farmhouse-style décor
Add Small Wings
For an even more detailed chicken, crochet two small wings and sew one onto each side of the body.
Simple wings made from a few chains and stitches can give your chicken an entirely different look.
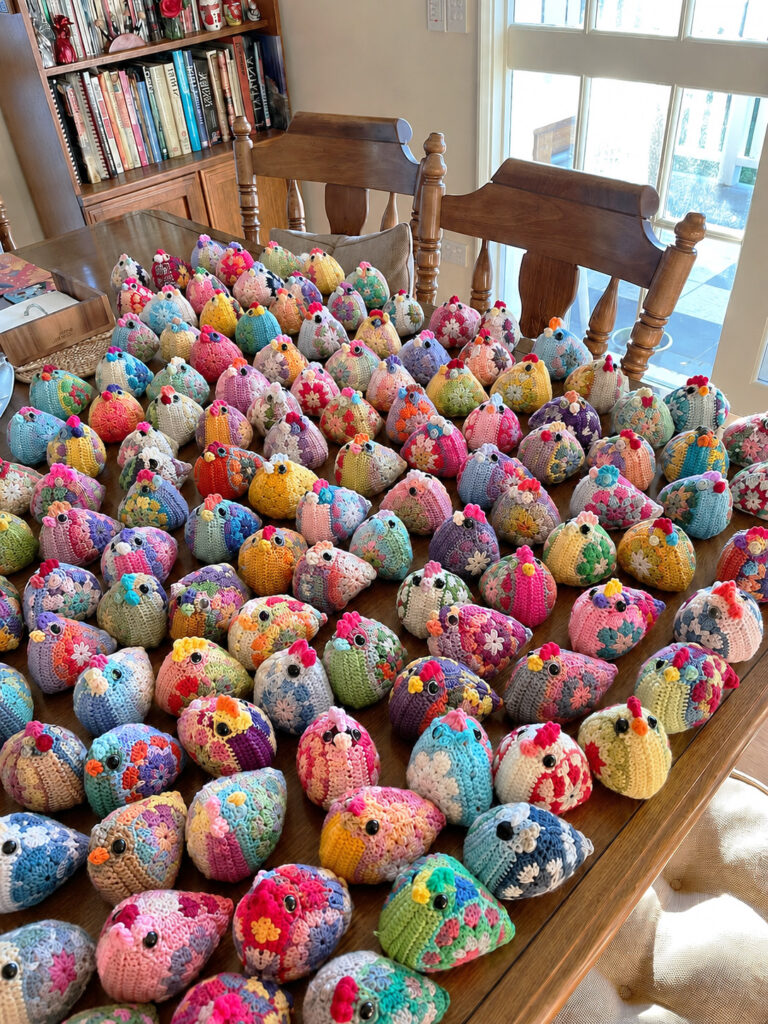
Make a Whole Flock
Why stop at one?
Make several chickens using different granny square combinations. A colorful collection displayed together can create a fun handmade centerpiece for a table, shelf, or craft room.
You can also experiment with different hook sizes and yarn weights to create chickens in several sizes.
Helpful Tips for Success
Keep your tension consistent.
Even tension will help your granny squares maintain an even shape and make the finished chicken easier to assemble.
Don’t overstuff the body.
Too much fiberfill can distort the granny squares. Add small amounts gradually until the chicken feels firm but retains its shape.
Plan your color combinations.
If you’re using scrap yarn, place your colors next to one another before crocheting to see which combinations work best.
Secure small pieces carefully.
If the finished chicken is intended for a young child, avoid plastic safety eyes and other small detachable pieces. Embroidered facial features are a safer alternative.
Hide your yarn ends neatly.
Take time to weave in all loose ends so the finished chicken looks polished and professional.
Granny Square Chicken Crochet Free Pattern
Granny Square Chicken Pattern at a Glance
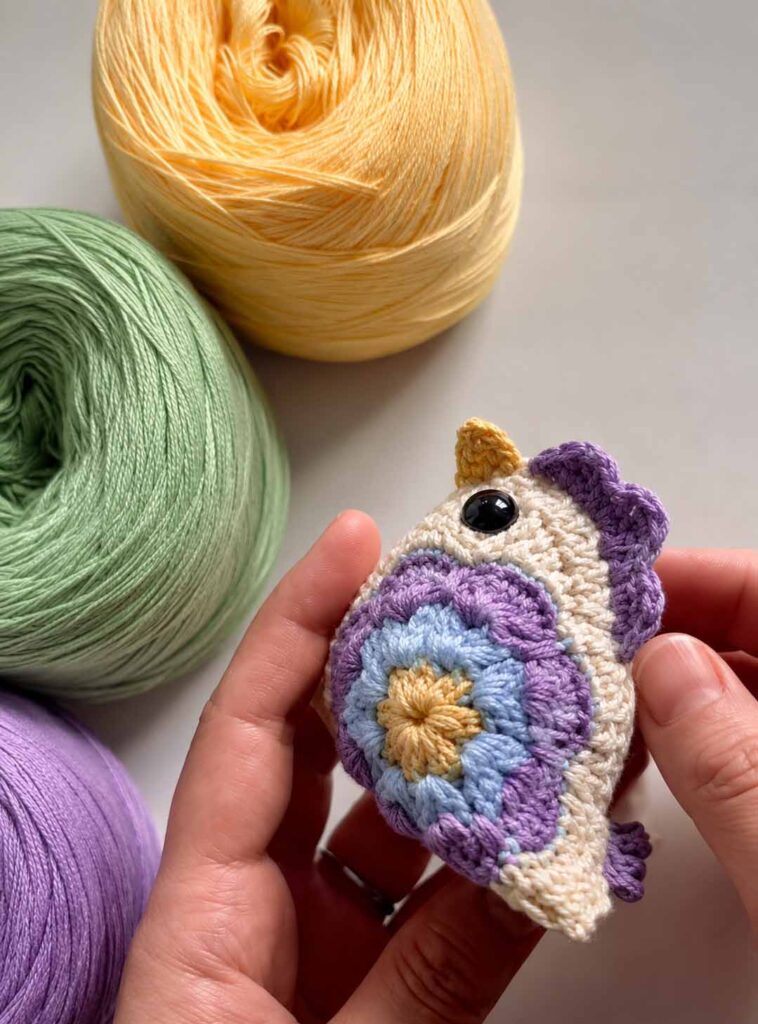
This charming project brings together simple crochet techniques and classic granny square construction to create a unique little bird.
You’ll begin with two granny squares, join them along three sides, add the beak and safety eyes, stuff the body, and close the final edge. A playful three-feather tail completes the design.
The result is a small, colorful chicken that’s perfect for decorating your home, gifting to a fellow crochet lover, or using up those leftover scraps of yarn hiding in your stash.
Most importantly, have fun with the process! There’s no need for every chicken to look exactly the same. Try different granny square colors, experiment with tail shades, and create your own collection of cheerful crochet chickens.
Happy crocheting! 🧶🐔

