

 soofha
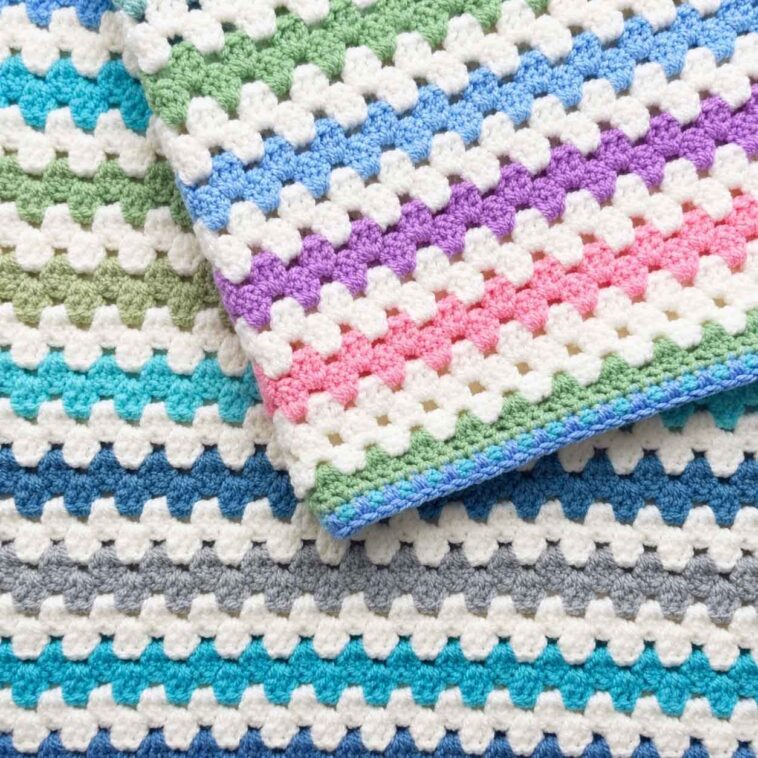
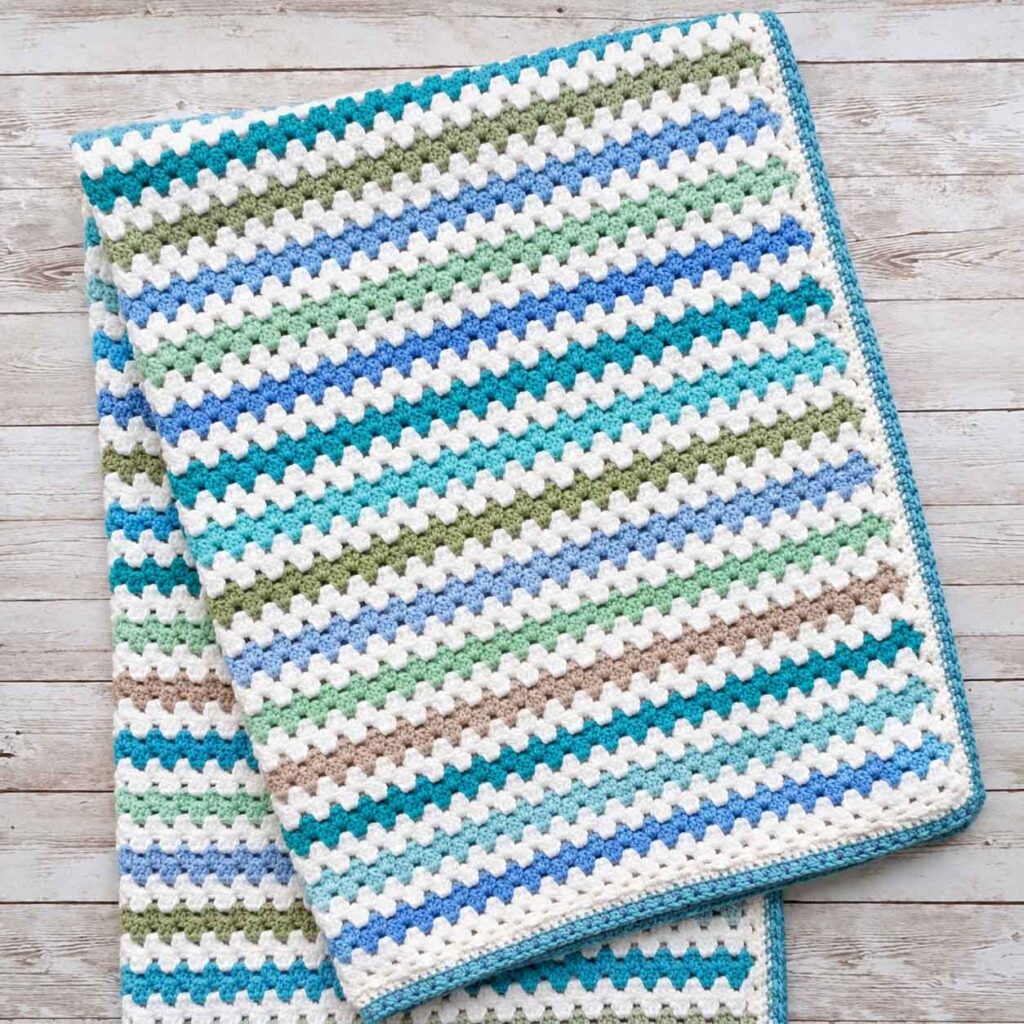
There’s something about a granny stripe blanket that never seems to go out of style. Maybe it’s the simple rhythm of the stitches, or perhaps it’s the way a few different yarn colors can completely change the look of the finished blanket. Either way, this is one of those crochet projects that is easy to pick up and surprisingly hard to put down.
The Granny Stripe Crochet Blanket is a wonderful project if you enjoy traditional crochet with a little room for creativity. The stitch pattern is repetitive enough that you can relax while working, but changing the colors keeps things interesting from one row to the next.
It’s also a great blanket to make as a gift. A handmade crochet blanket has a warmth that you simply can’t get from something bought in a store, and the color choices can easily be changed to suit a baby nursery, bedroom, living room, or a particular person.
Why I Love the Granny Stripe Stitch
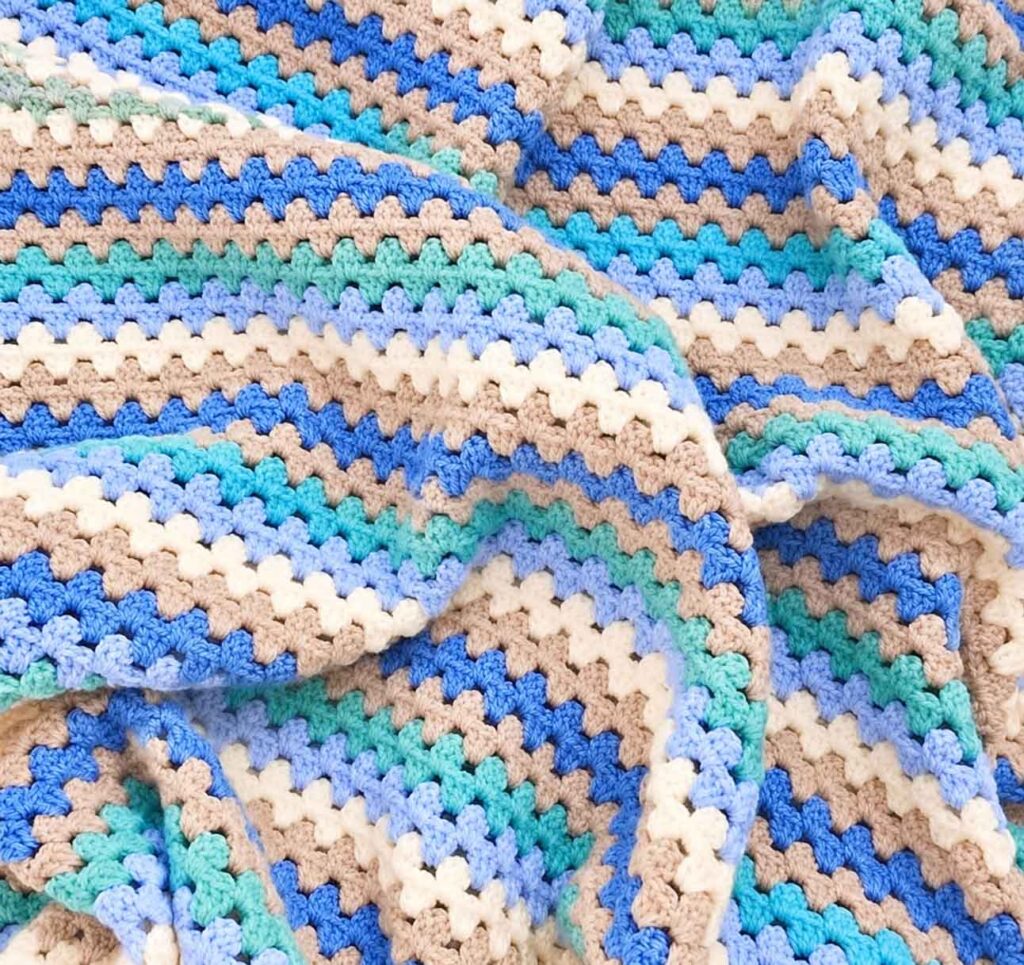
The granny stripe is one of those classic crochet patterns that looks more complicated than it really is. Once you understand how the clusters fit together, the rows become very easy to follow.
I especially love how quickly the pattern starts to take shape. After just a few rows, you can clearly see the stripes developing, and that makes it a very satisfying project to work on.
Another big advantage is the freedom you have with color.
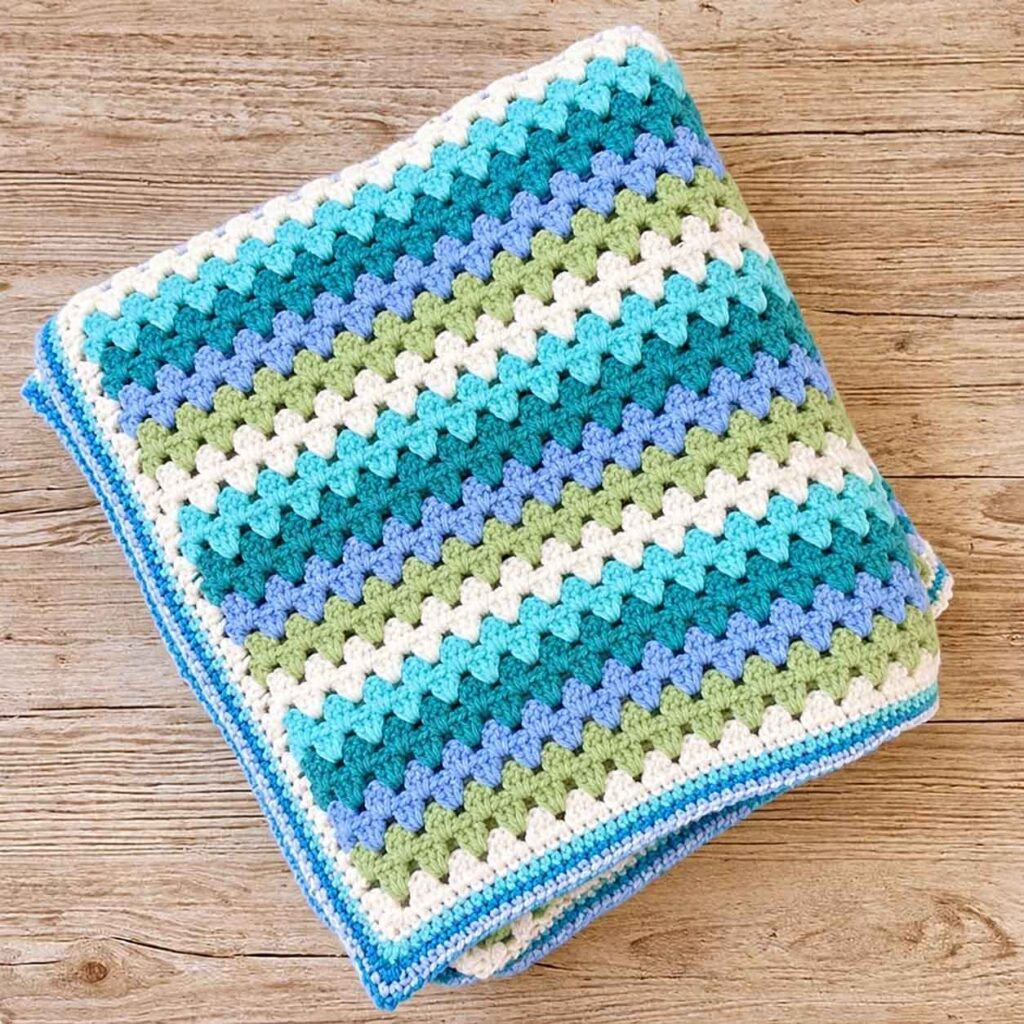
You can use just two colors for a simple, coordinated look, choose three or four shades for a more playful blanket, or use leftover yarn from your stash to create a colorful scrappy version. Soft pastels look beautiful for baby blankets, while deeper shades can give the same stitch pattern a completely different feel.
And if you prefer a more modern look, you can even make the entire blanket in one color and let the texture of the granny stripes do all the work.
Is This Blanket Beginner-Friendly?
Yes! If you are still learning to crochet, this is a lovely pattern to try.
The main stitch used throughout the blanket is a double crochet cluster, and once you get comfortable with the first couple of rows, the rest becomes quite repetitive.
That repetition is actually one of the things I enjoy most about this pattern. You don’t need to keep learning a new stitch every few rows. Instead, you can settle into the rhythm and simply enjoy watching your blanket grow.
Experienced crocheters will also appreciate this pattern because it leaves plenty of room for experimentation with yarn, color combinations, size, and borders.
Choosing Your Colors
This is probably the hardest part of making a granny stripe blanket — choosing the colors!
For this version, the stripe combination uses Raspberry, White, and Mint. The colors create a soft, cheerful look without being too bright.
Of course, you don’t have to use these exact colors.
Here are a few combinations that would work beautifully:
- Cream, dusty pink, and sage green
- White, lavender, and soft blue
- Beige, terracotta, and cream
- Mustard, cream, and gray
- Baby pink, white, and mint
- Navy, cream, and light blue
If you have yarn leftover from other projects, this is also a wonderful pattern for using it up. Granny stripes are very forgiving, so don’t be afraid to experiment.
Granny Stripe Crochet Blanket Pattern
Abbreviations
- ch – chain
- sc – single crochet
- hdc – half double crochet
- dc – double crochet
- sl st – slip stitch
What Is a DC Cluster?
For this pattern, a dc cluster means working 3 double crochet stitches into the same space or stitch.
Once you get used to working the three double crochets together, the rest of the pattern becomes much easier.
Getting Started
Using Raspberry yarn, chain 63.
Make your starting chain loosely. If your chain is too tight, the first row may pull inward and make it difficult to keep the blanket straight.
Row 1
Work 1 double crochet into the third chain from your hook.
Skip the next 2 stitches, then work a dc cluster into the next stitch.
Repeat this sequence across the row.
You should have 19 clusters.
Finish the row by working 2 double crochet stitches into the final chain.
Chain 2 and turn.
Row 2
Work a dc cluster into the first space between the clusters from the previous row.
Continue working one dc cluster into each space across the row.
At the end of the row, work 1 double crochet into the top of the beginning ch-2.
Cut the yarn and weave in the end.
You should have 20 clusters across this row.
Row 3
Join the White yarn with a slip stitch.
Chain 2, then work 1 double crochet into the same space.
Continue across the blanket, working a dc cluster into each space between the clusters.
At the end of the row, work 2 double crochet stitches into the top of the beginning ch-2.
Chain 2 and turn.
You should have 19 clusters.
Row 4
Work a dc cluster into each space across the row.
Finish with 1 double crochet into the top of the beginning ch-2.
Cut the yarn and weave in the loose end.
You should have 20 clusters.
Repeat Rows 3 and 4 as directed for the remaining stripes.
Stripe Color Sequence
The color pattern for this version is:
2 rows Raspberry
2 rows White
2 rows Mint
Continue repeating the six-row color sequence until the blanket reaches a total of 22 rows.
If you want a larger blanket, simply continue repeating the same sequence until you reach your preferred size.
One of the nice things about this pattern is that changing the size is quite straightforward. Just keep working the same two-row sections in each color until your blanket is as long as you want it to be.
Granny Stripe Crochet Blanket Pattern
Optional Picot Border
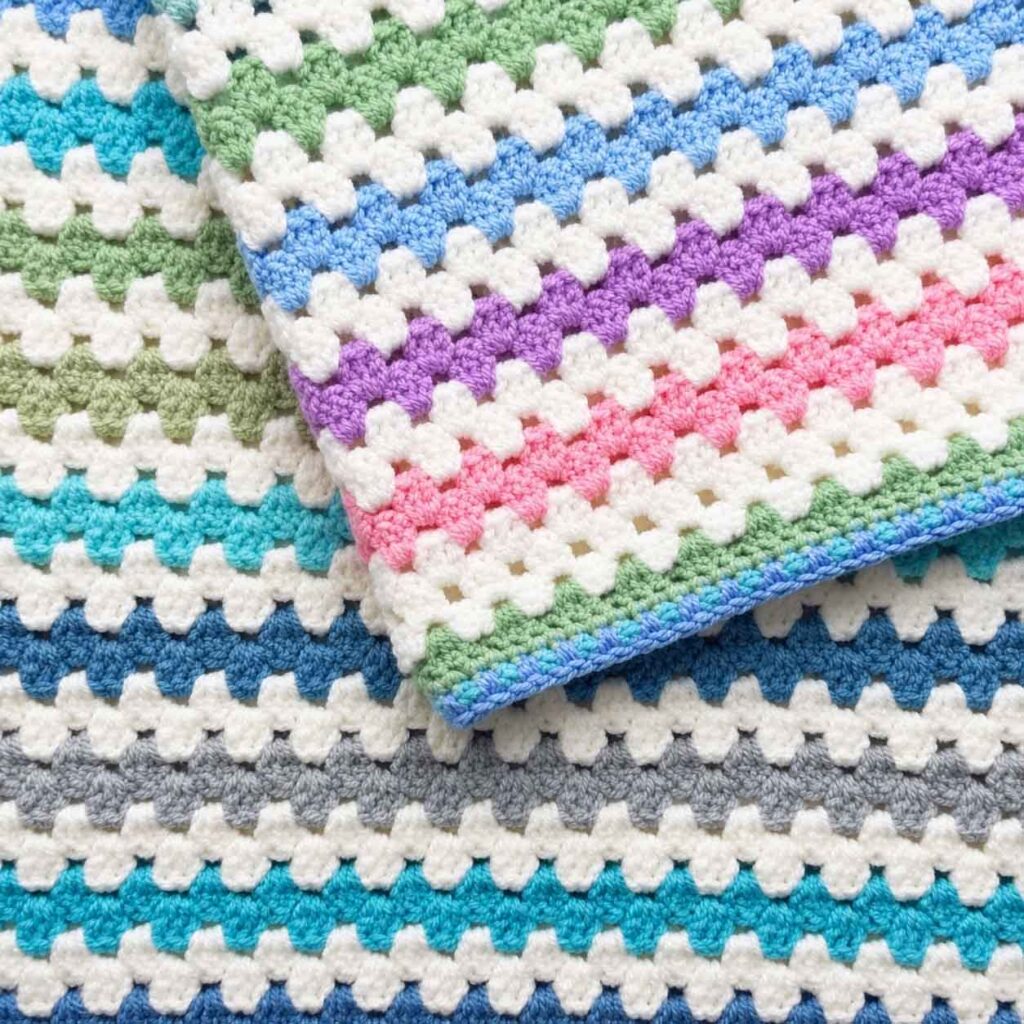
A border isn’t absolutely necessary, but I think it gives the blanket a lovely finished look.
You can use coordinating colors from the blanket or choose a completely different shade for a little contrast.
Round 1
Using your chosen border color, work single crochet around the entire blanket.
When you reach each corner, work 3 single crochet stitches into the corner stitch.
Continue all the way around.
Join as appropriate, cut the yarn, and weave in the loose end.
Round 2
Join your second border color.
Work single crochet around the entire blanket, again working 3 single crochet stitches into each corner stitch.
Continue around the blanket, then cut the yarn and weave in the end.
Round 3 – Picot Edging
Join the White yarn.
This round creates the small picot details along the edge.
Work single crochet into the next 5 stitches.
Then:
Chain 3, then work 1 half double crochet into the first chain.
This creates one small picot.
Continue working around the blanket, spacing the picots evenly.
You don’t have to worry about making every space perfectly identical. In fact, tiny differences in spacing are usually barely noticeable once the entire border is finished.
Try to position a picot near each corner so the edging looks balanced.
A Few Tips Before You Start
Keep Your Tension Consistent
Because granny stripe blankets are made from repeating clusters, changes in tension can affect the overall shape of the blanket.
Try to keep your stitches relaxed rather than pulling each stitch tightly.
Don’t Stress About Perfect Color Changes
If you’re making a striped blanket, there will be several yarn ends to deal with. You can weave them in as you go instead of leaving everything until the very end.
Trust me, this makes finishing the blanket much less overwhelming!
Count Your Clusters
If your blanket starts looking uneven, count the clusters at the end of a row.
It is much easier to correct a mistake immediately than to discover several rows later that one cluster was accidentally skipped.
Make a Larger Blanket
The pattern can easily be adapted for a larger project.
You can add more rows for length, or adjust your starting chain if you’d like a wider blanket. Just remember that your starting chain needs to work with the stitch repeat used in the pattern.
Video Tutorial
If you prefer watching someone work through the stitch rather than following written instructions, a video tutorial can be especially helpful for this pattern.
Seeing where the hook goes between the clusters makes the construction much easier to understand, particularly if this is your first granny stripe project.
A video tutorial by Bella Coco is another useful resource for crocheters who prefer learning visually.
Final Thoughts
The Granny Stripe Crochet Blanket is a wonderful example of how a simple stitch can create something really beautiful.
There’s no complicated stitchwork to memorize, and once you get into the rhythm, it becomes the kind of project you can work on while watching television, listening to a podcast, or simply relaxing at the end of the day.
And then there’s the color!
That’s where you can really make the blanket your own. Use the Raspberry, White, and Mint combination shown here, or forget the suggested colors completely and create a palette that matches your style.
Make one for a new baby, a family member, a friend, or simply for yourself. You might even find yourself wanting to make another one as soon as the first blanket is finished.
So grab your favorite yarn, pick up your crochet hook, and start stitching. A few simple rows at a time, you’ll soon have a beautiful handmade blanket of your own.
Happy crocheting! 🧶💕

