

 soofha
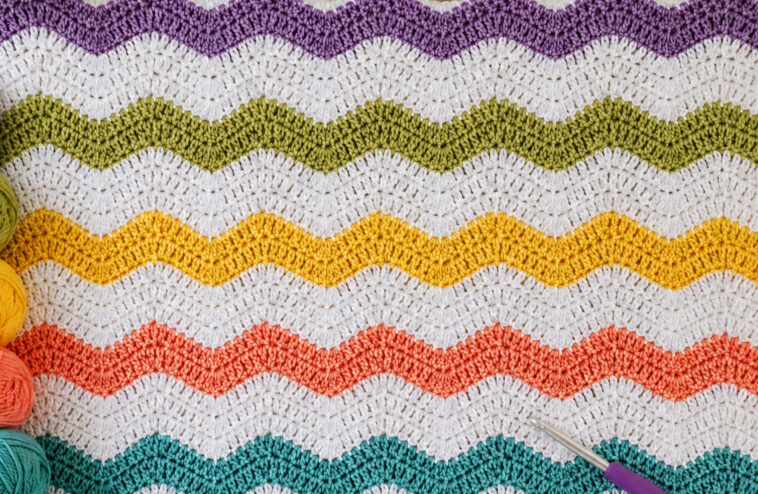
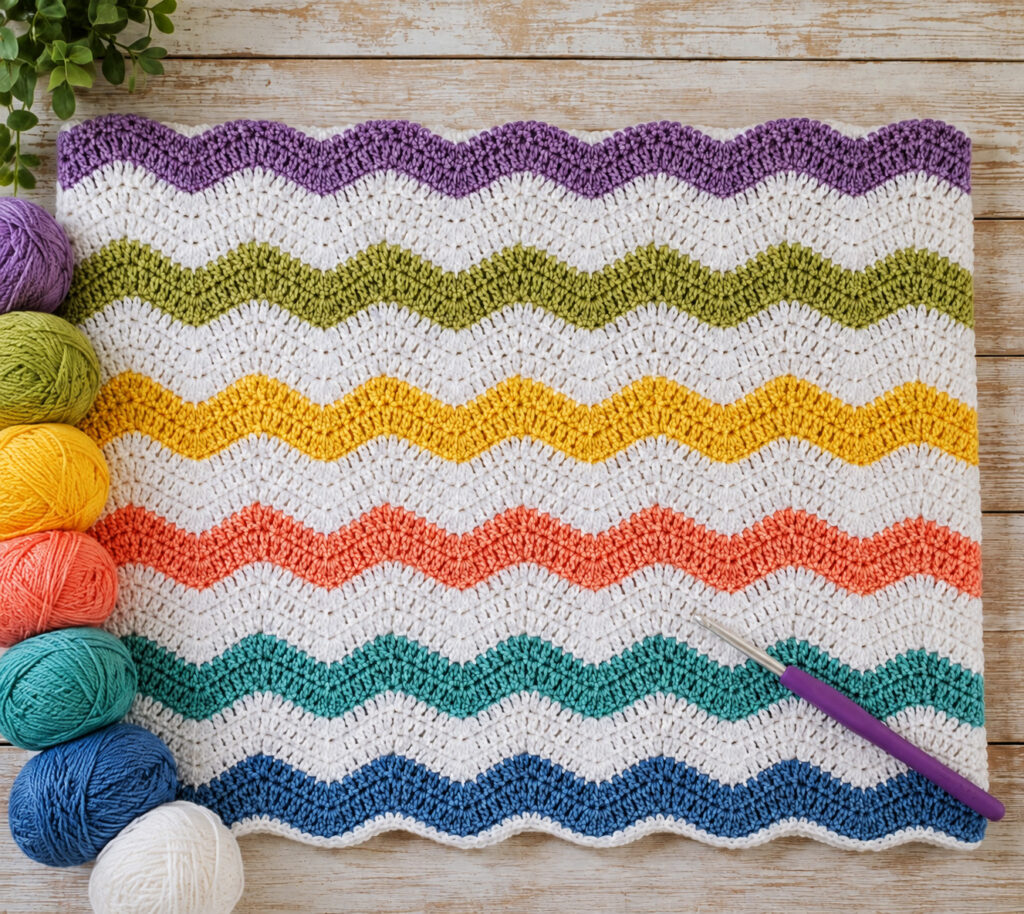
If you love colorful crochet blankets with a classic handmade feel, this Jewel Tones Ripple Blanket is a fun pattern to add to your project list. The combination of rich jewel-inspired shades, soft white rows, and gentle waves creates a beautiful blanket that looks much more complicated than it actually is.
This blanket uses a simple double crochet ripple stitch. Once you understand where the increases and decreases go, the pattern becomes very repetitive and works up surprisingly quickly. It is also a great project for practicing your stitch counting and getting comfortable with crochet ripple patterns.
I especially love how the white rows separate each of the colorful stripes. They give the brighter shades room to stand out while keeping the overall design soft and balanced.
About the Jewel Tones Ripple Blanket
This blanket was inspired by the idea of using several rich, cheerful colors together without making the finished piece look too busy. The colored stripes are separated by rows of white, which gives the blanket a clean, classic appearance.
The ripple pattern creates a series of gentle peaks and valleys across the blanket. If you’ve made a traditional chevron blanket before, you’ll notice that this design has a similar rhythm, but the wave is a little softer and more flowing.
If ripple blankets are new to you, I recommend making a small practice swatch before beginning the full blanket. The stitch repeat is easy once you see how it works, but a practice piece can save you from having to unravel several rows later.
Materials
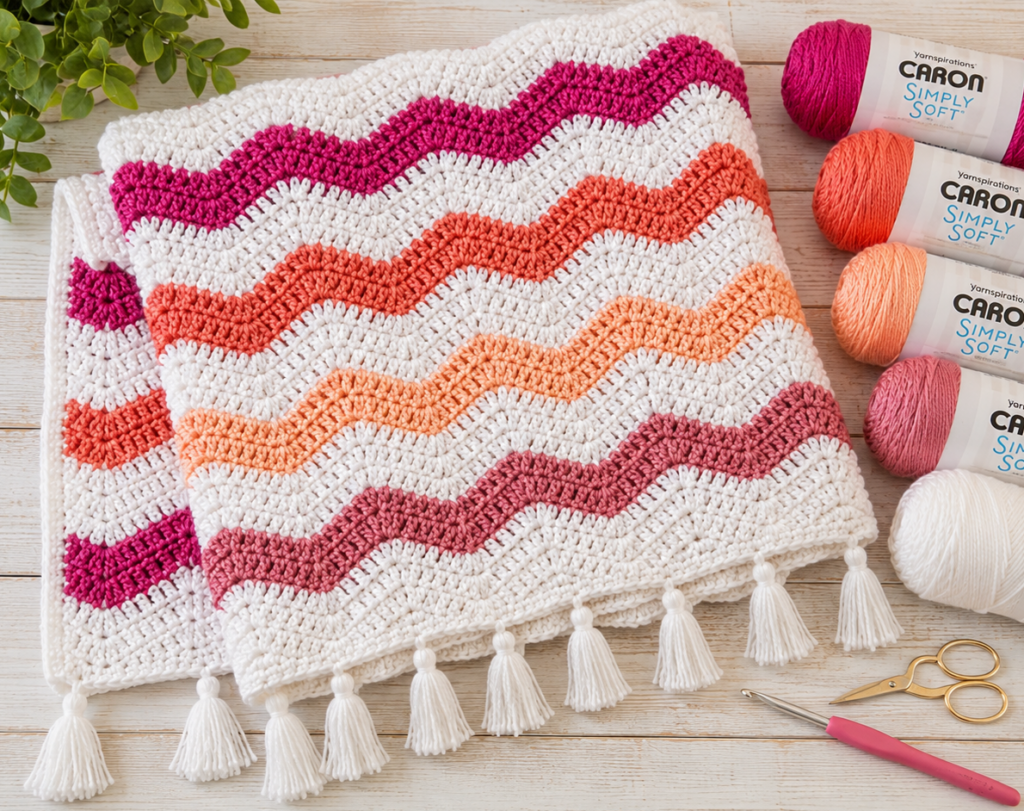
- Caron Simply Soft, 100% acrylic, 170 g / 6 oz, 288 m / 315 yds per skein
- 3 skeins White
- 1 skein Fuchsia
- 1 skein Persimmon
- 1 skein Light Country Peach
- 1 skein Victorian Rose
- H/5.00 mm crochet hook
- Tapestry needle
- Scissors
You can substitute another worsted-weight yarn if you prefer. Just keep in mind that your finished size and yarn requirements may change depending on the yarn and your tension.
Finished Size
Approximately 30 x 40 inches
You can easily adjust the size by changing the starting chain. Just remember to keep the starting chain in the correct stitch multiple.
Crochet Abbreviations
- CH – Chain
- DC – Double crochet
- DC2TOG – Double crochet two together
- SC – Single crochet
- YO – Yarn over
This pattern uses US crochet terminology.
Special Stitch: Double Crochet
DC: Yarn over, insert the hook into the indicated stitch, yarn over and pull up a loop. Yarn over and pull through two loops on the hook. Yarn over again and pull through the remaining two loops.
Double Crochet Two Together
DC2TOG: Yarn over and insert the hook into the indicated stitch. Yarn over and pull up a loop, then yarn over and pull through two loops. Yarn over again and insert the hook into the next stitch. Yarn over and pull up a loop, yarn over and pull through two loops. Yarn over and pull through all remaining loops on the hook.
This decrease creates the valleys in the ripple pattern.
Crochet Jewel Tones Ripple Blanket Pattern
Starting Chain
Chain 111.
The starting chain follows a multiple of 12 + 3.
That means you can make the blanket wider or narrower by chaining any multiple of 12 and then adding 3 chains.
For example:
- 12 + 3 = 15
- 24 + 3 = 27
- 36 + 3 = 39
- 48 + 3 = 51
- 60 + 3 = 63
- 108 + 3 = 111
For this blanket, 111 chains create approximately nine ripple peaks.
Practice Swatch
If you have never made a ripple blanket before, try starting with 39 chains. This gives you a small swatch with the same basic stitch repeat without requiring a large amount of yarn.
A practice swatch is particularly helpful for checking your tension and making sure your increases and decreases are falling in the correct places.
Row 1
Work 1 DC into the 4th chain from the hook. The first 3 chains count as the first double crochet.
Continue across the row as follows:
*Work 1 DC into each of the next 3 chains.
Work a DC2TOG over the next 2 chains.
Work another DC2TOG over the following 2 chains.
Work 1 DC into each of the next 3 chains.
Work 2 DC into the next chain.
Work another 2 DC into the following chain.*
Repeat the sequence from * across the row until you reach the final chain.
Work 2 DC into the last chain.
Chain 3 and turn.
Row 2
Work 1 DC into the next stitch.
Then repeat the following sequence across the row:
*Work 1 DC into each of the next 3 stitches.
Work a DC2TOG over the next 2 stitches.
Work another DC2TOG over the following 2 stitches.
Work 1 DC into each of the next 3 stitches.
Work 2 DC into the next stitch.
Work another 2 DC into the following stitch.*
Continue repeating the sequence until you reach the end of the row.
Work 2 DC into the top of the chain-3 turning chain from the previous row.
Chain 3 and turn.
Rows 3 and Beyond
Repeat Row 2 until your blanket reaches approximately 40 inches in length, or until it reaches your preferred size.
The beauty of this pattern is that once you have completed the first few rows, you simply continue repeating the same stitch sequence.
Understanding the Ripple
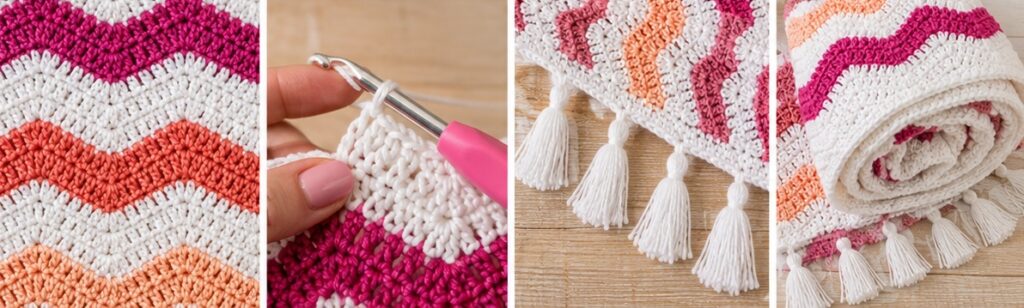
The most important part of this pattern is keeping track of your peaks and valleys.
A helpful way to remember the design is:
- 2 DC in a stitch = increase and creates the peak
- DC2TOG = decrease and creates the valley
- 3 regular DC stitches separate the peaks and valleys
- 2 DC are worked at each end of the row
Keeping these landmarks in mind makes it much easier to check your work.
If your ripple suddenly looks uneven, stop and count the stitches around the last peak or valley. Most mistakes come from accidentally adding or skipping a stitch.
A Tip for Straighter Edges
The turning chain can be one of the trickiest parts of a ripple blanket.
When you reach the end of each row, take your time when working into the top of the chain-3 turning chain. Try to insert your hook underneath both loops of the chain rather than working into an incorrect space.
Keeping your tension relaxed also helps. If your stitches become too tight, the waves can start to look stiff and your edges may pull inward.
Color Sequence
The color arrangement is what gives this blanket its jewel-tone personality.
The original stripe sequence is:
9 rows White
Then repeat:
- 2 rows Fuchsia
- 3 rows White
- 2 rows Persimmon
- 3 rows White
- 2 rows Light Country Peach
- 3 rows White
- 2 rows Victorian Rose
- 3 rows White
Continue repeating the colored stripe sequence until you are ready to finish the blanket.
For the final section, work enough white rows to create a 9-row white section, matching the white section at the beginning.
This gives the blanket a nice visual balance, with generous white areas framing the colorful ripple stripes.
Changing Colors
For clean-looking color changes, switch yarn at the end of the final stitch of the row.
When you are working the last double crochet in the old color, stop when you have two loops remaining on your hook. Yarn over with the new color and pull it through those final loops.
Then chain 3 and turn.
Cut the old yarn, leaving a tail long enough to weave in securely later.
This technique gives the color transition a much neater appearance than fastening off after completing the entire row.
Finishing the Blanket
Once you’ve finished the final row, fasten off and weave in all loose yarn tails using a tapestry needle.
Because this blanket contains several color changes, there will be quite a few ends to deal with. I recommend weaving them in as you go whenever possible. It makes the finishing process much less overwhelming at the end.
Simple Crochet Border
A simple white border gives the blanket a more finished look without taking attention away from the ripple design.
Using white yarn, work one round of single crochet around the entire blanket.
When you reach each corner, work 3 SC into the corner space. This helps the border turn the corner smoothly without pulling or bunching.
Once the border is complete, fasten off and weave in the remaining end.
You can stop here if you prefer a simple finished blanket, or add tassels for a little extra texture.
How to Make the Yarn Tassels
The tassels are very simple and require only yarn, scissors, and a small notebook or piece of cardboard.
For the original blanket, a notebook approximately 6 x 4 inches was used as a guide.
Step 1: Wrap the Yarn
Take your white yarn and wrap it around the notebook horizontally several times.
Continue wrapping until the tassel looks as full as you’d like.
Step 2: Cut the Yarn
Cut the yarn in half along one side of the notebook.
Carefully remove the bundle.
Step 3: Form the Tassel
Gather the strands together and tie a separate piece of yarn tightly around the bundle near the top.
This creates the small head of the tassel.
Trim the bottom ends if necessary so they are approximately the same length.
Step 4: Attach the Tassels
Attach the finished tassels along the bottom edge of the blanket.
For this design, placing a tassel approximately every other stitch creates a nice evenly spaced finish. However, you can place them closer together or farther apart depending on the look you want.
If you want longer tassels, use a larger notebook or piece of cardboard when wrapping the yarn. For shorter tassels, simply use a smaller guide or trim the finished tassels.
Tips for Crocheting a Ripple Blanket
Count Your Stitches
Ripple blankets depend on increases and decreases being placed correctly. If you accidentally add an extra stitch, the shape of the wave can change quickly.
If the pattern begins looking uneven, stop and count before continuing.
Keep Your Tension Consistent
Try not to crochet the decreases too tightly. A relaxed, consistent tension will help the blanket lay flat and allow the ripple pattern to form naturally.
Practice Before Starting
If this is your first ripple blanket, make a small swatch first. It is much easier to understand the movement of the stitches on a small piece than on a full-size blanket.
Use Stitch Markers if Needed
If you find it difficult to identify the peaks and valleys, place stitch markers at important points while learning the pattern. After a few rows, you’ll probably be able to recognize the ripple pattern without them.
Check the Turning Chain
The turning chain can easily be missed, especially when you’re working quickly. Remember to work the final stitches into the top of the chain-3 turning chain as instructed.
Customize Your Blanket
One of the best things about this pattern is how easy it is to personalize.
You can use the same stitch pattern with almost any color combination. Try soft pastels for a baby blanket, earthy shades for a rustic throw, or bright colors for a cheerful children’s blanket.
You can also make the blanket wider or narrower by changing the starting chain, as long as you follow the multiple of 12 + 3 rule.
For a larger throw, simply continue repeating the rows until you reach your desired length.
Final Thoughts
This Jewel Tones Ripple Blanket is a great project for crocheters who enjoy colorful stripes and classic crochet textures. The pattern is repetitive enough to become relaxing once you get into the rhythm, while the changing colors keep each section interesting.
The combination of white and jewel-inspired shades creates a timeless look, and the simple border and tassels add a polished finishing touch.
If you’re new to ripple crochet, don’t be discouraged if your first few rows require a little extra counting. Once you understand where the increases and decreases belong, the pattern becomes much easier to follow. Make a small practice swatch first, keep your tension relaxed, and let the repeating waves do the work.
Happy crocheting!

